Cleaning personal makeup brushes is easier when the drying area has been planned before the first bristle is wet. Gather the brushes you actually use, check their individual care information, and reserve a clean place where the working ends can finish drying appropriately. A small bathroom can support the task without leaving damp brushes upright in a crowded holder or shutting them straight back into a travel pouch.
The personal routines and expressive celebrations in Etsy’s fall and winter 2026 report provide seasonal context for maintaining existing tools. Brush cleaning itself is routine care, not a new beauty trend established by that report. This guide concerns personal brushes and their household cleaning setup, with the maker’s instructions and reliable hygiene guidance kept distinct from styling photographs.
Identify the brushes before making one cleaning solution
Lay out the actual brushes on a clean suitable surface. Check which have their own care directions and whether any show damaged handles, loose heads, or other condition problems. Keep makeup sponges, eyelash tools, and unrelated applicators out of this brush task unless you are separately following appropriate instructions for them. Similar storage does not make their care identical.
Choose products appropriate to the brushes you own and follow their directions. A cleaner intended for one material or tool should not be treated as a universal household detergent. The brush maker may provide specific restrictions, and an existing cleanser in the bathroom is not automatically suitable simply because it is convenient.
Our reusable-comb care guide uses the same useful order: identify the actual tool, then choose its care. Keep the methods separate. A brush’s bristles, connecting section, and handle form an assembly whose needs differ from a one-piece comb, even when both are part of the same morning routine.
Separate ordinary washing from a quick color change
A wipe that removes visible makeup between uses is not necessarily the complete cleaning routine required for the brush. Read what the actual product is designed to do and how it should be used. Do not assume a visibly lighter brush is ready merely because the last color no longer appears on a tissue.
Real Techniques’ September 2026 brush-care guide describes a gentle cleaning process and recommends a weekly routine for its brushes. Use its instructions with the appropriate products and tools rather than transferring every step to an unverified brush collection. Its branded cleansing equipment is one suggested setup, not an obligation to purchase a new station.
Decide when the full task fits the household. Starting immediately before you need the brushes can create pressure to use them before their permitted drying process has finished. If practical, choose a period when the clean drying position can remain available without blocking the next person’s access to the sink.
Reserve the drying area first
Clear a suitable clean position away from splashes and bathroom traffic. Choose a clean towel or other appropriate support according to the brush instructions and the care method being followed. Do not lay brushes on the same surface currently holding used cleaning cloths or a wet toiletry bag. Preparation should keep clean working ends distinct from unrelated household materials.
The American Academy of Dermatology’s brush-cleaning guidance recommends washing brushes every seven to ten days. Its method includes rinsing the tips with lukewarm running water, avoiding submerging the complete brush head, cleaning and rinsing the tips, and removing excess moisture gently. It recommends drying brushes flat on a towel with the tips beyond the counter edge, rather than upright where water can run toward the glued connection.
Apply the guidance in a position appropriate to your bathroom and the actual brushes, while following any more specific maker instructions. An exposed edge should not put the brushes where someone will brush past or knock them down. If the only available edge is in the way, choose another suitable clean drying position before starting.
Work through a modest group of brushes
Follow the established cleaning method gently, keeping the working ends and handles in the positions the instructions require. Avoid turning a small cleaning task into prolonged soaking of the complete tool. Use the cleaning product as directed rather than adding extra amounts because a larger brush looks as though it should require a stronger mixture.
Give each brush enough attention to complete its permitted care. Do not rush through the final rinse or leave product at the base simply to finish the whole collection at once. A manageable group that can be cleaned and appropriately dried is more useful than wetting every tool and running out of space halfway through.
Keep the process separate from cleaning the sink or dispenser itself. Our refillable-soap-dispenser care guide may help if another bathroom task is due, but the products and methods should not be casually exchanged. A soap dispenser’s contents and a brush cleanser have different intended uses even when both sit beside the same basin.
Let the drying arrangement do its job
Place the brushes as the applicable instructions direct and leave them in the suitable clean position until their permitted care is complete. Do not tuck the tips into a folded towel merely to hide them, or return damp brushes upright to make the counter look tidy. Readiness is a condition to check, not a fixed number of minutes inferred from a photograph.
Do not use an unapproved heat source to speed the process. Keep the working area recognizable to other household members and explain the temporary arrangement if needed. If the space repeatedly proves difficult to protect, change the timing or location of the cleaning session rather than accepting a drying setup in the middle of everyday splashes.
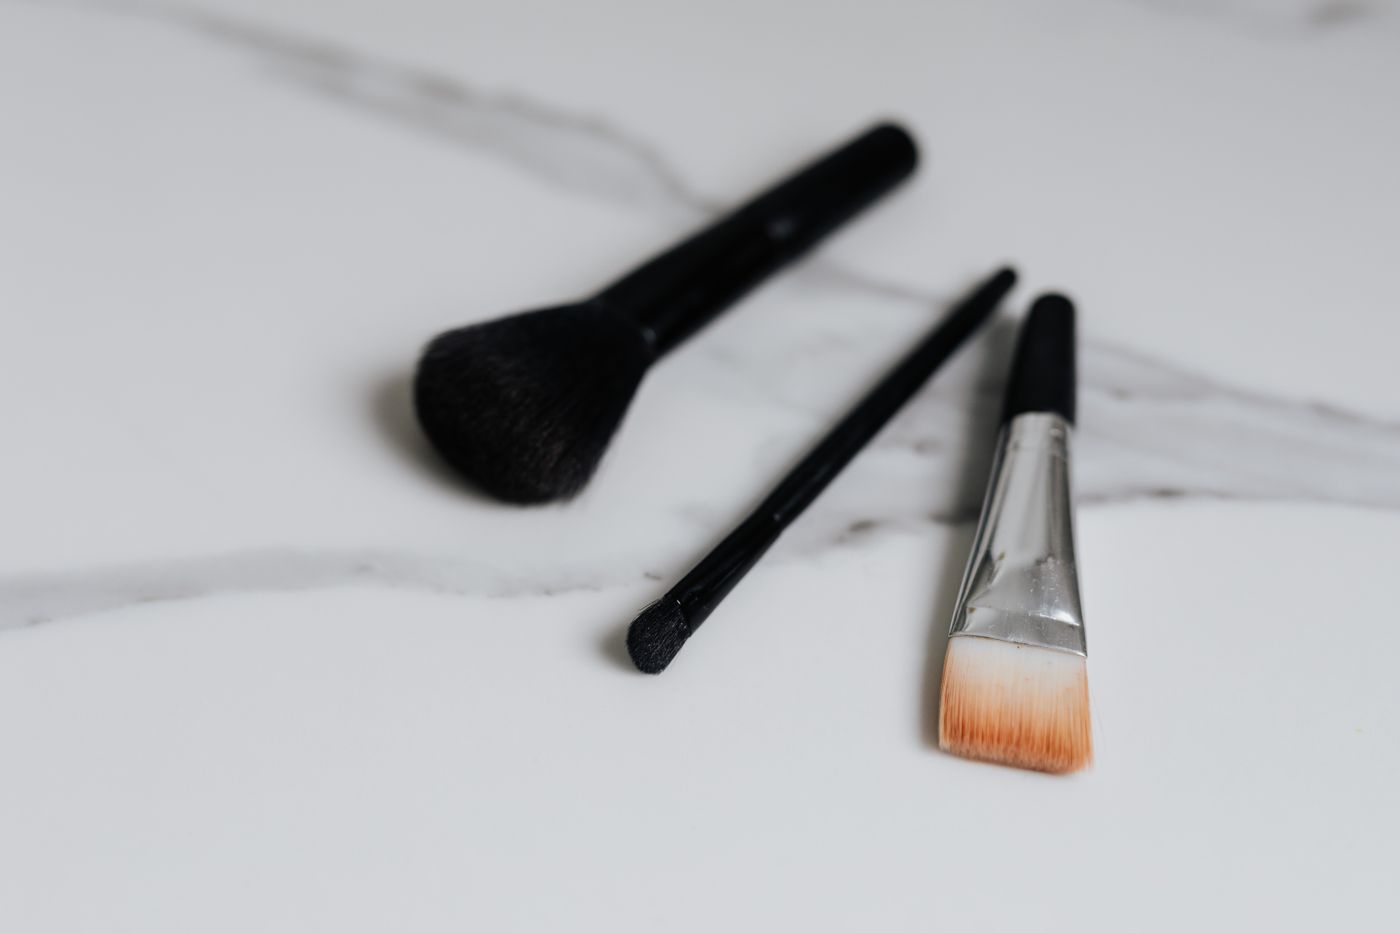
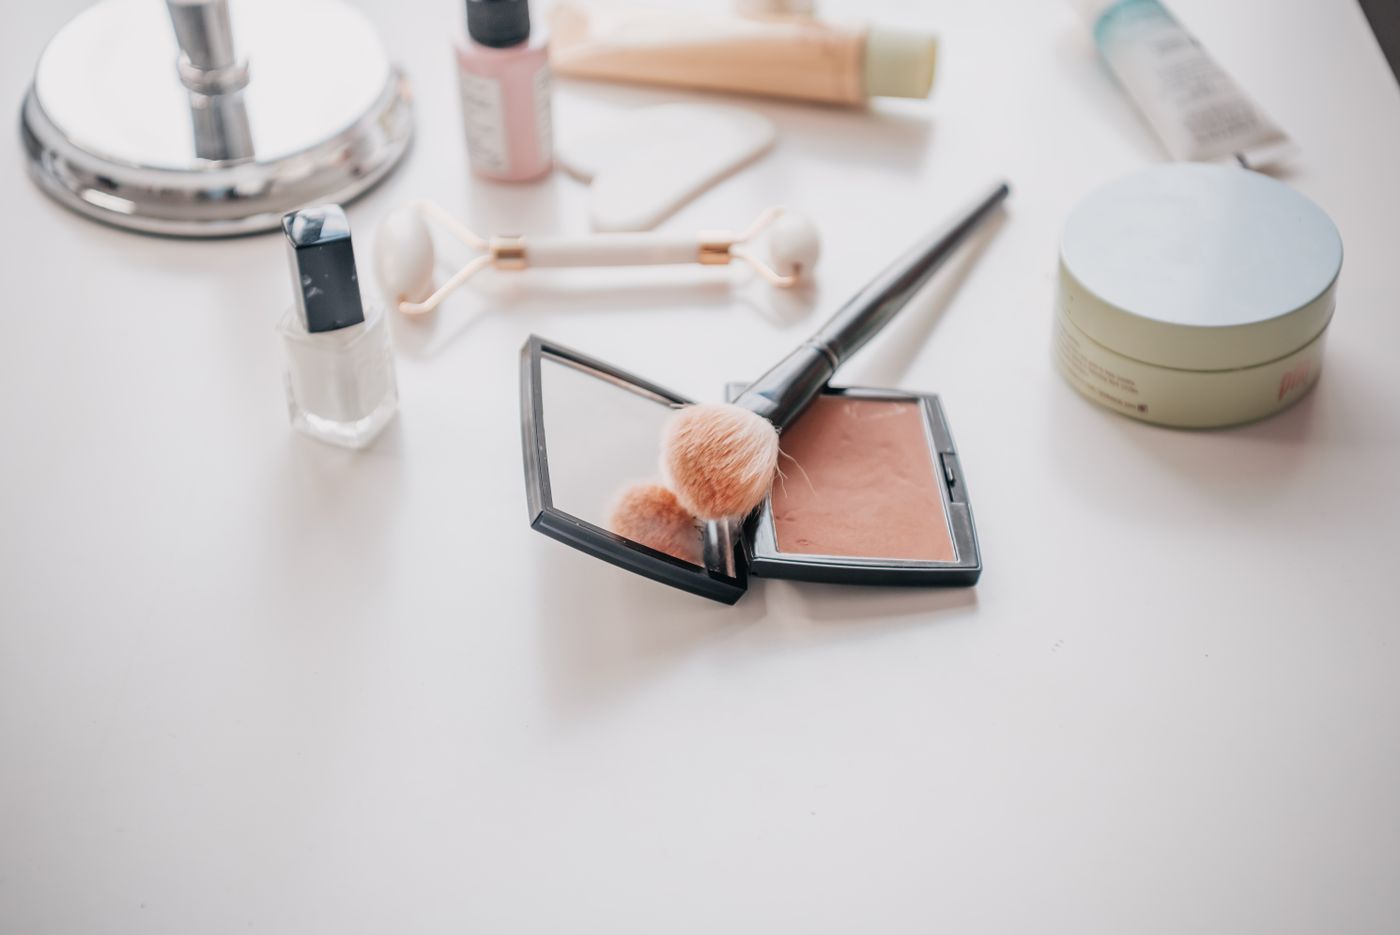
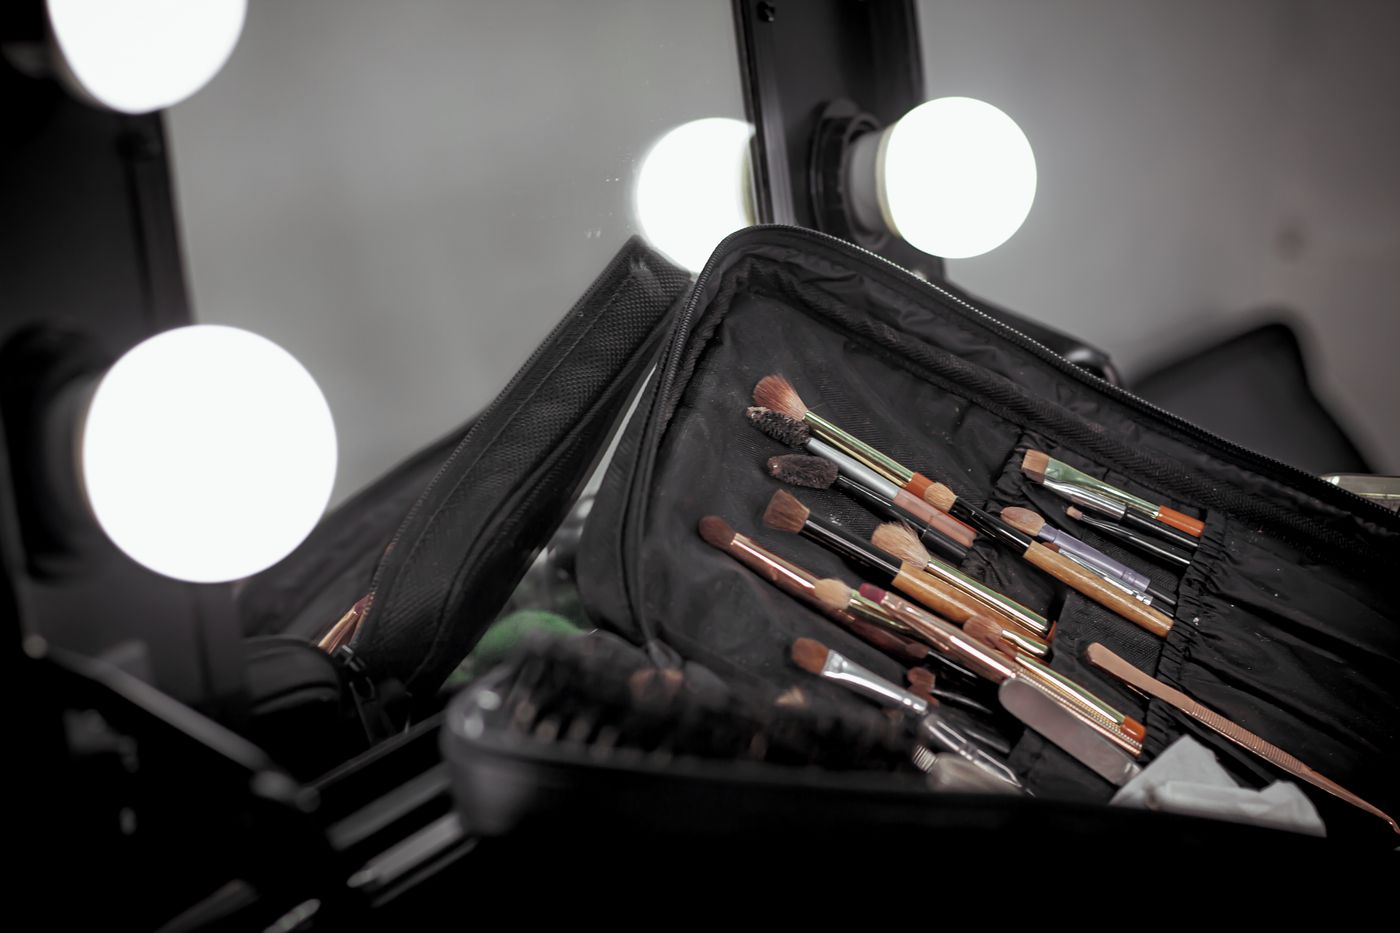
The photographs illustrate brush shapes, residue, and storage. They do not establish that the pictured brushes have completed cleaning or that their materials have been authenticated. An upright holder is a storage example for appropriately ready brushes, not evidence that wet brushes should be dried in that position.
Check the holder and pouch before returning the tools
Look at the ordinary storage home while the brushes are out. Follow the holder’s or pouch’s own care directions if it needs attention, and let that permitted care finish too. Returning clean brushes to a visibly soiled enclosure would leave part of the original task unresolved.
Our shared-bathroom storage comparison can help decide whether a holder or closed pouch actually suits your available space and routine. Choose a modest home for the brushes you use rather than a large display designed around tools you do not own. Keep personal ownership clear when several people share the bathroom.
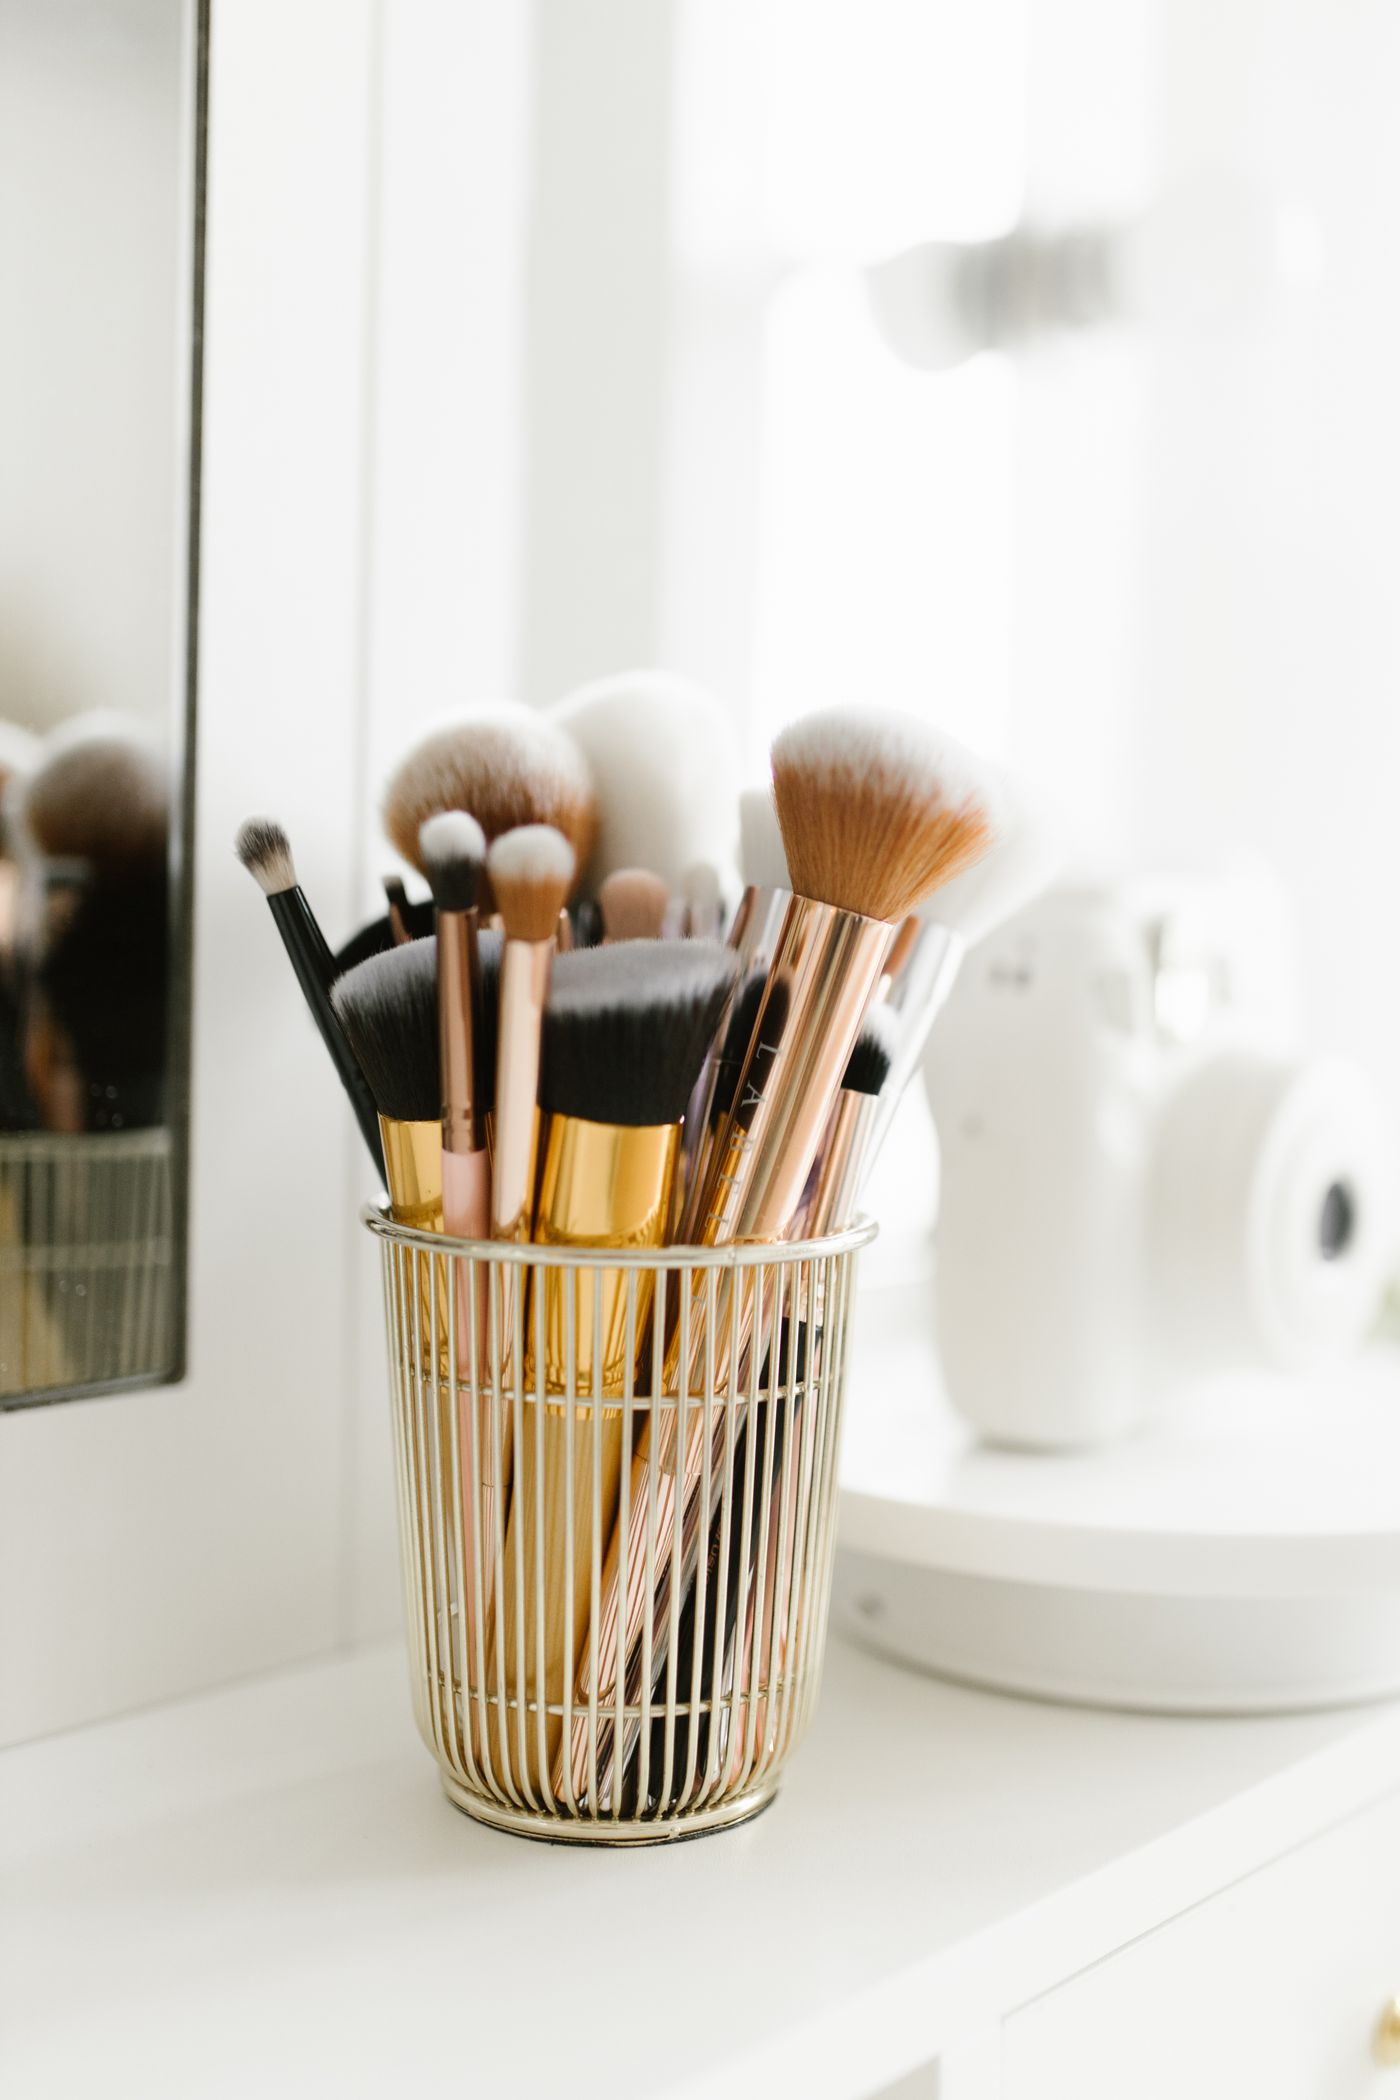
Once the brushes are appropriately ready, return them without crowding or forcing the working ends against an unsuitable closure. Reunite any original guards only as directed. Make a separate decision about a damaged brush instead of returning it among the ready set and hoping the condition problem will disappear after another wash.
Keep the next cleaning session straightforward
Retain useful care information and choose a reminder that fits the routine you follow. The reminder should prompt a real task with suitable drying space, not simply become another note nobody checks. Avoid enlarging the collection solely to work around a cleaning session that has no clear finish.
A useful routine ends with clean tools appropriately dried, their storage ready, and the bathroom available for normal use. That is the practical goal. The brushes do not need a new display, a matching set of accessories, or an impressive before-and-after photograph for the task to be complete.
Explore related decisions in our Cleaning hub.
Sources and editorial scope
Editorial research checked October 21, 2026. Published trend reports are context for these editorial applications, not verified live keyword rankings. Practical household guidance; photographs do not document a tested household or authenticate pictured materials.