

You do not need a porch to give your apartment a Halloween glow. One suitable indoor window or a small side surface can become an evening scene with a few pale shapes, a dark backdrop, and battery-operated light. The design works best when it still leaves the window, curtains, and room lighting useful. If you are working on the same space, A Halloween Bat Wall for a Small Living Room: Layout, Mounting, and Removal covers the next decision in more detail.
This project creates a quiet nighttime display rather than a flashing party setup. It is designed for enjoying from inside the room. Any view from outdoors depends on the window and surrounding light, so plan for the place where you will actually see it. For the broader setup, Halloween Window Clings: A Clean-Glass Decorating Plan and Gentle Removal is a useful next read.
As an Amazon Associate, Small Home Rhythm earns from qualifying purchases.
Choose the place by its usable depth
Measure the supported area of the sill or side surface, then open and close the window coverings. A sill that looks wide enough in daylight may have no spare room when the curtain is drawn. Keep access to the window’s controls, ventilation, and any required emergency opening.
If the sill is too shallow, use a suitable existing side table near the window. Do not add a board across the opening or balance decorations on a radiator. Heat, moving parts, and unsupported edges are poor partners for a temporary display.
Start with the room’s existing layout. Our Living Room hub can help identify which surfaces are already serving useful roles. A decorative scene belongs in the remaining space, with no cable or object spreading into the walking route.
Make a two-color night scene
Use a light color for the main object and a dark color for the story. A pale pumpkin beside a small black house card is an easy combination. The pumpkin gives the light something to reveal; the paper shape gives it a Halloween identity.
For a warmer version, use orange, cream, and the existing wood of the surface. For a cooler version, keep the scene black and white with one gray accent. Avoid introducing several competing light colors before you have tested the basic arrangement.
Keep the backdrop small enough that it does not block the whole window. A standing card or suitable framed drawing can define the scene without covering the daylight view. Use a stable support and keep paper clear of the device’s required operating space.
Choose the light’s shape before its extra features
A low LED pillar produces a different composition from a tall taper. The pillar needs a wider footprint. The taper gives the scene a thin vertical line, but its support and overall height need checking with the window coverings.
The selected GenSwin ivory LED taper candle six-pack is a researched option for that taller silhouette. The listing identifies approximately 0.78-inch-wide, 9.64-inch-tall real-wax candles and two AAA batteries per candle. It also says candle holders are not included.
Choose suitable stable support for the intended position, following the delivered instructions. A narrow candle body does not make the complete arrangement narrow once support is included. Buying six candles is unnecessary if you have room for only one and no intended use for the rest.
We have not tested the selected light’s appearance through glass, brightness, or battery life. Keep current price, exact variation, and return terms part of your purchase check. Similar listings may contain different colors or pack sizes.
Arrange the display from the inside viewpoint
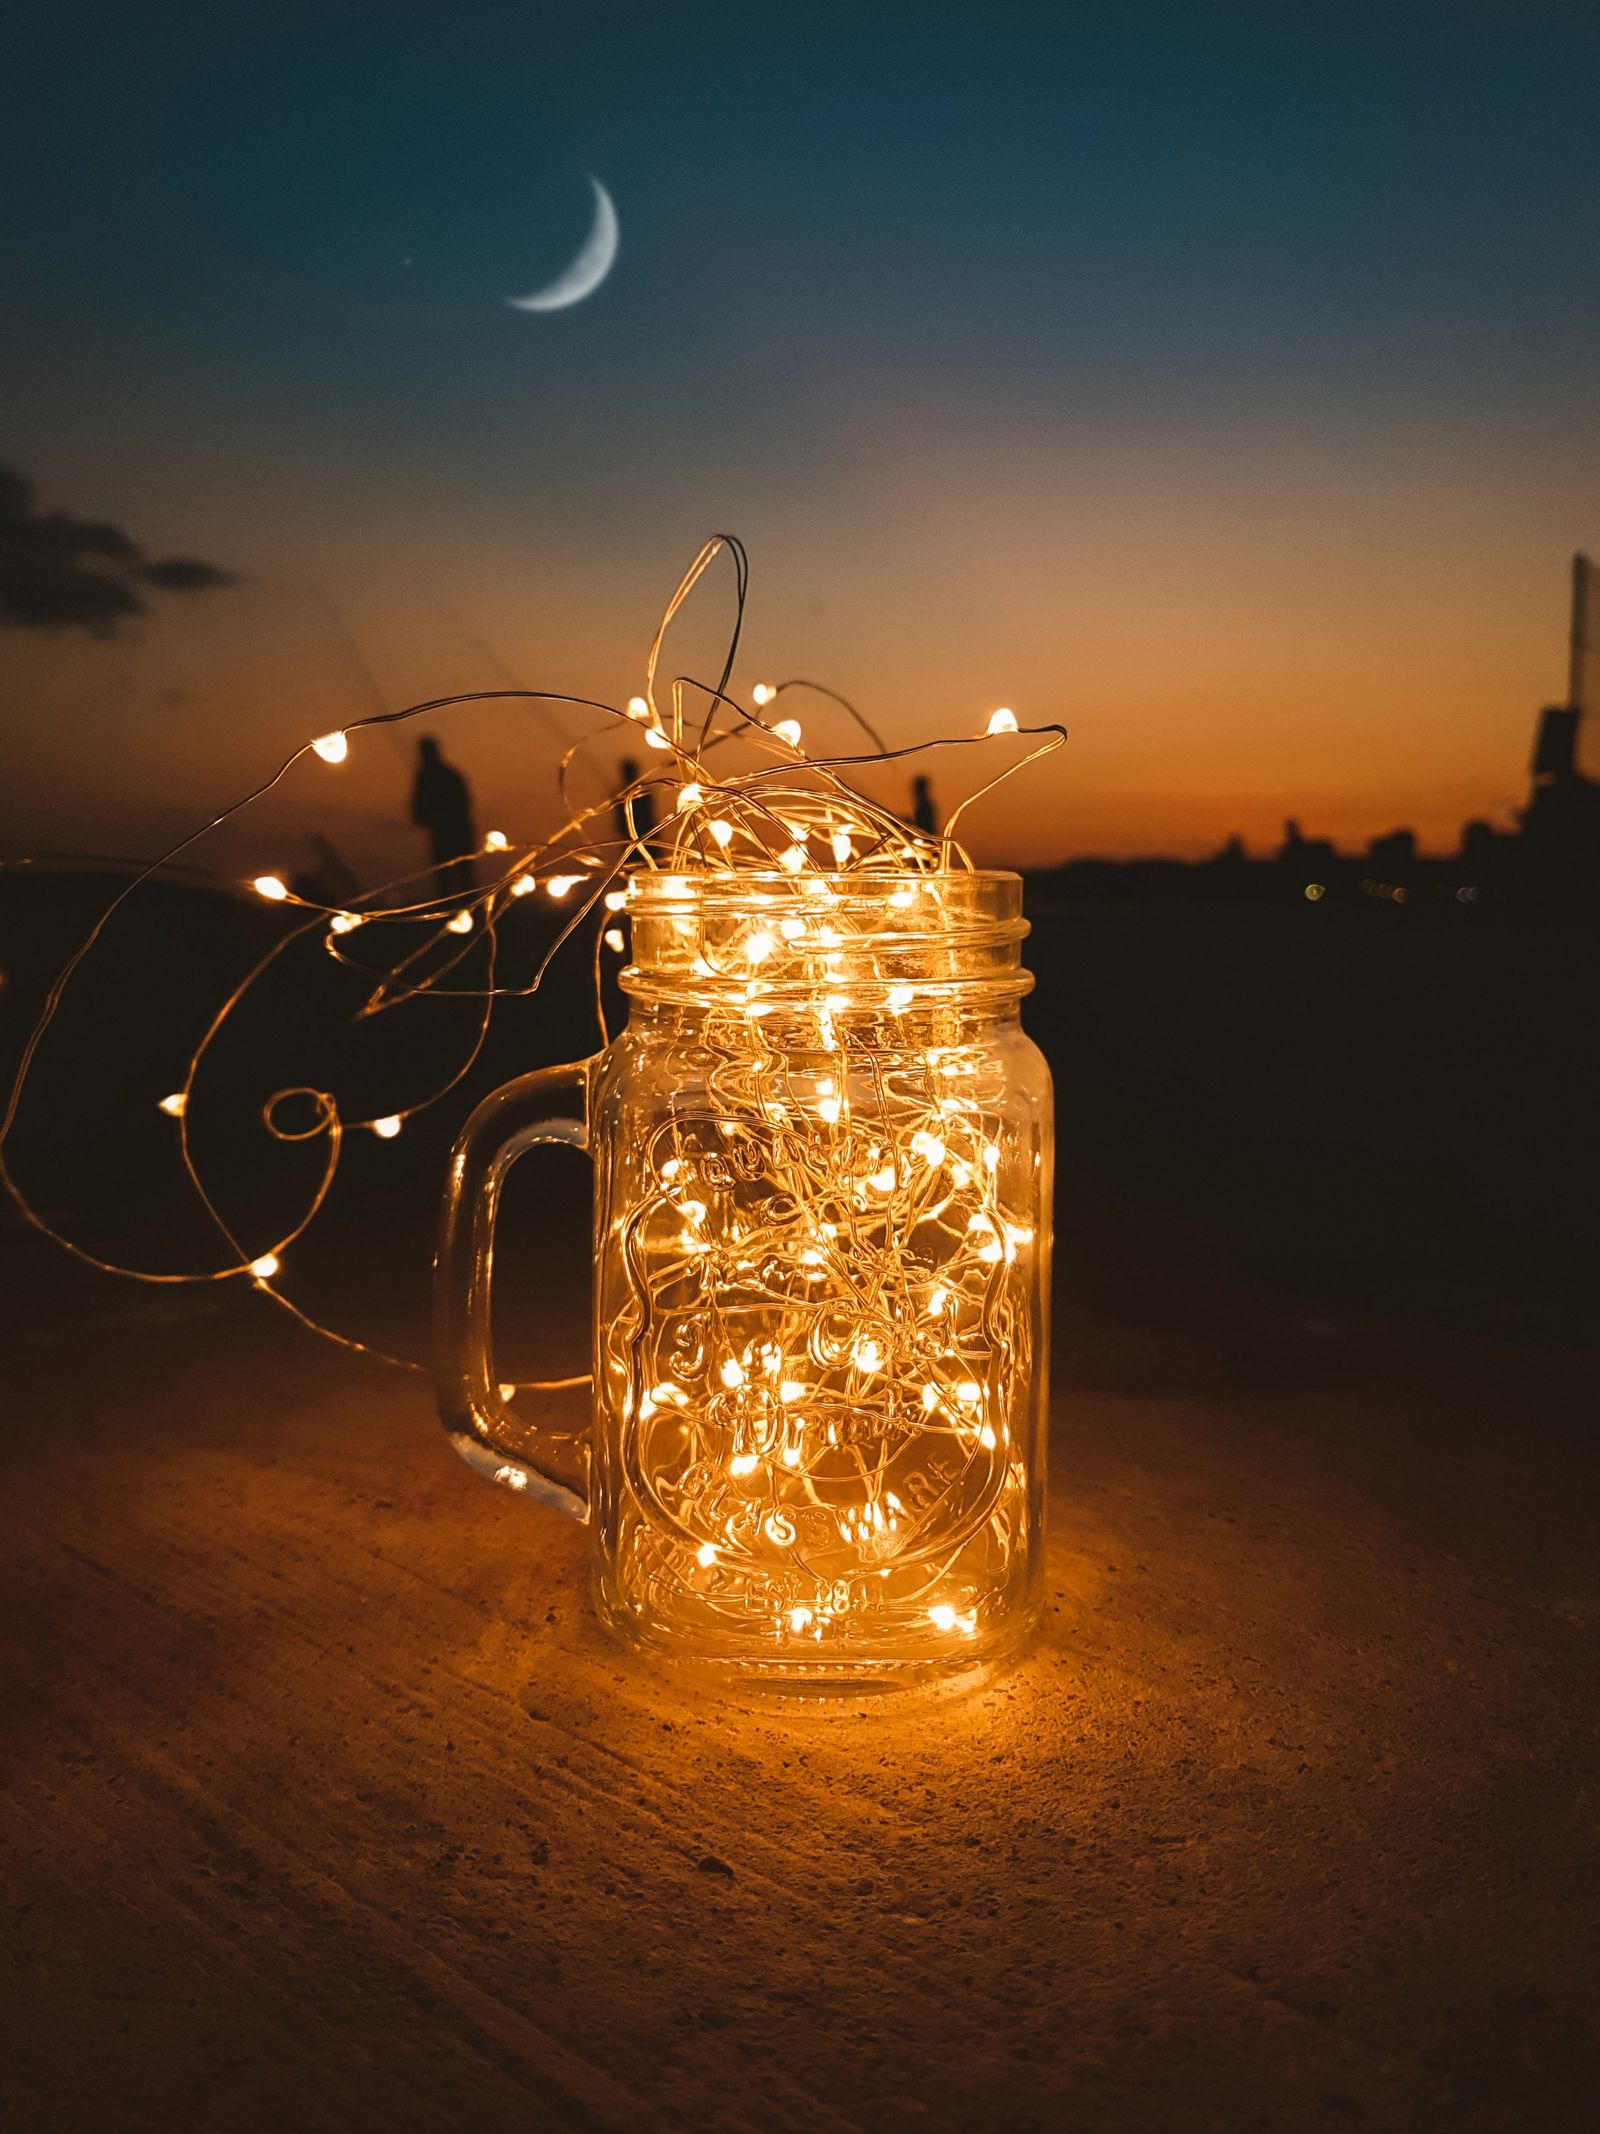
Stand or sit where you will normally enjoy the scene. Position the pale object slightly beside the light rather than hiding it directly behind. Keep the dark card visible as its own shape. A small triangle of distinct objects usually reads better than a row pressed against the glass.
Keep the candle and ornaments fully supported and separated from moving fabric. Leave enough access to inspect and switch off the unit. Do not tape the device to the window, wrap it in paper, or modify it to fit a lantern unless its instructions expressly permit the proposed use.
Try fewer objects if reflections make the window look crowded. Glass can show the room and display at the same time. A simple scene gives those reflections less detail to compete with.
Test the scene after sunset
Turn on the decorative unit while keeping the room’s normal lighting available. Check whether the scene is pleasant from the sofa and whether it creates distracting reflection on a screen. Adjust its position inside the chosen supported area.
Do not darken the room so far that walking, reading, or using the window becomes awkward. This light is a decorative accent, not a substitute for necessary room illumination. Our guide to a calm shared living room can help balance the display with the activities happening around it.

Keep batteries and remotes under adult control
Check the battery compartments in both the candle and remote. Use the specified batteries and retain any compartment fasteners. Keep devices, spare batteries, and remotes inaccessible to children and pets; flameless does not mean suitable for handling or play.
Remote controls may use a different battery type from the candle body. Check the delivered model before use. The CPSC button and coin battery guidance explains why secure compartments and inaccessible batteries matter.
If the timer is useful, set it according to the manual and confirm the first on-and-off cycle. Do not rely on a timer to make an unsuitable location acceptable. Inspect the display and switch it off when conditions or the product instructions call for it.
Use a different version when the window will not cooperate
Very shallow sill: Move the whole scene to an existing stable side surface. A window-adjacent corner can feel just as seasonal while keeping the window completely free.
Busy curtain area: Use a plain wall as the backdrop instead of the glass. Preserve the curtain’s usual movement and let the light reveal a pumpkin rather than trying to outline the entire window.
No extra surface: Swap a seasonal original illustration into an existing suitable frame and use normal room light. Our existing-furniture ideas for a small living room support changes that do not add a new footprint.
End each evening with a simple check
For example, a side table that also holds a reading drink may need two clearly separate areas. Keep the drink’s usual position available, and place the seasonal grouping where it will not be knocked while someone reaches for the lamp. If that separation is impossible, use the illustration-only version rather than moving the drink onto the floor.
In a bedroom, check the display from the bed before deciding on the timer. Decorative brightness that seems subtle from across the room may be distracting when you are trying to sleep. Choose a shorter evening period, switch the accent off at bedtime, or move the scene to a shared room. The setting should support the room’s real purpose, not create a month of negotiating around a light.
Make sure curtains have not shifted against the decoration, controls remain reachable, and all pieces stay within the chosen area. Switch off and care for the lighting as directed. If the scene needs constant correcting, reduce the number of objects or relocate it.
At the end of October, record the arrangement you liked and follow the light’s storage instructions, including battery removal where specified. Keep the everyday surface available for its normal purpose. The Small Space Living hub has more ideas for seasonal changes that fit around daily life.
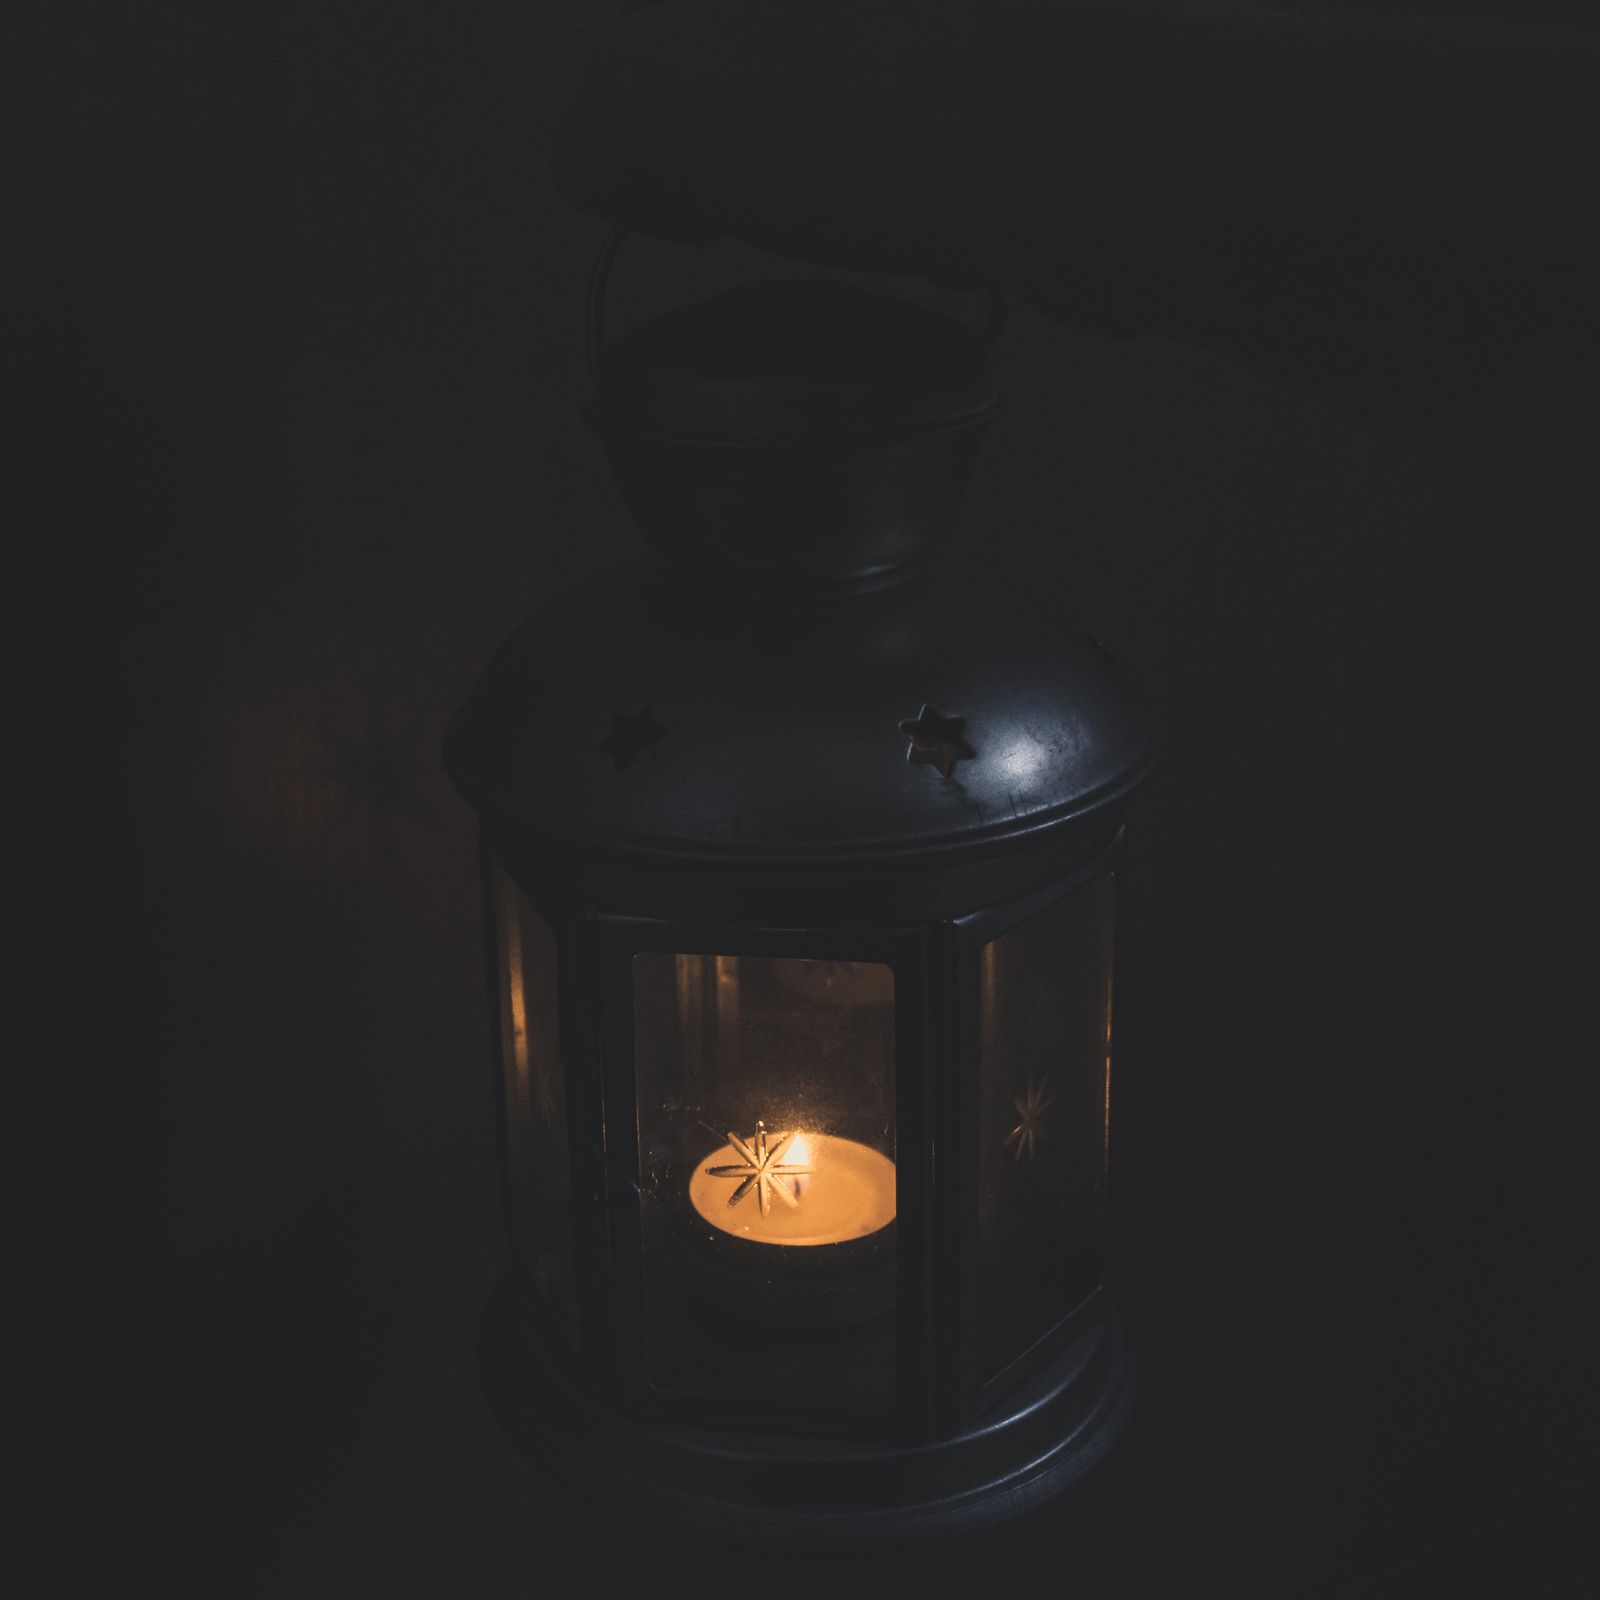
A small Halloween glow can be a pleasant evening ritual: one readable scene, a suitable light, and a room that still functions comfortably. The effect does not depend on filling the window or buying enough lights to decorate every corner. If you are working on the same space, Make a Temporary Halloween Family Photo Corner in a Small Living Room covers the next decision in more detail.
