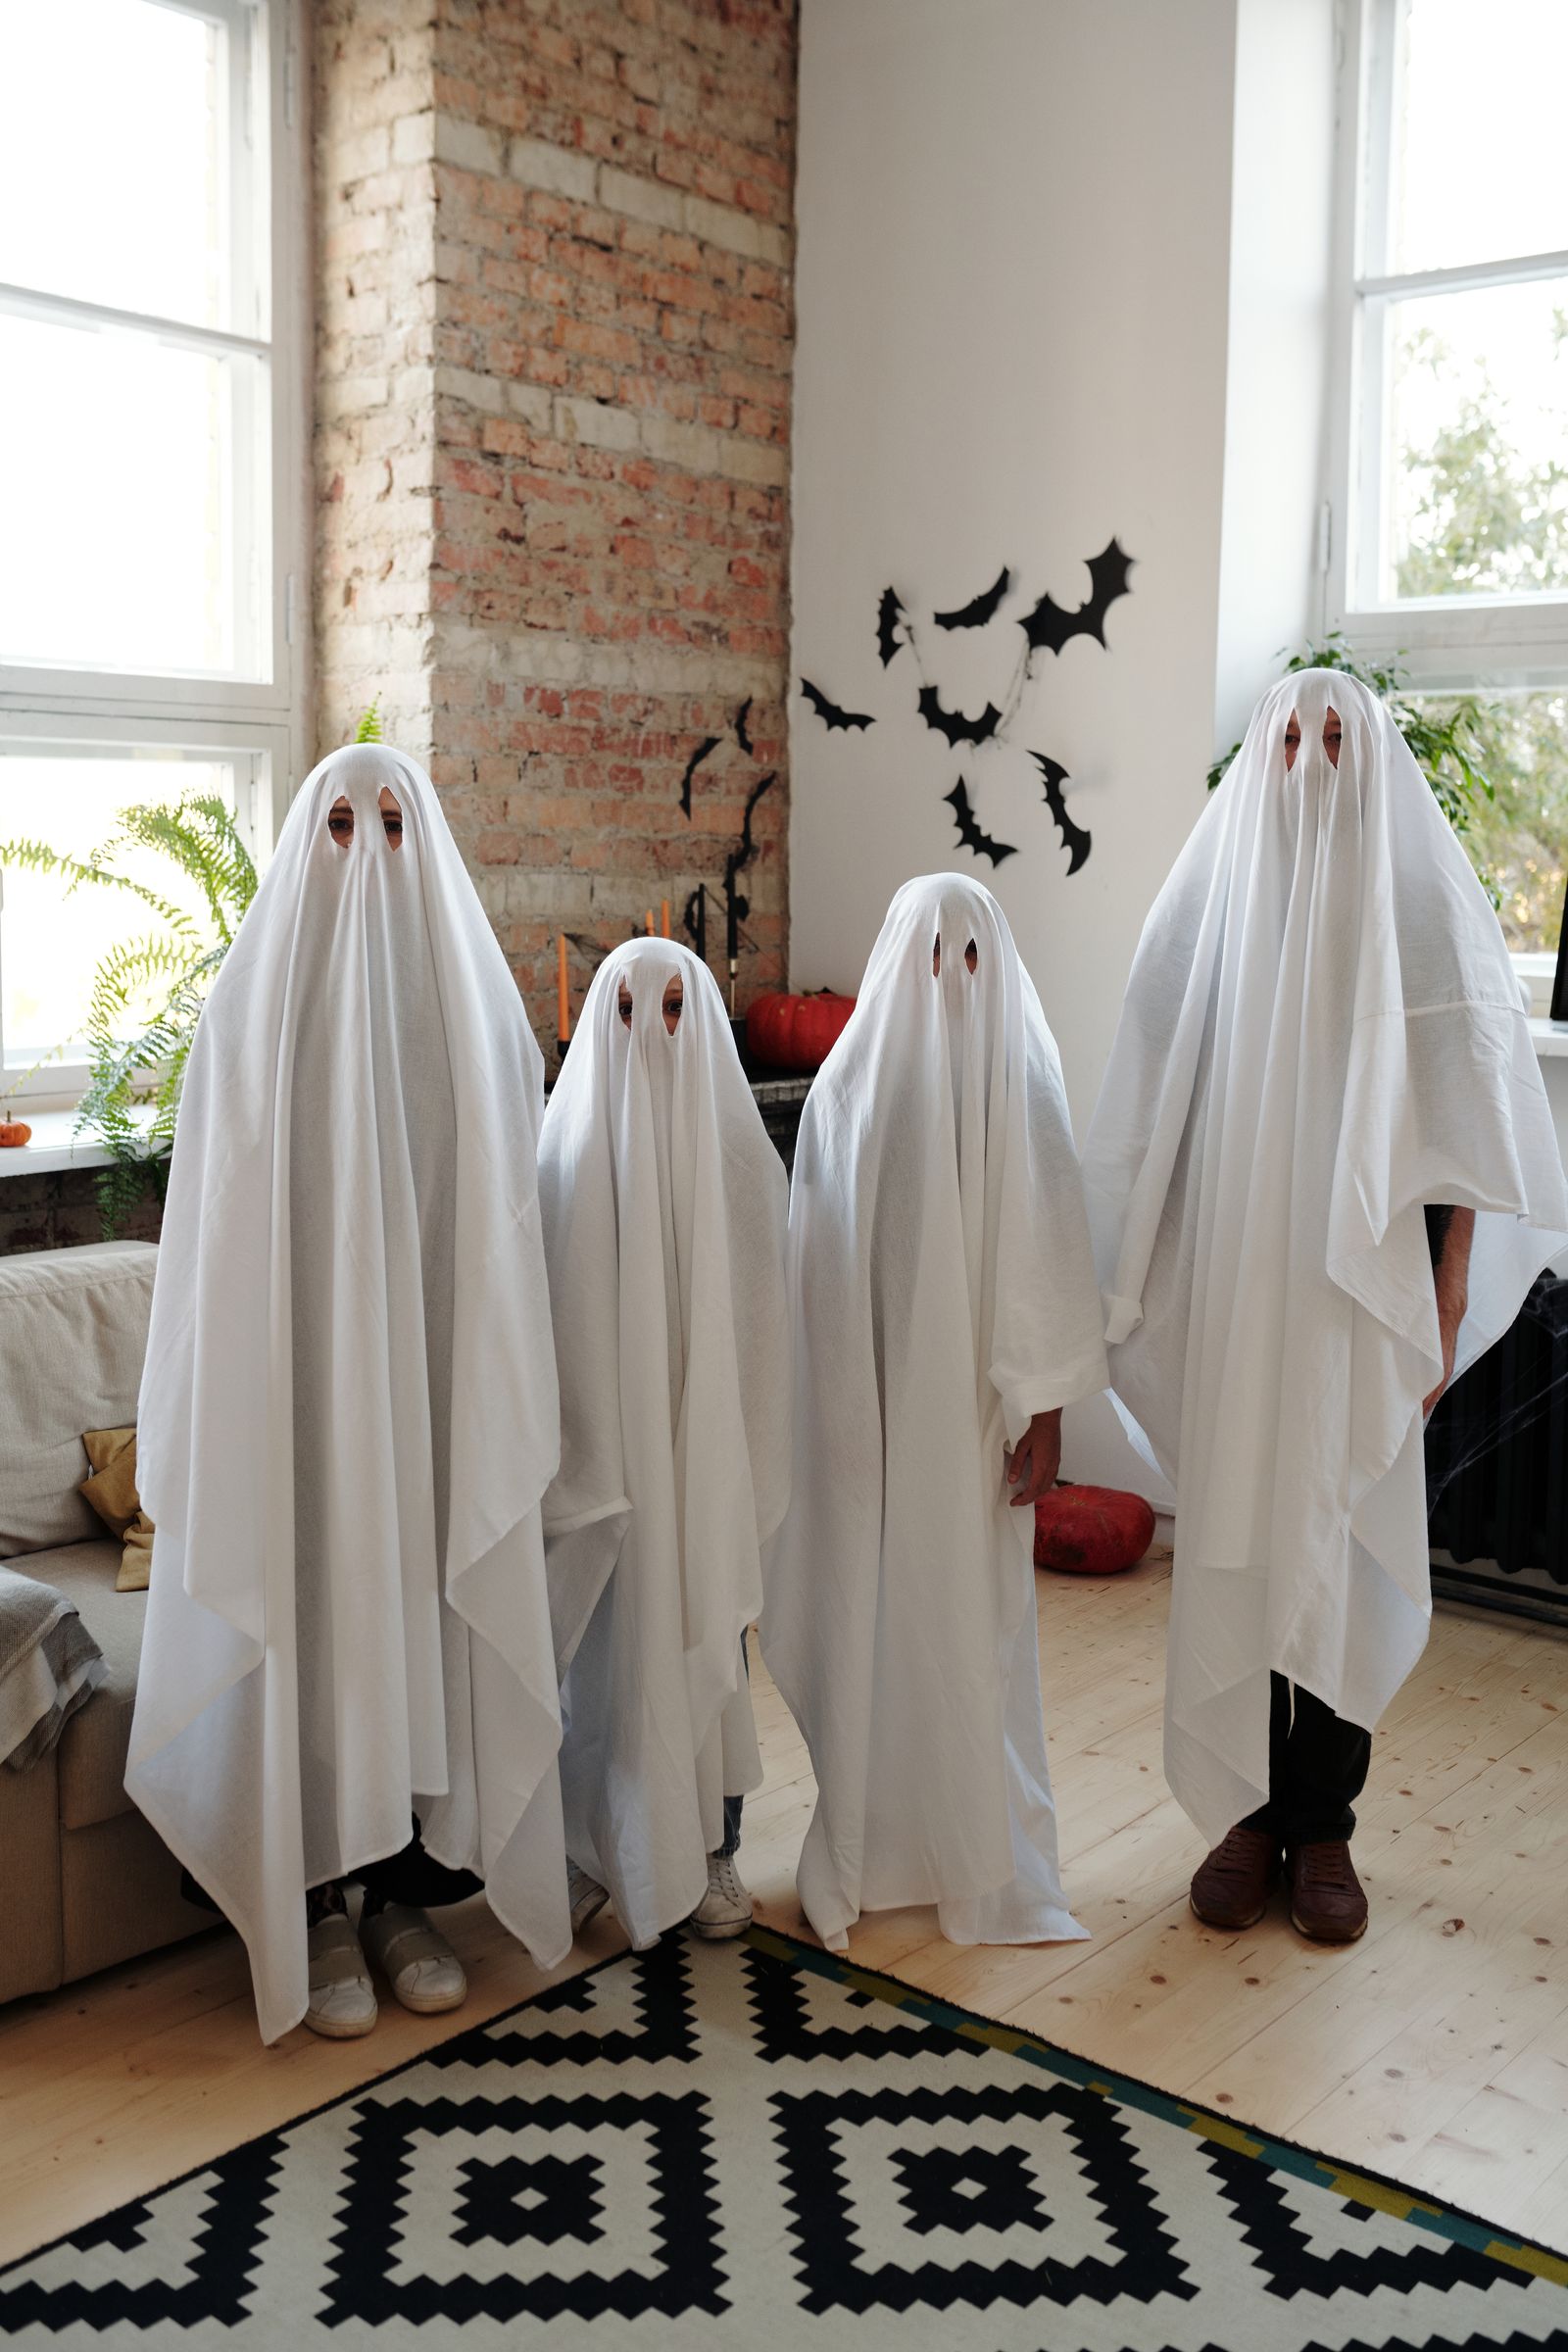
A Halloween photo corner gives a small family home one place to celebrate the season without decorating every room. A plain wall, a few large paper shapes, and a clear standing area can become a backdrop for personal pictures. When the photos are finished, the space can return to normal with a small amount of packing away. You may also find The One-Basket Toy Cleanup System for a Small Living Room useful for a closely related small-home problem.
This guide creates a temporary indoor photo area using an existing wall or suitable display surface. It focuses on the background and room layout rather than costumes, elaborate lighting equipment, or a purchased backdrop stand.
As an Amazon Associate, Small Home Rhythm earns from qualifying purchases.
Pick the frame of the picture before decorating the room
Use the phone’s ordinary camera to test a few places in the living room. Check the background from where the photographer can stand without blocking a doorway. A smaller plain section may work better than the largest wall if furniture, a television, or a window keeps appearing in the picture. For the broader setup, Family Movie Night in a Small Living Room: Seats, Shared Snacks, and the Finish is a useful next read.
Ask a willing household member to stand in the proposed spot, then check the image without taking a photo. You need enough room for the participants and a useful camera distance. Do not count floor space that normally serves as the main walking route. You may also find How to Create a Reading Corner in a Small Family Home Without Adding Another Room useful for a closely related small-home problem.
Our guide to arranging a small living room for family use helps keep that route clear. Move only manageable everyday items where appropriate, and avoid creating a temporary furniture pile elsewhere in the home.
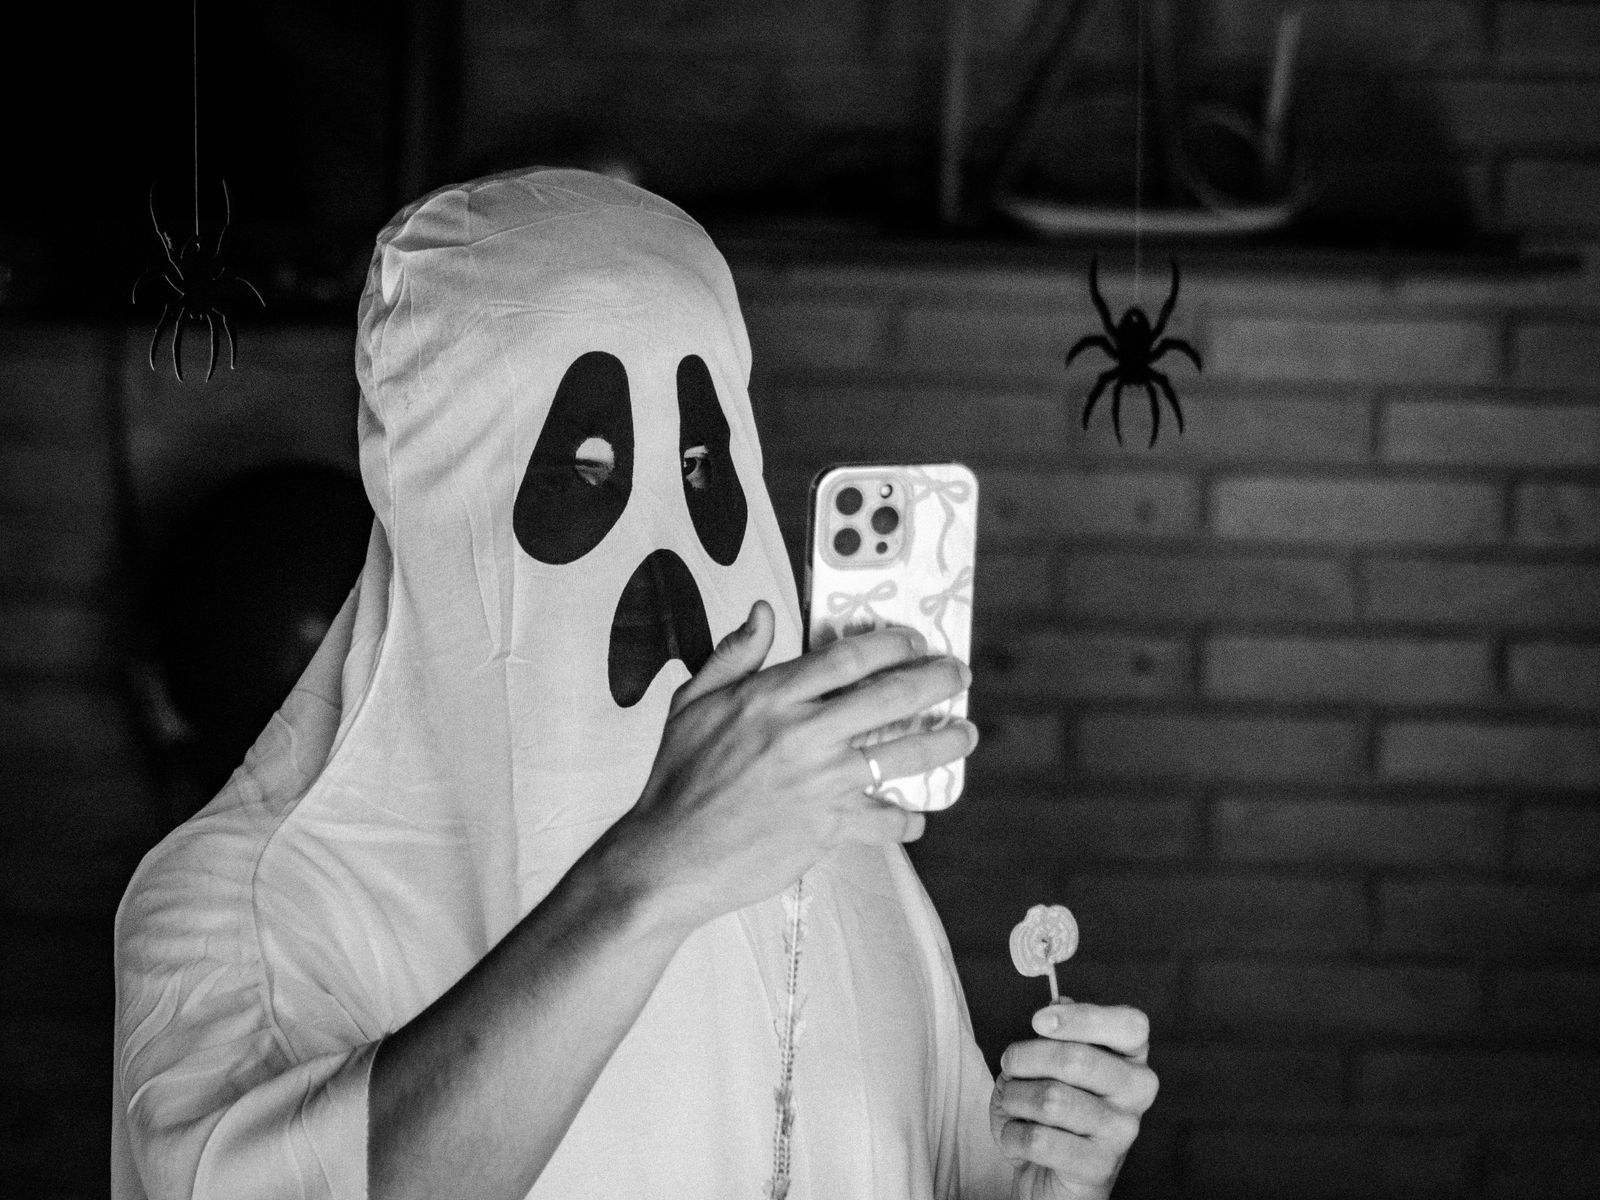
Choose a backdrop that is simple enough for faces
A large moon, a short bat flight, or three bold paper pumpkin shapes can make the theme obvious. Leave the central area relatively plain so the people remain the focus. Small repeated patterns may disappear or look busy in a phone photo.
Try one of these combinations: black bats on a pale wall; orange pumpkins beside a cream moon; or a cheerful ghost illustration above a simple hand-lettered Halloween greeting. Use your own drawings and lettering rather than copying licensed characters or another creator’s design.
Keep decorative lettering out of the main head area. A title near the side of the frame is easier to read and less likely to look as if it is growing out of someone’s hair. Test the arrangement in the camera before final mounting.
Use ready-made shapes only where they help
If you prefer not to cut silhouettes, the selected Coogam 60-piece Halloween bat set is an option for creating a dark side cluster. Check its sizes and delivered mounting instructions against your planned surface.
Use a small selection on one side of the background rather than covering the whole wall. The set’s larger quantity does not mean a small photo corner needs every piece. A few recognizable silhouettes can provide the theme while leaving room for the people.
If the proposed surface or adhesive is not compatible, put your paper design on a suitable supported display board or choose an existing decoration that needs no new mounting. We have not tested the bat set’s adhesion or removal in a home.
Keep the standing area free of props
Place the main decorative work behind or beside the participants. Avoid a floor arrangement of pumpkins, fabric, and cords that everyone must step around. A backdrop can be festive without turning the photo spot into an obstacle course.
If a child wants to hold something, choose a suitable age-appropriate object under adult supervision. A broad paper sign can be enough when the materials and handling suit the child. Keep loose small parts and mounting materials away from the activity.
Do not suspend heavy props over the photo area or attach decorations to unstable furniture. Preserve doors, windows, exits, and room controls. Our small-living-room playdate guide is useful when several families will use the same space.
Test the light with the backdrop in place
Use available room light or indirect daylight first. Position the photographer so the faces are visible and the wall is readable in the camera. If a bright window behind the group makes the people dark, try a different angle or another wall rather than buying a new light immediately.
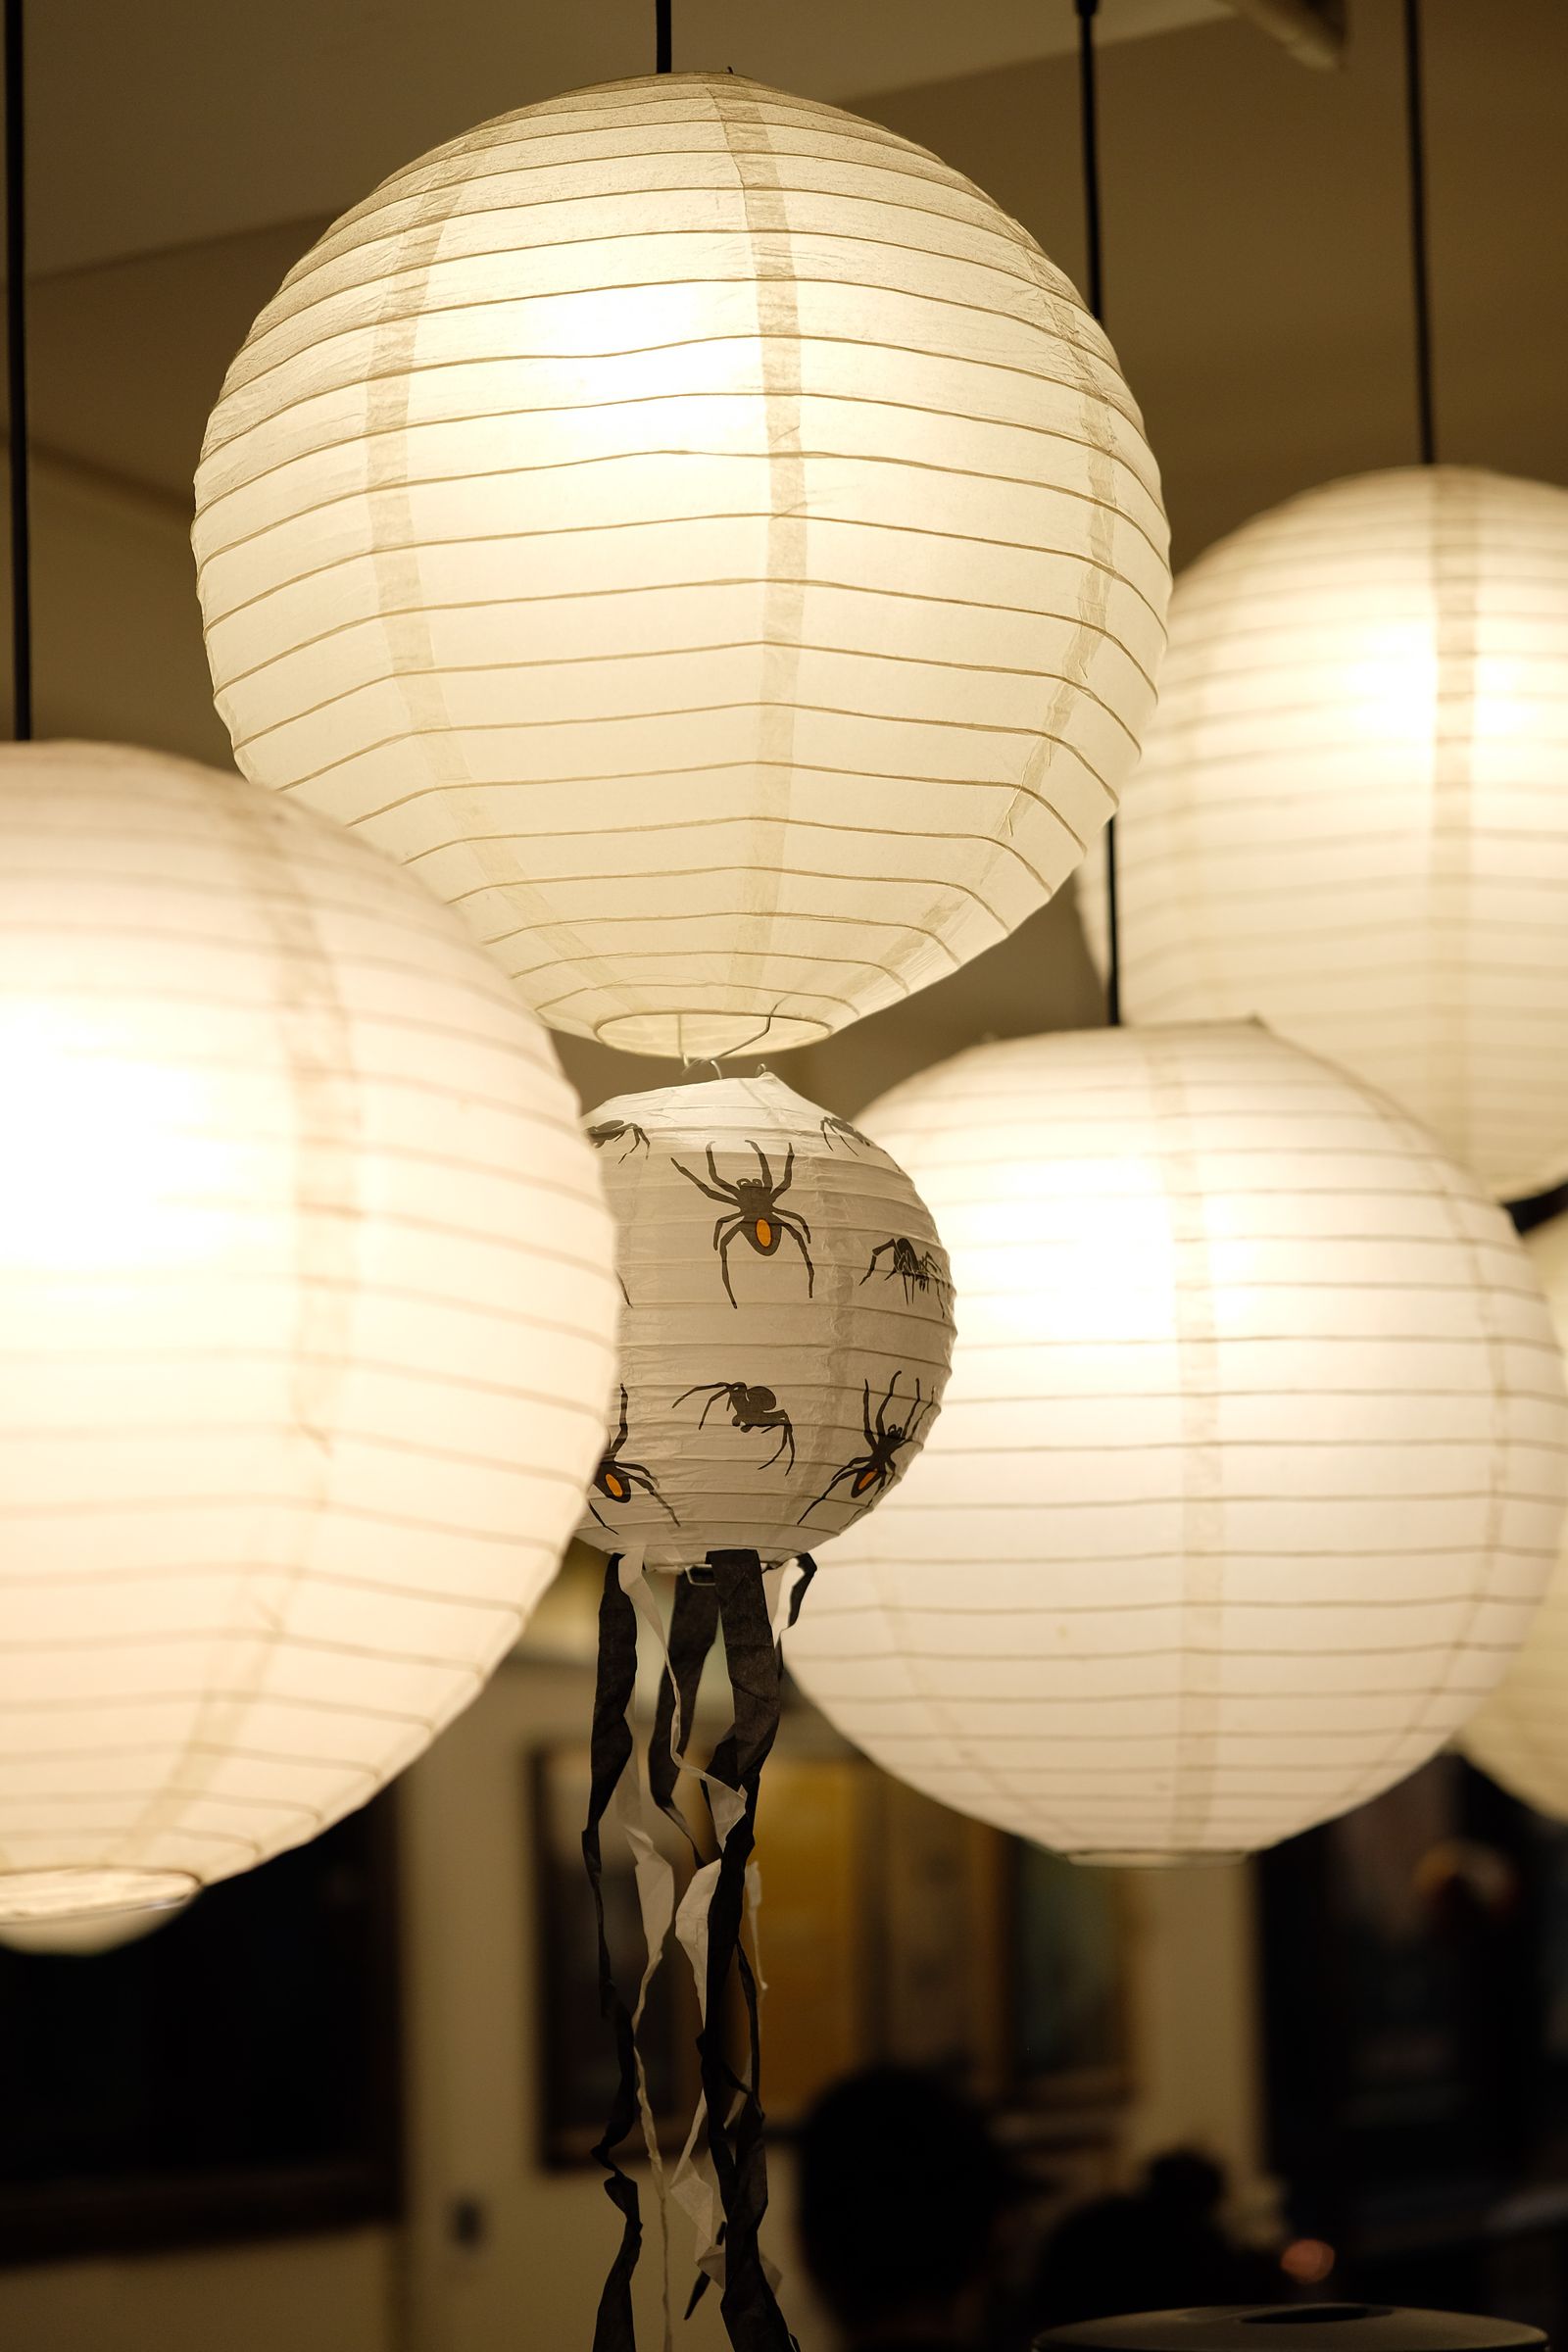
Keep necessary room lighting on so participants can move comfortably. Decorative lanterns or string lights may appear in the background only when their installation and operation suit the location. They are not a reason to darken the walking route.
Do not use a burning candle as a floor or handheld photo prop. The NFPA Halloween safety sheet recommends battery-operated light for jack-o’-lanterns and keeping decorations away from heat sources and exits.
Give the family a short, flexible photo routine
Take a simple group picture first if everyone wants to participate, then allow individual or sibling pictures. Keep the session short enough that it does not become the main event of the evening. Someone who prefers not to pose can help choose the background or simply enjoy it.
Check the frame for private details before taking or sharing pictures: family paperwork, a visible address, school information, or a screen in the background. Sharing is a separate choice from taking a personal photograph. Ask the people involved and respect household preferences.
Keep costumes outside the scope of the backdrop plan. Participants should be able to see and move comfortably in whatever suitable clothing they choose. Stock photographs illustrating Halloween poses do not establish that a pictured costume is appropriate for your household.
Let children contribute one decorative choice
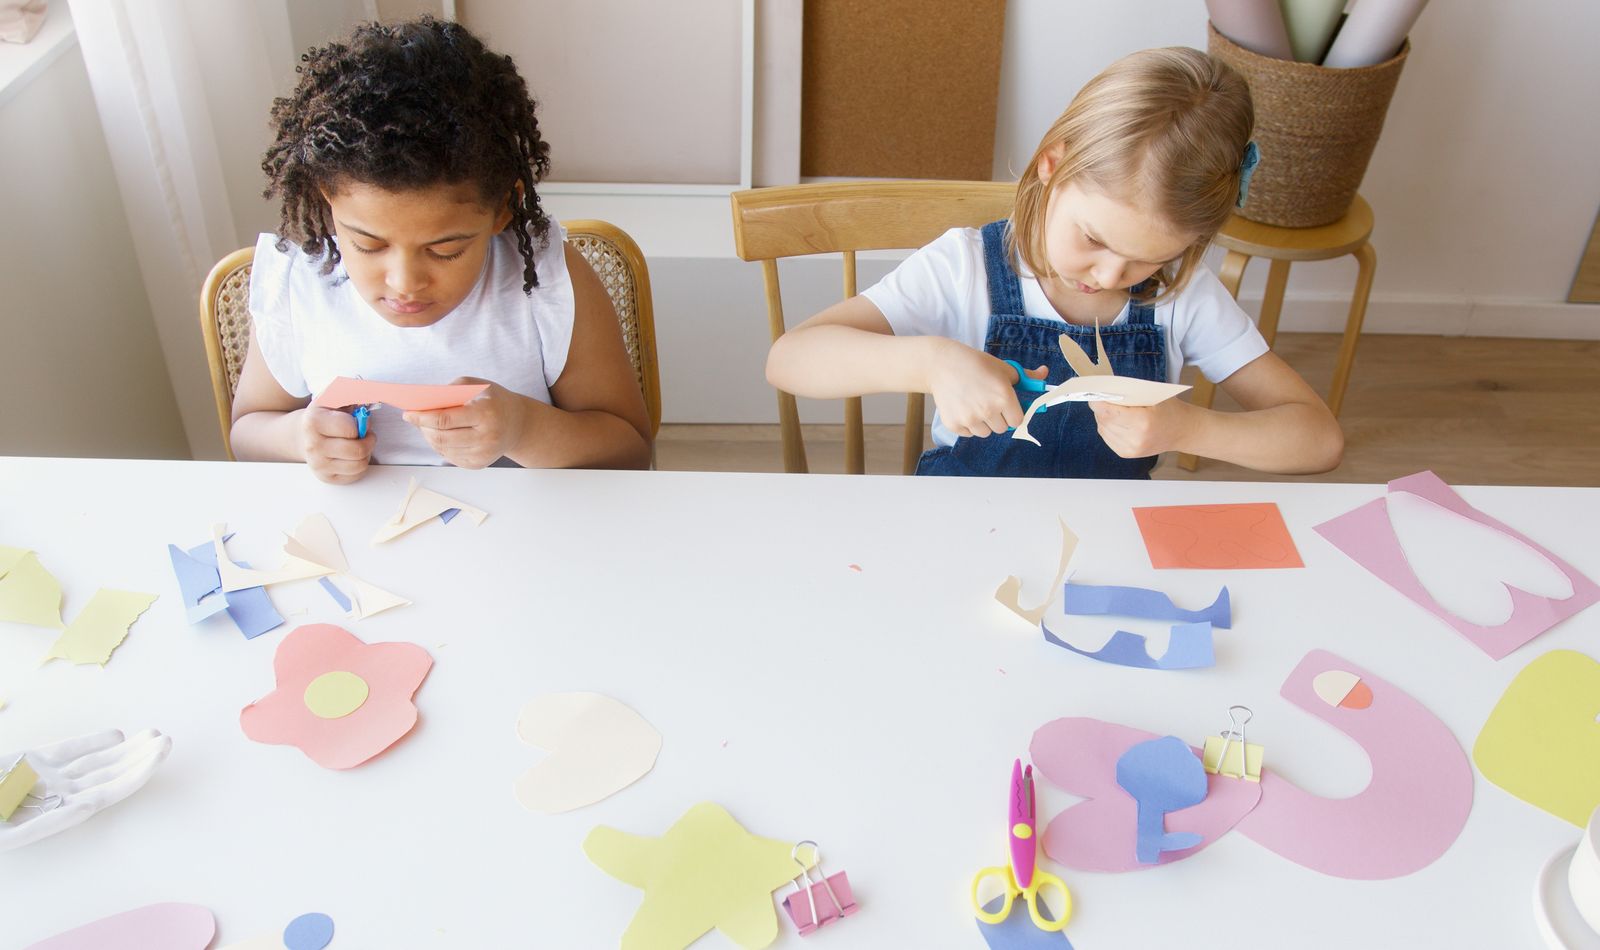
Children can help choose between two background colors, draw pumpkin expressions on suitable prepared shapes, or decide which short greeting the adult will write. Limit the choices so the project stays manageable and the camera frame remains clear.
Keep the making at a table suited to the activity and the mounting adult-managed. Our kids’ art-supply guide helps return materials to their usual storage after the backdrop is prepared.
Try two simple compositions before adding more props
For an individual portrait, group a few bats above one shoulder and leave the other side of the wall open. The subject remains the focus, while the silhouettes make the seasonal theme easy to recognize. Take a test picture with an adult before deciding whether anything needs to move.
For a group picture, spread the same shapes across a wider area above the standing positions. Keep the center relatively simple so faces do not compete with a crowded pattern. Ask the people who will participate to stand comfortably together; the width that works for one person may leave the outer family members outside the decorated portion.
Compare the two pictures on the phone. If the backdrop looks cluttered, remove a shape before buying another prop. If the theme disappears, move the existing shapes closer to the visible part of the frame. A small rearrangement can solve a composition problem without extending the installation into everyday seating or storage.
Make the corner work between pictures
If the family will use it throughout October, keep the decorative portion contained on its suitable support and leave the floor ordinary. Bring out any approved handheld item only for the session, then return it to adult-controlled storage.
If the corner is for one evening, plan its removal before guests arrive. A short arrangement that can come down after the final picture may fit the household better than a month-long installation. The Family Home hub offers ways to balance shared activities with the room’s daily use.
Save the scene without keeping a room full of party supplies
Photograph the empty backdrop as a reference, then remove pieces with their specified mounting procedure. Keep the useful templates and selected reusable shapes together. Discard damaged or unsuitable pieces rather than packing them simply because they were part of the first design.
Return the furniture and room to their normal layout. Our multipurpose-room reset guide helps finish that handoff. The photo corner should leave the family with a memory and a clear living space.

A good Halloween backdrop is recognizable in the picture and easy to live around. One clear theme, a comfortable place to stand, and a family that can choose how to participate are enough to make the small corner feel special.
Use the living-room guides to plan the return to comfortable everyday seating after the photo session.