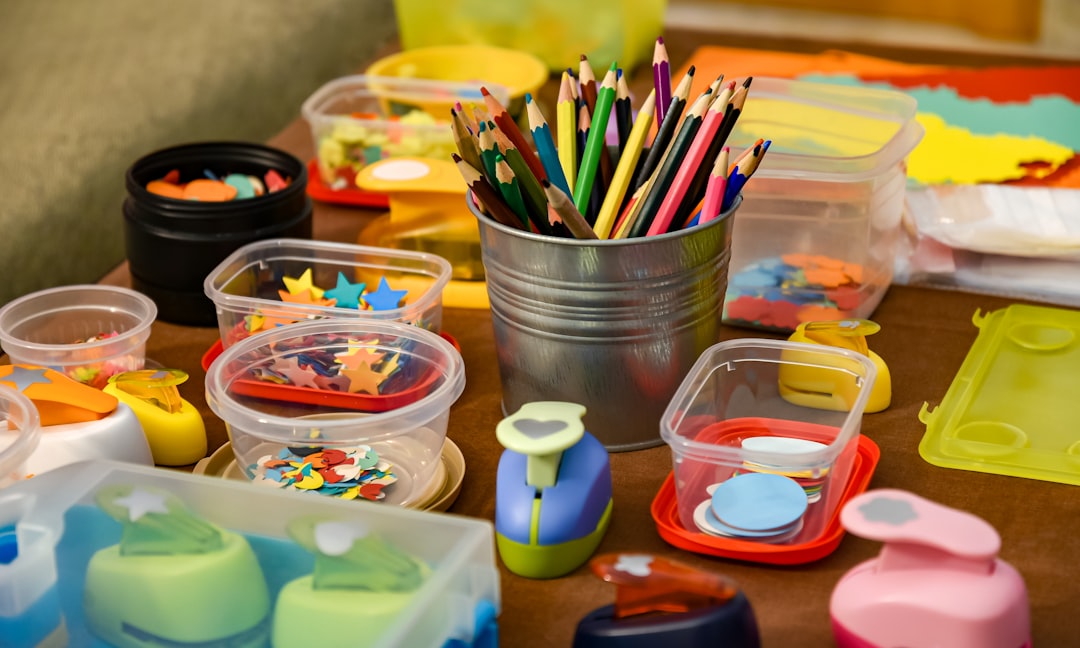
Kids’ art supplies are small, colorful, and easy to buy. That combination is why they spread so fast.
A few crayons become three boxes. Stickers hide in drawers. Paper gets saved “for projects.” Half-finished crafts live on the dining table because nobody knows whether they are done. You may also find How to Divide a Shared Kids’ Bedroom Into Sleep, Dress, and Play Zones useful for a closely related small-home problem.
A small home needs an art system built around making, cleaning up, and deciding what happens to finished work.
Create one active-art caddy
Put the supplies children use most often into one portable container:
- crayons or colored pencils,
- markers,
- glue stick,
- child-safe scissors where appropriate,
- a small amount of drawing paper.
The active caddy should be easy to bring to the table and easy to put away in one trip.
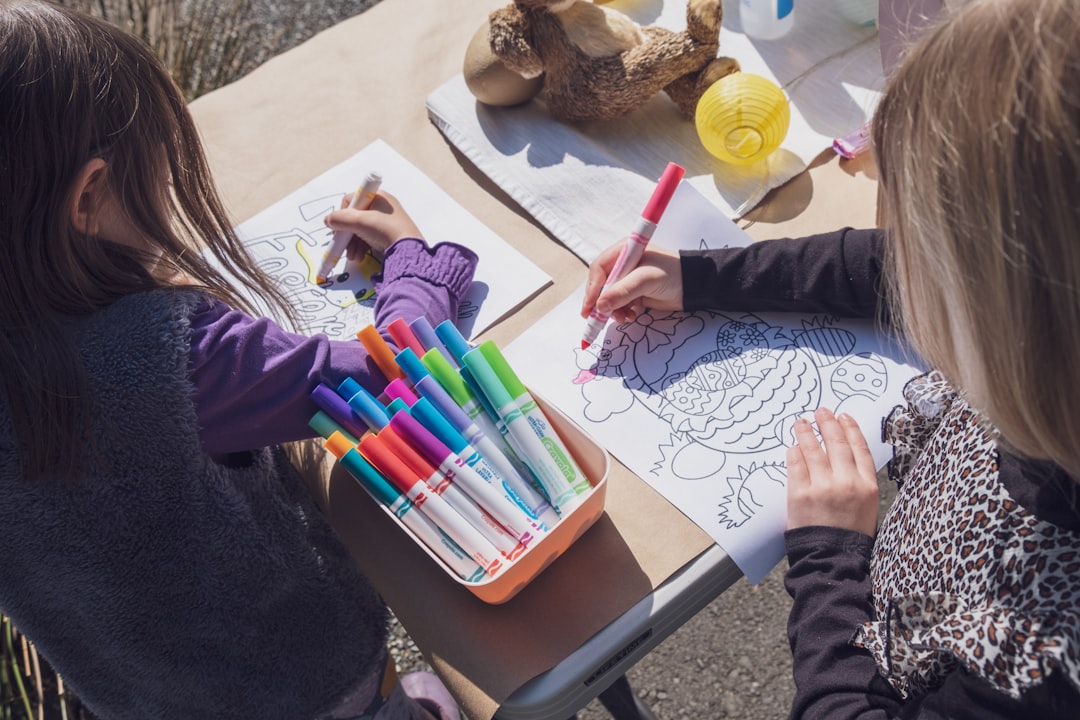
Keep backup supplies out of the active caddy
Extra markers, unopened glue, bulk paper, and specialty materials can live in adult-managed storage. Children do not need every backup available during every art session.
Give paper one real boundary
Paper is often the category that takes over. Use one tray, magazine file, drawer, or shelf for blank paper and one separate place for special paper. If you are working on the same space, How to Organize a Small Kids’ Closet That Has to Hold Clothes, Shoes, and Gear covers the next decision in more detail.
When the paper zone is full, use what you have before adding more.
Separate “art supplies” from “craft project materials”
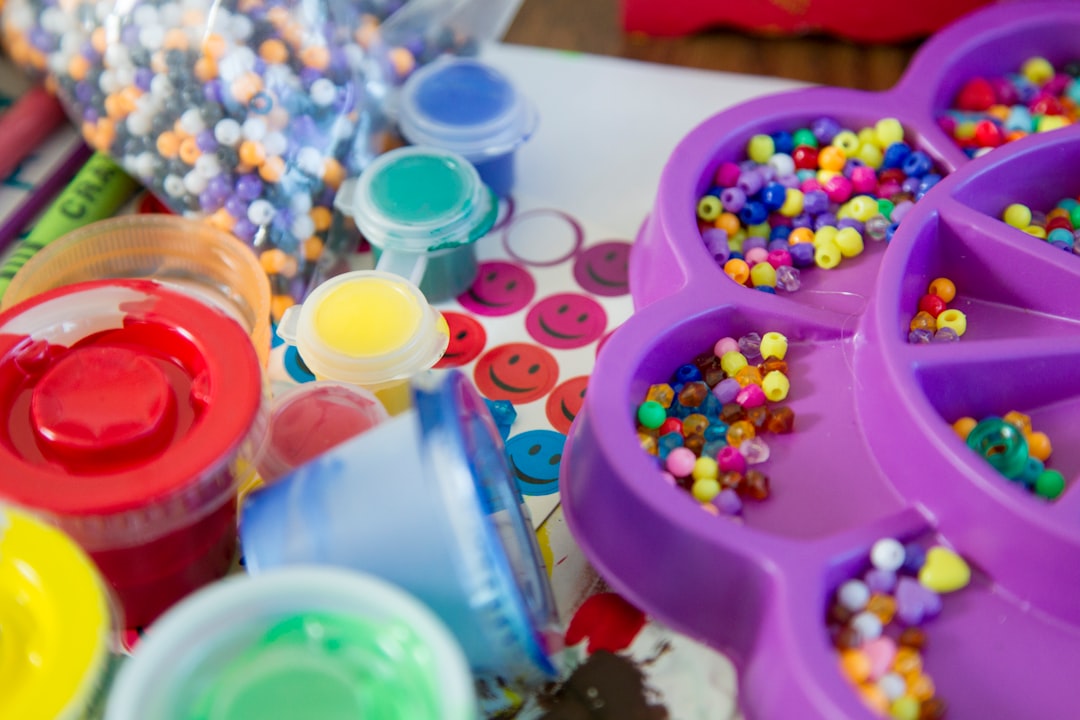
Paint, beads, pom-poms, clay, cardboard, and specialty kits do not need to be mixed with everyday crayons and pencils.
Keep messy or adult-supervised materials in a separate higher-control zone.
Limit works in progress
Give each child one flat tray, shelf, or portfolio-sized space for unfinished work. If it is full, an old project has to be finished, recycled, photographed, or moved to completed-art storage.
Make cleanup part of the art session
Do not treat cleanup as a separate chore that happens hours later. The art session ends when:
- caps are back on markers,
- tools return to the caddy,
- scraps go to trash/recycling as appropriate,
- unfinished work moves to its tray,
- the table returns to household use.
Use broad categories children can maintain
“Drawing tools,” “paper,” and “special crafts” are often more sustainable than ten tiny labeled bins. The system should make sense without an adult standing there.
What to do with finished artwork
Display a rotating small selection. Keep a limited portfolio or memory box for favorites. Photograph pieces you want to remember without storing physically. Recycle or discard the rest appropriately. For a related step-by-step approach, see How to Keep a Shared Kids’ Bedroom Tidy When the Kids Have Different Habits.
The goal is to celebrate the art without storing every sheet forever.
Keep art away from the toy system if it behaves differently
Art supplies often need table access and cleanup rules, while toys may be used on the floor. They can live in the same room without sharing the same bins.
The five-minute weekly art reset
- test or remove dried-out markers,
- return loose tools,
- flatten the paper zone,
- review unfinished projects,
- rotate displayed artwork,
- restock the active caddy from backup supplies only if needed.
Pair art with the larger toy system
If craft supplies are one of many play categories, see A Toy Rotation System for Small Homes That Parents Can Actually Maintain.
Frequently asked questions
Where should kids’ art supplies live?
Near the table or surface where art usually happens, in one portable caddy plus a separate backup/specialty zone.
How much paper should I keep?
Use one physical boundary and restock when it is genuinely low rather than keeping large loose stacks everywhere.
How do I decide which artwork to save?
Keep a small representative selection, rotate displays, and use photos for additional memories if that works for your family. For a related step-by-step approach, see How to Keep a Small Shower or Tub Clean Between Deep Cleans.
The best art storage helps creativity start—and stop
Children should be able to begin a project without asking where everything is and finish without leaving the entire dining table occupied. One active caddy, one paper zone, one project limit, and one cleanup routine are enough.
