Halloween window clings can create a dramatic scene in an apartment without taking up a shelf or table. The glass becomes the backdrop, and the room keeps its floor space. The useful version starts with suitable clean glass, a planned arrangement, and a removal method you understand before the first shape goes up. For the broader setup, Clean Apartment Window Screens: Identify the Assembly Before Planning the Wash is a useful next read.
This project makes one indoor witch-and-bat scene while keeping the window’s normal functions available. It includes the small cleaning tasks that make the display easier to install and take down, without turning October decorating into a whole-home deep clean. If you are working on the same space, A Halloween Dining-Table Centerpiece That Is Easy to Clear and Clean covers the next decision in more detail.
As an Amazon Associate, Small Home Rhythm earns from qualifying purchases.
Check the surface before buying a cling set
Window decorations sold as clings, stickers, vinyl decals, and posters can use different mounting methods. Read the selected product’s instructions rather than treating those names as equivalent. A static cling made without glue is a different project from an adhesive decal.
Check your window information too. Film, coatings, textured glass, painted frames, and ordinary smooth glass can require different care. If the surface is uncertain, ask the window or film supplier about the proposed decoration and cleaning method. Do not test a product across the whole window to find out whether it is compatible.
Choose a pane that can be decorated from a normal safe position indoors. Preserve access to locks, handles, ventilation, and any required emergency opening. The scene should not interfere with an exit or obscure information that needs to remain visible.
Clean only the area the scene needs
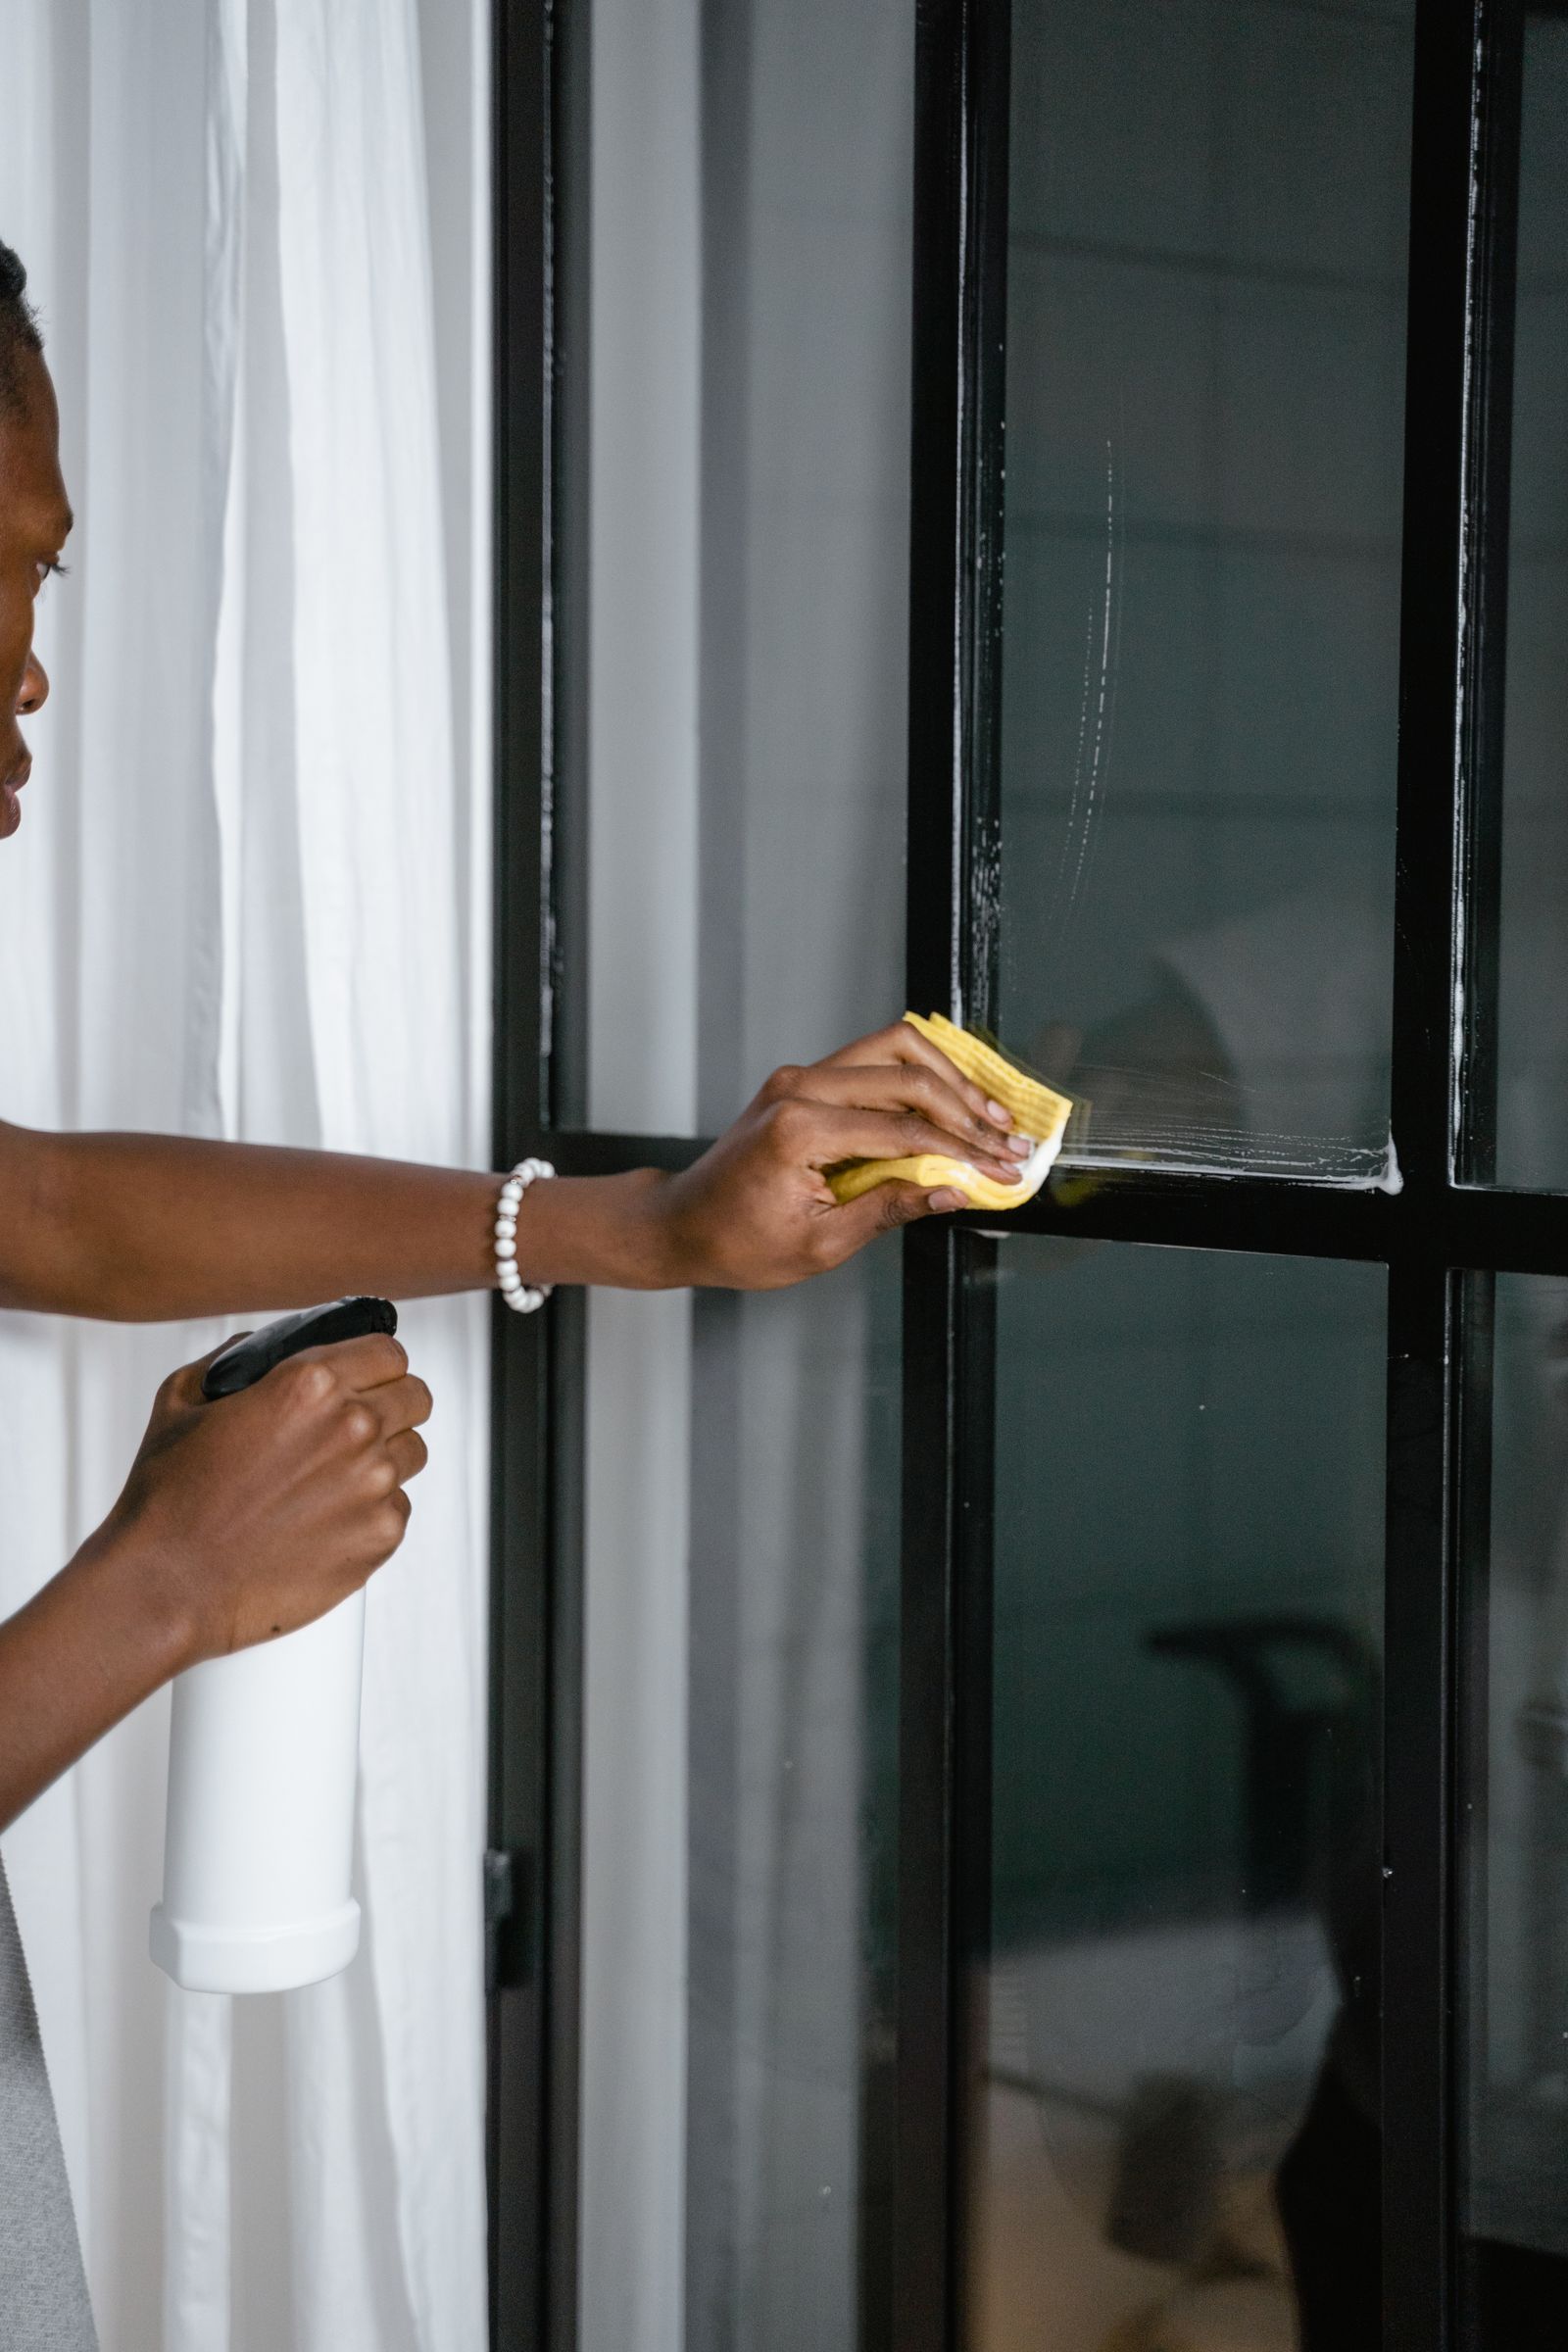
Remove loose dust first using the window’s permitted method. Then clean the selected glass with a suitable cleaner and cloth, following both the surface and cleaner instructions. Keep liquid controlled near frame joints, electrical items, and the sill.
If the sill or track is dirty enough to transfer debris back onto the glass, handle that separately. Our guide to cleaning window tracks and sills explains how to keep that task contained. Avoid spreading track grit through the glass-cleaning cloth.
Inspect the cleaned pane in daylight before installing anything. Residue, grease, or small fibers become distracting behind a silhouette. A clean patch of glass is more valuable than an extra spider added to cover a streak.
Keep the cloths used on the glass separate from those used for a dusty track. Our clean and dirty cleaning-cloth system helps maintain that separation in a small home. Put the cleaning materials away before laying out the decorations.
Sketch the arrangement on paper
Draw a simple rectangle representing the pane and mark any bars or divisions. Place the largest Halloween figure off center, then add a short flight of smaller bats. Leave a clear patch of glass so the scene can breathe and the room still receives useful daylight.
Do not fill every corner just because the pack contains many pieces. One witch, a few bats, and one web can be more readable than an evenly scattered collection. The largest shape establishes the story; the small shapes should lead the eye toward it.
Look at the sketch from farther away. A complicated sequence that looks charming at the kitchen table may become a dark muddle from the street or opposite side of the room. Remove details until the main silhouette remains recognizable.
Choose the set by the actual contents and instructions
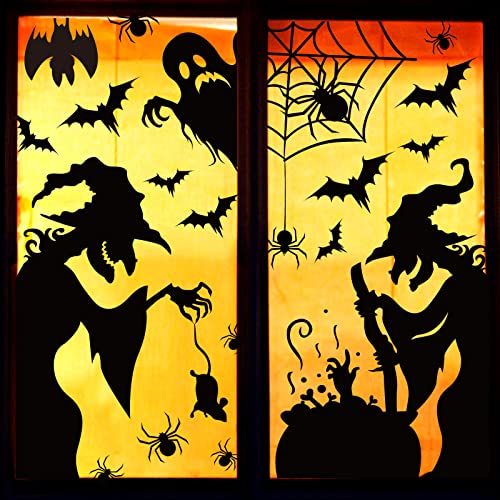
For a purchased option, the selected Pseutio witch silhouette window cling set listing describes a glue-free design and double-sided patterns. It directs users to apply a little water to the window. Follow the instructions supplied with the delivered set rather than using a blanket “always dry” rule for every cling.
The listing contains conflicting piece-count information between its bullets and specification table. Verify the current selected pack with the seller if quantity matters. Sheet dimensions are also not the same as the size of an individual witch or web, so check the main shapes against your pane before purchase.
This is a research-based product suggestion, not a test of adhesion, removal, or reuse. If your window finish or tenancy rules make the application uncertain, use a freestanding paper scene elsewhere rather than assuming that glue-free means suitable for every surface.
Install the large shapes first
Lay the pieces on their backing sheets in the order you plan to use them. Apply the main figure according to the product instructions. Pause to check its orientation from indoors and, where safely accessible, from outside. Remember that lettering and asymmetrical shapes may read differently from the other side.
Add the bats in a short arc instead of a rigid grid. Keep their direction consistent enough to suggest movement. A few smaller shapes near the upper end can make the scene feel wider without covering more of the central view.
Stop before adding webs if the scene is already readable. If a web helps, use one near a corner of the decorated pane. Keep it off window controls and do not bridge separate moving parts with a decoration.
Keep daylight and curtains part of the design
Open and close the curtains or blinds normally. The decorations should not catch on fabric, rub against a moving mechanism, or make the window harder to operate. If the curtain hides the whole scene, decorate the portion usually visible rather than forcing a new daily routine around it.
In a small room, a clear view out can matter more than a full-window Halloween treatment. Try using the upper corner or a narrow side area. The Small Space Living hub offers other ways to add interest without occupying useful surfaces.
Check the scene after dark using the room lighting you normally keep on. Visibility will depend on the glass, background, reflections, and ambient light. Do not promise a street-visible silhouette from a dim lamp or leave lighting running solely because a product photo shows a dramatic effect.
Handle a lifting edge without adding a new adhesive
If a piece starts to lift, inspect the window and decoration using their permitted care methods. Dust, moisture, or an unsuitable surface may be involved, but appearance alone does not establish the cause. Reapply only as the supplied instructions allow.
Avoid reinforcing a glue-free cling with tape or glue to force it to stay. That changes the mounting and removal problem. Reduce the scene, move it to a confirmed compatible pane, or take down the troublesome piece.
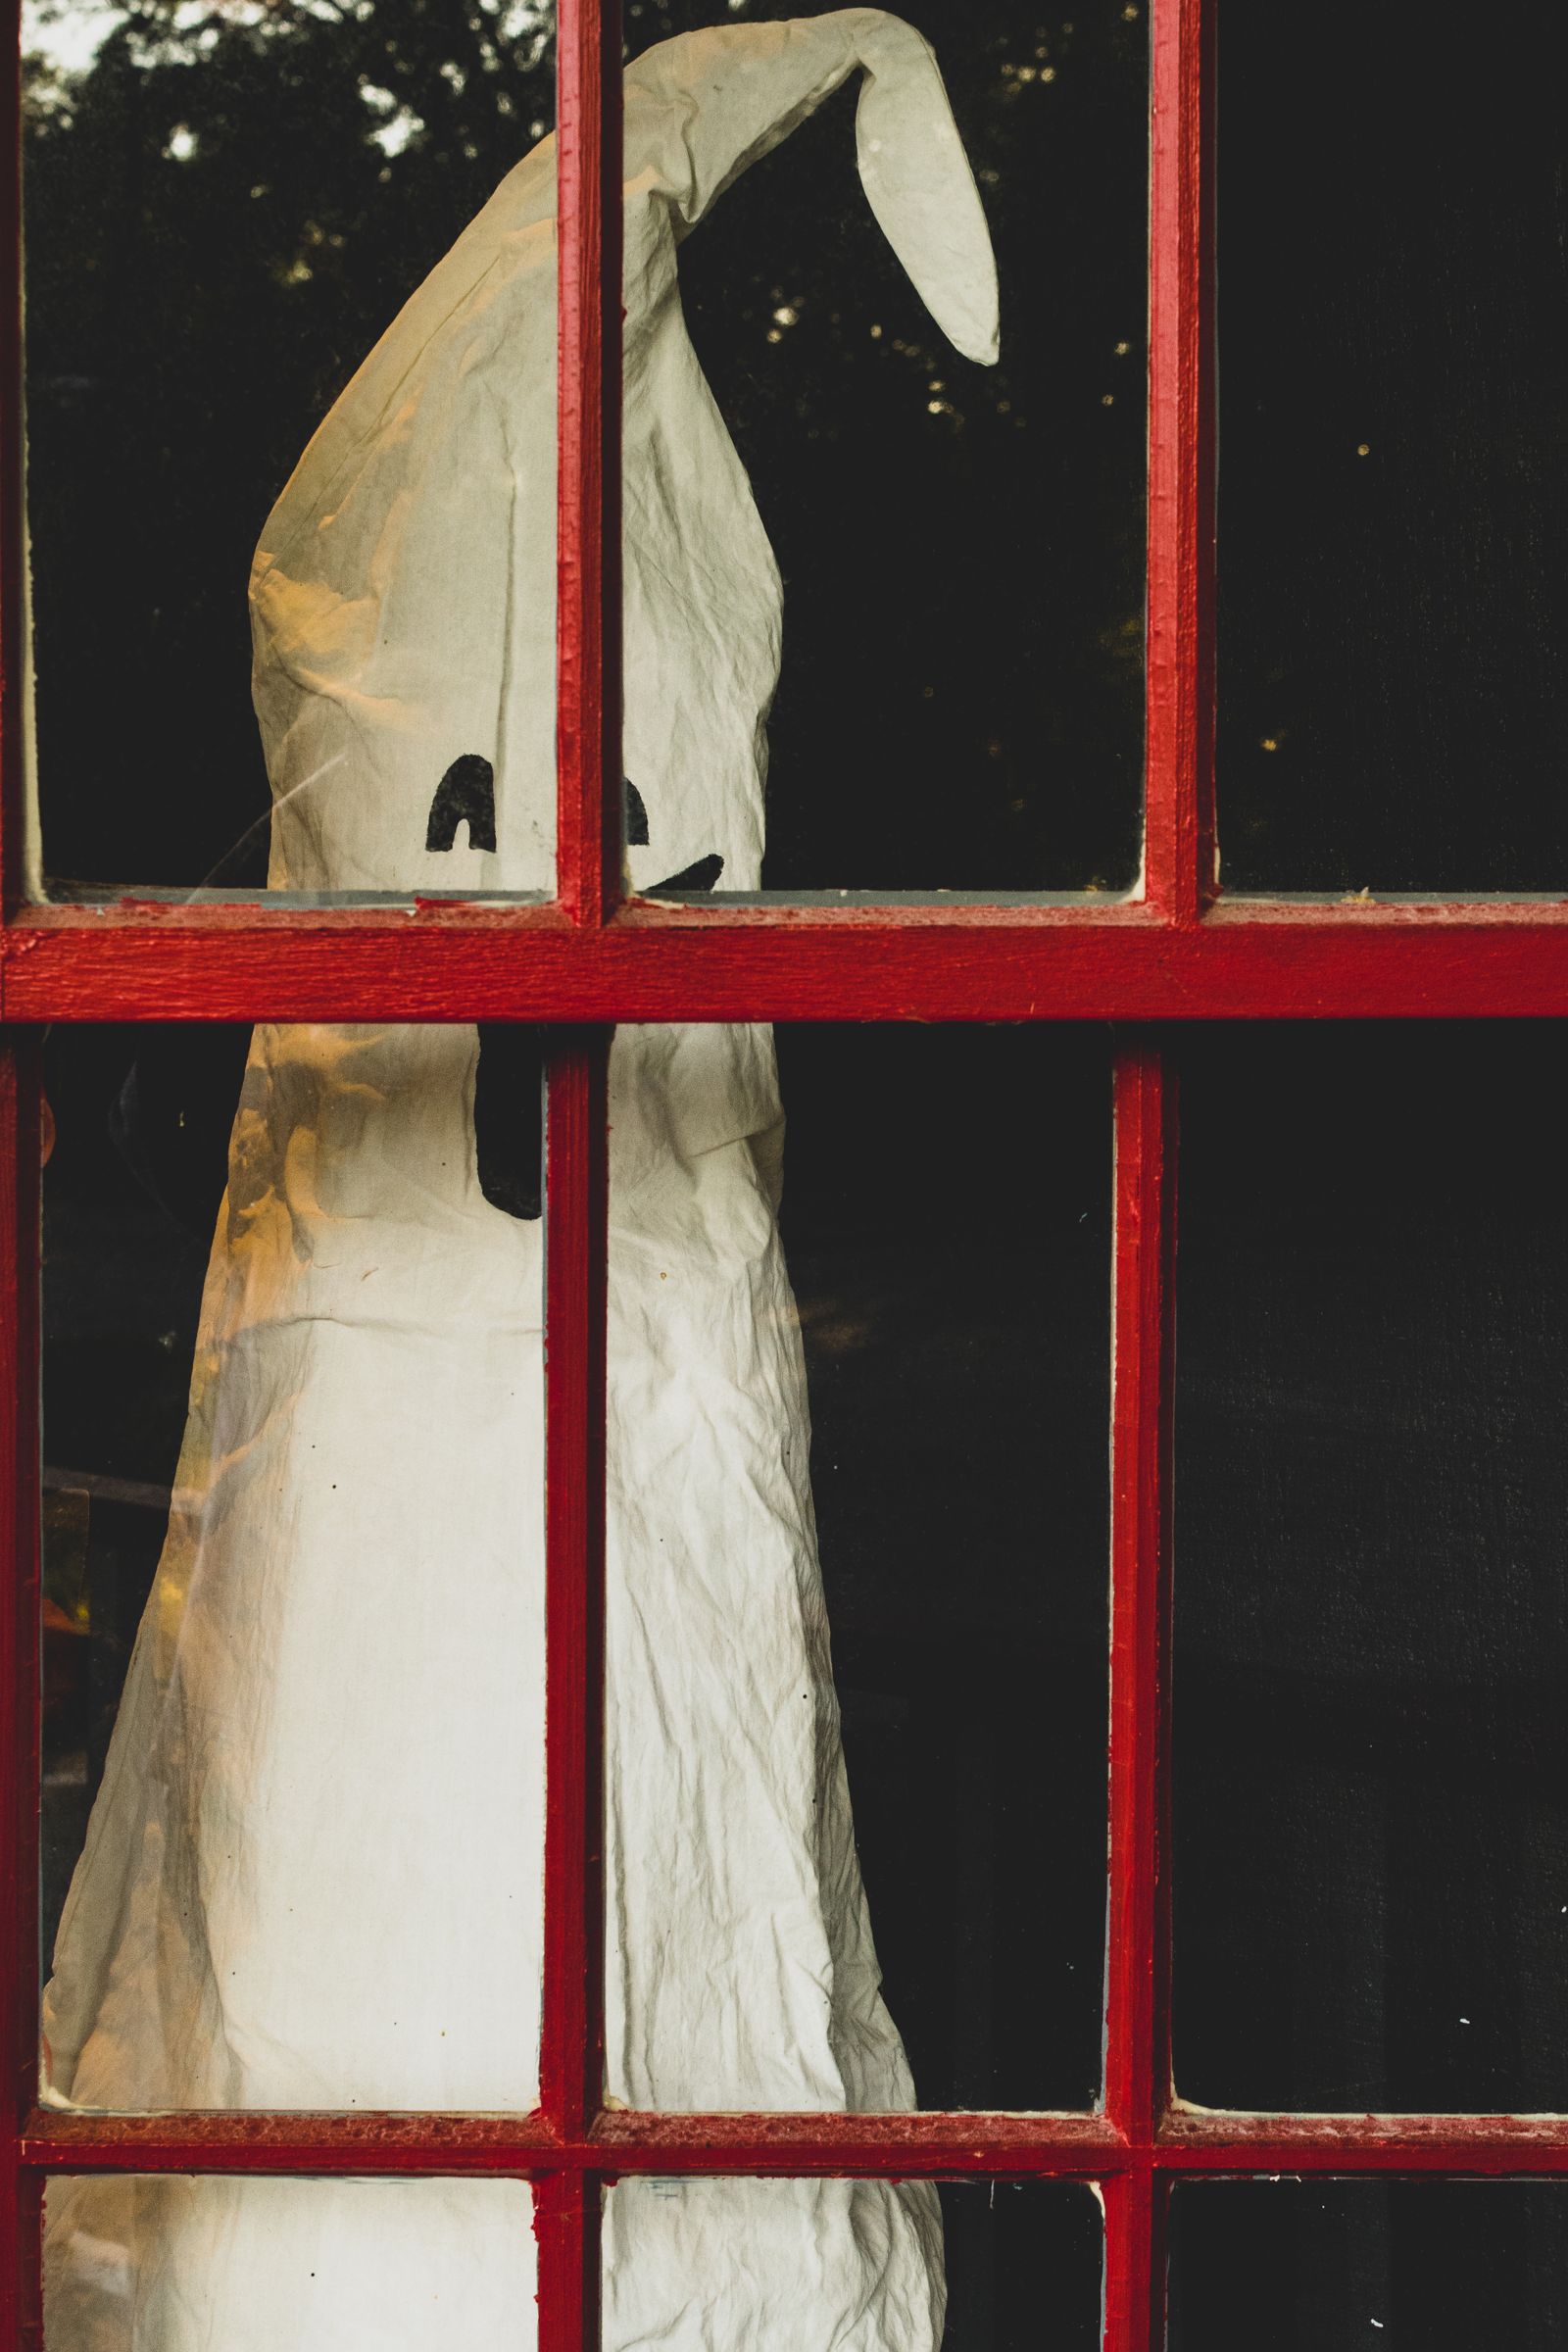
Remove the scene gently and keep the backing
Keep the original backing sheets and package together from the start. When Halloween is over, remove each shape according to the instructions, supporting it rather than tugging a thin section. Place reusable pieces back on the correct backing and keep them flat if the product permits that storage method.
Inspect the glass after removal and clean it with the window’s approved method. If unexpected residue remains, identify the material and ask the relevant supplier before escalating to scrapers, strong solvents, or abrasive pads. Do not treat every trace on the glass as something that needs aggressive removal.
For future seasonal projects, the Cleaning hub helps plan surface-specific care. A useful Halloween routine ends with clear glass and identifiable decorations, rather than a mystery adhesive patch and loose shapes in a drawer.
Keep your paper sketch with the backed pieces if you liked the arrangement. Next year, the plan can start with the same main figure and a smaller supporting cast, leaving the window bright, usable, and unmistakably ready for Halloween. You may also find A Small Apartment Halloween Window Glow With Battery-Operated Candles useful for a closely related small-home problem.