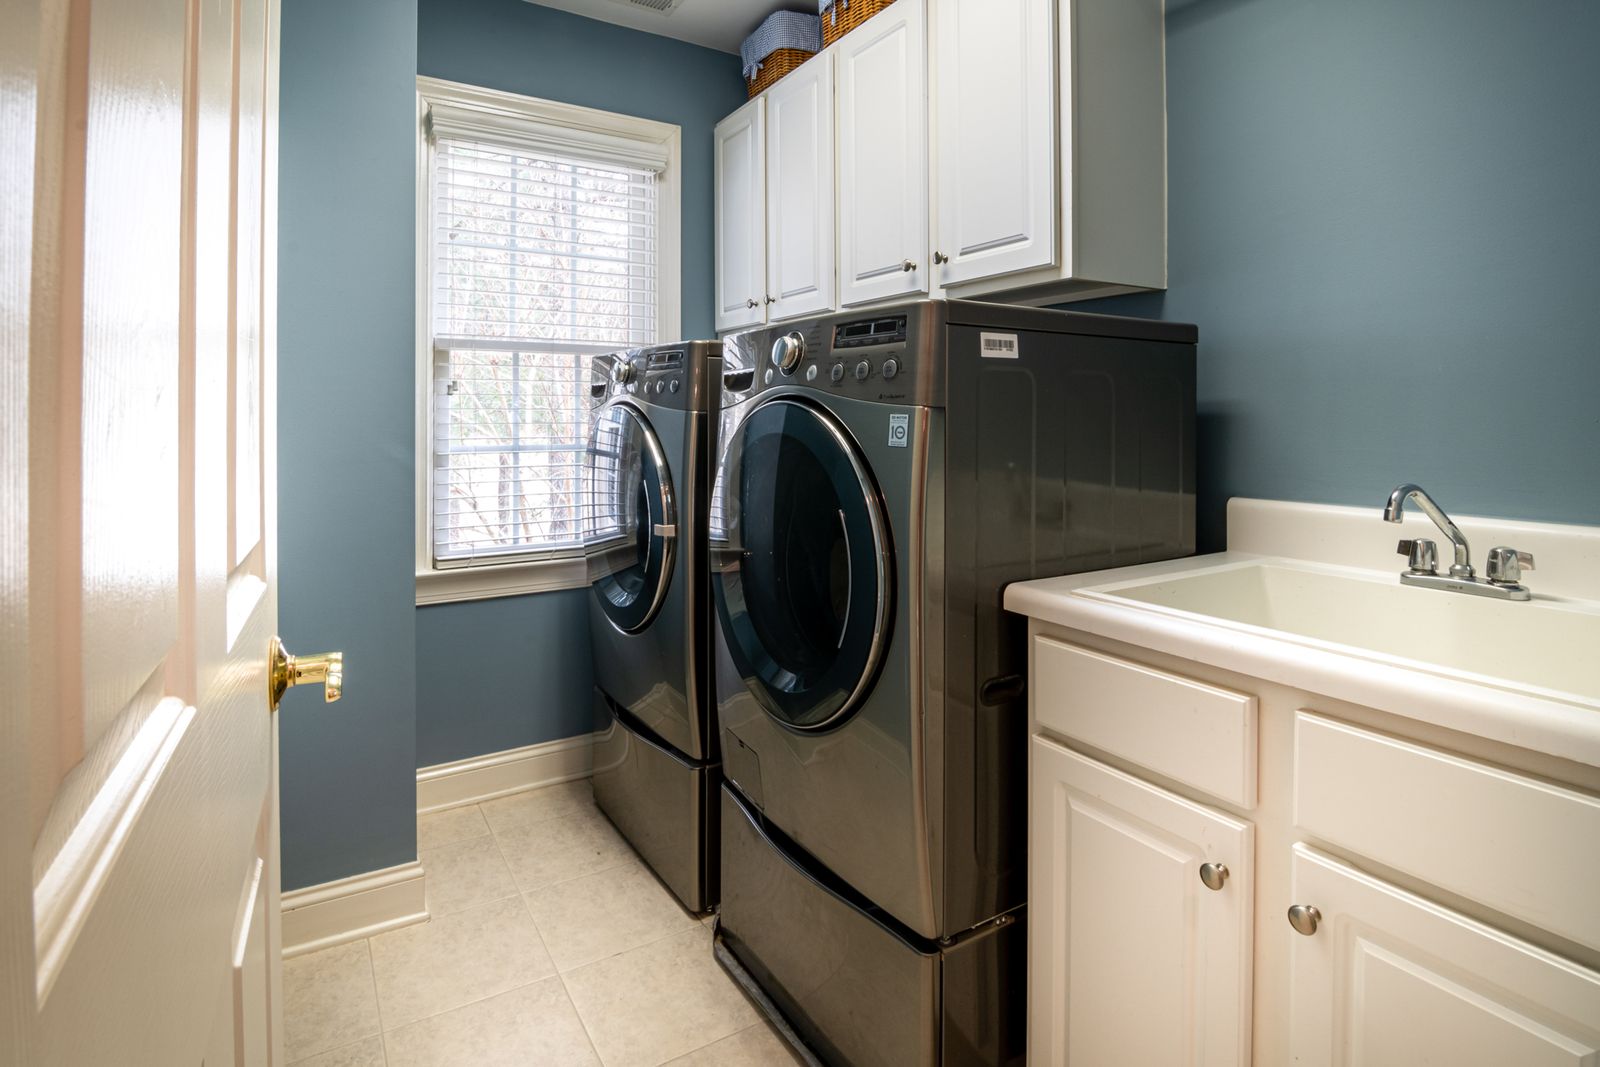
A front-load washer can look clean from across the room while holding detergent film, lint, water, and debris in the places you do not see: the door gasket, dispenser drawer, drain/filter area, and the edges around the drum. If you are working on the same space, Best tri fold mattress small home guests covers the next decision in more detail.
The safest approach is not a viral chemical recipe. It is a manufacturer-led maintenance sequence that starts dry, opens one component at a time, and never mixes cleaners.
Read the washer manual first
Find the maintenance section for your exact model. Filter access, dispenser removal, cleaning cycles, bleach permissions, and drain procedures vary. If the manual tells you not to remove a part, do not force it.
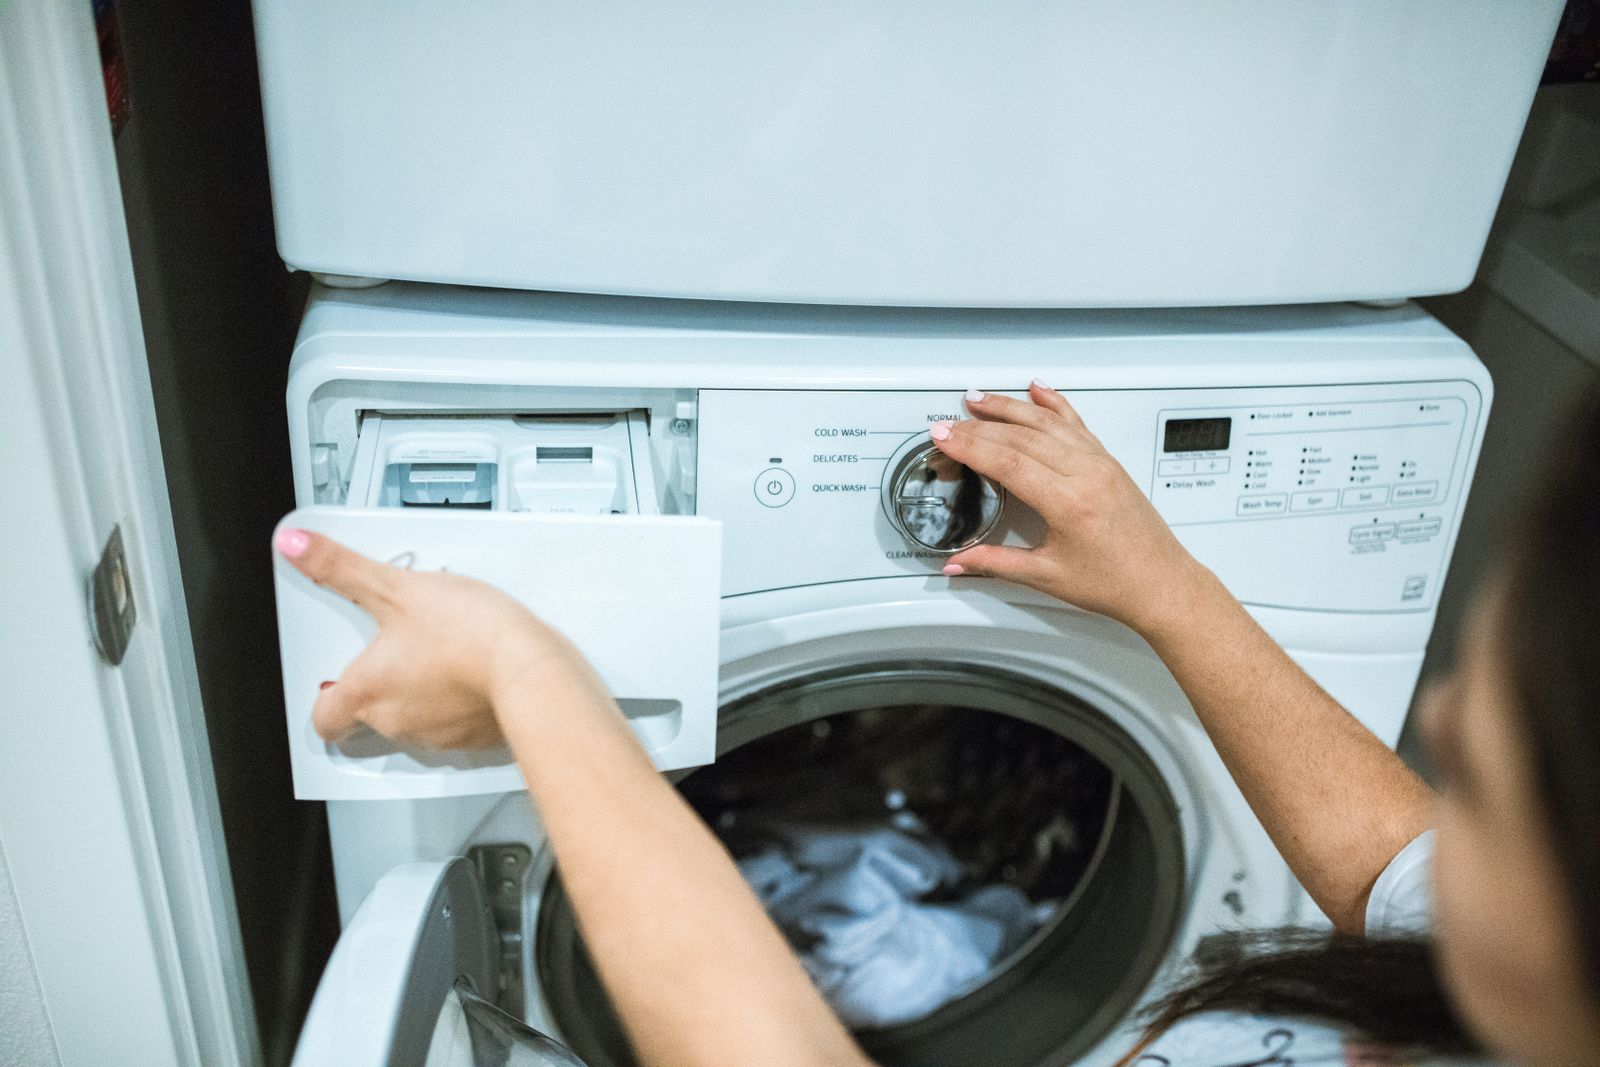
Start with the gasket
With the machine off, inspect the folds of the door seal. Remove hair, lint, coins, and trapped objects gently. Wipe accessible surfaces using a method permitted by the manufacturer, then dry the folds.
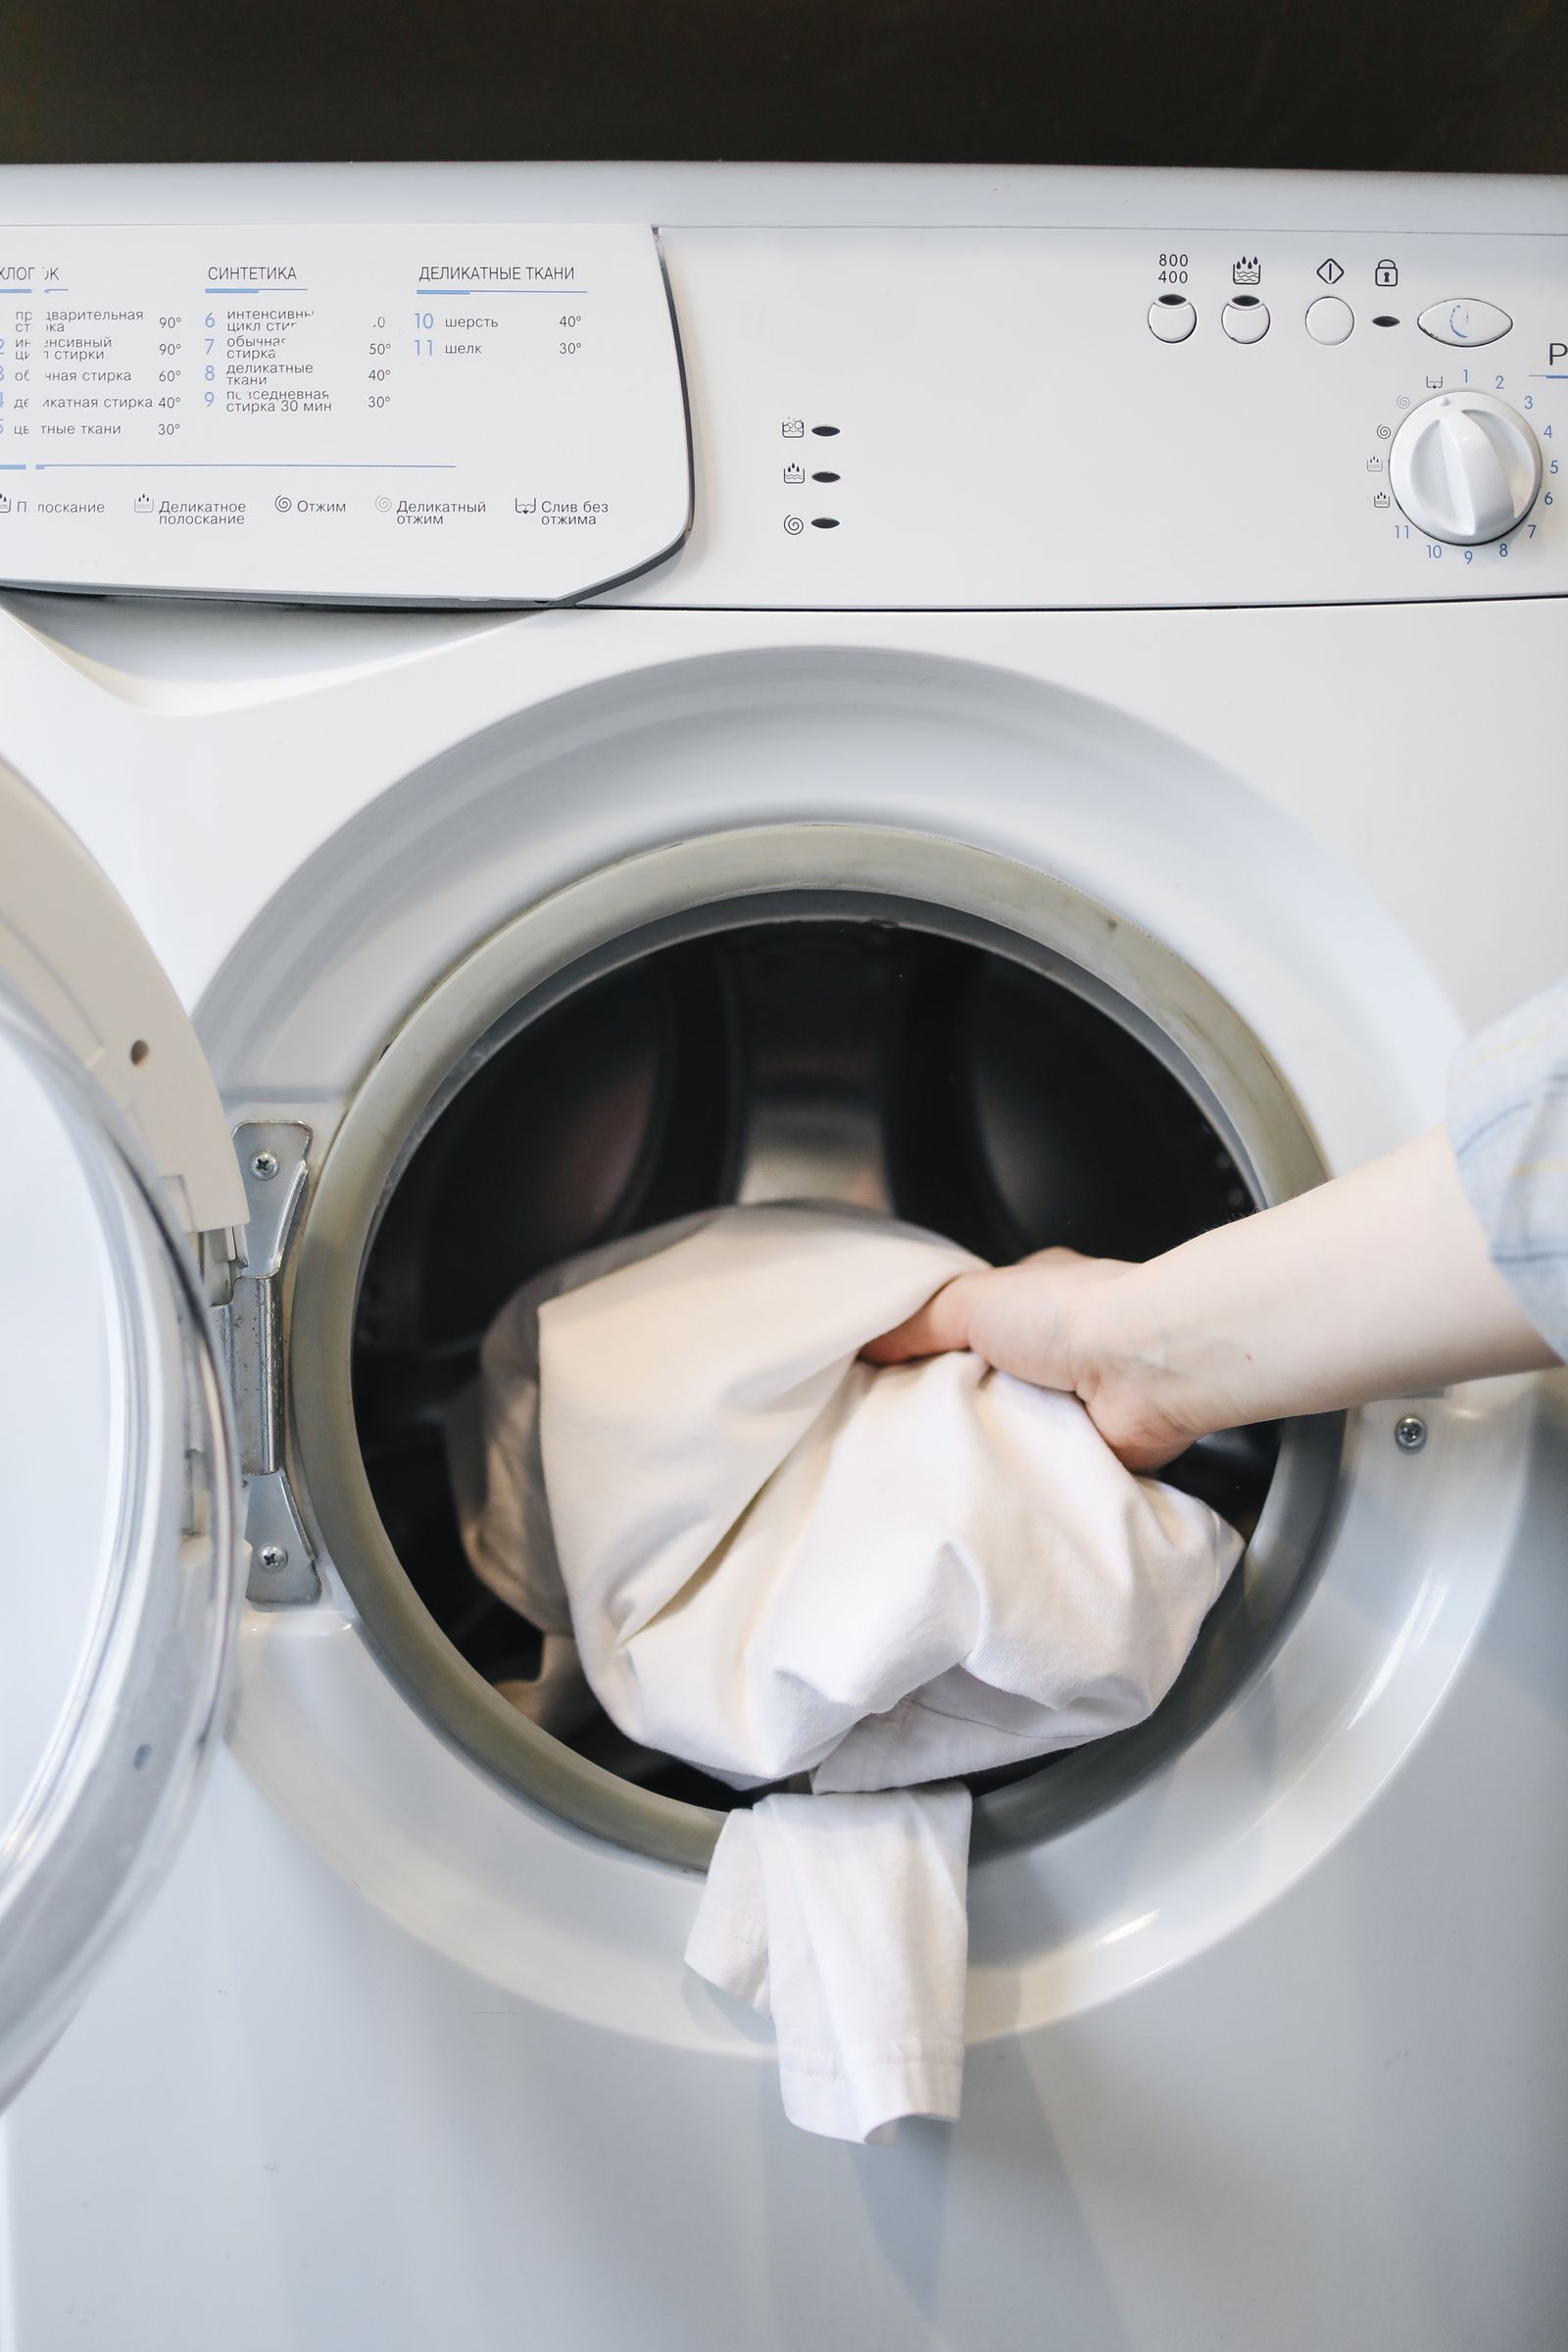
Clean the dispenser drawer separately
Remove the drawer only if the manual allows it. Rinse or wipe detergent and softener residue from removable parts and clean the cavity without flooding electrical areas. For a related step-by-step approach, see How to Organize Cleaning Cloths, Rags, and Mop Pads Without Mixing Clean and Dirty.
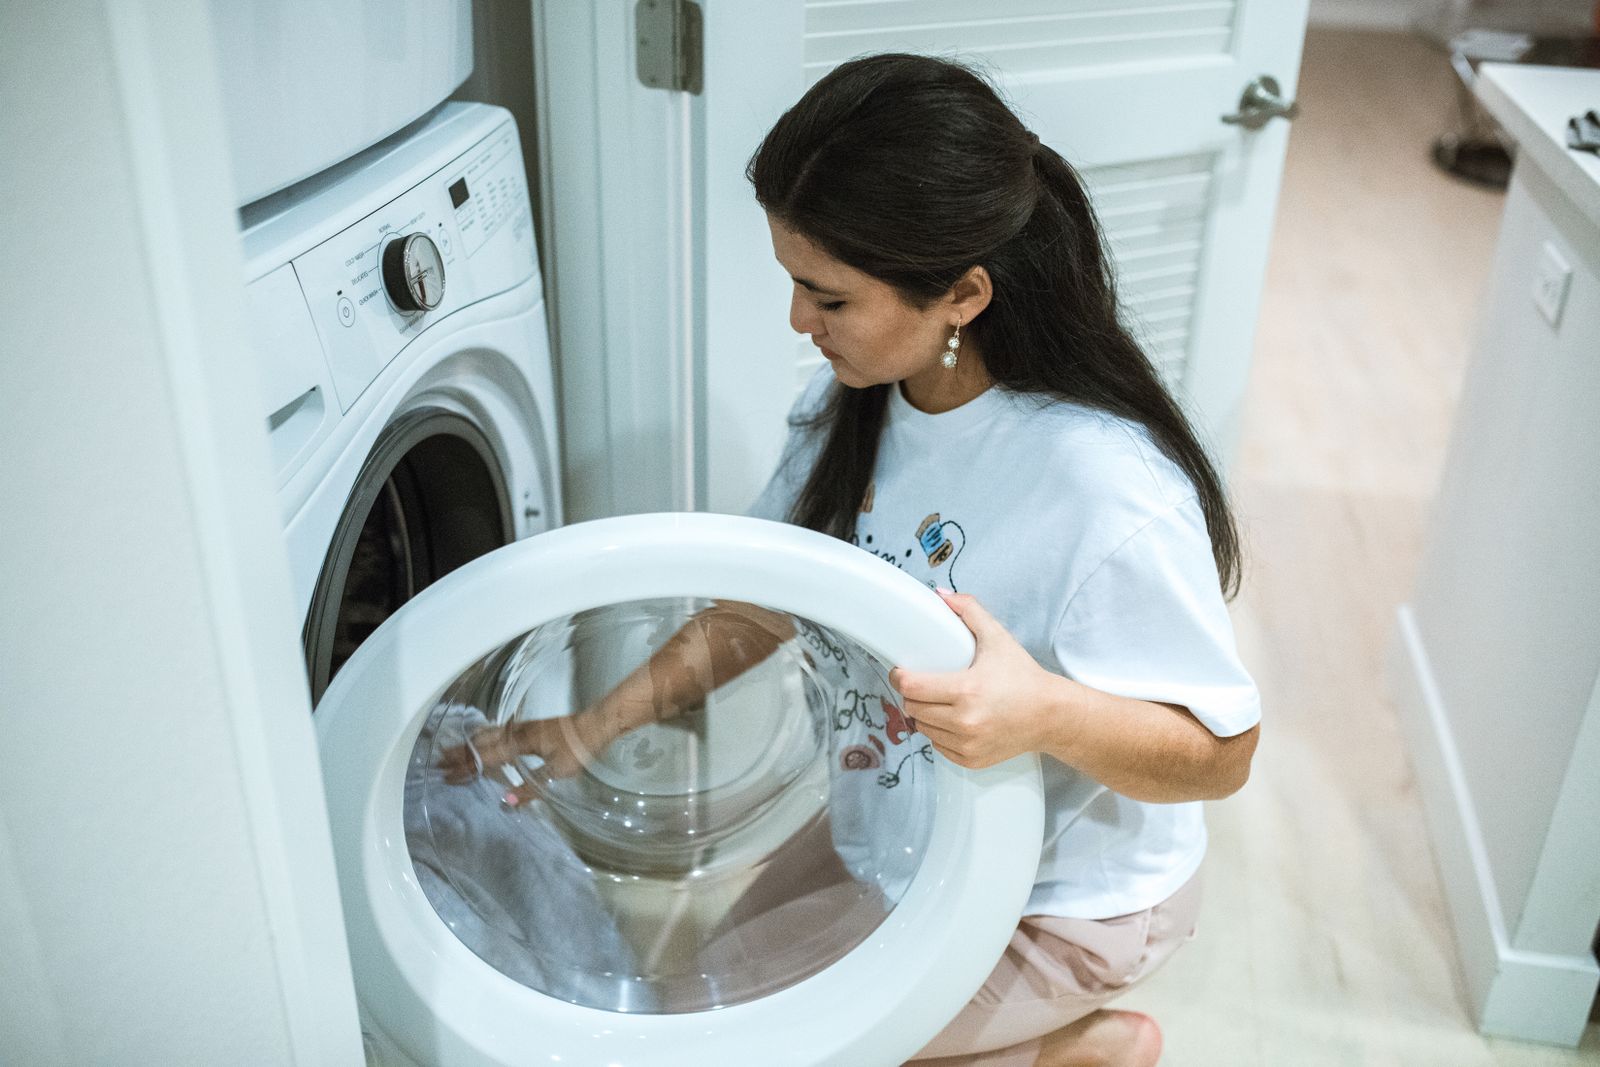
Check the drain or pump filter only if your model has user access
Some front-load washers have a small service door near the floor. Follow the exact drain instructions, prepare a shallow tray and towels, and expect retained water. Other models are not designed for user filter access.
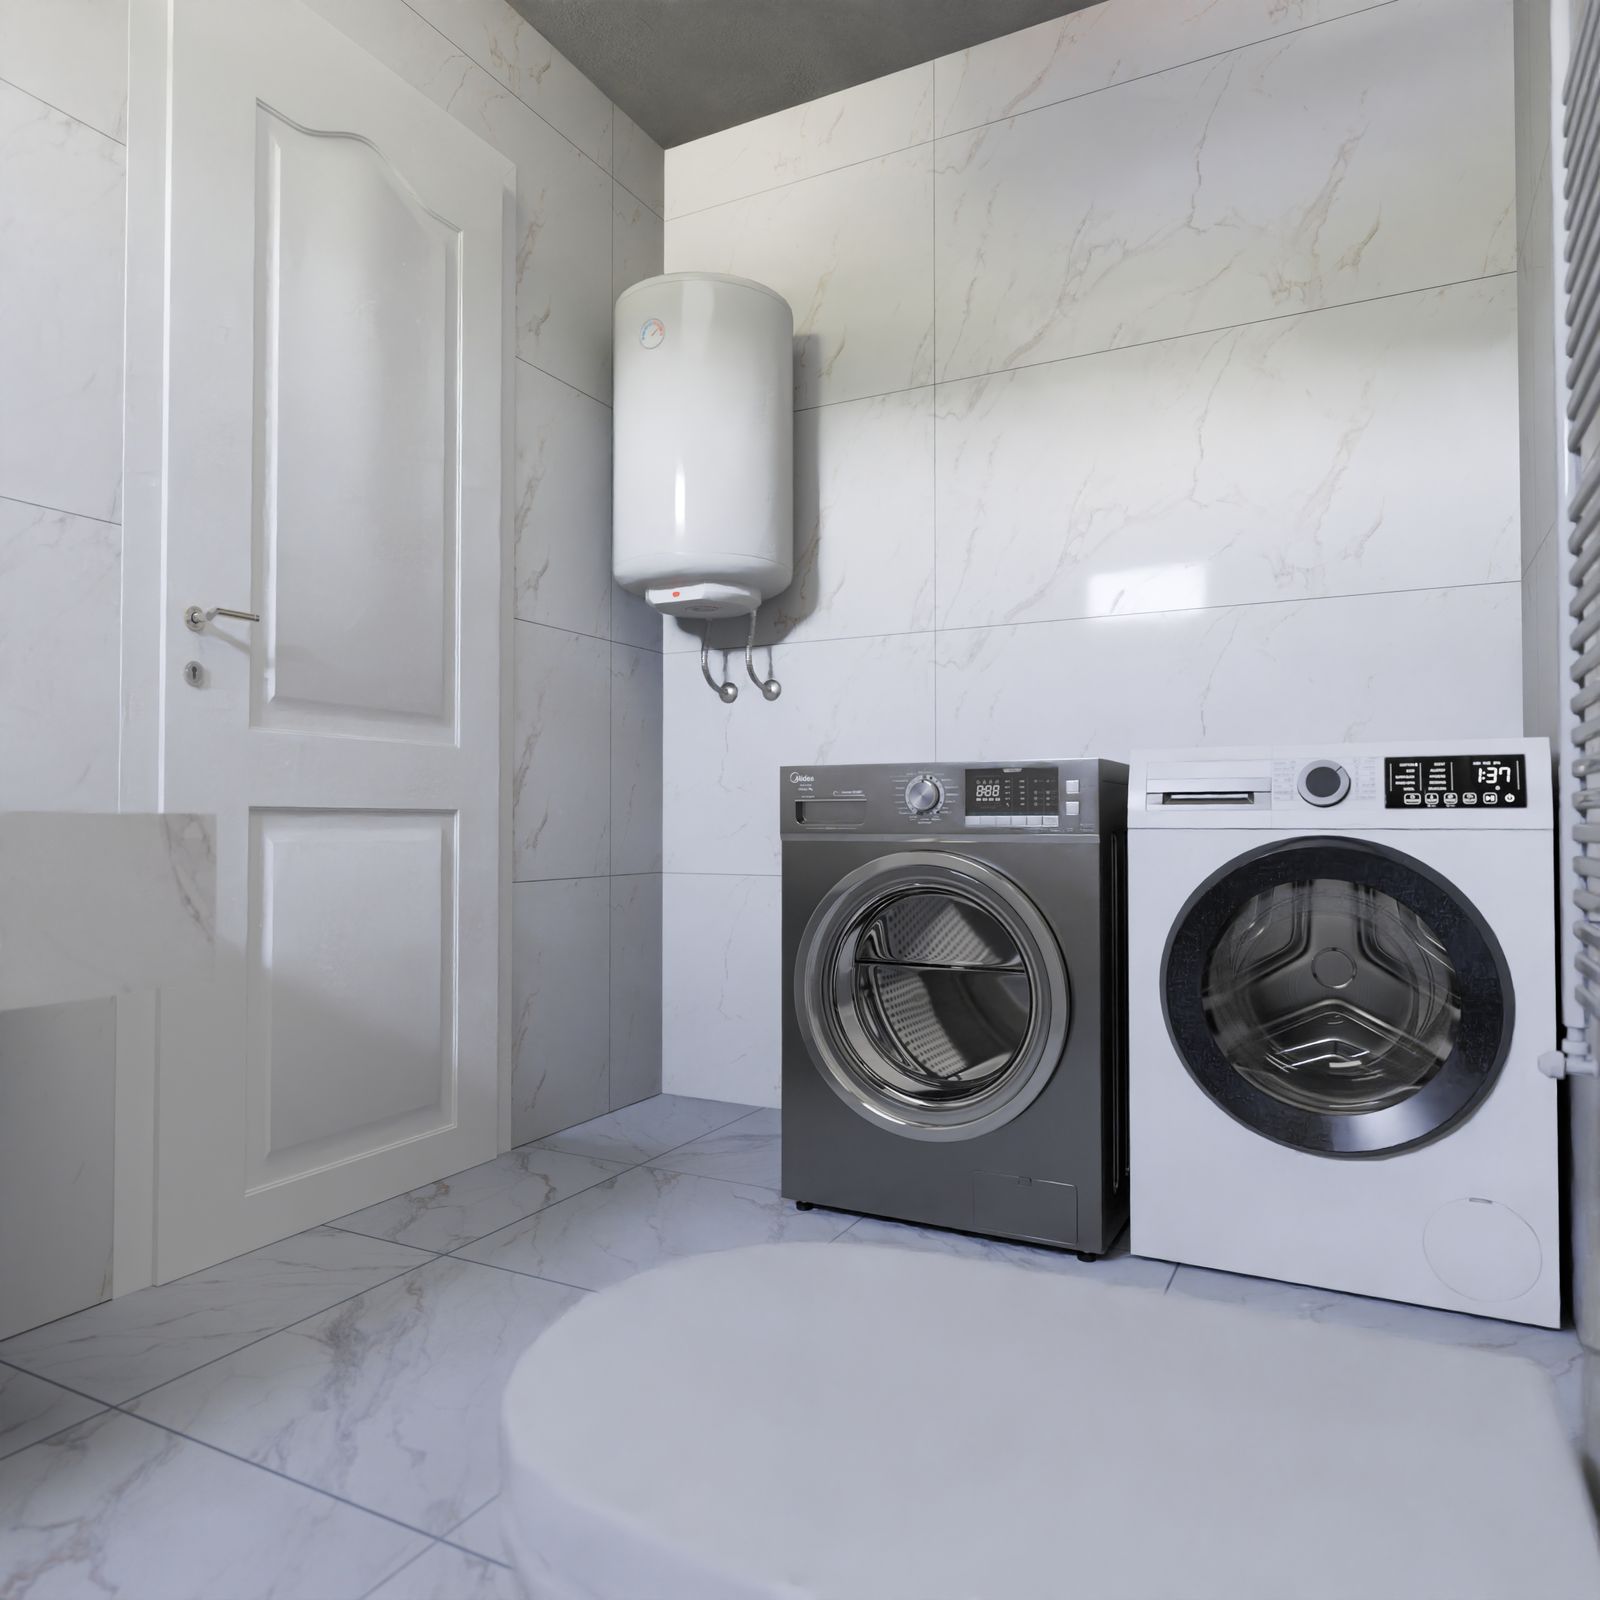
Run the approved maintenance cycle
Use the washer-cleaning cycle and product specified by the manufacturer. Do not mix bleach, vinegar, ammonia, acids, or other cleaners. More chemistry is not automatically more cleaning.
Clean the door glass and exterior last
Once the wet internal work is finished, wipe the glass, control area, and exterior with a suitable cloth. Avoid saturating controls or vents.
Improve the habits that cause buildup
Use the detergent type and amount recommended for the machine and load. Too much detergent can leave residue. Remove laundry promptly, and follow manufacturer guidance about leaving the door or dispenser open between cycles. If you are working on the same space, A Family Laundry Handoff System Kids Can Actually Help With covers the next decision in more detail.
Watch for problems that cleaning cannot fix
Persistent leaks, grinding noises, drain errors, damaged gasket material, electrical smells, or repeated standing water may need service rather than another cleaning cycle.
Give the laundry area a dry reset
Wipe drips, remove lint, store detergent upright, and keep the floor clear around hoses and the machine base. A clean washer is easier to inspect when the surrounding area is not crowded. You may also find How to Organize Laundry Supplies When the Washer Is in the Kitchen or Bathroom useful for a closely related small-home problem.
Continue with Cleaning
Browse Cleaning for more maintenance routines. Laundry Area remains a Room classification, not a guessed archive link.
My conclusion
Clean the washer in layers: manual, gasket, dispenser, user-accessible filter, approved maintenance cycle, exterior, then better day-to-day habits. The correct sequence is more useful than an aggressive homemade mixture.