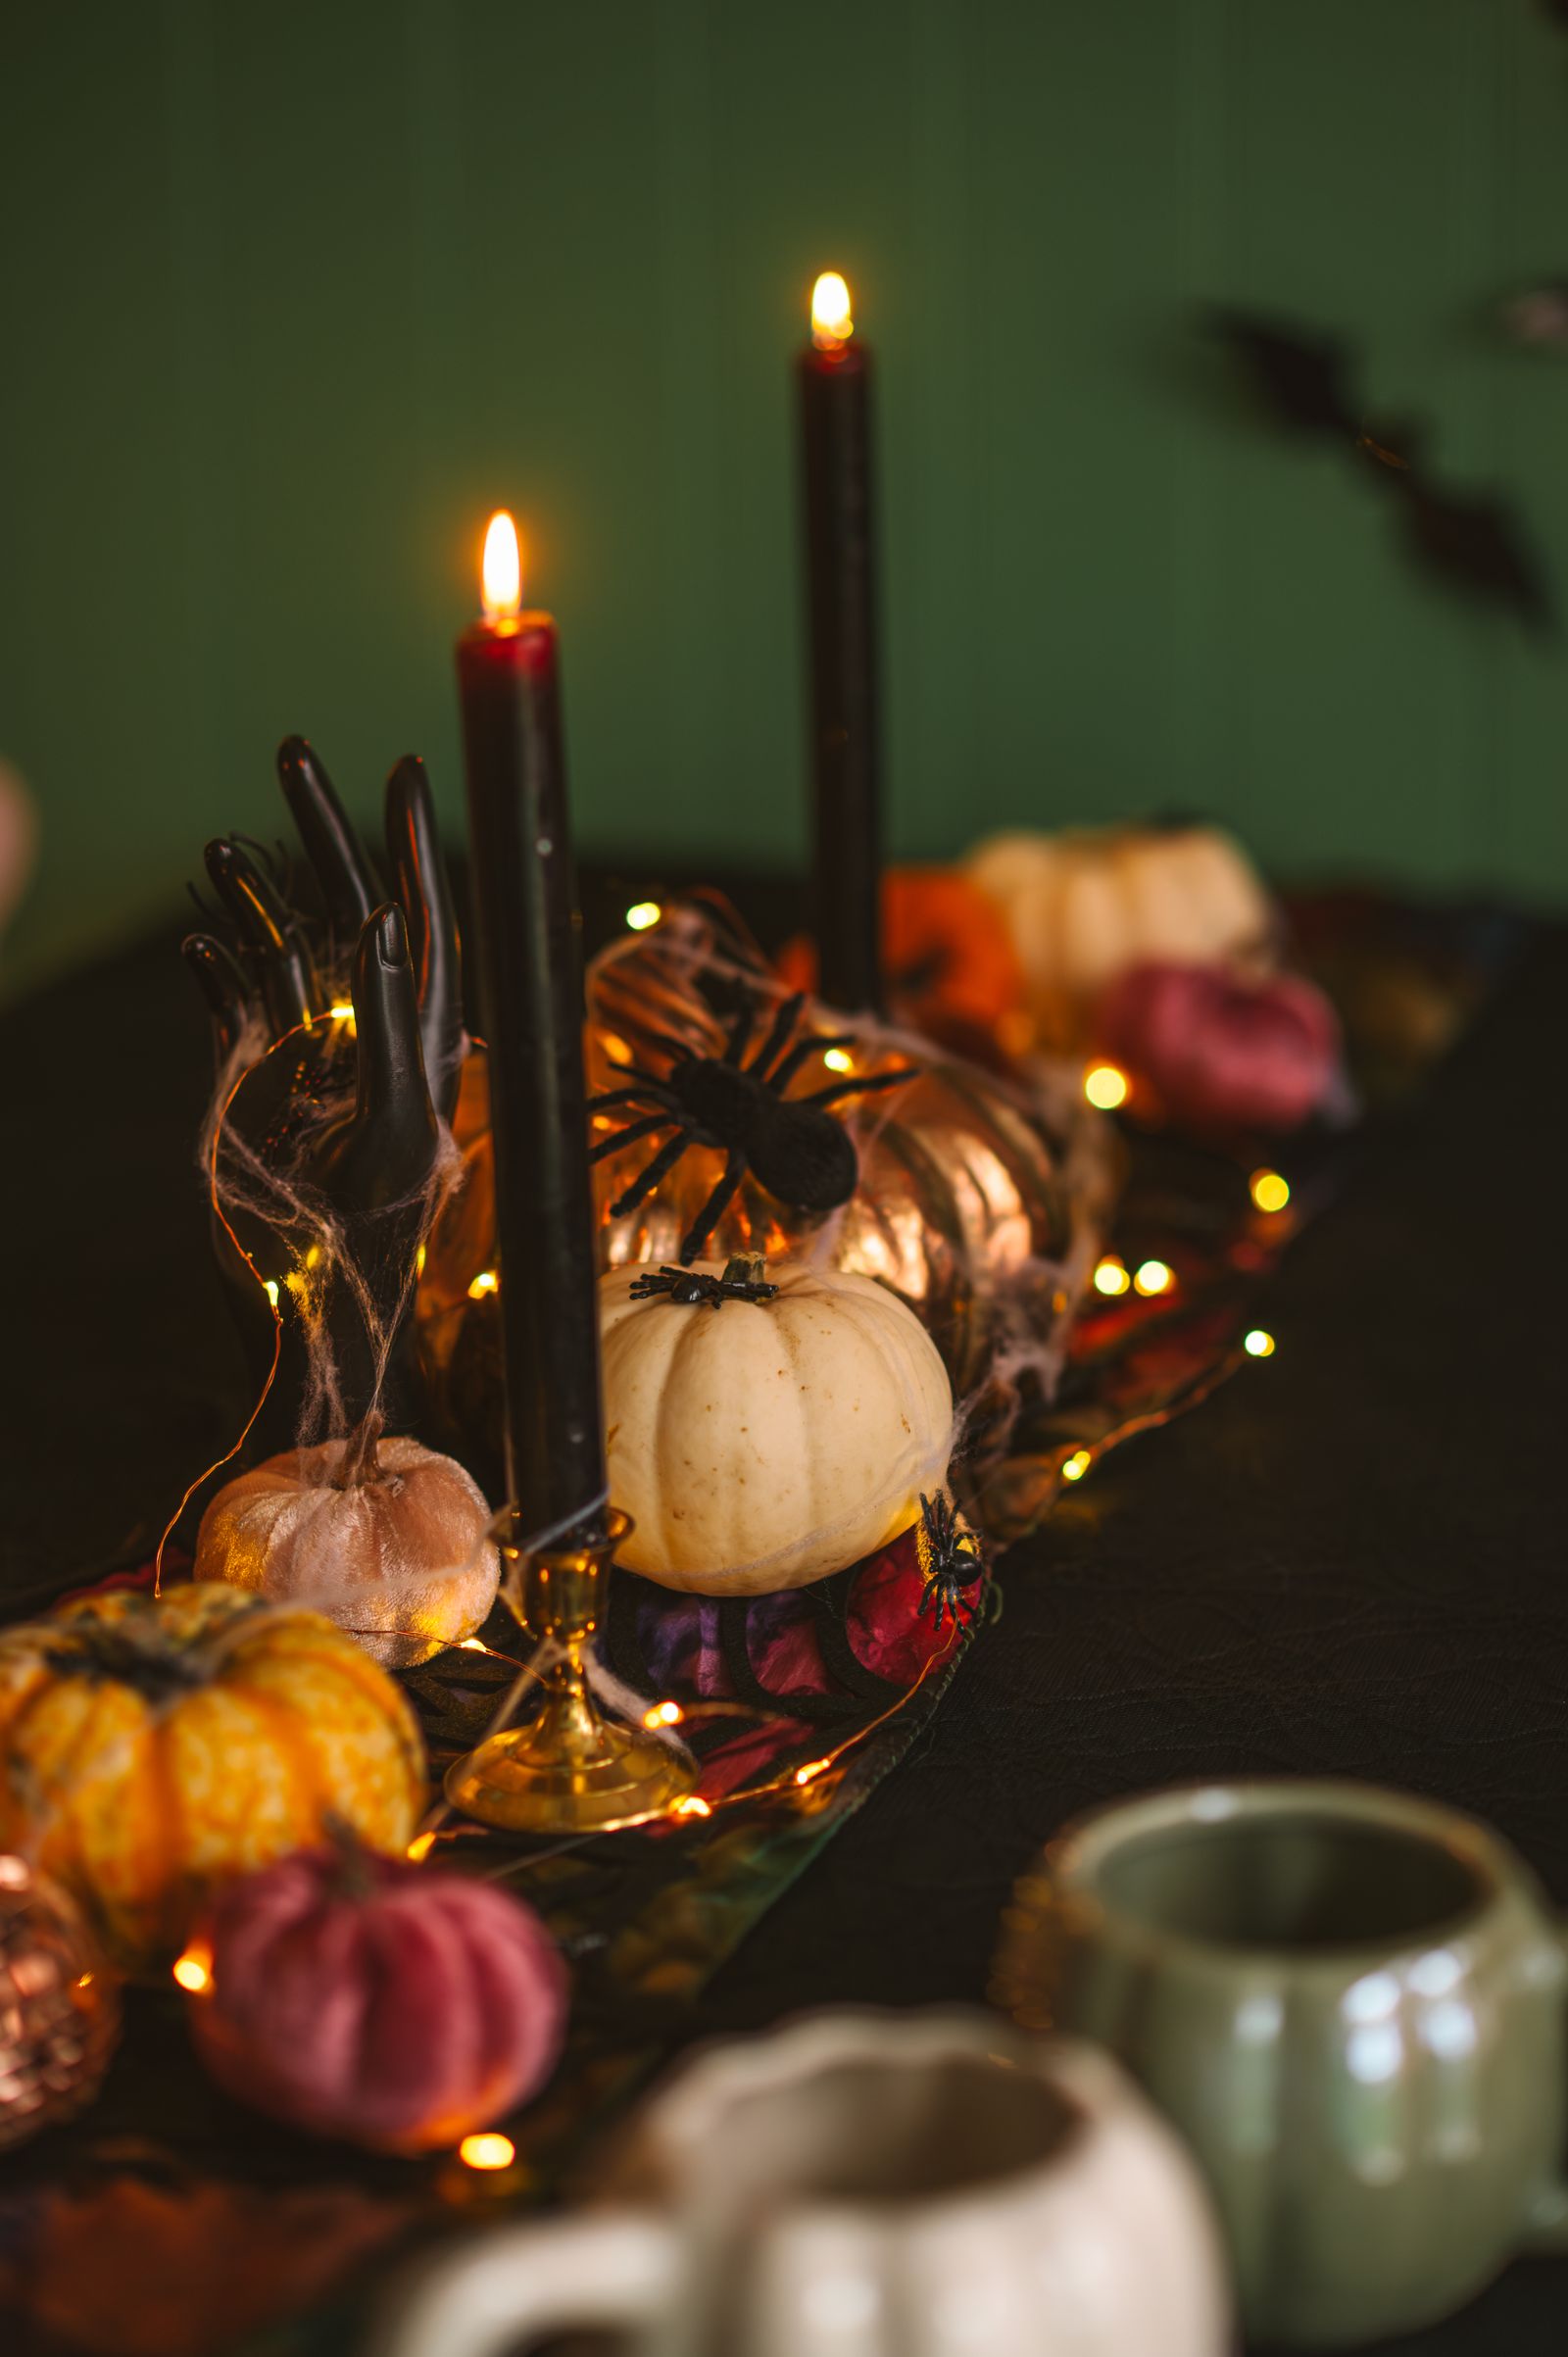
A Halloween dining table can look festive for the whole month without becoming a permanent party set. The key is a low, contained centerpiece that lifts away for meals, homework, or wiping the table. Instead of covering the surface with loose cobwebs and scattered confetti, build a small pumpkin scene with a few strong shapes. For a related step-by-step approach, see How to Clean Curtains in a Small Home Without Taking Over the Whole Room.
This guide creates an everyday Halloween table that can switch to a dinner setting in minutes. It focuses on cleanable boundaries, ordinary dishes, and a decorative arrangement kept separate from serving food.
As an Amazon Associate, Small Home Rhythm earns from qualifying purchases.
Design around the table’s next real use
Put out the plates, cups, and serving pieces you would normally use for a weekday meal. Pull the chairs out and sit down. The area left after those movements is the space available for a centerpiece, and it may be much smaller than the empty table suggests.
On a compact table, one low bowl or tray may be enough. Do not count the space immediately behind a seated person’s elbow as available decorating room. Keep the scene clear of hot dishes and the places where drinks are regularly set down.
If the table serves several jobs each day, use our multipurpose dining-table reset as the foundation. The centerpiece should travel to one known resting place when the table changes use. That destination is part of the decorating plan, not a problem to solve later.
Choose a washable base or skip the textile layer
A black or orange runner can establish Halloween quickly, but only if it fits the table and has a care routine you can manage. Check its label and actual dimensions. A runner hanging into laps or over a child’s chair may be less useful than a compact mat beneath the decorative tray.
You can also use the bare table as the background. A pale surface makes black paper details stand out; a dark wooden surface can look atmospheric with white pumpkins. Skipping the runner removes one layer that needs moving, cleaning, and storing.
If you want a textile, choose a piece already in the household and keep the display within it. Avoid loose gauze crossing plates or fabric draped over the entire table for everyday use. The most practical seasonal base is one whose cleaning and removal do not turn a spilled drink into a larger job.
Our guide to a dining area used for meals and crafts helps separate those activities. Clear the decorative textile before glue, paint, or a project with small pieces comes out, unless the material is specifically intended to serve as suitable protection.
Build a pumpkin island with a visible edge
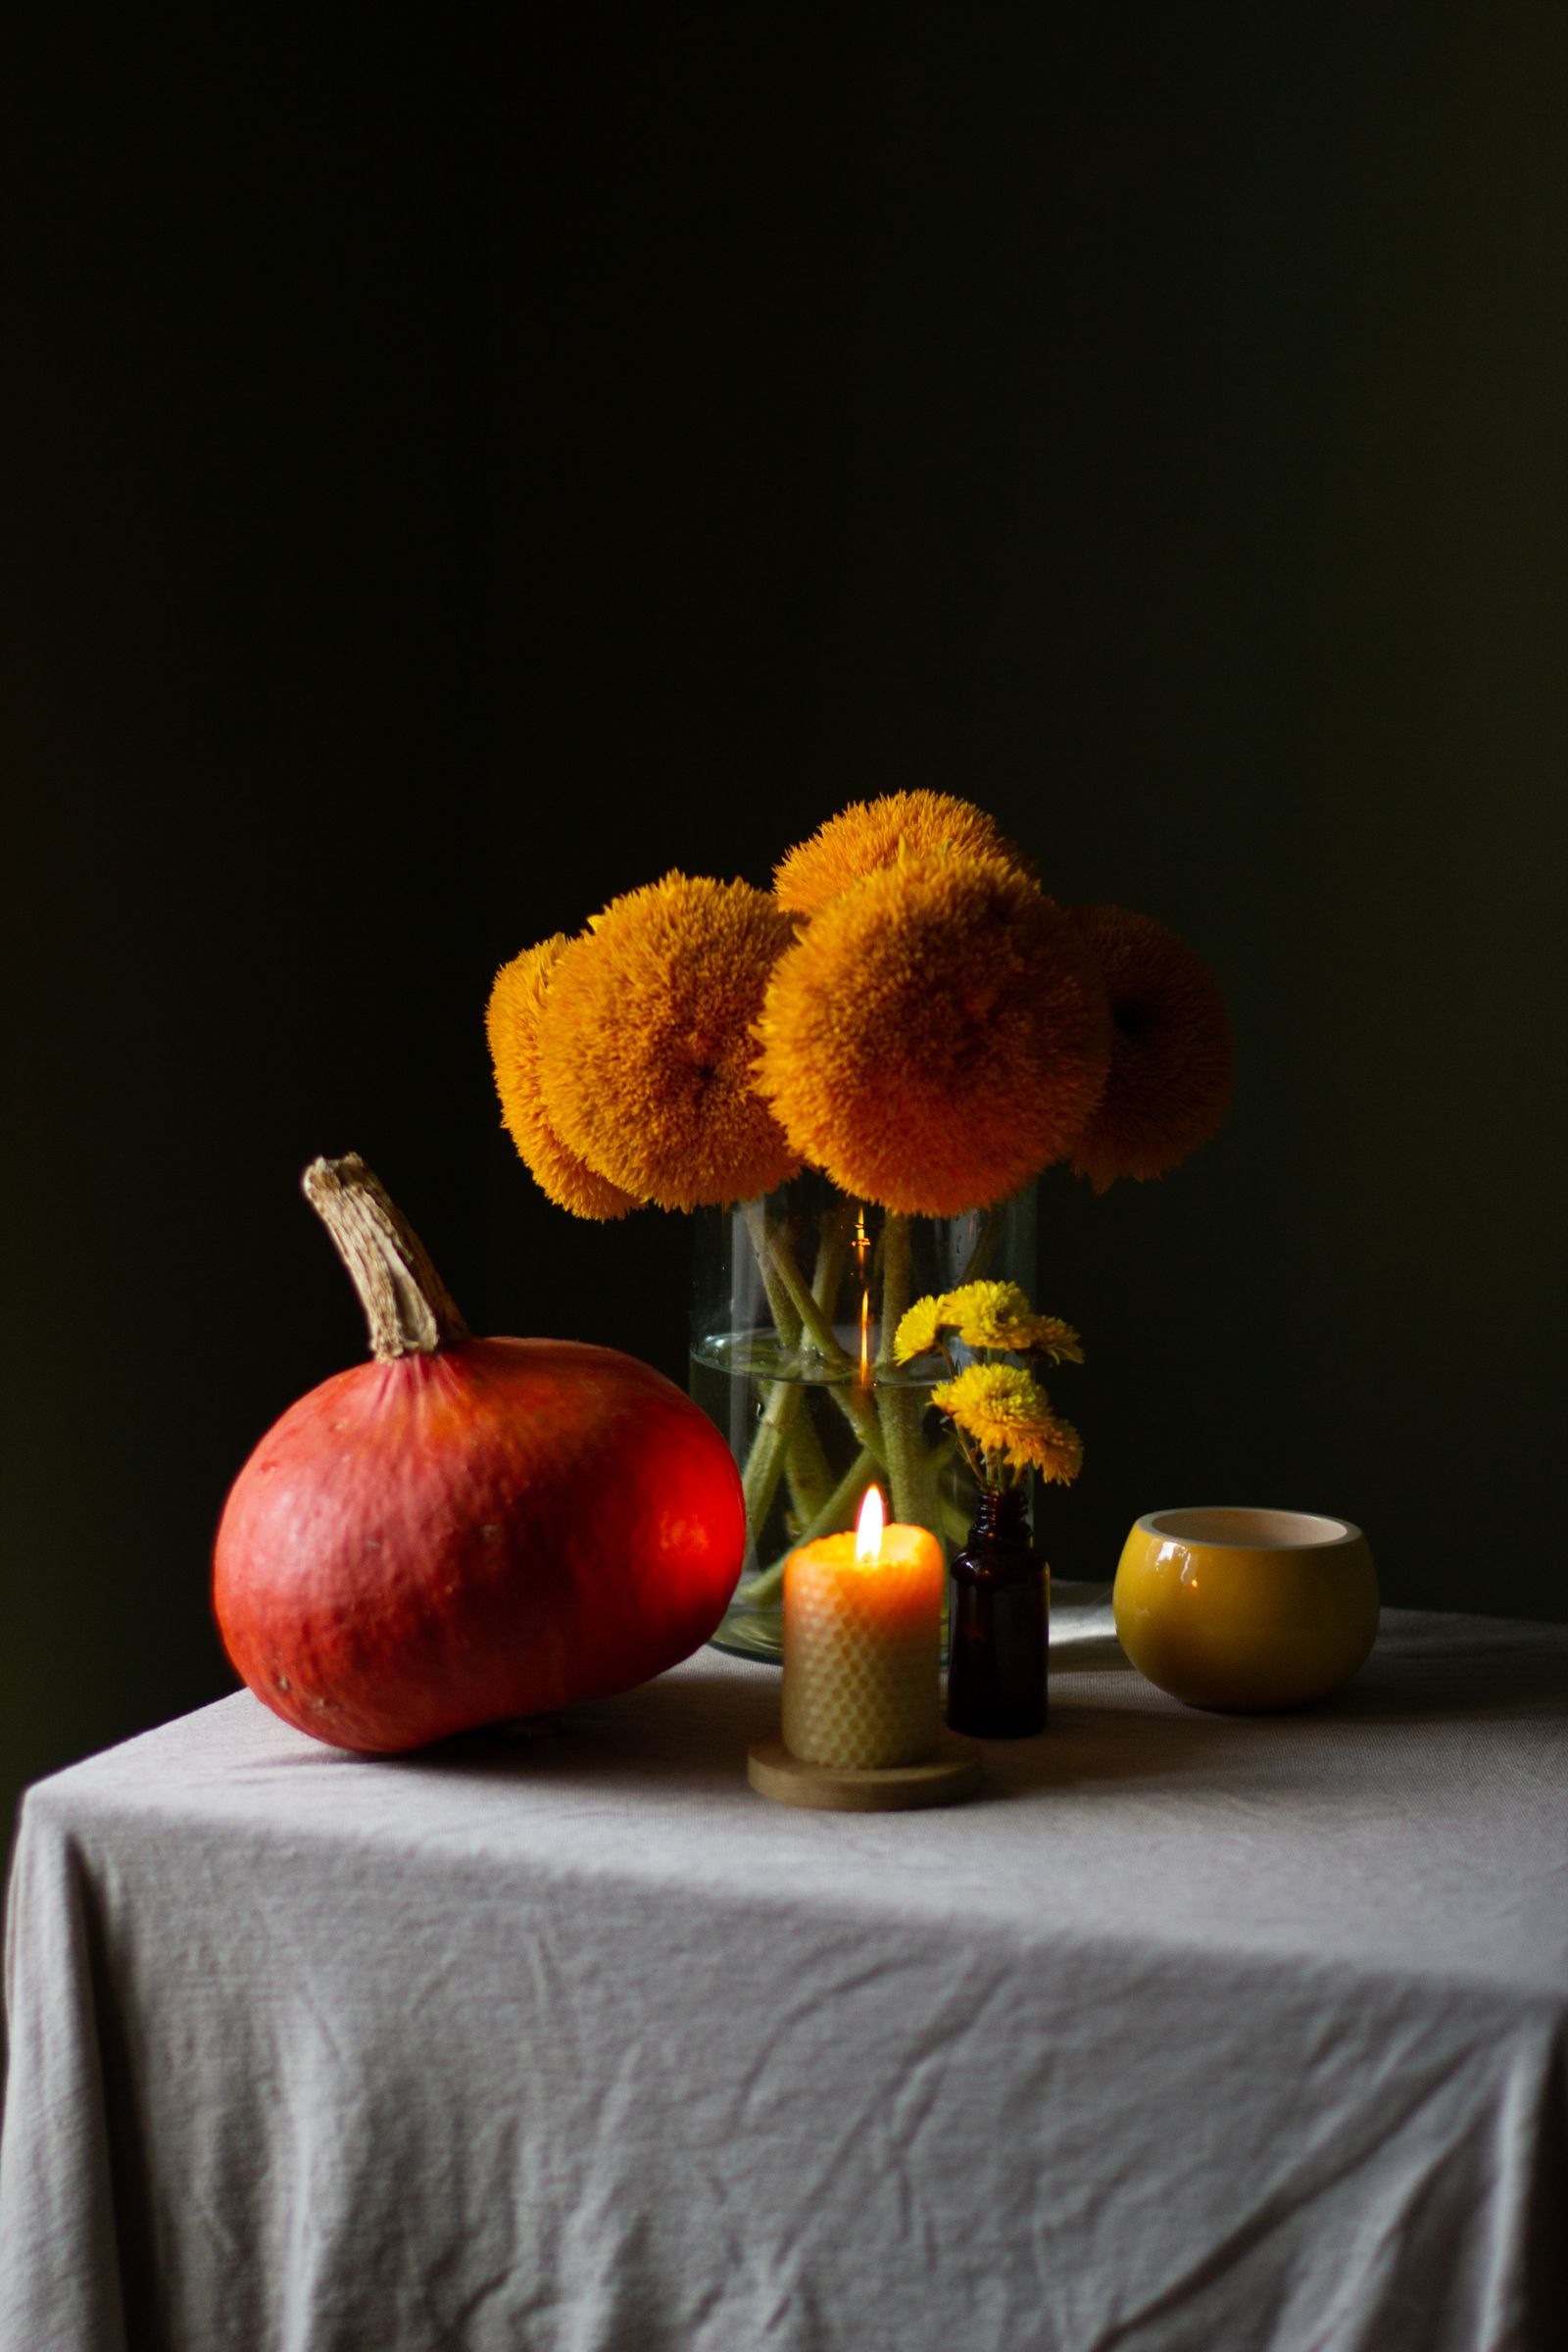
Choose a stable shallow tray or bowl that fits the available space and is suitable for its contact with the table. Arrange one main pumpkin and two smaller companions inside it. Keep the tallest piece low enough that people can see one another comfortably across the table.
Turn the stems in slightly different directions so the grouping does not look lined up for a store display. Place the main pumpkin toward one end rather than directly in the middle. Leave part of the tray visible; the boundary is both a visual frame and the place to hold it when moving.
Use faux ornaments only as decoration. They do not become food-contact items because they resemble produce. Keep them separate from open serving dishes, edible treats, and utensils. If you use real pumpkins, inspect their condition regularly and protect the table with a suitable clean, dry base.
Add Halloween through contrast and a small story
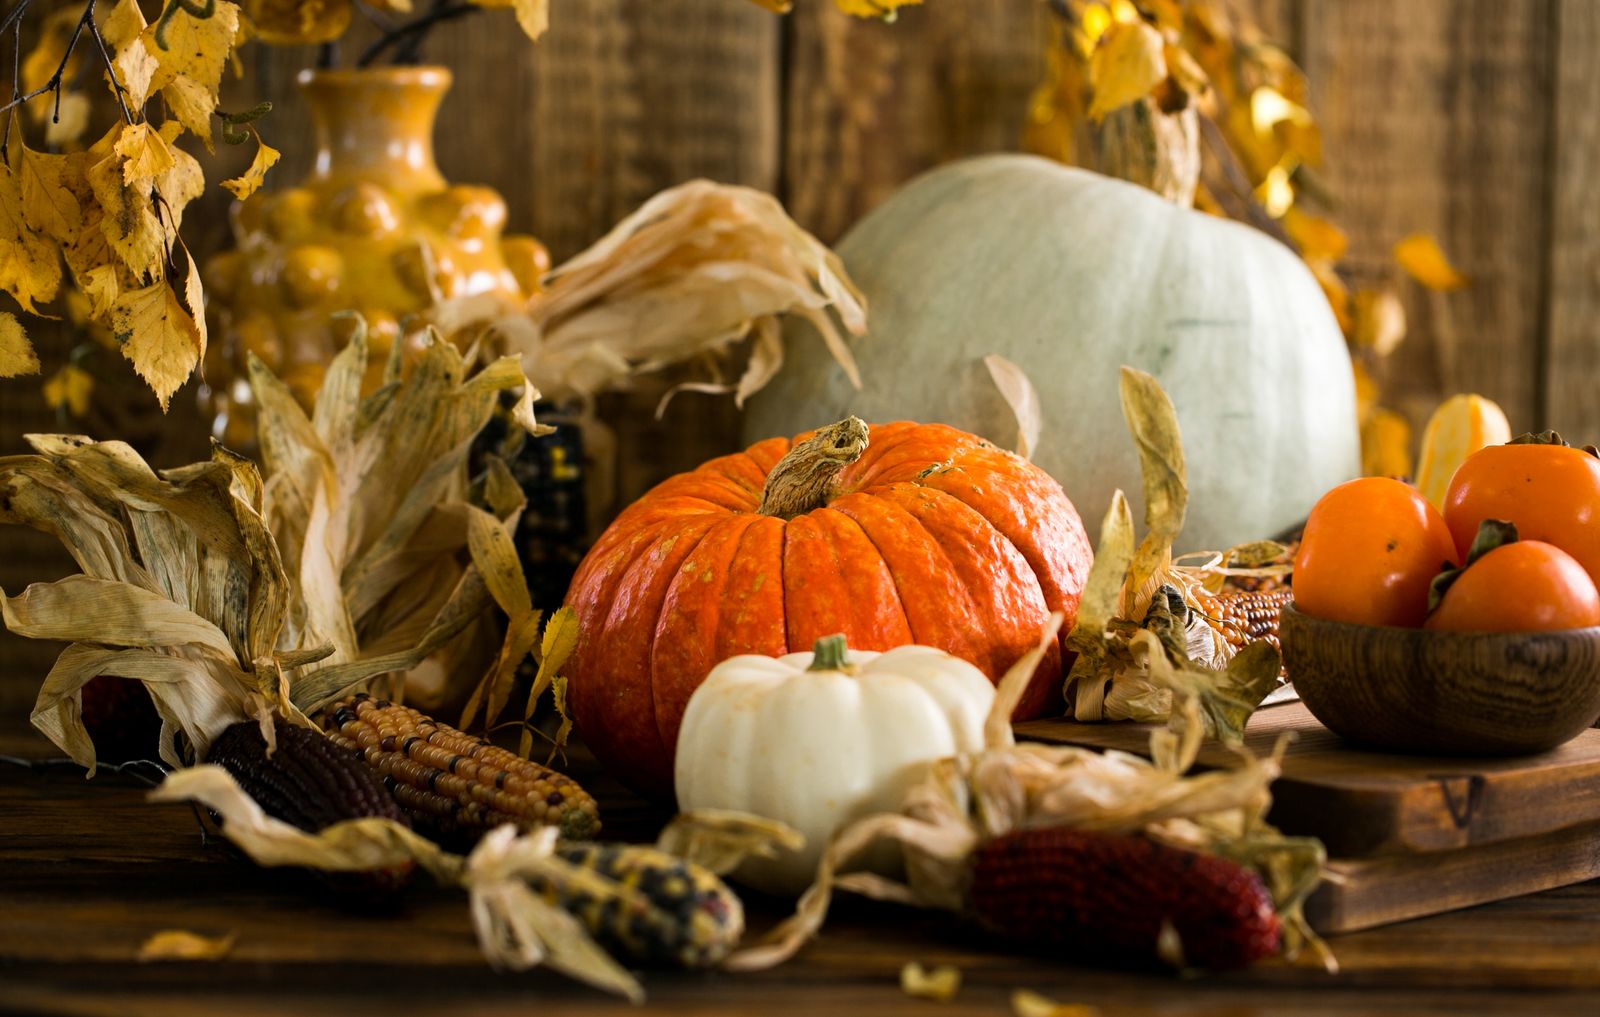
For a friendly pumpkin supper, combine orange pumpkins with ordinary white dishes and a small smiling ghost card. The card can sit in a suitable holder within the tray and come away with the rest of the display.
For a quiet haunted dinner, use pale pumpkins, a charcoal base, and a black house silhouette on a folded card. Keep the spooky detail flat or standing securely; the scene does not need loose spiders scattered between glasses.
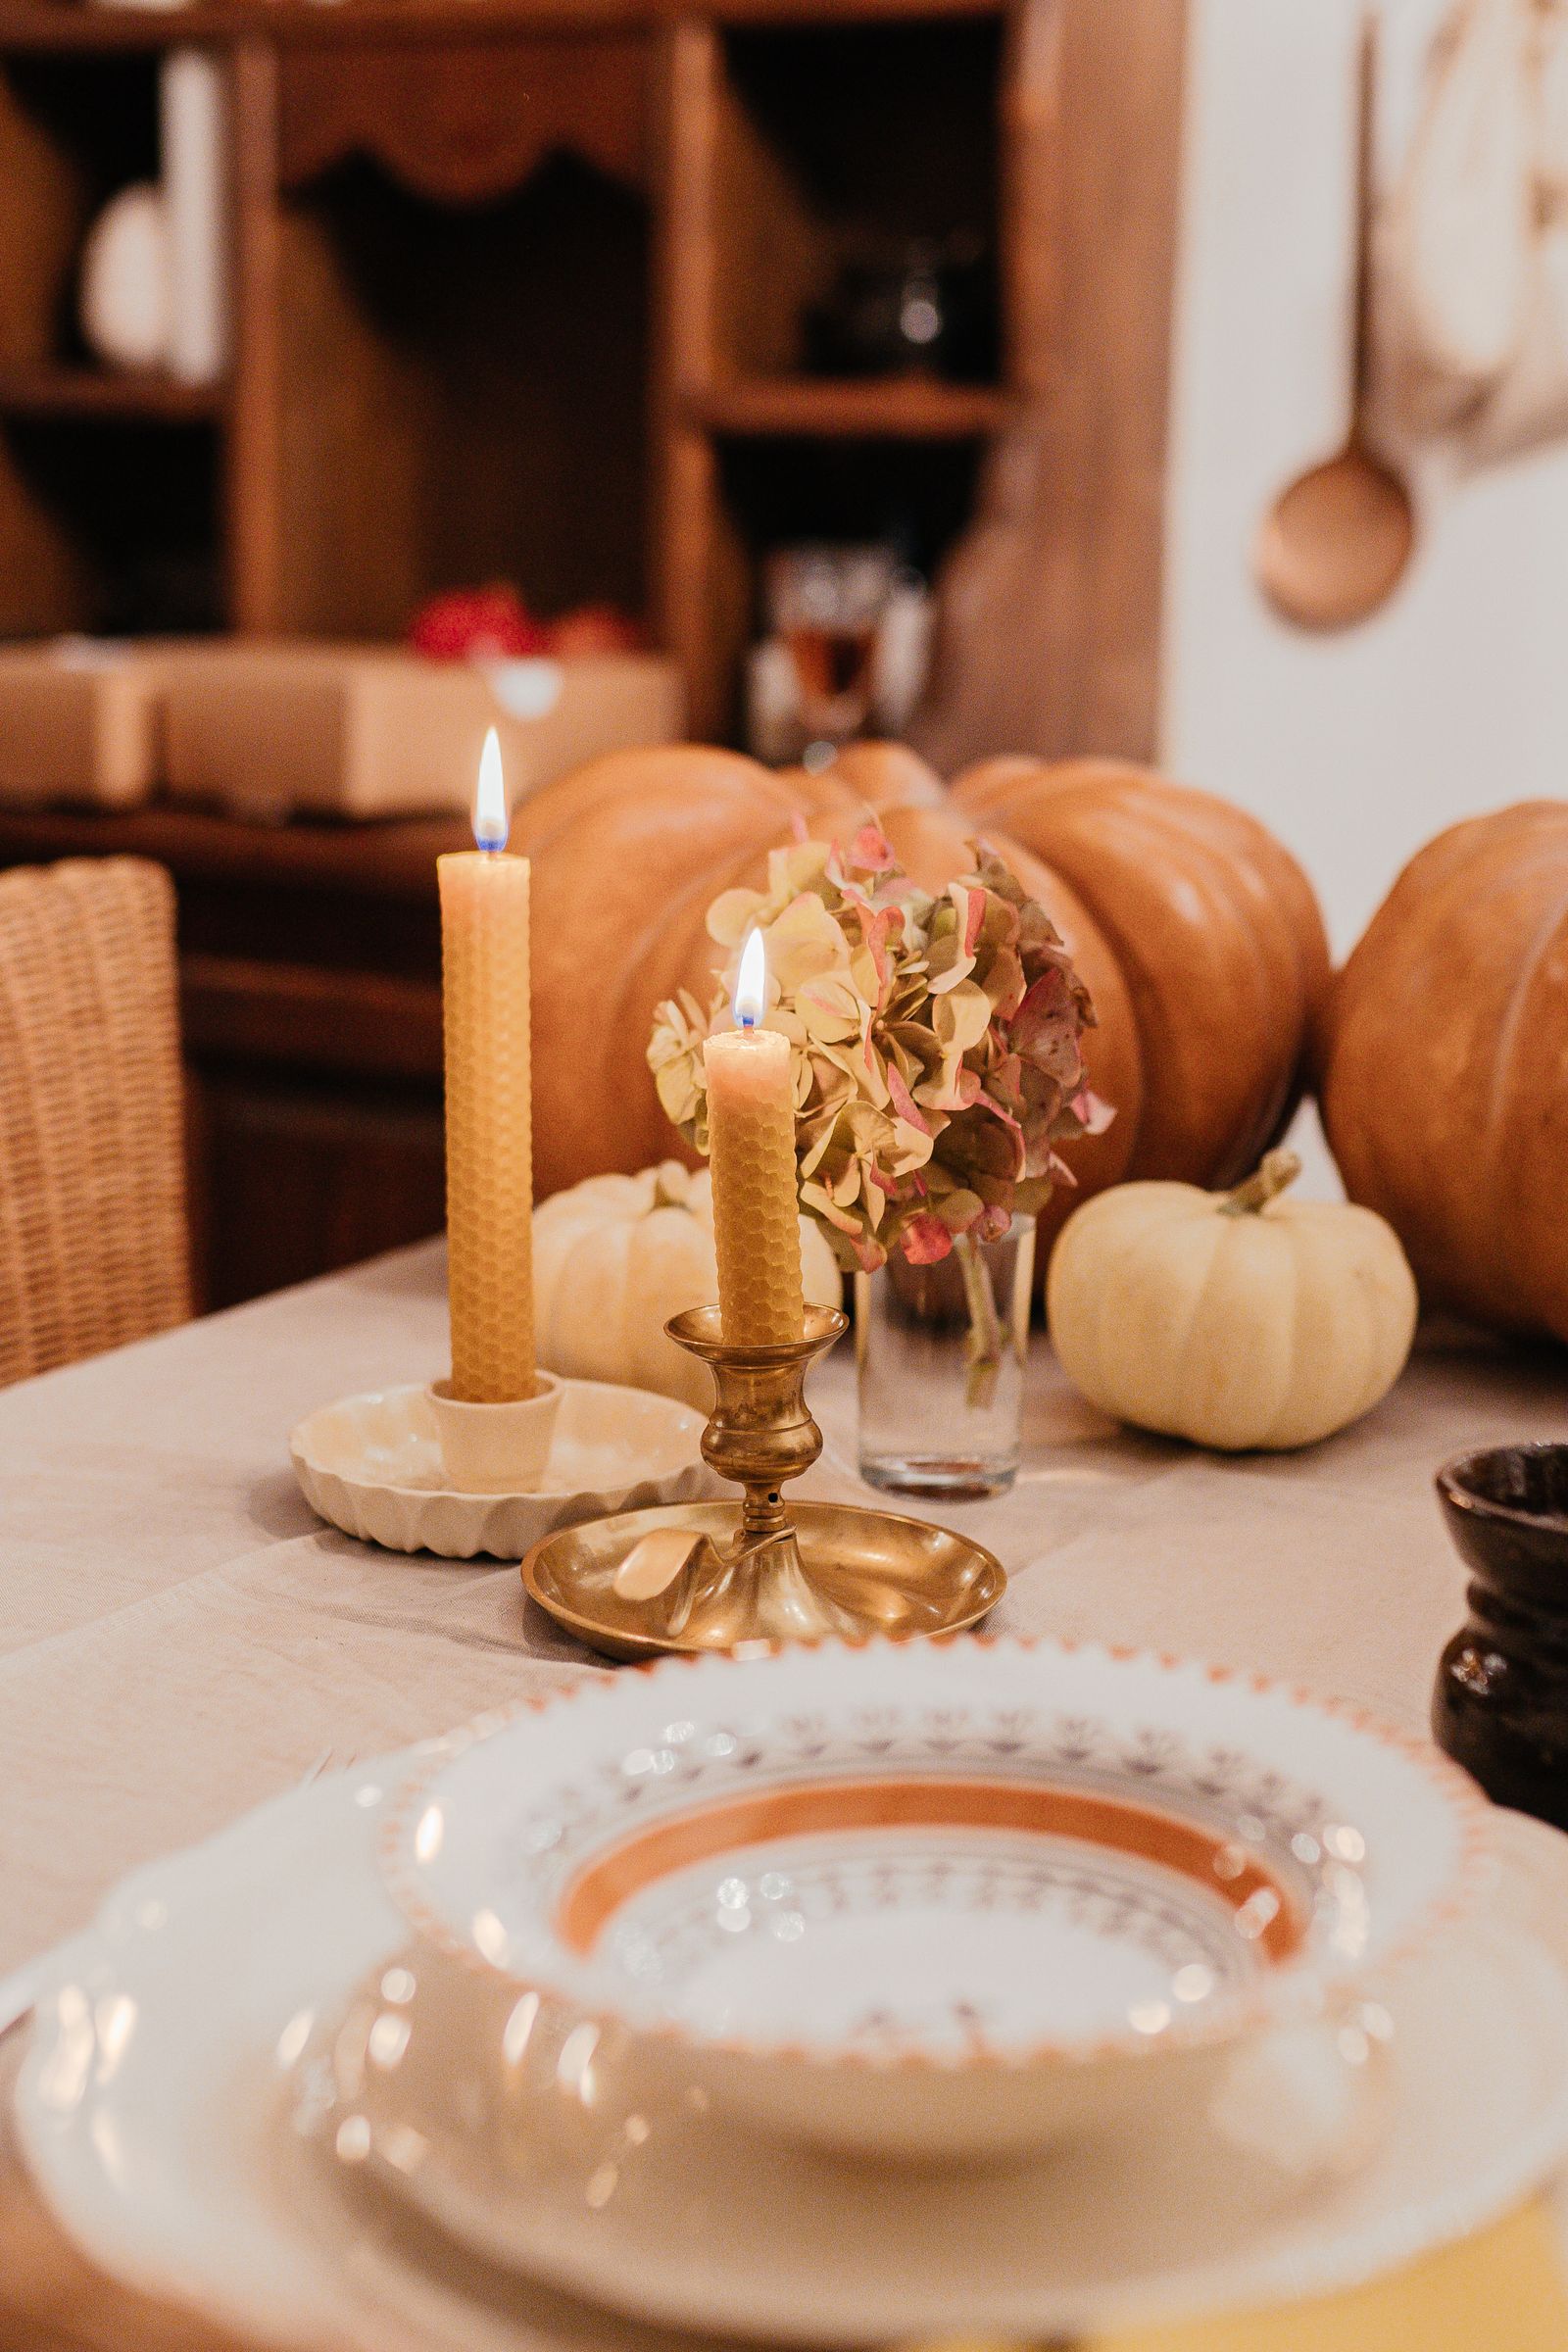
For a vintage autumn table, repeat the wood, cream, or brass already present in the dining area. Add a hand-lettered “Midnight supper” card as the Halloween cue. After the holiday, remove the card and keep the simpler autumn composition if you still enjoy it.
Choose just one of these stories for the main arrangement. Mixing every Halloween motif into a compact centerpiece makes it harder to distinguish the decorative island from the working table.
Give the table a glow without an open flame
Battery-operated LED candles can add a warm focal point when they suit the placement and household. Keep paper and other decorations clear of any device’s operating parts, and leave access to the controls. Do not place a light inside an ornament or container unless that arrangement is permitted for the device.
The Homemory 6-by-3-inch plastic LED pillar candle set is one researched option. The selected pack contains two pillars, and its listing specifies two AA batteries per candle. Its footprint may suit a larger tray; on a very small table, even one pillar may consume too much of the working area.
Measure the candle position before ordering and check the delivered instructions, battery requirements, and remote compartment. Battery products and remotes still need to be kept away from children and pets. This guide does not test brightness, operating life, or remote reliability.
The NFPA Halloween guidance supports battery-powered lighting for jack-o’-lanterns and keeping decorations away from heat sources. A Halloween table can also rely entirely on the room’s normal light if a separate LED unit adds more equipment than you want.
Make an everyday setting and a dinner setting
Everyday mode: Leave only the contained centerpiece in its chosen position. Keep placemats, special napkins, and extra decorative cards put away. The table remains available for breakfast and the next household task.
Dinner mode: Add the actual place settings and check the arrangement with the food you intend to serve. If the centerpiece competes with serving dishes, move it to its waiting spot before bringing hot food to the table. The Halloween color can remain through the dishes, textile, or one small card away from food.
For a table that seats several people tightly, the centerpiece may work best only before and after dinner. That is still a successful seasonal display. It welcomes everyone into the room, then makes way for the meal.
Check chair movement as part of both modes. Our dining-chair clearance guide explains why a layout must work with occupied chairs. Avoid shifting the whole table into a walkway just to show a decorative arrangement.
Use a simple cleaning handoff
Before wiping, switch off decorative devices as their instructions require and lift the complete arrangement to its designated supported surface. Remove any textile that needs separate care. Clean the table with the method suitable for its finish, then let the surface become ready before returning the display.
Do not spray a table cleaner through the ornaments. That can coat fabric, paper, battery housings, and finishes that require different care. Cleaning the bare table is faster and avoids treating the whole centerpiece as a single washable object.
If a spill reaches the decoration, identify which items are affected and follow their separate instructions. Blotting a runner, caring for a faux pumpkin, and inspecting a wet electrical unit are different tasks. Remove an affected device from use and follow its manufacturer’s guidance rather than switching it on to see whether it still works.

Keep the scene attractive during ordinary meals
Check the centerpiece when setting the table: its base should be dry, pieces should remain supported, and the surrounding eating area should be clear. Remove a decorative detail if it repeatedly migrates toward the plates. A tray with fewer pieces is easier to restore than a table covered in small scatters.
If crumbs gather inside the display, move the scene farther from food preparation and serving. The point of a defined island is to make cleaning predictable. A display that needs dismantling after every snack may be too intricate for daily use.
The Cleaning hub offers routines for the surfaces and textiles involved. Keep the seasonal care task small enough that you still want the centerpiece on the table next week.
Pack by the arrangement, not by every possible holiday
Photograph the centerpiece beside the table before taking it down. Record which tray, pumpkins, card, and light you used, including the pieces you chose to leave out. A short recipe for the arrangement is more useful than buying a fresh set of filler next year.
Clean and dry items according to their care instructions, remove batteries for storage where the device maker directs, and protect delicate stems or textile finishes. Keep the ordinary tray in everyday service if you use it through the year.

When Halloween ends, return the dining table to its normal working area. The seasonal success is a room that looked festive and remained easy to eat in, clear, and clean—not the number of objects you managed to fit between the plates. For a related step-by-step approach, see Halloween Window Clings: A Clean-Glass Decorating Plan and Gentle Removal.
Before keeping the finished arrangement for next year, use the seasonal decoration storage guide to check its complete packed volume.