An external webcam can improve the flexibility of a shared home-office desk. It lets the camera stay near the display while a laptop moves, or gives a desktop computer its own video source. The purchase is less useful when it adds another cable and another software choice without solving the household’s actual call problem.
The Logitech C920x HD Pro and Anker PowerConf C200 approach that desk differently. The selected Logitech is a 1080p model; the selected Anker offers a published 2K mode, field-of-view choices through AnkerWork, and an integrated privacy cover. Those differences are useful only when they match the computer, software, room, and people using them.
Affiliate disclosure: As an Amazon Associate, Small Home Rhythm earns from qualifying purchases.
Review scope: This comparison uses the selected Amazon listings and Anker’s published A3369 product information and manual. We have not physically tested image quality, low-light performance, focus behavior, microphone clarity, software reliability, or long-term durability. The recommendations concern published capabilities and practical setup requirements.
Choose the camera around the shared desk’s problem
Consider the C920x when you want the selected model’s published 1080p/30fps capability and a straightforward external camera for a compatible setup. Consider the C200 when you specifically want its integrated physical lens cover or the field-of-view options available through compatible AnkerWork software.
If your current laptop camera gives a suitable view and works reliably for your calls, keep it. A separate webcam should solve a named limitation, such as camera positioning beside an external display or a useful room-framing choice. Higher advertised resolution alone does not establish a better experience for your particular calls.
| Published distinction | Logitech C920x HD Pro | Anker PowerConf C200 |
|---|---|---|
| Selected Amazon identity | ASIN B085TFF7M1 | ASIN B09MFMTMPD; Anker model A3369 |
| Video capability considered here | Full HD 1080p at 30fps | 2K at 30fps, with lower modes also listed in the manual |
| Distinctive framing option | Assess its supplied framing in the actual setup | 65, 78, or 95-degree choices through AnkerWork |
| Physical privacy feature considered here | Verify the selected package and your separate end-of-call method | Integrated lens-cover switch |
| Evidence limit | No physical comparative image or audio test | No physical comparative image or audio test |
Logitech C920x: preserve the exact model identity
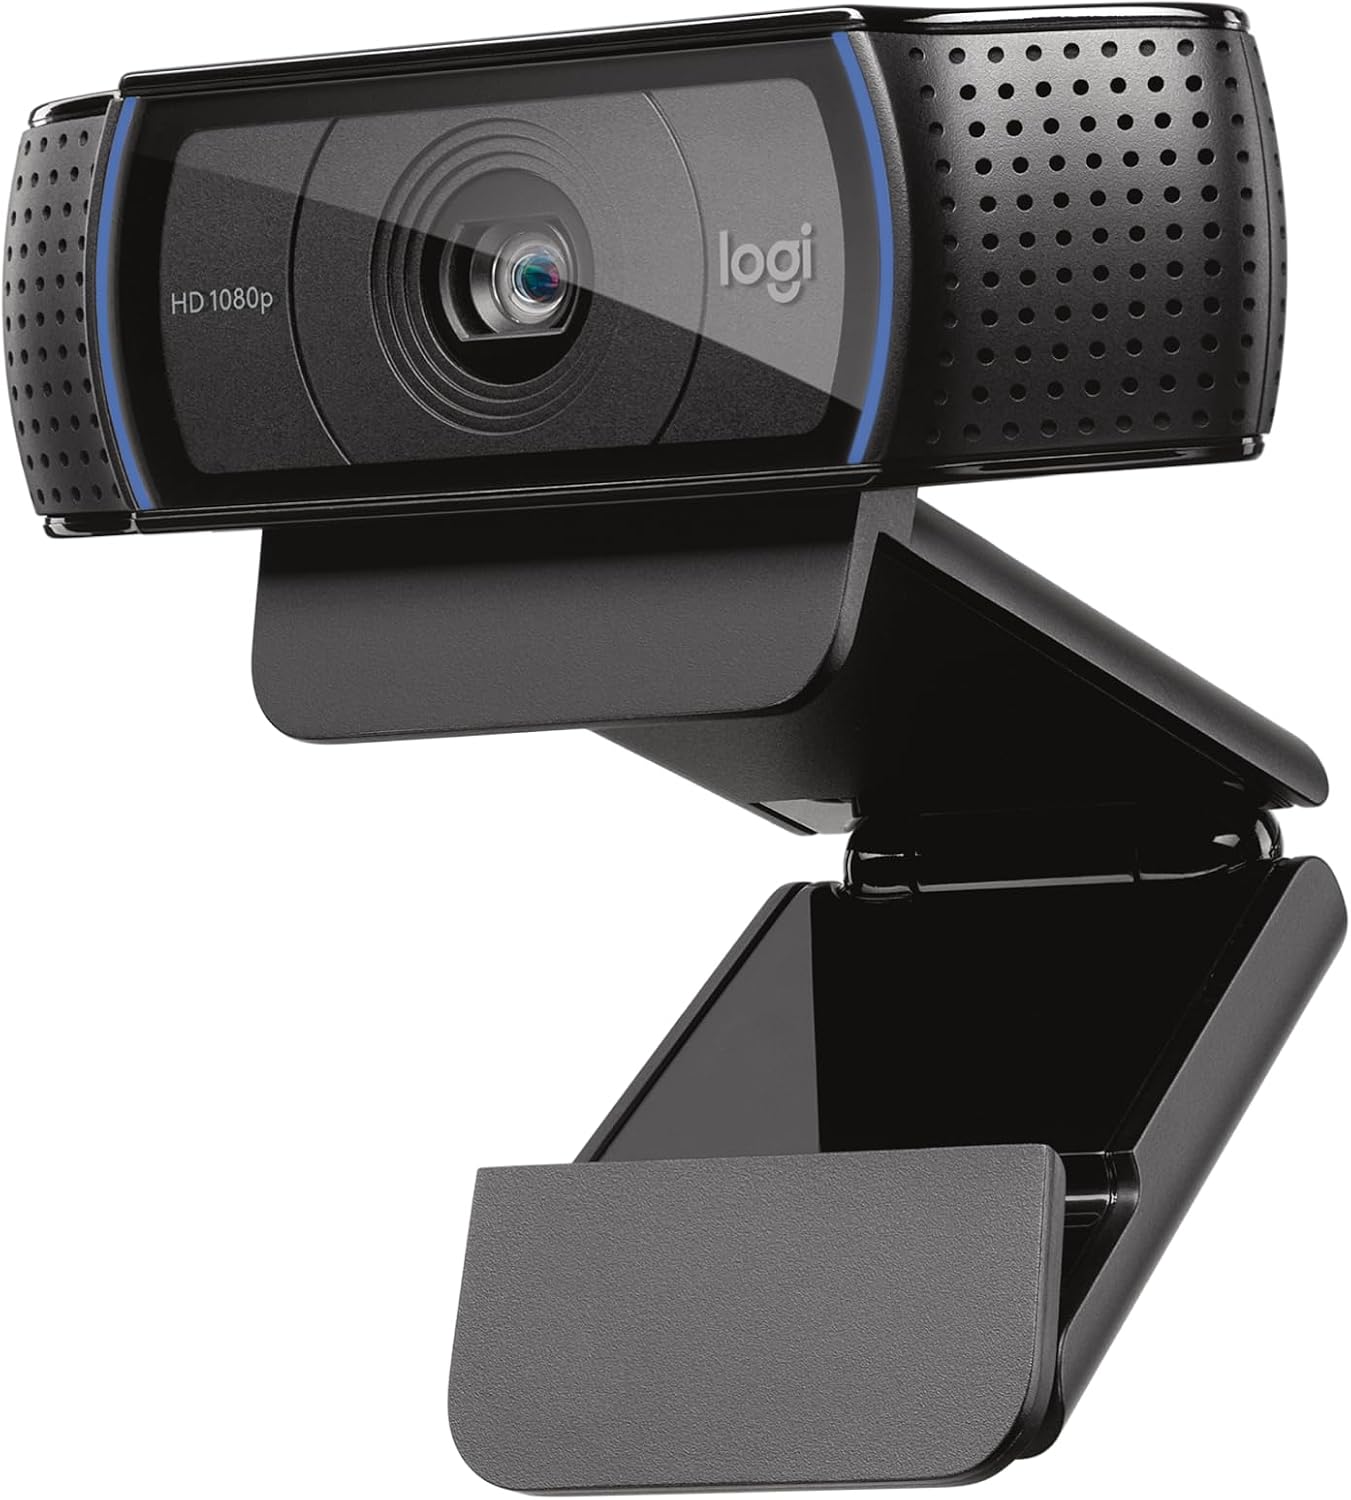
The selected C920x listing identifies Full HD 1080p at 30fps. Logitech’s similarly named C920, C920s, C920e, and other webcams should not be treated as interchangeable packages. An accessory, feature, or software offer attached to another listing does not automatically belong to the selected C920x.
Before buying, check the current listing’s supported computer requirements and supplied hardware. Compare those with the exact computer that will use the desk. If the camera will move between two computers, confirm each one rather than deciding from the first successful match.
Use this model when its published video capability and intended connection fit your needs. We have not established that its image is sharper, its microphone is clearer, or its software is simpler than the C200. Those would be physical or hands-on software claims beyond this comparison.
Check the selected Logitech C920x HD Pro on Amazon. Confirm model, seller, package contents, computer compatibility, current delivered price, and return terms.
Anker C200: framing choices and a lens-cover routine
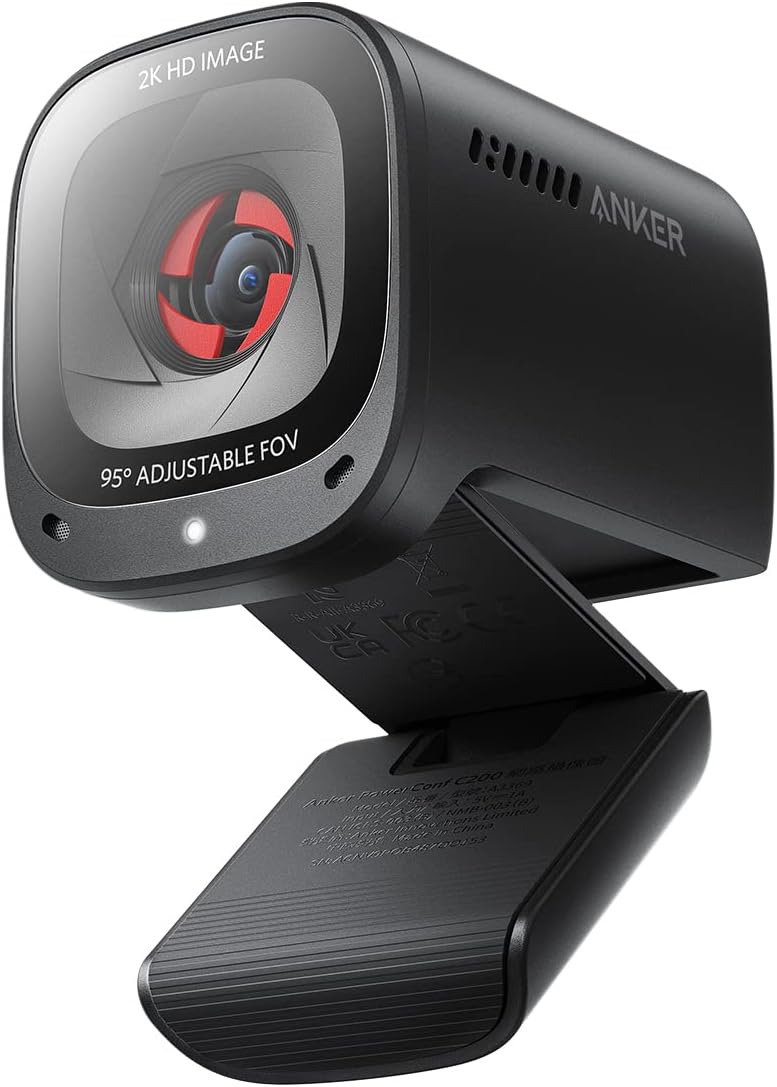
The official Anker A3369 page describes the C200’s 2K capability, integrated privacy cover, and selectable fields of view through AnkerWork. Those settings provide a specific reason to consider it for a desk facing a shared room.
Field of view describes the scene the camera captures at the relevant setting. It does not guarantee that a narrow setting will hide every nearby object or household member. Position, distance, camera angle, and the actual room still matter. Check the preview at the exact seat before relying on the setting.
The integrated cover offers a physical lens-cover action at the end of use. Treat camera control and microphone control separately. Do not assume that covering the lens ends an application session, mutes audio, or disconnects the device. The end-of-call routine needs the correct application and device actions as well.
Check the selected Anker PowerConf C200 on Amazon. Verify A3369 identity and the supplied connection before ordering.
Check computer compatibility before comparing resolution
List the computers and operating systems used at the desk. For each, identify available ports, the camera’s required connection, and the currently supported requirements in the selected product instructions. A household sharing a monitor may still have two very different computer connections.
The C200 maker-hosted quick guide identifies the camera’s USB-C port and shows use of the provided cable. Follow the actual supplied connection and your computer’s requirements. The shape of the camera-side port alone does not tell you what connection or software the host computer needs.
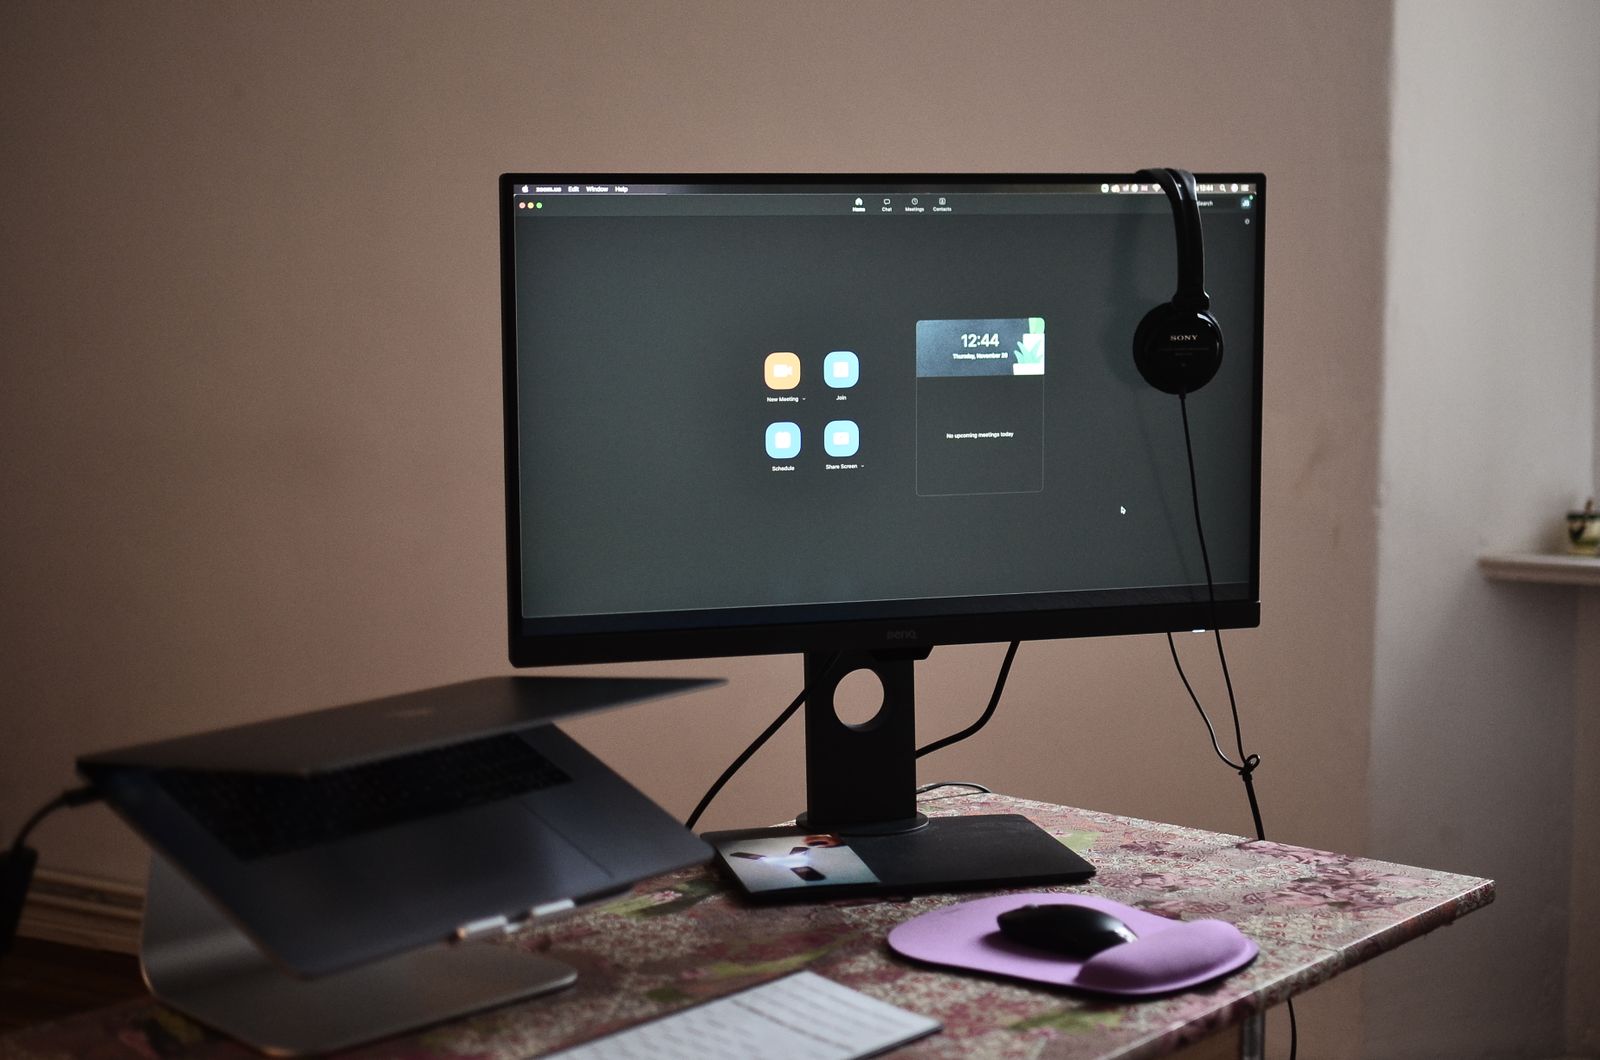
If you use a hub, verify its relevant port and permitted setup with the camera and computer documentation. Do not assume that an unused socket has the required function because the plug fits. Our Anker 332 hub review covers the separate hub-selection decision.
A work-managed computer may restrict software installation or device settings. Confirm the permitted setup with the appropriate support process before relying on AnkerWork-dependent options or another utility. Buying a feature you cannot use under the computer’s settings creates a preventable mismatch.
Use video specifications as a capability check
The selected C920x’s 1080p/30fps and the C200’s published 2K/30fps describe camera capabilities. Check what your actual application, account settings, and computer setup support and select. Do not assume that every meeting automatically transmits the camera’s highest advertised mode.
If the application and your intended use work with an appropriate lower mode, the extra capability may not solve your problem. A camera placed poorly beside a display can still give an inconvenient view regardless of the number printed on the package.
For a shared desk, camera position and a repeatable setup may matter more than a specification difference. Consider where the user looks while talking, whether notes can be seen, and whether a laptop will sit to one side of the main screen. The camera should support that arrangement rather than force a new furniture layout.
If paper notes are part of the calls, our small-desk document-holder comparison addresses their support separately. Keep notes visible without using them to cover the camera or crowd its intended mounting location.
Do not translate 2K into a universal quality winner. Resolution is one element among optics, processing, lighting, connection, application behavior, and use conditions. This article does not contain the comparative testing needed to rank the final image under those conditions.
Preview the room from the camera’s viewpoint
Look behind the intended seat before mounting anything. A door, hallway, family noticeboard, or mirror can put more of the household into view than you expect. Decide what should be visible in an ordinary call, then assess whether the camera position can provide that view.
Seat each regular user at the proposed position. Different heights, chair preferences, and laptop arrangements can change the framing. A setup adjusted for one adult may not be the next person’s correct starting point.
With the C200, check the available AnkerWork framing choices in the actual supported setup and then confirm the preview in the application being used. Do not rely on a setting remembered from another computer or an earlier session. A shared desk needs a visible pre-call check.
With either camera, follow its mounting instructions and the display’s limitations. Check that the intended support does not interfere with the screen, vents, controls, or other equipment. An accessory mount is another compatibility decision, not a default requirement.
Separate camera purchase from lighting and audio decisions
Assess the current room in the actual calling period. Daylight behind the chair or a lamp close to the display may affect the view. Use suitable changes to the existing room and preview the result before deciding that another purchase is necessary.
We have not tested either camera’s low-light claims or made a measured comparison of their processing. Manufacturer descriptions can identify intended features, but they do not establish how the two units perform beside your particular window or under your evening lighting.
Check which microphone the application uses. A webcam’s presence does not mean its microphone is the intended audio source for every user. Someone may use an existing headset or another approved audio arrangement. Confirm the selected source and the end-of-call mute behavior for the actual setup.
If the main problem is disturbing another household member or hearing speech clearly, identify that audio problem independently. Neither a resolution upgrade nor a lens cover is an answer to every shared-room issue. This comparison cannot rank microphone performance without physical testing.

Keep the mounting and cable arrangement repeatable
Choose an approved mounting position that can remain in place when practical. Check the cable’s intended route and connection without stretching it or using an unapproved extension. Account for monitor adjustment, laptop removal, chair movement, and access to the desk.
If the desk packs away, give the camera and its approved accessories a suitable storage home. Follow the maker’s handling instructions and protect the equipment without forcing the cable into a tight bundle. Retain the cable’s identity so it does not disappear into a collection of visually similar leads.
The laptop-stand comparison addresses a separate support choice. If a stand changes the laptop’s position, reassess camera placement rather than assuming that raising the computer automatically completes the video setup.
Give each user a short start-and-finish check
Before a call, confirm the correct camera in the intended application, preview the frame, check the selected microphone, and verify any relevant cover position. For the C200, include its software-dependent framing choice when that feature is part of the plan.
At the end, leave the application or session as intended, confirm audio and camera controls, and perform the chosen physical cover or disconnection action according to the device instructions. Keep private work materials out of the next person’s shared space.
A short household note can record where the equipment belongs and which settings each computer needs. Keep account credentials and private information out of a note displayed beside the desk. The useful information is device identity and the repeatable setup, not someone’s personal meeting details.
Shared input devices create their own handoffs. Our Logitech Pebble Keys 2 review discusses one such choice. Add a webcam only after the desk’s existing devices can be selected and returned predictably.
Make the final choice from a named need
Example: two computers sharing one monitor
Imagine one adult uses a work laptop during the day and another uses a personal computer in the evening. The monitor stays in place, but the computers have different available ports and software permissions. The buying worksheet should have a separate row for each computer: required connection, supported camera setup, permitted utility, and the intended application.
If AnkerWork cannot be used on the work computer, do not count its framing choices as a guaranteed part of that user’s experience. If a relevant connection is unavailable on the personal computer, resolve the approved connection before adding the camera to a shopping list. The shared monitor is one physical object; compatibility is still two separate questions.
Example: one laptop already serving the task
Now imagine a single laptop on a desk that packs away between work and family activities. The built-in camera already gives the required view, and calls do not depend on an external display. The immediate improvement may be a more repeatable seat and laptop position using suitable existing support. Adding a separate webcam would introduce equipment handling without a named benefit.
By contrast, if the laptop is usually off to one side while the user talks toward the main display, an approved external-camera position may solve a real mismatch. Describe that benefit before comparing brands. You can then check whether either selected model provides a compatible, manageable setup. The purchase decision starts with a specific change to the household task.
Choose the selected C920x when its compatible 1080p setup solves the camera-position problem and you do not need the C200’s particular framing or cover features. Choose the C200 when those published features serve a real household need and the supported software and connection fit each intended computer.
Compare the current total purchase cost after checking the exact versions and any necessary approved accessories. Avoid treating an additional mount, hub, or lamp as inevitable. A webcam that needs several unplanned purchases may be less suitable than your existing camera in a better arranged position.
Use our home-office storage guide to plan equipment return. The Home Office collection and Buying Guides cover the surrounding desk decisions.
The right camera is the one whose connection, framing, controls, and end-of-call routine work for the people sharing the desk. Published specifications help you narrow that decision. An honest compatibility and room check tells you whether either model needs to be bought at all.