
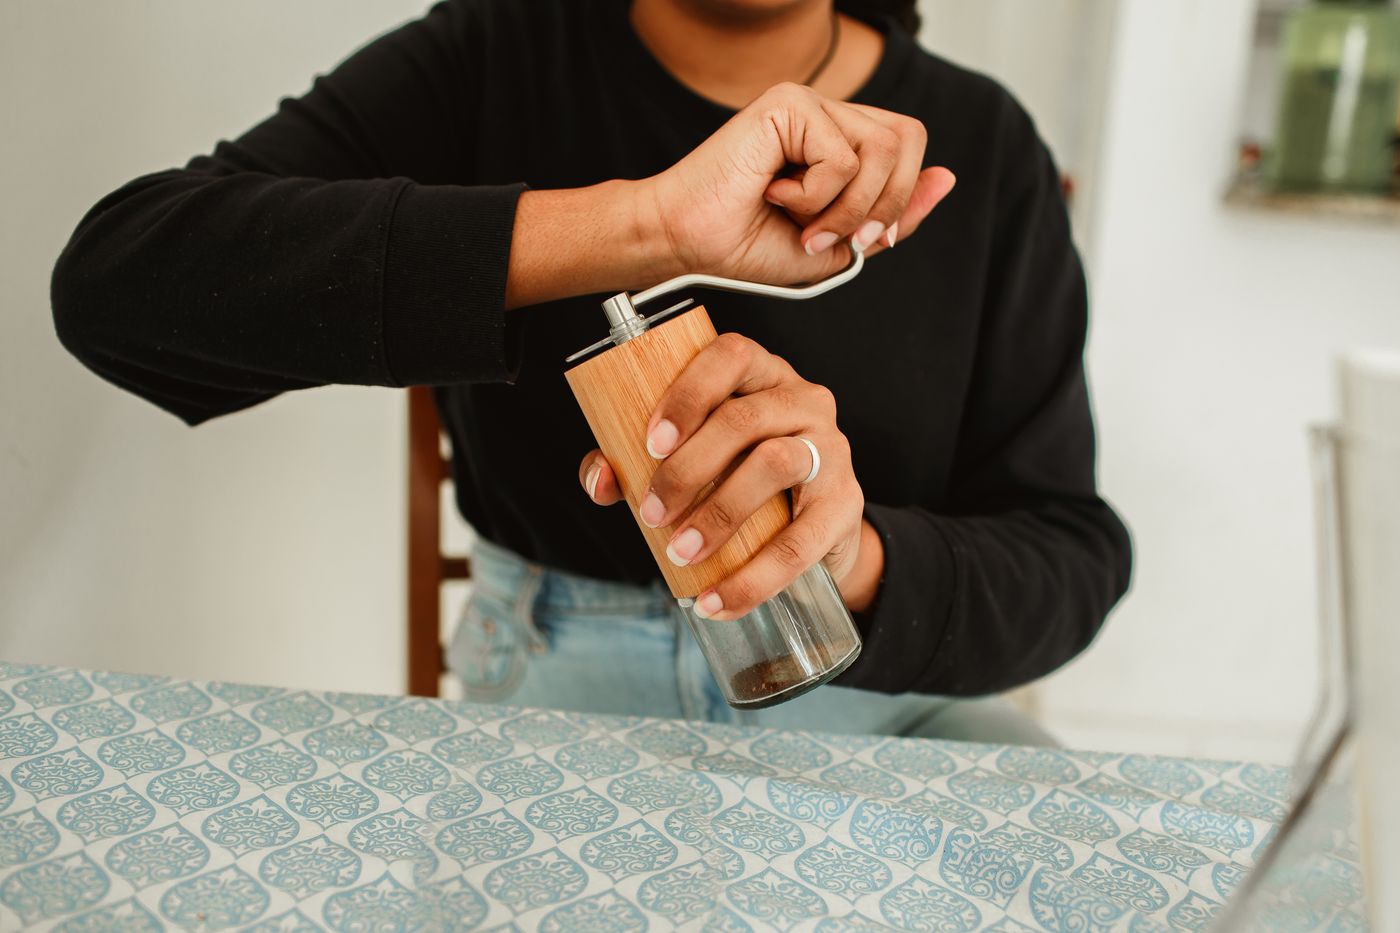
A manual coffee grinder does not need an electrical outlet, but it still needs working space. The handle turns beyond the body, one hand may need to hold the grinder, and the grounds container must be opened and emptied through its intended method. A narrow shelf can store the object while providing no sensible place to use it.
Plan the routine with the exact grinder and the surfaces already available in your rental. Check its instructions, make room for the full hand movement, and include transferring grounds and clearing residue. The useful setup may be temporary rather than a permanent coffee display.
Start with the way the grinder is meant to be used
Read the actual product’s assembly, operation, adjustment, and care guidance. Some manual grinders are held in the hand; others are designed around a supported body or a different arrangement. A familiar crank does not establish that every model can be used the same way.
Do not attach the grinder to a counter, clamp it, or modify its base unless that is part of its intended design. A rental-friendly routine can begin with portable equipment, but portability does not remove the need to follow the equipment’s instructions.
Pinterest’s autumn 2026 creator report includes interest in at-home coffee rituals. Making a working spot for a hand grinder is our practical application of that published signal, not a claim that a specific model or grind setting is currently the most popular.
Before adding a grinder, consider whether you want its actual manual routine. A product that stores neatly can still be inconvenient if the required handling does not suit the person making coffee. This article does not promise quiet operation, faster preparation, or better flavor.

Walk through one complete coffee-making session
Identify the stages your own method uses: access the beans, load the grinder as directed, operate it, remove the appropriate container, transfer the grounds, and perform the required cleanup. Do not assume the grinding stage is the whole counter-space demand.
Separate storage positions from working positions. Beans may belong in one suitable location and the grinder in another; the measuring and brewing stages may need a clear surface only while in use. You do not need every related object permanently displayed together.
If another person shares the kitchen, check when that surface is normally needed. A short coffee routine can compete with breakfast preparation, washing up, or access to a cupboard. Choose a location and time that work with those activities.
The one-counter home-cafe guide considers the wider allocation. Here the focus is the specific movement and handoff around a manual grinder. Establish that routine before adding decorative jars or a new tray.
Check handle and hand space while everything is cold
Use a cold, empty or otherwise appropriately prepared preliminary check consistent with the maker’s instructions. Look at where the handle moves and where your hands need to be. Do not perform an operation the instructions prohibit simply to simulate the motion.
Include nearby walls, shelves, cupboard doors, and other equipment. The grinder body may fit in a corner while the handle cannot complete its intended movement there. A clear space above the body can also matter for loading or removing a lid.
Check the posture the actual routine requires without prescribing a universal counter height. Can the intended user hold and operate the product as directed without reaching past an obstacle? If not, try a more suitable existing location before buying an accessory to prop it up.
A paper footprint can help show the storage area, but it cannot reproduce hand clearance or the product’s handling. Keep that limitation in mind when evaluating a listing’s dimensions before purchase.

Make the transfer of grounds straightforward
Check how the grounds container separates from the exact grinder. It may unscrew, pull away, or use another intended mechanism. Allow room for that action without balancing the grinder over a sink or holding several loose pieces at once.
Place the appropriate receiving vessel in a suitable stable position. The transfer should be manageable without reaching across a hot appliance or another person’s work. Keep the dry grinding stage distinct from any later hot-water stage in the routine.
Choose an existing surface or suitable container to catch incidental residue if that is compatible with the product and your setup. A decorative tray is optional. If its raised edge makes the actual transfer harder, it is not improving the working area.
Do not tap, strike, or shake the grinder more forcefully to imitate a technique from a video. Follow its actual instructions for clearing grounds. This layout guide does not establish a cleaning or grinding method for an unidentified model.
Keep the hot-water route separate
If your coffee method uses a kettle, account for its filling, heating, pouring, and resting requirements independently. Do not let a convenient grinder position become a place where hot equipment must be passed over your hands.
Our stovetop-kettle route guide follows those separate movements in a small kitchen. The grinder may share a counter with the kettle when everything is appropriately placed, but their working requirements remain different.
Similarly, the brewing equipment needs its own permitted position. A cup, dripper, press, or moka pot is not simply a decorative companion. Check its intended use and support rather than arranging everything around a central grinder for a photograph.
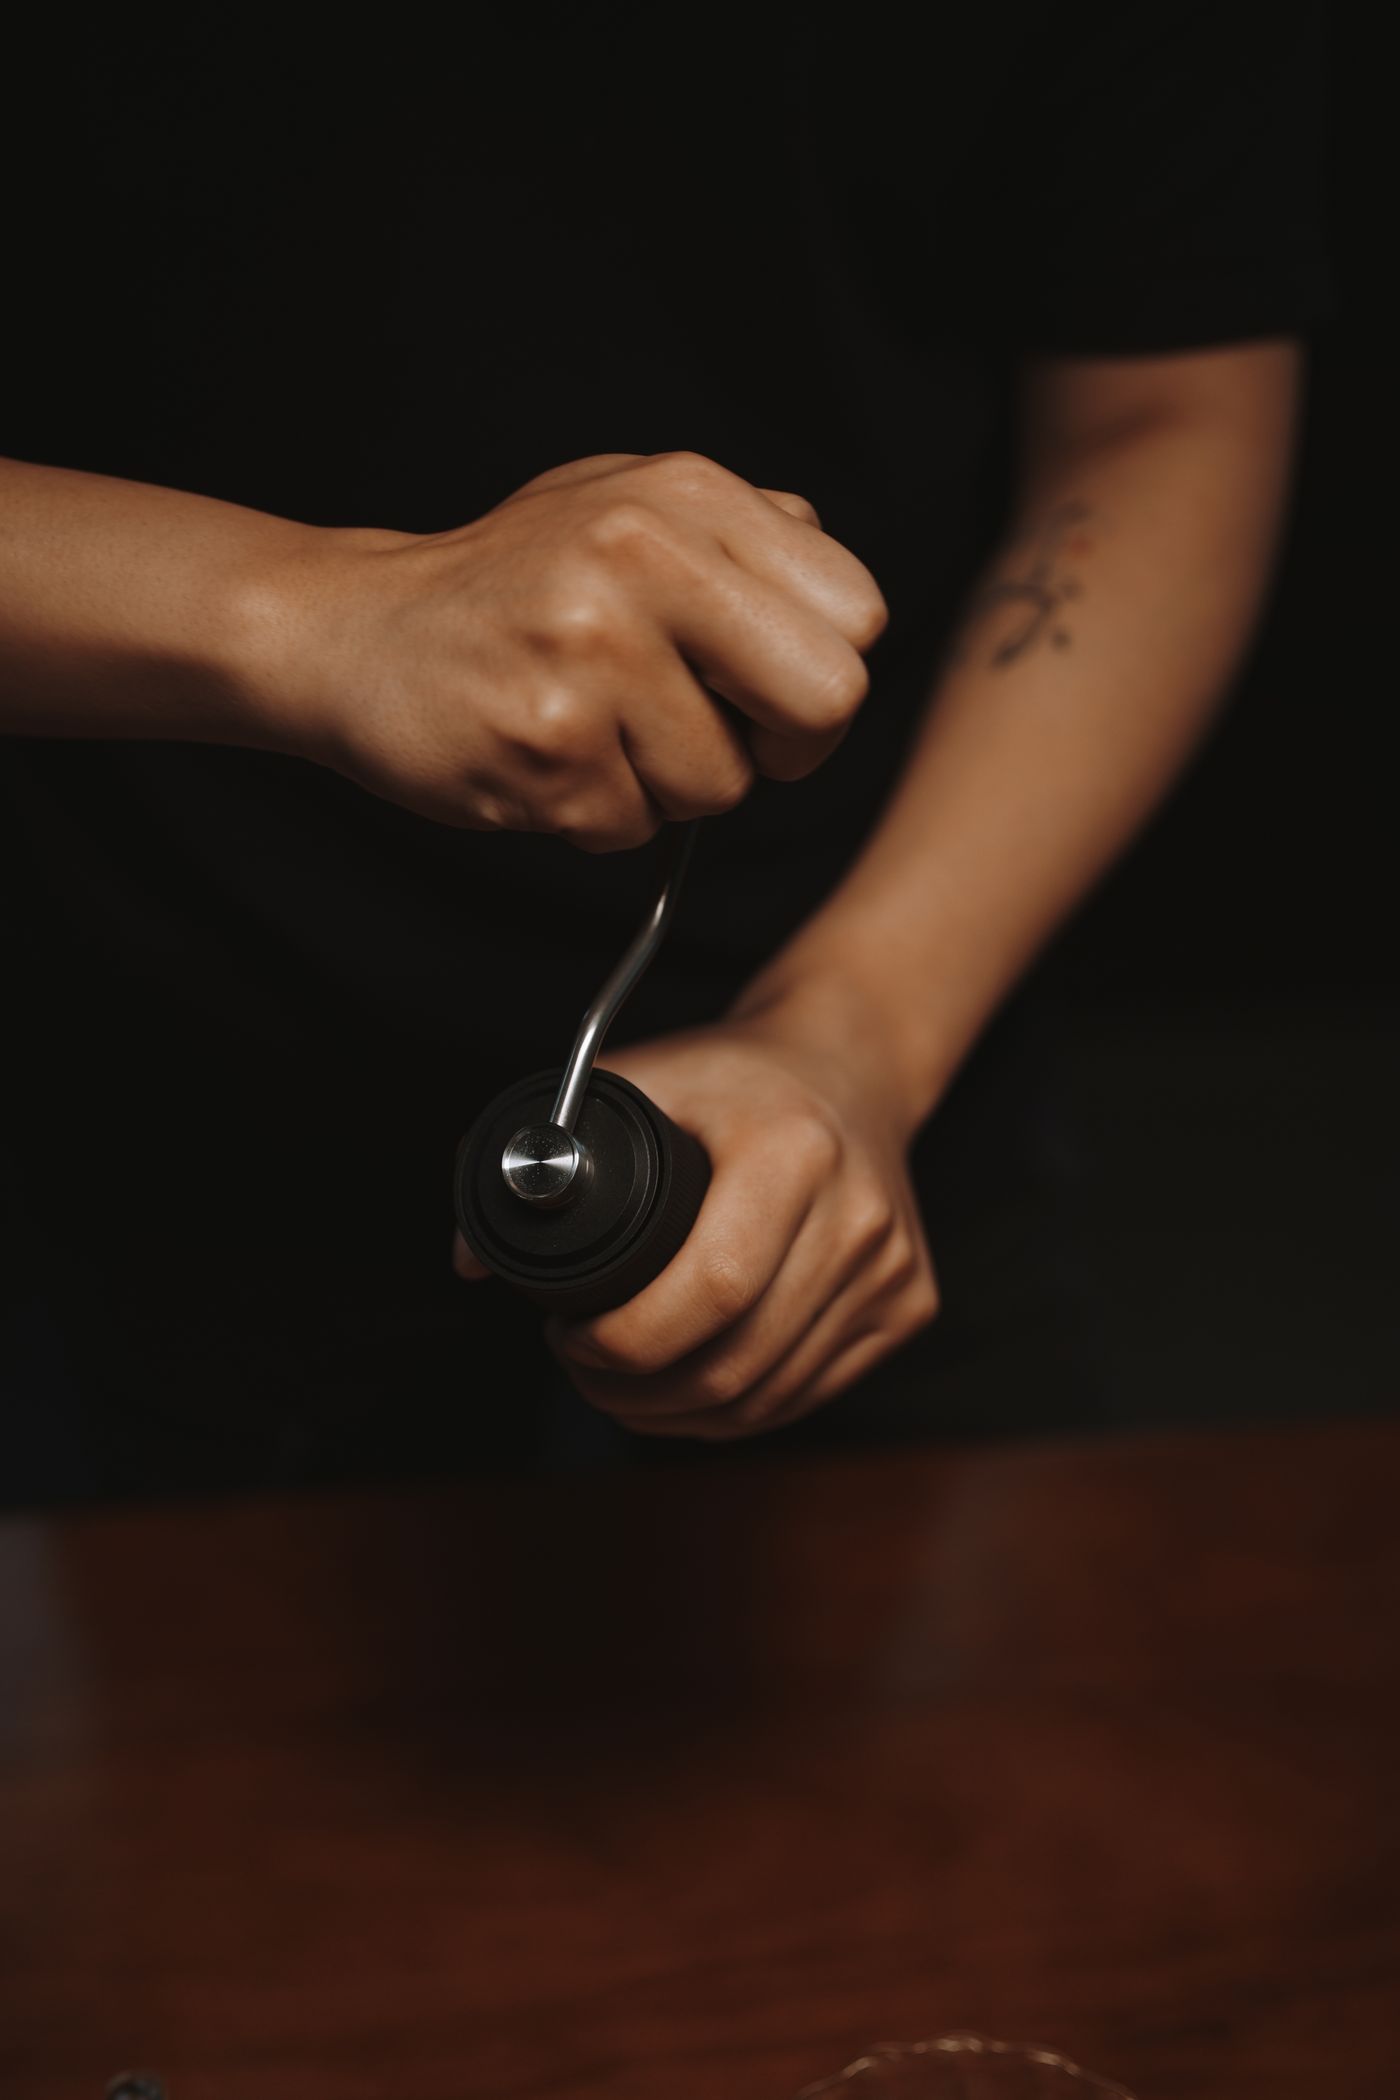
A clean sequence may be enough to reduce crowding: finish an appropriate dry stage, return unused supplies, and leave the next work area clear. Do not add extra equipment merely to make every stage look like a cafe station.
Plan for small residual grounds
Follow the maker’s care directions for the grinder’s burrs, container, exterior, and any removable components. Do not assume that all parts may be rinsed or that a brush supplied with one model suits another. Keep cleaning and adjustment separate where the instructions do.
Choose where permitted maintenance will happen and where the product can become ready for storage. A portable grinder that cannot be cleaned or dried through its required process in the available space may not be a practical purchase for that kitchen.
Keep incidental grounds off surfaces that need to be ready for food preparation or other equipment. Use an appropriate cleaning method for the actual counter and tools. This article does not prescribe disposal rules or a universal cleaning chemical.
When residue repeatedly spreads into a neighboring activity, reconsider the working position and transfer step. A larger coffee tray may hide the same underlying handling problem rather than solve it.
Store the grinder as a complete, ready object
After the permitted care is finished, return the grinder in its required storage condition. Keep any intended removable handle, lid, or container linked to the correct product without packing parts in a way that strains them.
Measure the actual stored arrangement. A handle that can be removed according to the design may change the required space, but do not remove a part that is not intended for routine detachment. Confirm the supplied model rather than borrowing a storage claim from another variation.
Do not make a high shelf the default simply because the grinder is small. Choose a location where the intended user can retrieve it appropriately and where it does not fall out when another item is removed.

In a shared kitchen, put it away when the next activity needs the space. The dishwasher-door and loading-space guide highlights why a closed appliance’s footprint is only part of the room’s use. Keep that normal access available during the coffee routine too.
Try the existing arrangement before adding furniture
Run through the intended routine in the suitable location and note the actual interruption: an obstructed handle, nowhere to put the container, or a missing cleanup position. Correct the specific problem one step at a time.
A small table or trolley may be useful only if it also fits the rental’s real layout and can support the activity appropriately. It should not be the automatic purchase attached to a compact grinder. Another existing surface or a different routine may be sufficient.
The useful result is a grinder you can retrieve, operate, empty, and return without reorganizing the kitchen around it. Let that complete sequence determine its place, then add only the visual details you still want and have room to maintain.
Explore related decisions in our Small-Space Living hub.
Sources and editorial scope
Editorial research checked October 28, 2026. Published trend reports are context for these editorial applications, not verified live keyword rankings. Practical household guidance; photographs do not document a tested household or authenticate pictured materials.
