

A dress form needs room for more than its torso. Its stand occupies the floor, a garment can project well beyond the body, and the person working needs access to the areas being fitted. In a small rental, plan the working arrangement and the parked arrangement before deciding that a narrow corner can hold a permanent sewing aid.
Etsy’s fall and winter 2026 report provides context for hands-on making and visible craft. A dress form is one possible tool within that interest, not an automatic requirement for every sewing project. This guide plans household space; it does not teach garment fitting or prescribe modifications to a particular form.
Define the work that needs the form
List the actual tasks you expect to perform. Checking the hang of a garment, working around a hem, and displaying a finished piece can require different access. A form used only for occasional visual checks may need a different position from one used throughout an active making session.
Compare that task with the equipment you already have. Some projects may be completed using the methods in their instructions without adding a form to the rental. Identify the recurring problem that a form would solve before buying one because the sewing area looks incomplete without it.
Identify the complete product
Check the form’s torso dimensions, height range, stand footprint, weight, and supported adjustments. Read the actual maker’s instructions for use and handling. A decorative display mannequin, an adjustable fitting form, and a specialist professional form should not be assumed to share construction or capabilities.
Keep body measurements and floor measurements distinct in your record. A torso that matches the intended project may still sit on a stand too wide for the proposed position. Equally, a narrow stand footprint does not establish that the form is suitable for the fitting method you intend to use.
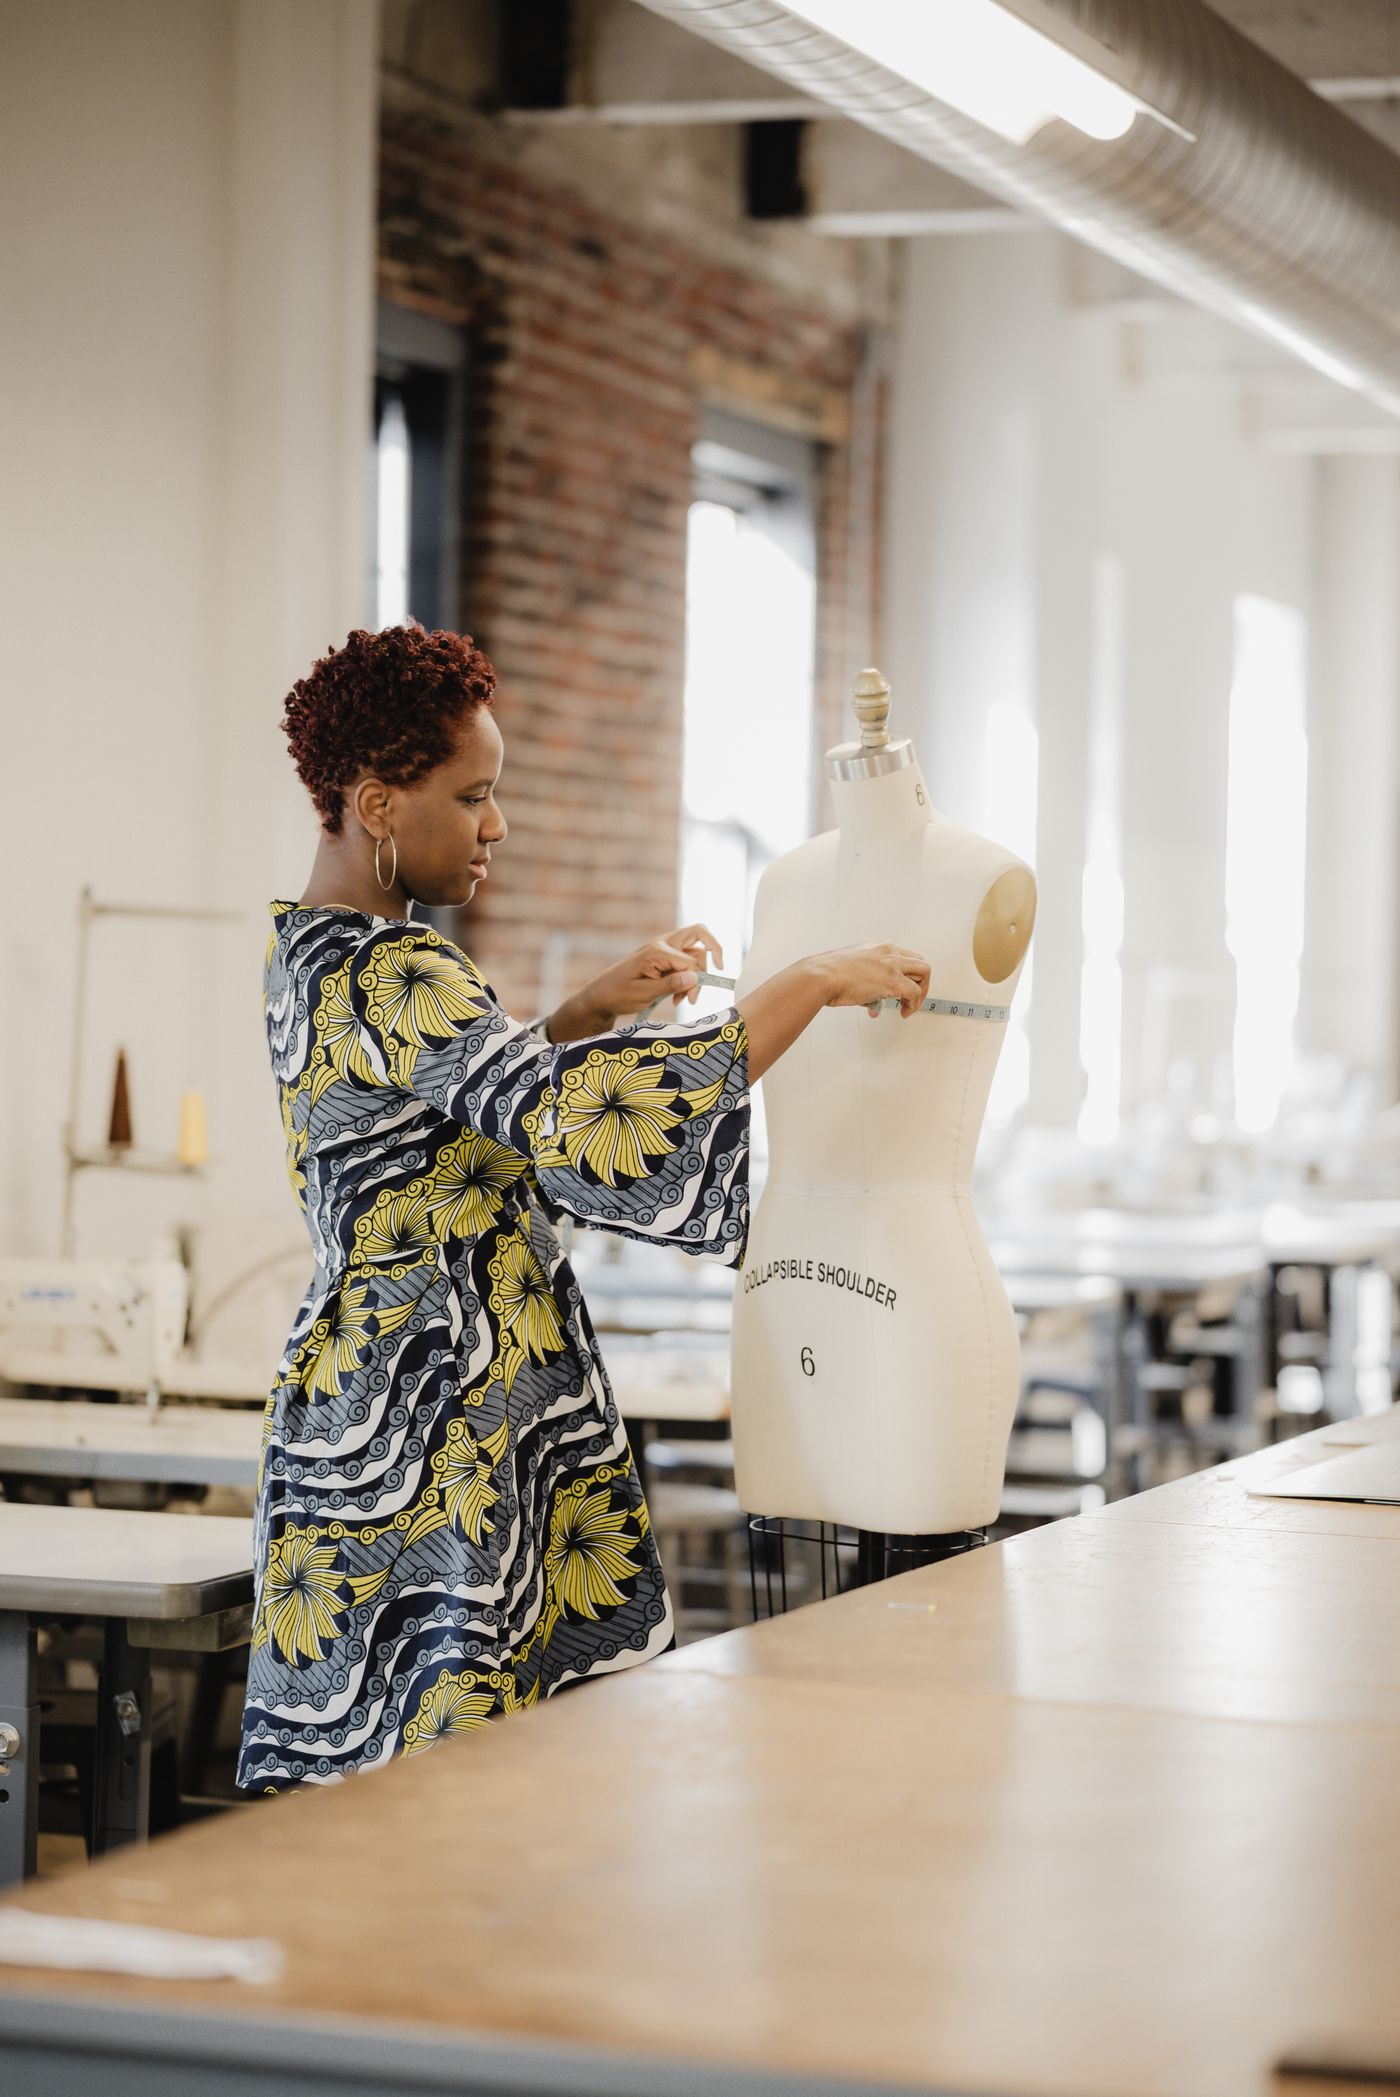
Measure the stand in its working configuration
Use the base as it actually stands during work, including feet, projections, and any adjustment arrangement. Do not estimate the footprint from a torso-only product image. Compare the full base with the intended floor position and the person’s normal standing space.
Check the support surface using the maker’s guidance. A form that stands appropriately on one floor may need reassessment where a rug edge or another change of level affects the base. Avoid modifying the stand or using an improvised support merely to fit the desired corner.
Include the garment’s outline
A skirt, sleeve, or partly assembled panel can extend beyond the form’s torso. Use the actual intended garment or the project’s dimensions to assess that additional space. Keep the garment’s required handling and construction stage in mind; an unfinished piece may not be ready to hang or move as if it were complete.
Check nearby drawers, door swings, and furniture. A position can hold the bare form while allowing a garment to catch on a handle or narrow the route beside it. The working footprint is the complete supported project, not the outline of the uncovered form.
Reserve access to the parts you will use
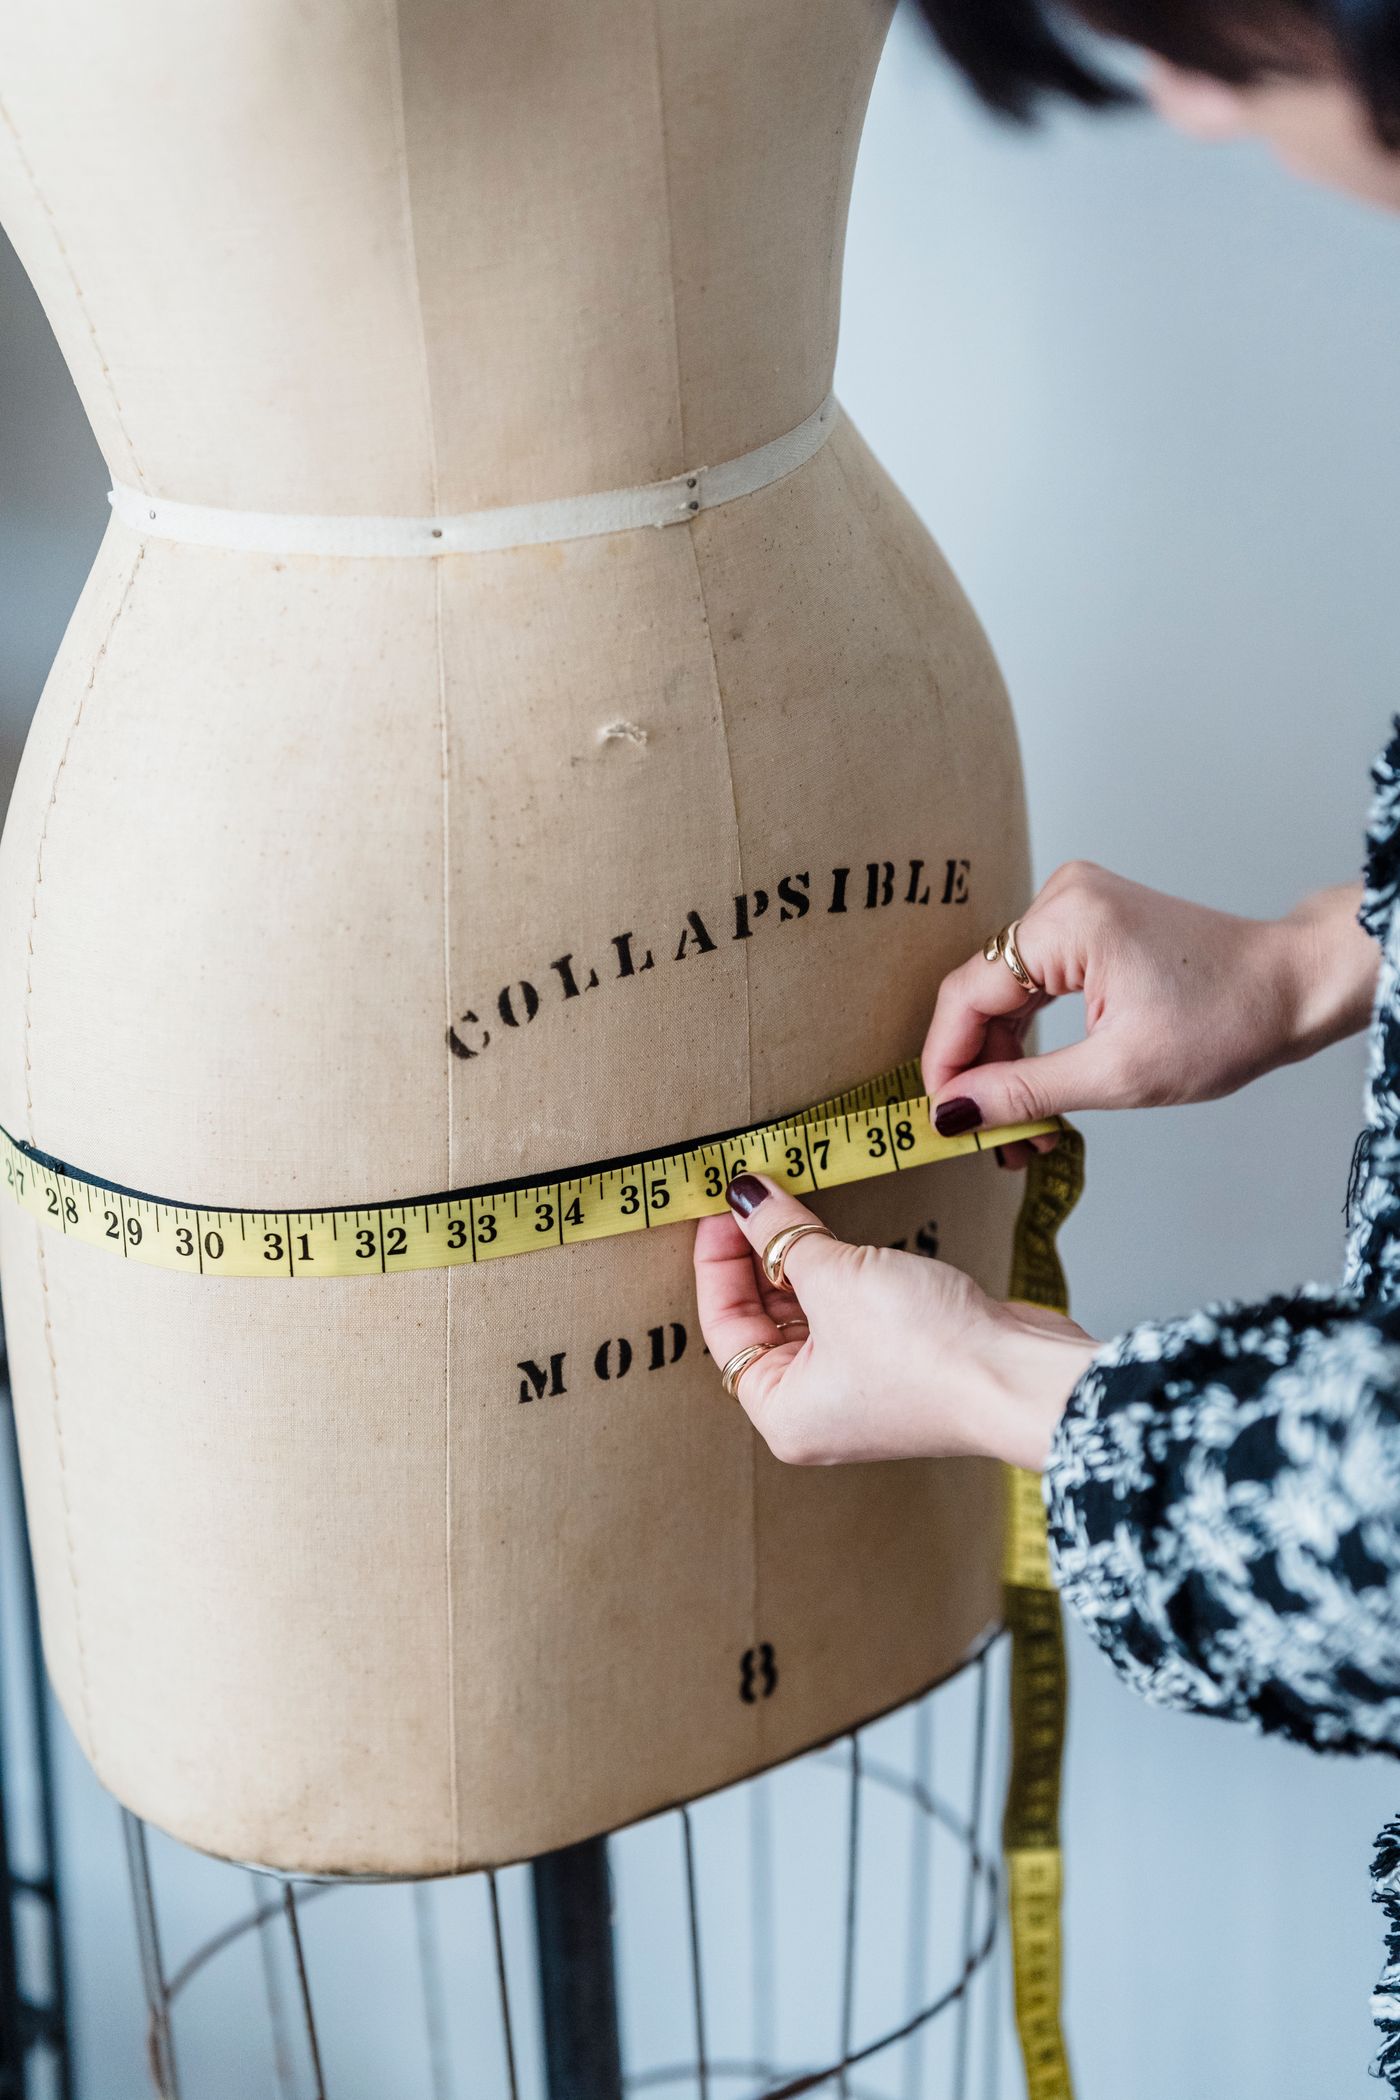
Walk around the proposed position and consider the work area needed on each side. If a task requires access to the back, decide how that access will be provided using the product appropriately. Do not assume a form rotates, lifts, or rolls in a particular way unless its design and instructions support that movement.
Test reach at the relevant working height without stretching around an obstacle. If the only possible position leaves a necessary area inaccessible, reconsider the location or the need for the tool. Moving the form repeatedly during a single task can add more burden than the narrow storage corner initially suggested.
Keep the sewing surface separate but connected
The form may need to sit near a table used for instructions, tools, or the next construction step. Plan that relationship using the actual sequence of work. Avoid placing the form where it blocks the chair at the sewing machine or interrupts access to supplies every time a garment is moved.
The temporary sewing-machine station guide addresses another part of the workflow. Keep each working configuration visible in the trial. A table and form may fit in the room individually while competing for the same occupied standing or sitting space when used together.
Give tools an appropriate handoff
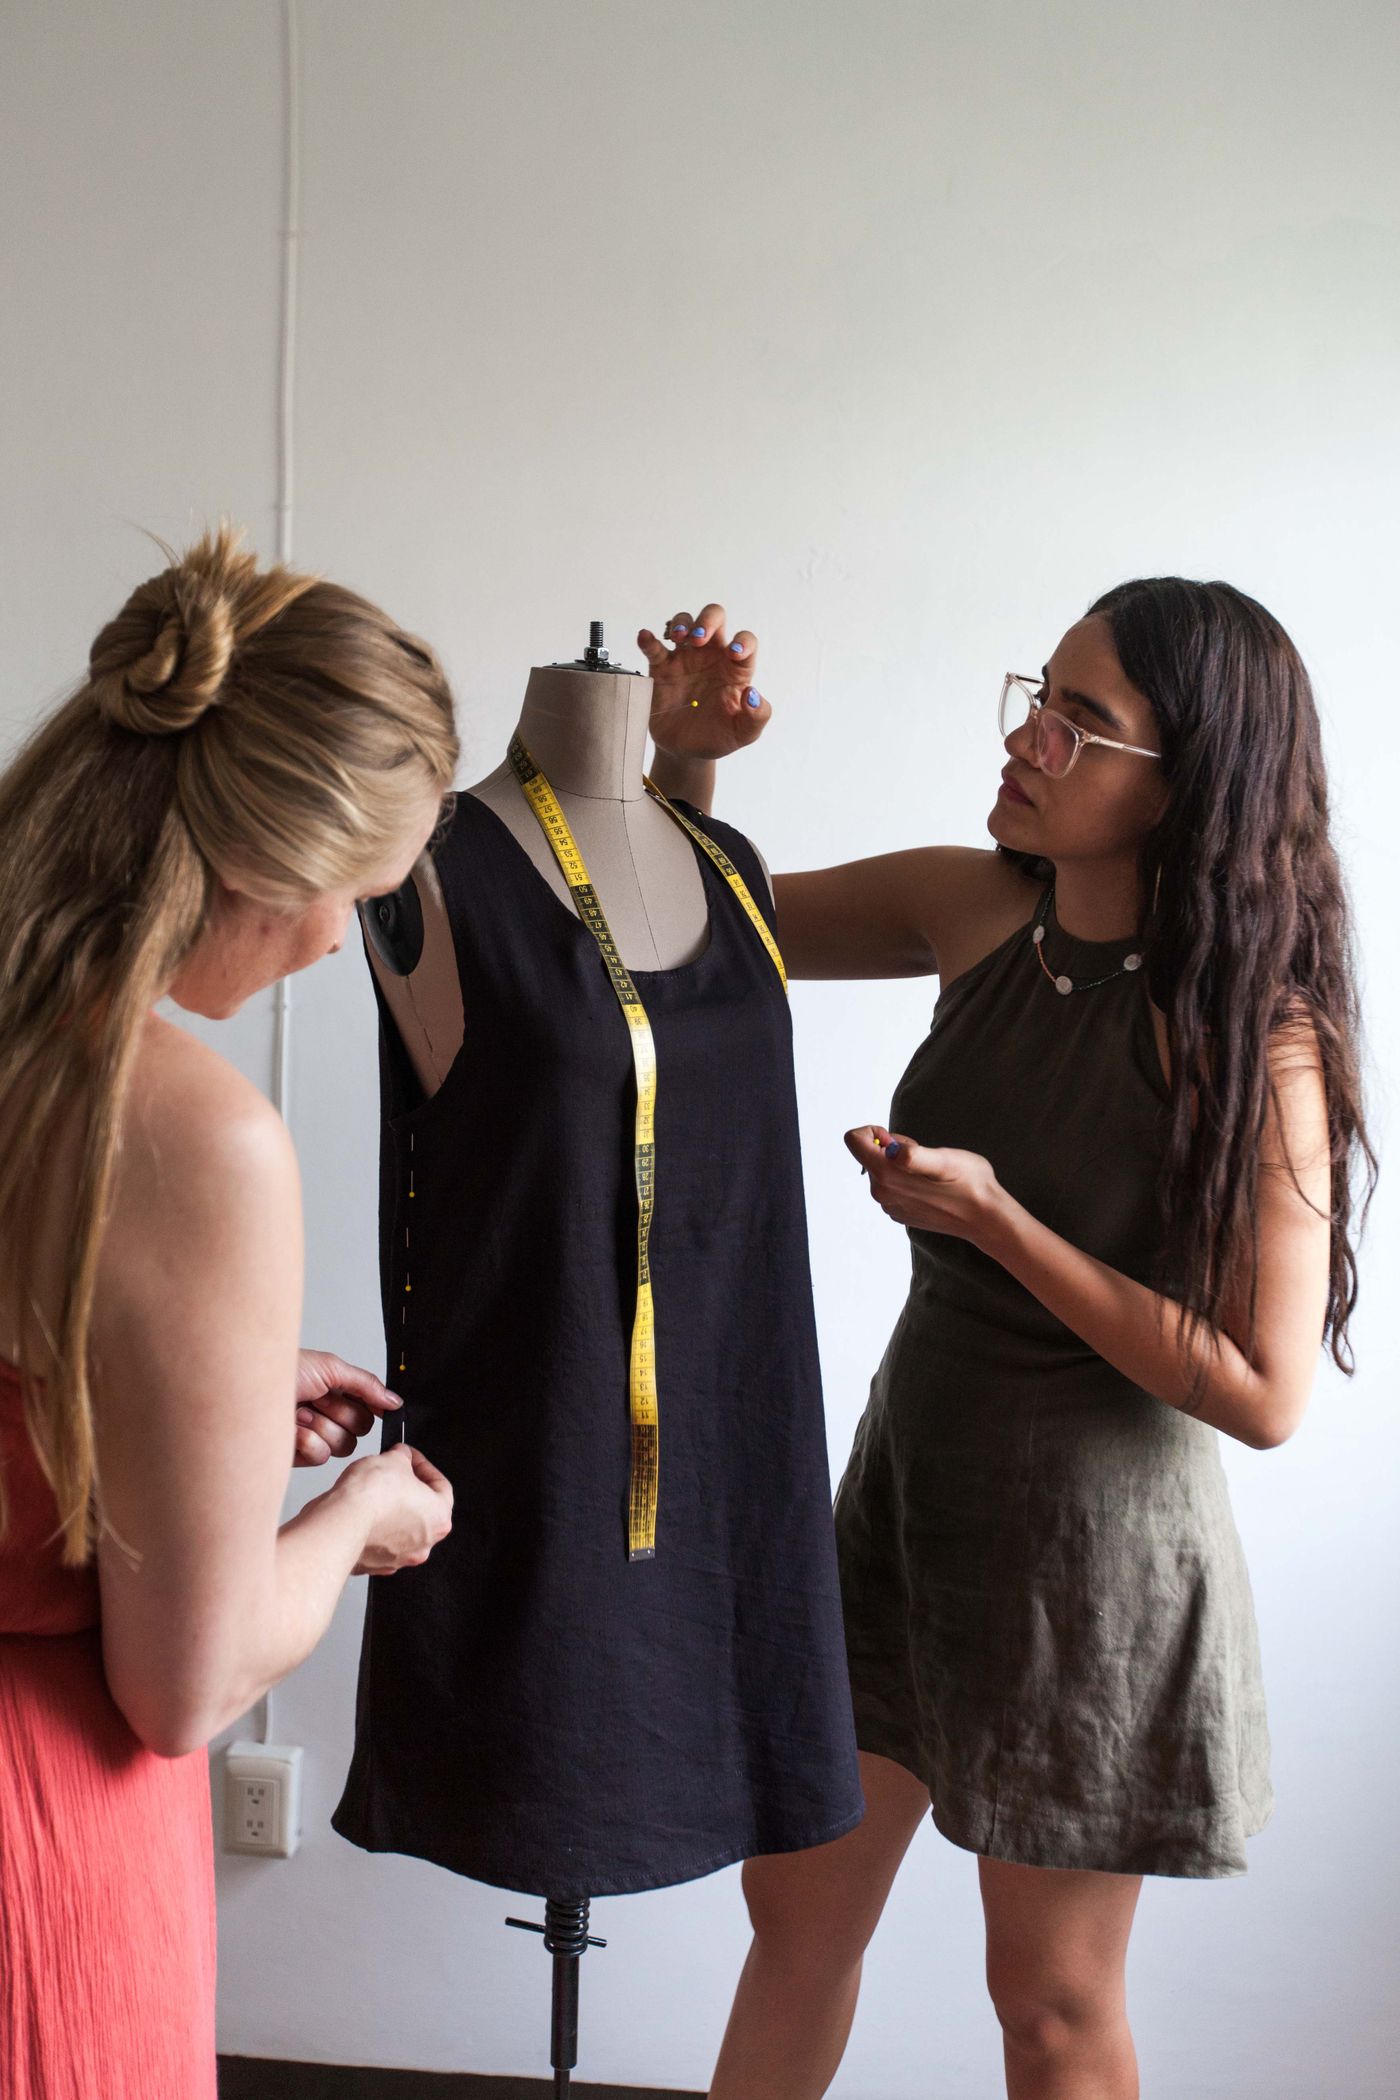
Keep the tools required for the current task in a suitable identified place. If pins, needles, or cutting tools are involved, manage them appropriately for the people and pets who can access the room. An adult should control the actual task where needed. Do not leave tools attached to an unattended form simply because they were convenient during a demonstration.
Keep temporary project material associated with its actual version and instructions. Avoid allowing the form to become an all-purpose landing place for unrelated fabric. A visible unfinished garment should have a clear project identity and next action, rather than acting as a reminder that several possible projects might happen someday.
Plan adjustments before a garment is in the way
Read how the exact form’s supported adjustments operate and what preparation they require. Make the appropriate initial setup in a suitable space before placing a delicate or partly assembled garment over the controls. Do not turn knobs or force sections simply because another form in a tutorial behaves that way.
Check whether the adjustment process needs more space than ordinary use. A product may fit once set up while being awkward to configure beside a wall. Keep the instructions available and obtain maker guidance for an unclear movement instead of treating a storage problem as a reason to alter the product.
Choose a parked position that serves the next session
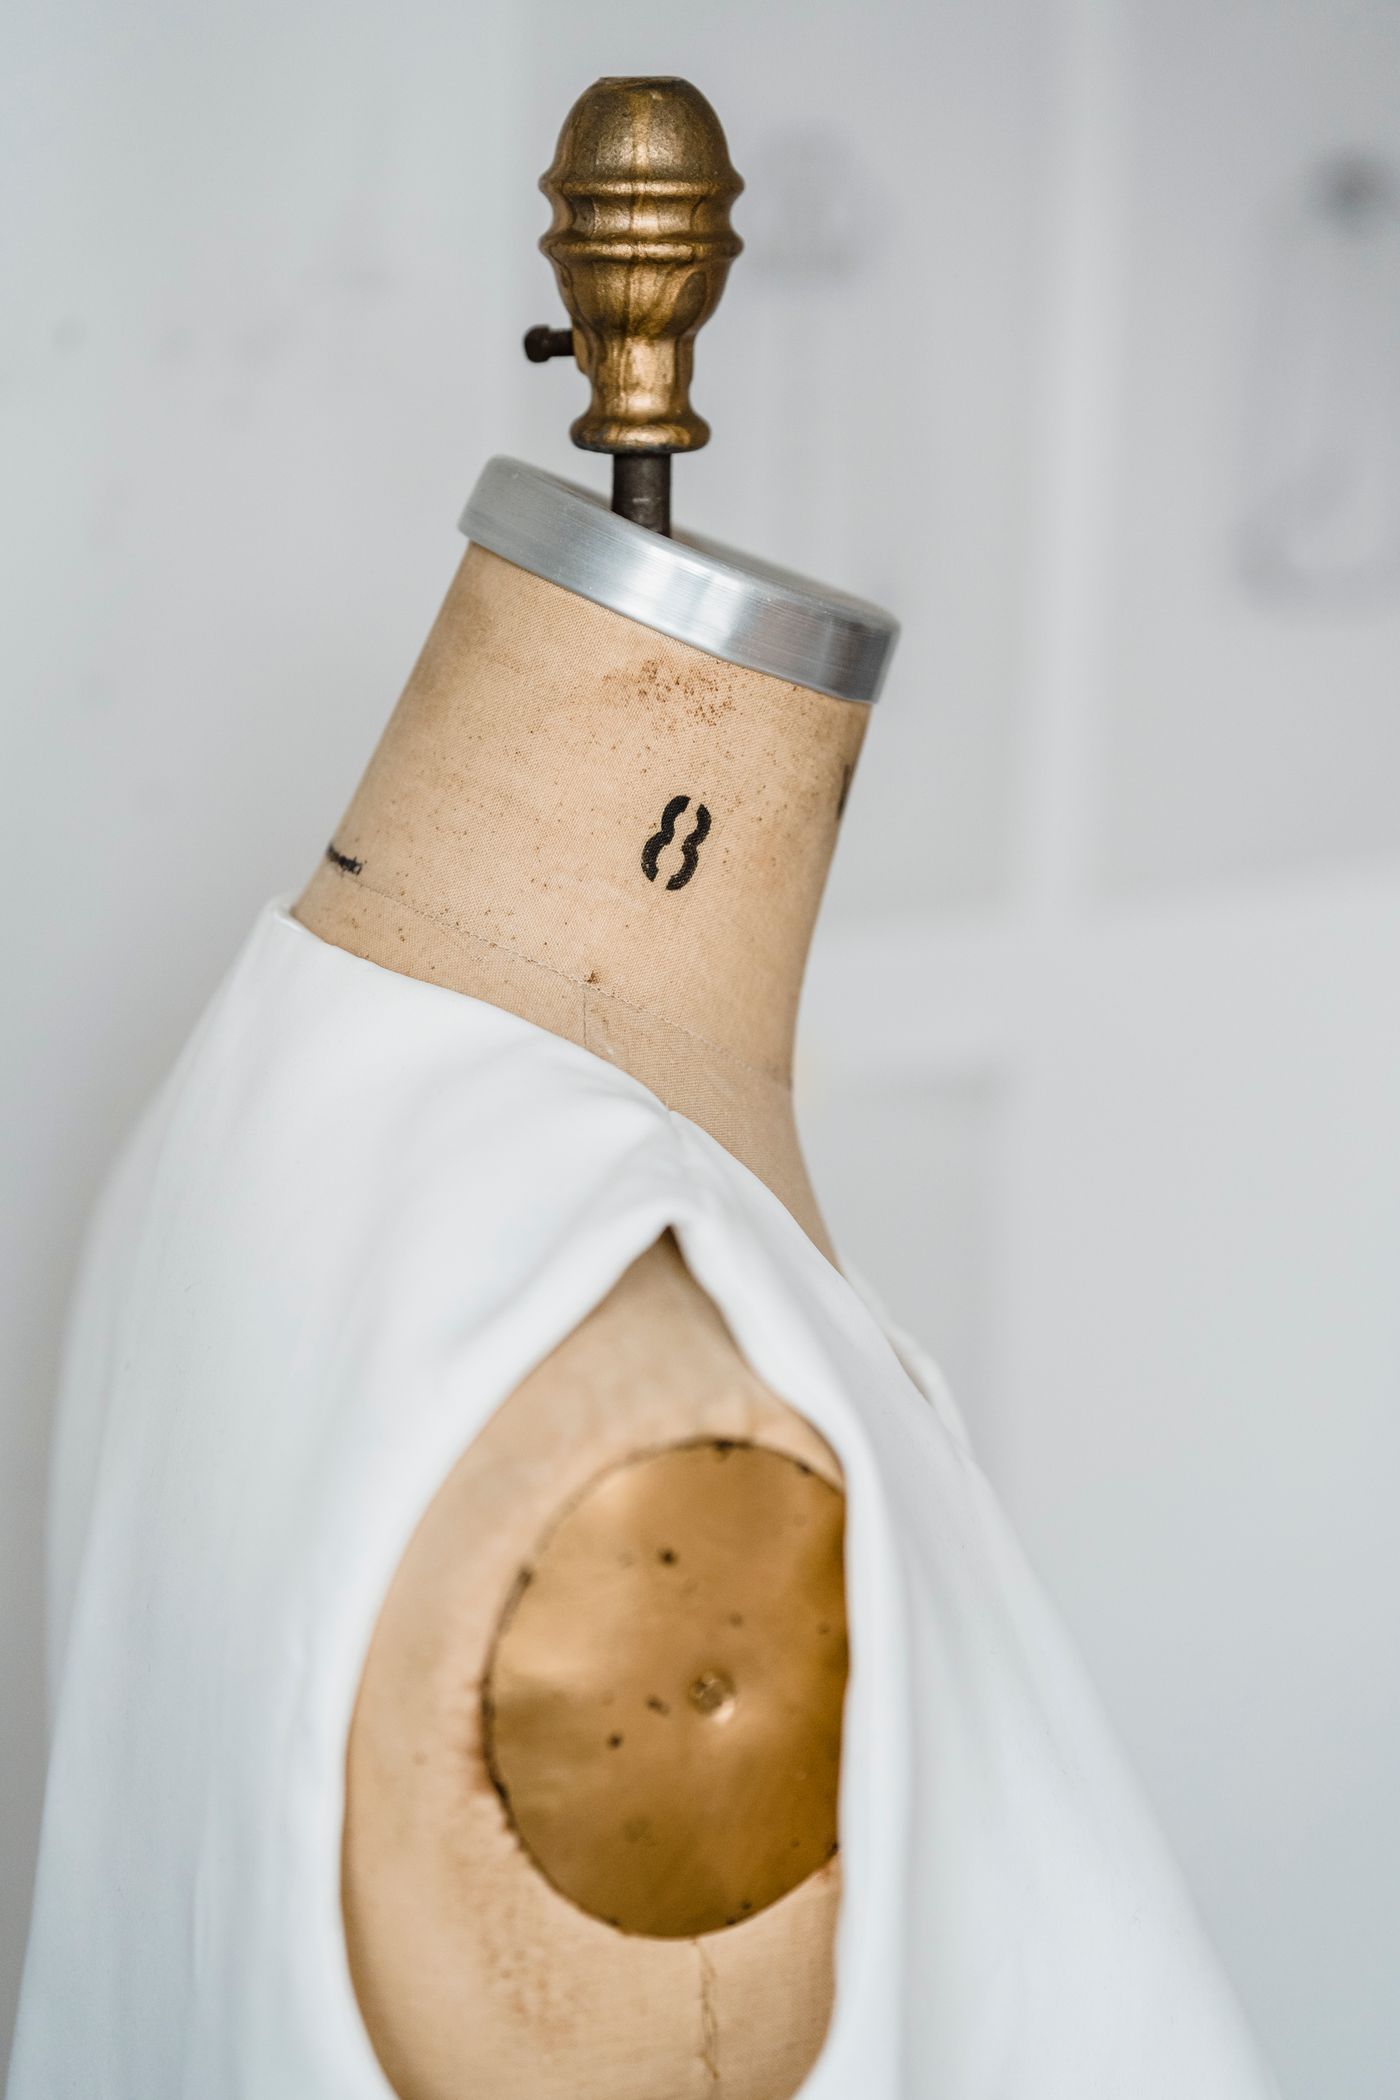
Decide whether the form remains in its working position or returns to another appropriate place after use. Include the garment’s condition and the form’s handling directions in that decision. Carrying or rolling a form through the home is a separate movement from adjusting it beside the sewing table.
Use the household delivery-route guide when assessing the complete route. Doorways and turns need to accommodate the product in the configuration permitted for movement. Do not assume that the torso can be removed or the stand collapsed just because that would make storage easier.
Rehearse the complete household handback
Try the ordinary sequence with the actual suitable equipment: prepare the space, bring the form into position, access the working areas, and return the room afterward. Keep the normal walkway and household storage usable while the form is in service. A successful trial includes the period when the rest of the home is also active.
The small weaving-work-surface guide offers a related example of checking equipment in use before assigning permanent space. The materials and tasks differ, but the useful question is shared: can the room support the full process rather than only the stored object?
Buy for the actual recurring constraint
Record the essential form characteristics and the working-space limits that the trial identifies. Include the supported adjustments, complete stand, garment sweep, and return route. Add visual preferences after those requirements. A form that looks attractive in the sewing corner still needs to perform the task that justified it.
If the existing arrangement supports the project without a new form, keep that option open. If a suitable product resolves a real repeated problem and fits the whole workflow, the space may be worthwhile. The successful small-rental arrangement makes the current project easier while leaving a clear path back to the room’s ordinary use.
Explore related decisions in our Small-Space Living hub.
Sources and editorial scope
Editorial research checked October 24, 2026. Published trend reports are context for these editorial applications, not verified live keyword rankings. Practical household guidance; photographs do not document a tested household or authenticate pictured materials.
