A reusable drinking straw is easy to lose in a small kitchen’s washing-up routine. It may roll beneath a plate, remain inside a lid, or be returned to its pouch while still wet. Because its inner passage needs attention, washing only the outside does not complete the job. A practical routine keeps the correct cleaning tool available and makes the washed, drying, and ready stages easy to tell apart.
Start with the instructions for your actual straw and any cup parts attached to it. Metal, glass, silicone, bamboo, and mixed assemblies do not automatically share the same care permissions. This is a household cleaning workflow, not a sterilization procedure or a recommendation about which straw is suitable for a particular person. Use the maker’s guidance to decide permitted cleaning, inspection, and replacement.
Identify the complete assembly
Look at the straw after the drink is finished. Is it a single loose tube, or does it connect to a lid, tip, valve, or removable section? Find the instructions for taking that exact assembly apart. Do not pull on a fitted piece simply because another cup has a removable version. Keep small parts together in a suitable container while you work so washing one straw does not become a search for a missing seal.
If several family members own different designs, identify each set in a way that remains useful after disassembly. A photo of the correctly assembled parts, saved privately with the instructions, can help an adult return them to the right cup. The goal is clear matching, not a complicated inventory of every drink accessory. Keep any pairings that affect function with the item rather than relying on similar colors.
Choose a brush that belongs to this task
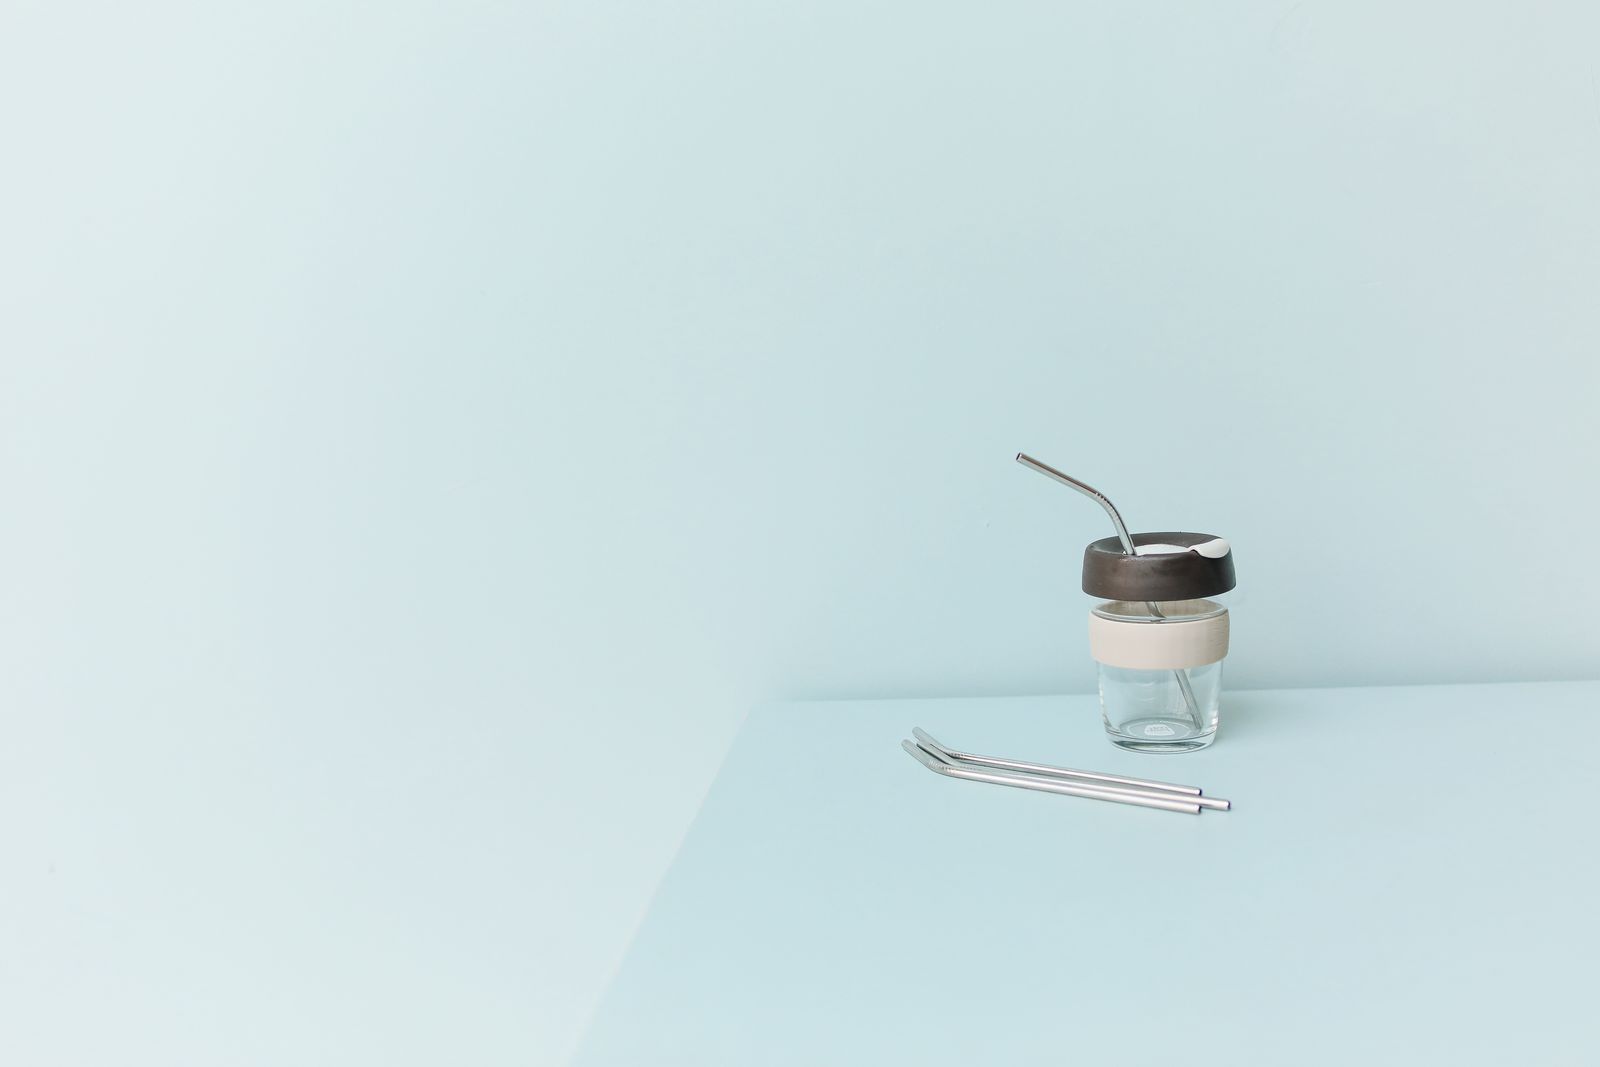
Use a cleaning tool of the type and size the straw maker permits. It should reach the relevant interior without needing to be forced. A brush that is too large or too short is not made suitable by more pressure. Before starting, check its condition and follow its own care instructions. Keep a straw brush separate from tools used for unrelated household cleaning, and make its purpose understandable to everyone who washes dishes.
As an example of purpose-specific tool design, OXO’s cleaning set distinguishes straw, lid, and spout tools. That example explains why different openings may need different access; it does not establish compatibility with every straw or permission to copy the care method of an OXO cup. Choose by the actual assembly you own, especially where a narrow opening or separate component requires a particular tool.
Keep used straws visible until cleaning starts
Give used straws a contained, recognizable place beside the washing-up work. Avoid dropping them loose into an opaque pile of utensils where they can be overlooked. Keep that place away from ready-to-use accessories. If the maker advises prompt cleaning after use, make the handoff at the end of the drink rather than leaving residue to become another day’s task. Do not leave a partly dismantled cup where someone might mistake it for ready equipment.
A small kitchen often needs the same surface for cooking and washing. Clear only the space necessary for the current set, then follow the wider utensil-drawer guide when dry accessories need a permanent home. Connect the used set to the after-dinner kitchen reset if that is your normal washing window. A new countertop organizer is unnecessary if a suitable brush and a contained washing-up position already solve the problem.
Clean the interior using the permitted method
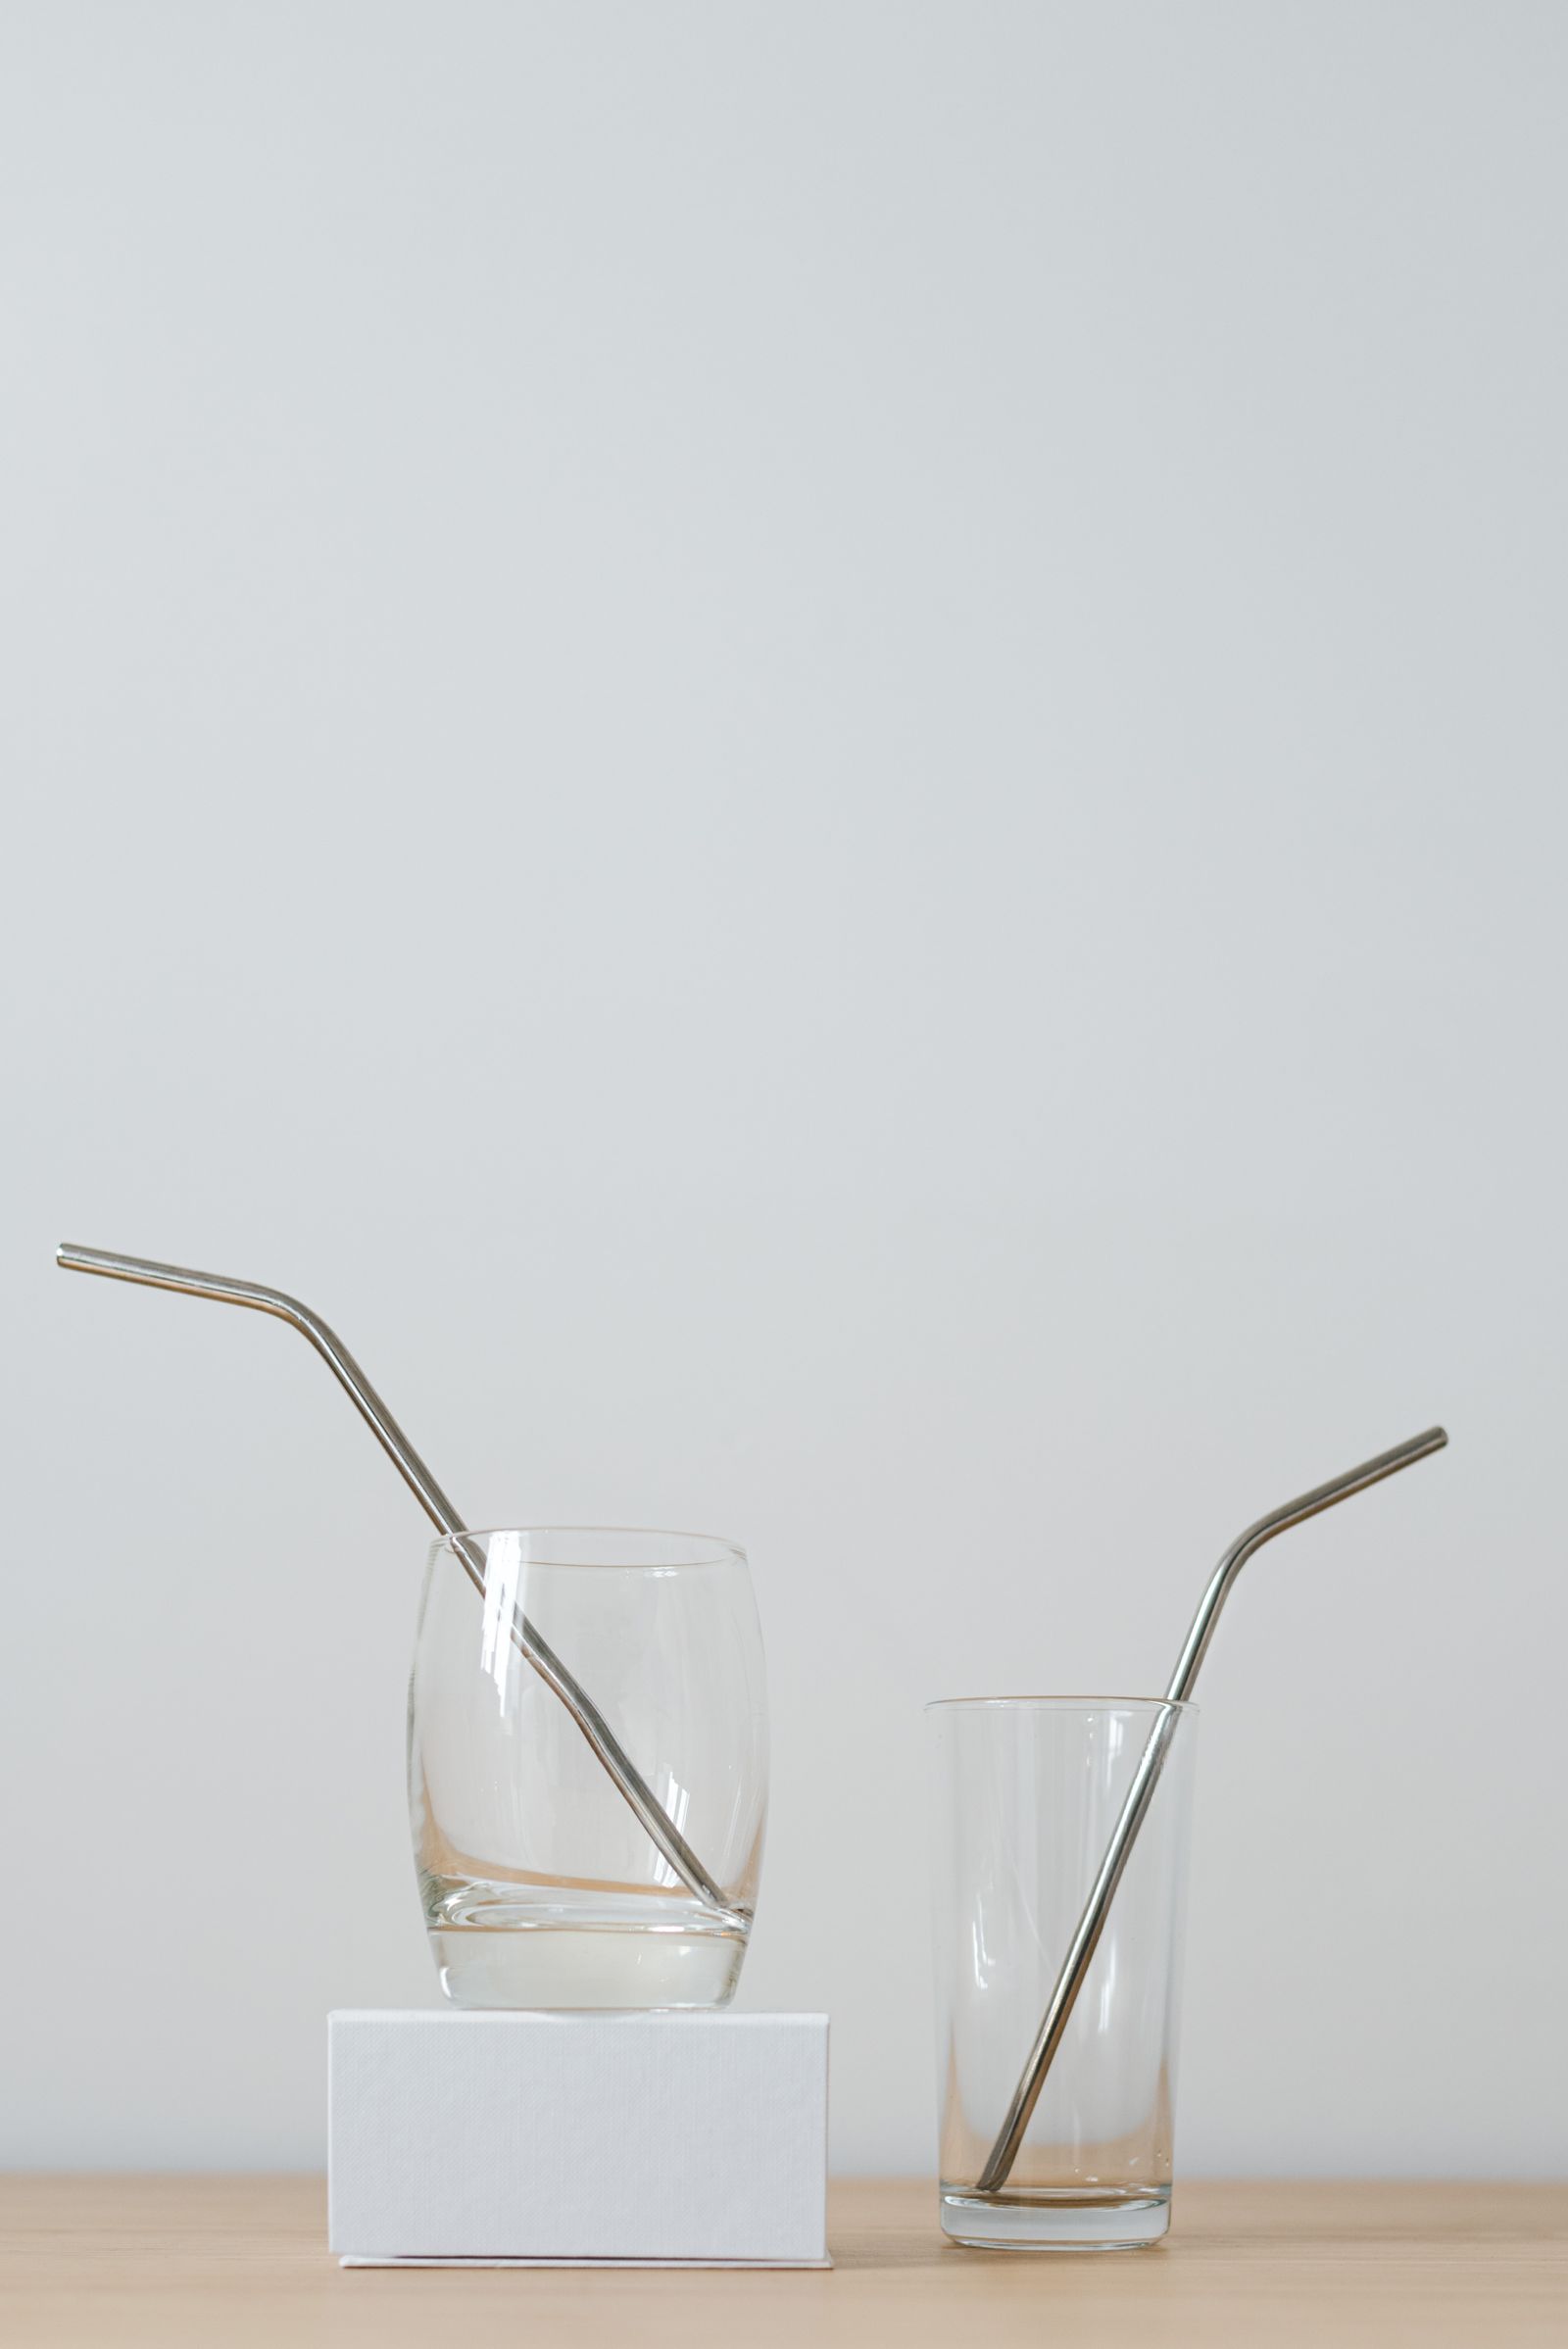
Follow the maker’s cleaning sequence, including the allowed water conditions, cleaning product, and tool use. Where an interior brush is specified, work through the accessible passage as directed rather than treating a quick exterior rinse as the whole wash. Pay attention to bends, openings, and separate tips that the directions identify. Avoid adding bleach, boiling, abrasive powders, or other treatments on the assumption that “more intensive” must be better.
If residue remains or the tool cannot reach a part that needs cleaning, stop improvising and check the exact instructions or contact the maker. A soaking suggestion for one material is not a universal solution for another. Keep the unresolved set out of ready storage until you have a permitted way to complete its care. This distinction is particularly useful when the household has collected several designs over time.
Treat dishwasher permission as item-specific
Confirm whether the straw and every associated part are permitted in the dishwasher, and follow any stated position, disassembly, or cycle restrictions. Permission for the tube does not automatically apply to its pouch, detachable tip, or lid. Arrange permitted small pieces using the equipment and containment the relevant instructions allow. The fact that an item fits through the dishwasher rack does not make loose placement a good plan.
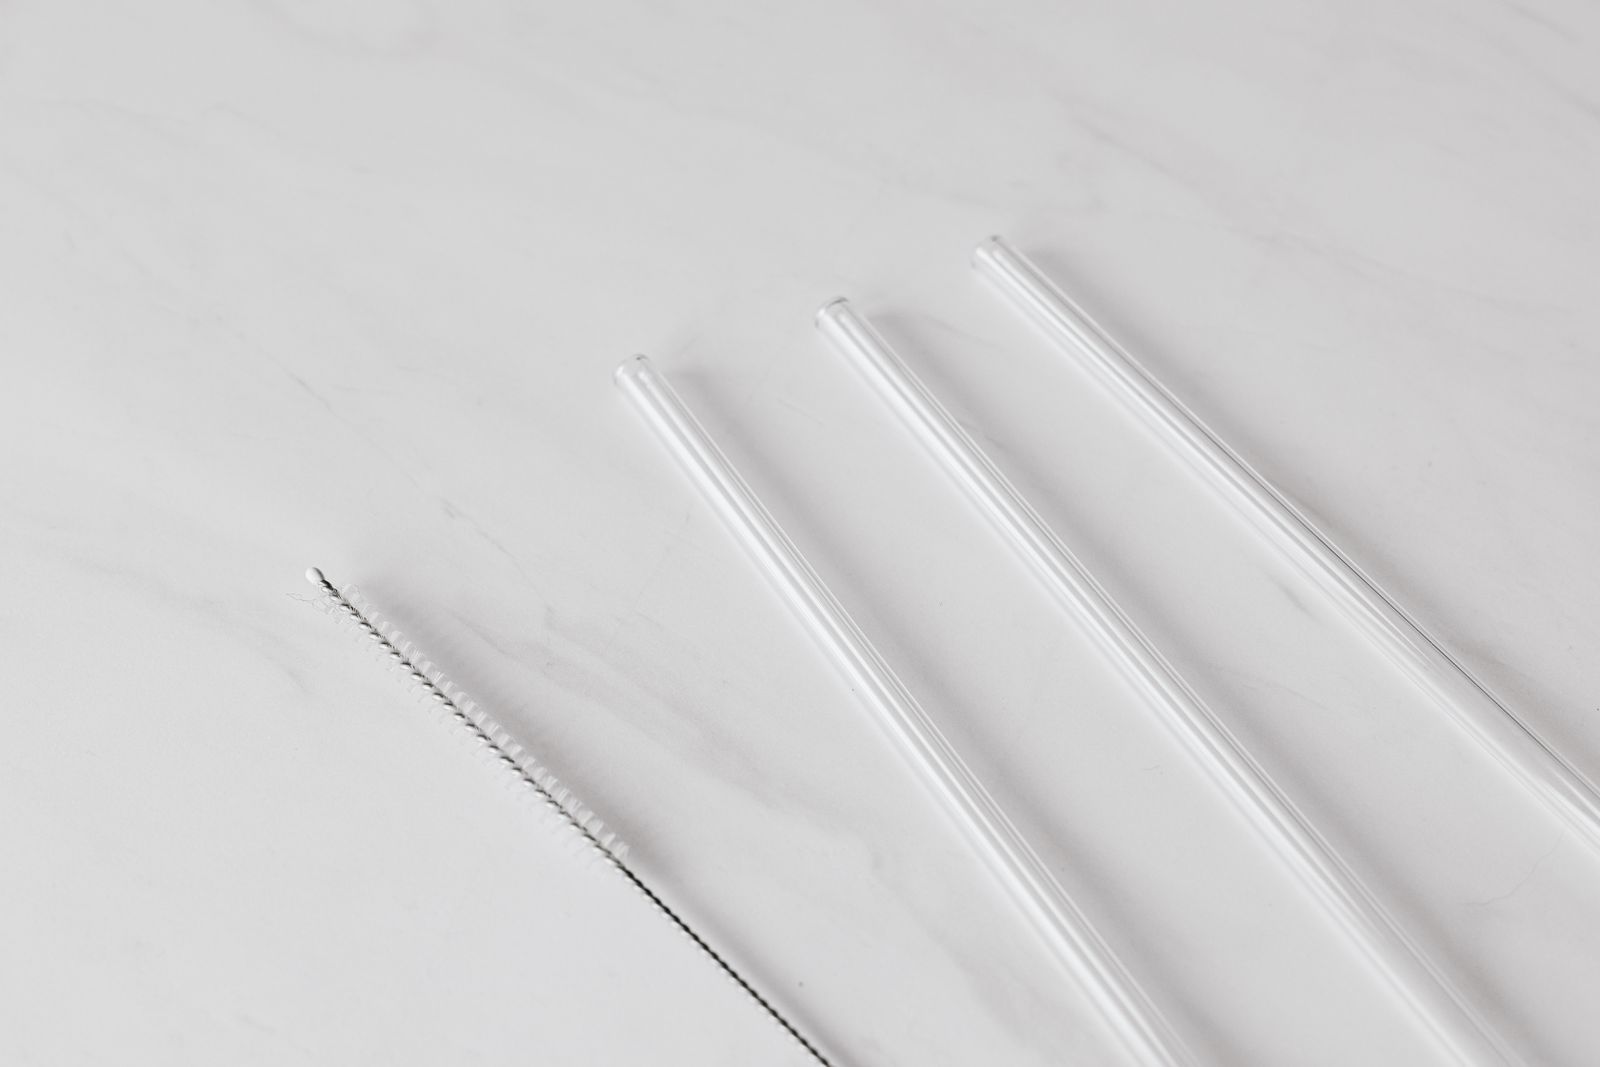
If the directions require hand cleaning before or instead of machine washing, preserve that step. Do not choose a route just because the larger dishes are already entering the machine. For a shared kitchen, a short note such as “this set follows the instructions stored here” can prevent repeated guessing. Avoid covering the sink with competing care lists; keep model-specific information retrievable beside the accessory’s identification. For a related step-by-step approach, see Clean a Silicone Baking Mat in a Small Kitchen Without Folding It Into the Sink.
Make drying part of the wash
Finish rinsing and dry the parts in the way their maker specifies. Use a clean, supported place where the pieces can remain identifiable and be checked before storage. A pouch or closed box is the final home for ready items, not a shortcut around drying. Keep drying accessories from rolling into the sink, falling behind the counter, or becoming mixed with newly used straws. You may also find Clean Reusable Ice Cube Trays and Lids Before the Next Refill useful for a closely related small-home problem.
In a tight washing area, plan the drying position before beginning the wash. If you cannot hold several sets separately, finish a smaller number rather than spreading parts across the whole kitchen. Check the ready condition the instructions require instead of assigning a fixed drying time for every material and room. The kitchen hub has broader ideas for making the washing area usable alongside meal preparation.

Keep a travel set’s return easy to recognize
A straw brought home in a travel pouch needs the same care check as one used at the kitchen table. Give the carrier a specific return action: put the used set in its contained washing place and keep the pouch with its own care task. Do not let a neatly closed pouch signal readiness by appearance alone. If one person carries the accessory and another washes it, identify the set and its instructions before the handoff. Return the completed set to the correct travel equipment only after both the accessory and its container have finished their permitted care.
Inspect, reassemble, and return one complete set
Use the maker’s inspection and replacement advice when checking the straw and its parts. Do not return an item with unresolved damage or a missing component simply because its storage pouch looks empty. Reassemble only where the directions call for it, and check that each required piece belongs to the correct design. A household member should receive a ready set rather than a bag of unidentified parts.
Clean and dry the storage pouch or container according to its own directions when needed. Then keep ready straws with the drinks or travel equipment they actually accompany. Store brushes after completing their permitted cleaning and drying, in a location that keeps their purpose clear. For other household routines, see the Cleaning hub; avoid turning this small accessory task into a general cupboard reorganization.

When straws keep accumulating, trace the unfinished stage. Used pieces need a visible washing handoff; washed pieces need a drying position; dry pieces need a complete-set return. Fixing that one gap can be enough. Keep the working collection no larger than the household can reliably clean and maintain, and let a damaged or unsuitable item prompt a specific replacement decision rather than another mixed pack.