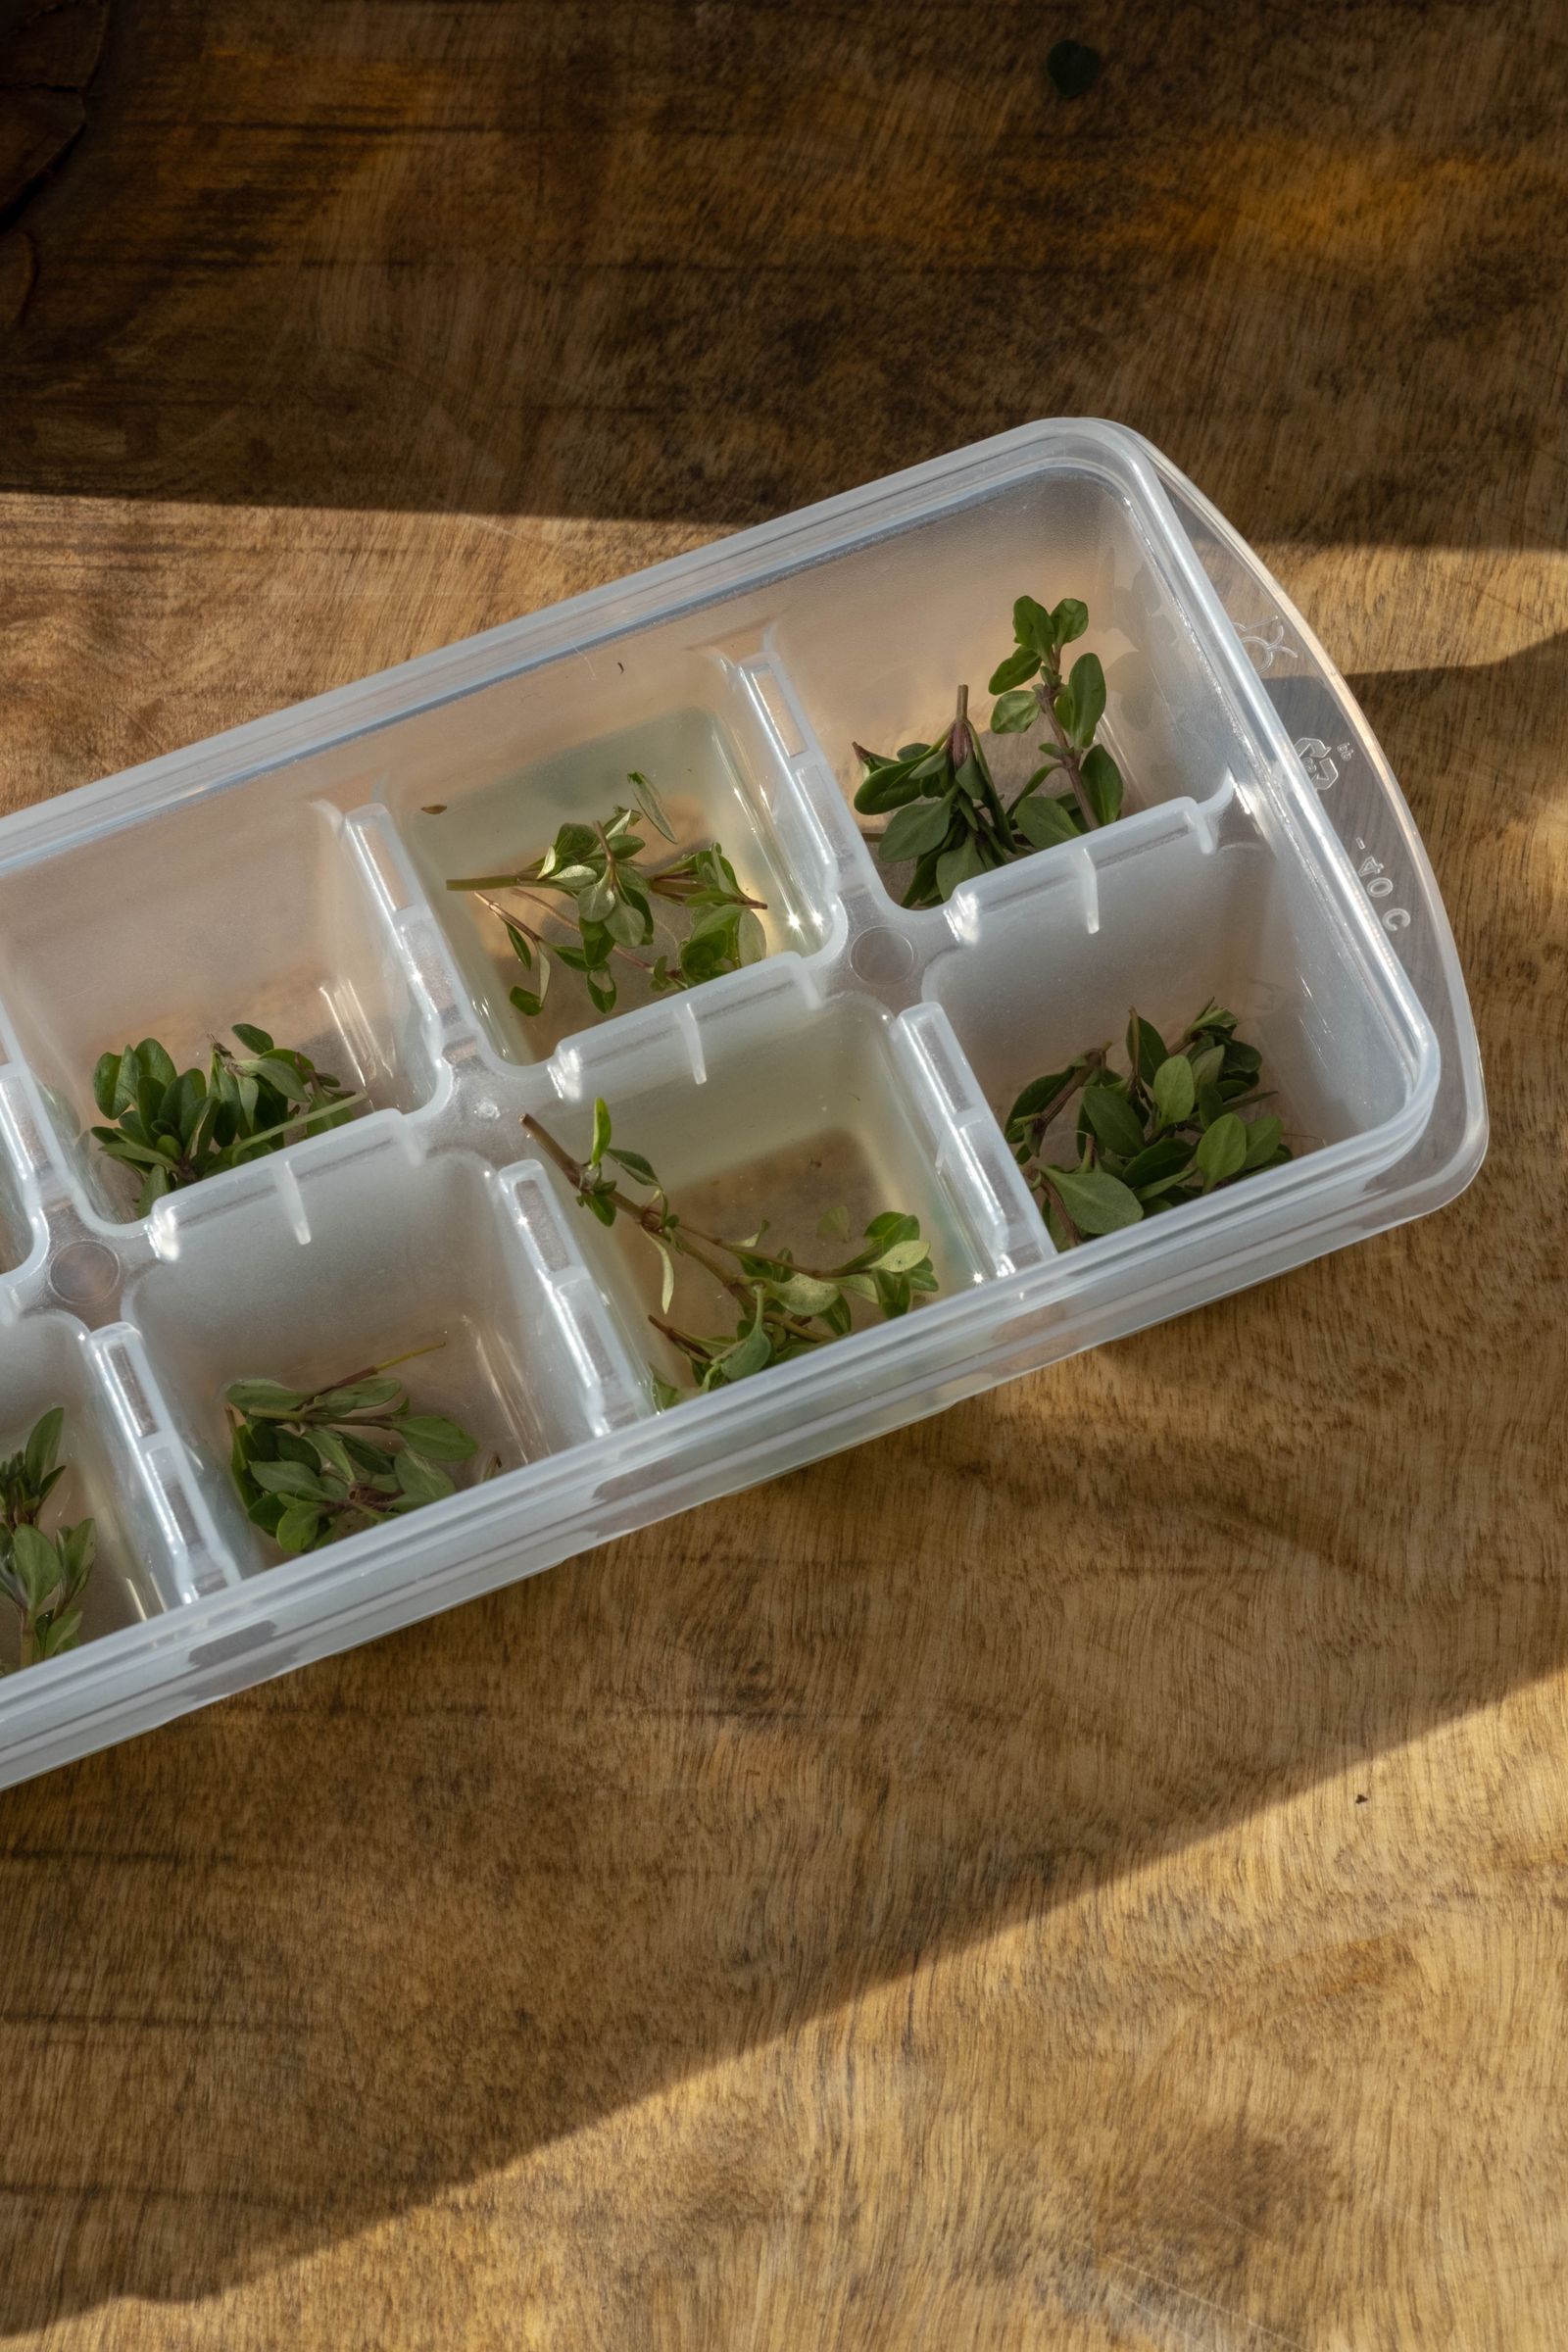
Ice cube trays are easy to overlook because their job happens behind a closed freezer door. The tray empties, someone refills it, and the lid goes straight back on. Eventually the rim feels sticky, the lid has a film, or the cubes pick up a smell that makes a fresh drink less appealing.
The useful cleaning routine includes the tray, its lid, the way you wash them, and the space where they dry. It starts with the exact manufacturer’s instructions. A rigid plastic tray, a flexible silicone mold, and a tray with a special release mechanism do not automatically permit the same treatment.
This is a guide to cleaning removable, reusable trays and their approved accessories. It does not cover an appliance’s ice maker, water line, or internal parts. Those need the appliance’s own maintenance instructions. You may also find Clean Reusable Drinking Straws With a Complete Parts, Drying, and Return Routine useful for a closely related small-home problem.
Identify the tray before choosing a method
Look for a model number, maker name, or retained packaging. Find the instructions for the complete product, including the lid. Do not decide that every part can go in the dishwasher because one section is silicone. Different parts of a single product can have different care limits.
For one specific example, the OXO Good Grips Ice Cube Tray is identified by OXO as top-rack dishwasher safe. That permission applies to the selected product; it does not authorize dishwasher cleaning for an unmarked tray in your cupboard.
Check whether the instructions address water temperature, allowed detergents, permitted cleaning tools, drying, and any removable parts. Where guidance is missing, ask the maker. Avoid filling the gaps with boiling water, abrasive pads, strong chemicals, or a soaking mixture borrowed from an unrelated cleaning tip.

Empty the tray without making cleaning harder
Plan the task when the tray can be emptied. Use its normal release method and follow the maker’s directions for any part that is difficult to empty. Do not dig into the compartments with a knife or another sharp object to speed things up. Damaging the tray can turn a routine wash into a replacement problem.
If you intend to save unused cubes, handle them using your ordinary food-safe kitchen practices and a suitable container. Keep that container separate from the washing area. If the cubes are the reason for concern, simply retaining them in another container does not resolve the concern.
Let the tray reach the condition required for its permitted cleaning method. Do not assume a frozen tray can tolerate a sudden temperature change. A manufacturer’s guidance takes priority over a general recommendation to start washing immediately.
Inspect the emptied tray and lid. Notice cracks, damaged seams, peeling surfaces, or a release feature that no longer works as intended. Ask the manufacturer about continued use or replacement when appropriate. Cleaning harder is not a repair for a damaged food-contact surface.
Make a clean landing place before washing
Clear enough room near the sink for the tray and lid to drain without balancing on unrelated dishes. Choose an appropriate clean rack or other maker-compatible drying arrangement. A narrow drying space can become the limiting part of the job, even when the tray fits easily in the sink. You may also find Clean a Silicone Baking Mat in a Small Kitchen Without Folding It Into the Sink useful for a closely related small-home problem.
Keep the used tray apart from the ready-to-refill area. A lid moved between those areas should not make the finished parts harder to identify. If the kitchen is busy, complete one tray and lid together rather than starting several half-finished sets.
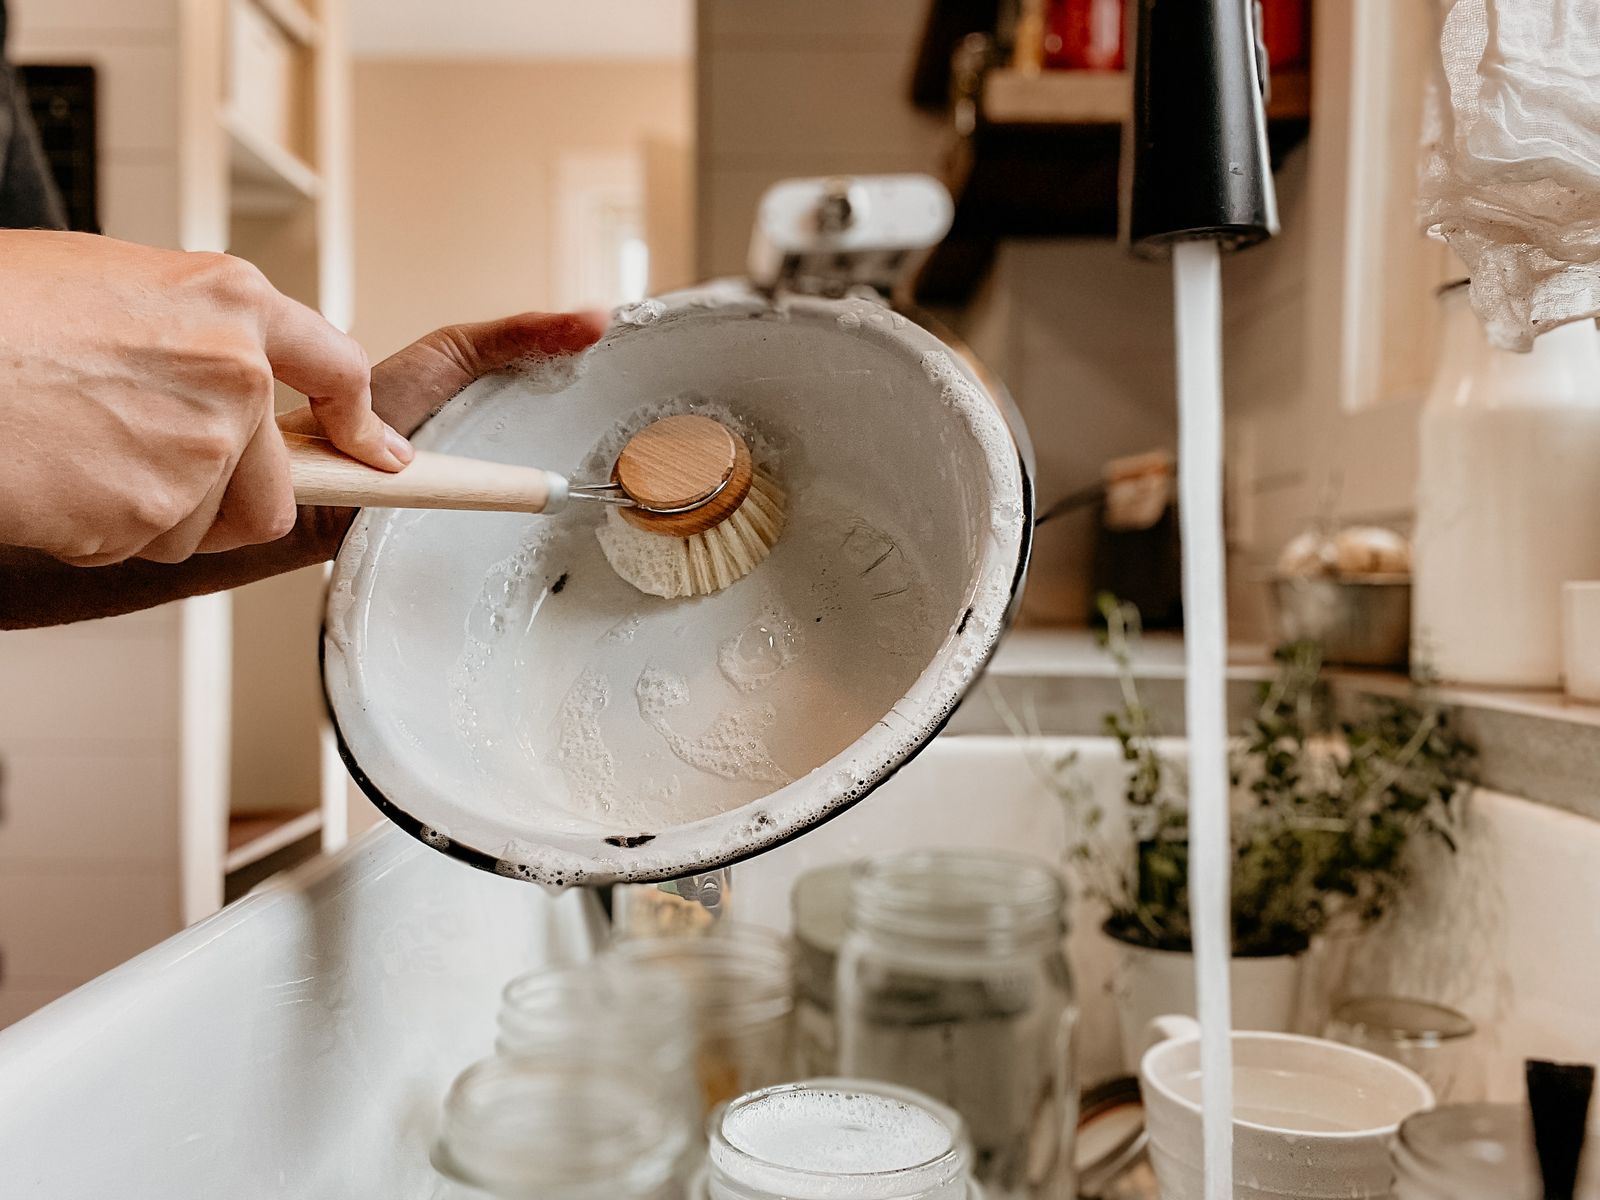
For the surrounding surfaces and dish backlog, use our small-kitchen cleaning routine. This task works best when the tray can travel through washing, rinsing, and drying without being repeatedly moved to make room for cooking.
Wash the compartments and the lid as a complete set
Use the approved method and detergent for the exact product. With a permitted hand-wash method, pay attention to the individual wells, the underside, the rim, and any lid features identified in the instructions. The most visible surface is not necessarily the only surface that needs care.
Choose only the cleaning tools the maker allows. A small suitable brush may reach a compartment more easily than a large sponge, but size alone does not make a brush appropriate for the material. Avoid pushing tools into inaccessible mechanisms or forcing apart sections not intended to be removed.
Remove a lid or other part only as directed. If the product contains an insert, seal, valve, or release assembly, retain its identity and orientation through the task. Photographing an allowed removal step can help with correct reassembly, but a photograph is not a substitute for the instructions.
If dishwasher cleaning is permitted, use the required placement and cycle limitations. Keep small approved parts secure according to the appliance and product guidance. Do not place them loose where they could fall into an unsuitable part of the dishwasher or interfere with its operation.
Finish rinsing, drying, and permitted reassembly
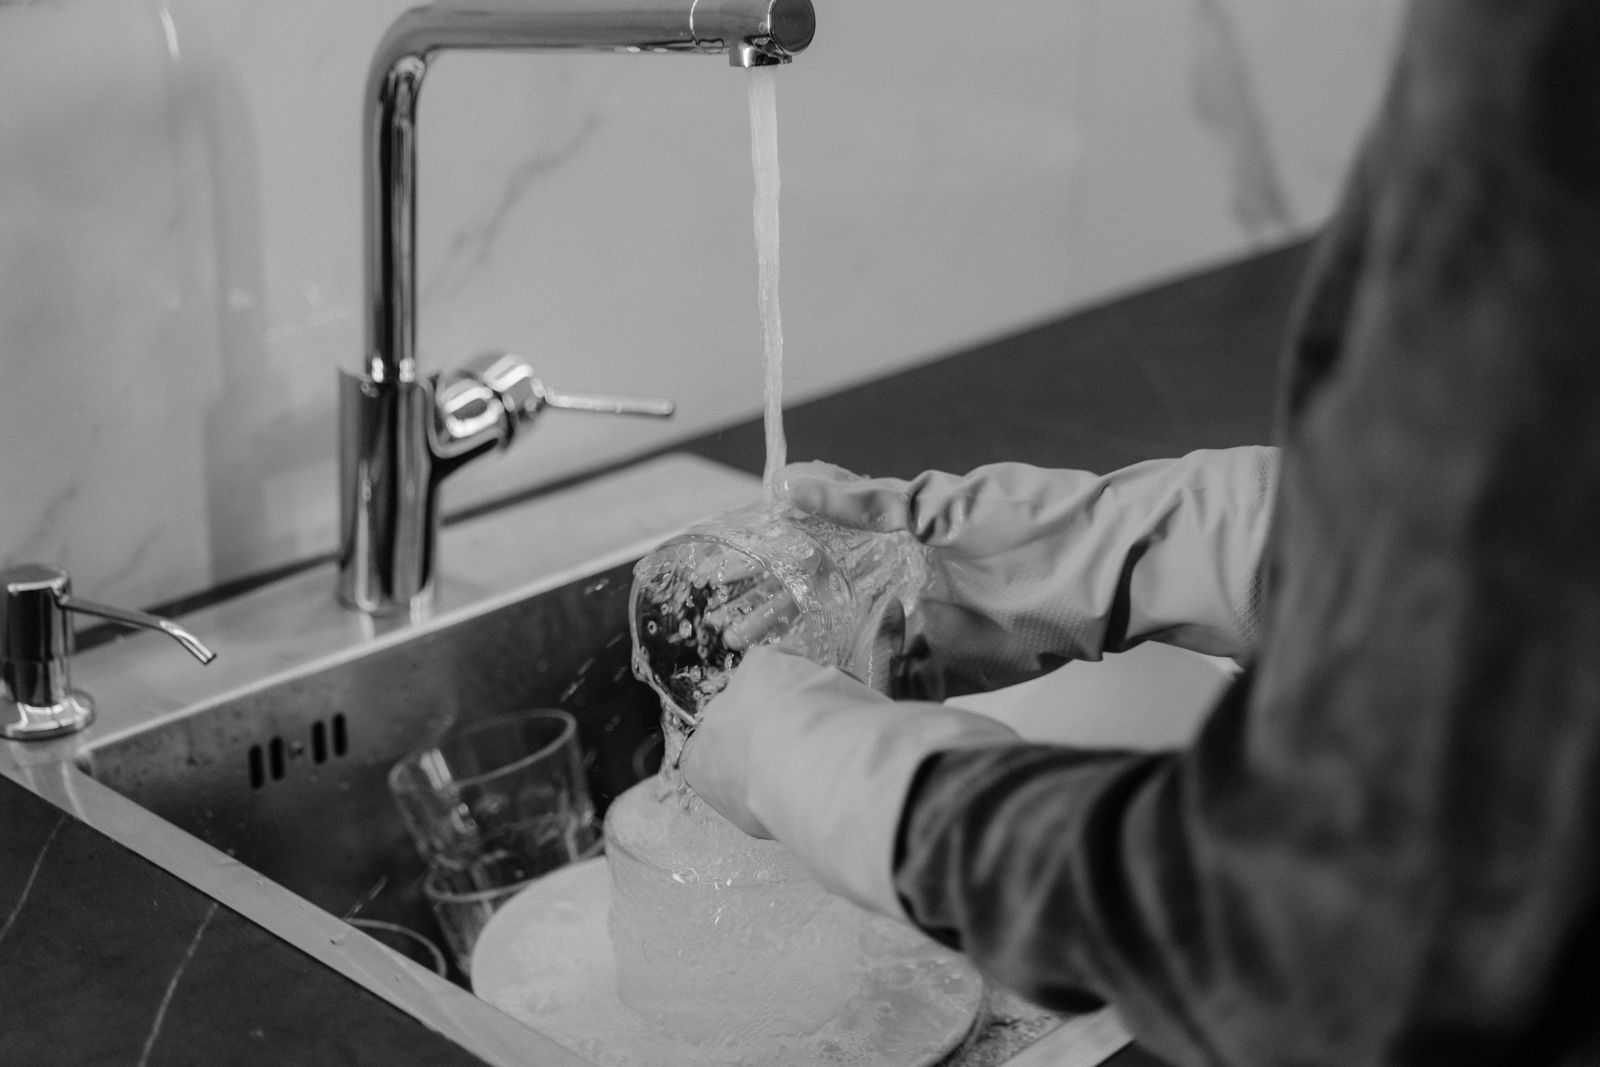
For hand washing, rinse as the product instructions require so cleaning residue is not left in the wells or lid details. Check the parts in good light. If a visible film remains, reassess the approved method rather than moving automatically to a stronger product.
Allow the washed parts to dry in the permitted arrangement. Avoid nesting a damp lid tightly against the tray simply because the set looks finished that way. If a seam or underside remains wet, give it the access needed to dry. Keep the drying set protected from splashes and unrelated dirty items.
Reassemble only in the intended way once the parts are suitable. Check the lid’s seating and any release feature before refilling. A lid that no longer closes correctly may require a manufacturer answer rather than extra force.
Use a clean cloth only when the maker permits that drying method. Keep it separate from cloths already used for another cleaning task. Our guide to separating clean and used cleaning cloths can help make that choice clear.
Investigate recurring odor without inventing a treatment
Notice when the smell appears. Is it present in the empty, cleaned tray, only in stored cubes, or throughout the freezer? Those observations can guide the next question to the manufacturer. They do not prove that a particular material, food, or water source is responsible.
Check nearby freezer storage for obvious practical issues, such as improperly closed food packaging or a spill that needs the appliance’s approved cleaning method. Improve the organization so the tray sits level in its intended location and its lid can be used correctly. See our small-freezer organization guide for the broader arrangement.
For an odor that persists in the tray after permitted cleaning, ask the maker for a material-specific remedy or replacement advice. Do not combine cleaning chemicals or assume an online deodorizing mixture is appropriate. If your freezer or water supply needs attention, use its proper support route rather than treating the tray as the explanation for everything.
Make cleaning part of an empty-tray handoff
Agree on what an empty tray means in your household. It can mean ready to refill only when its condition supports that decision. If it needs cleaning, put it in a visible washing destination instead of refilling it automatically and passing the task to the next person.
The frequency should follow the maker’s instructions and actual use. Trays used for plain water, other approved ingredients, or different household tasks may need different handling. Keep uses clearly identified; a picture of an infused tray does not mean every ingredient or use is appropriate for yours.

Keep a spare tray only if it helps the wash-and-dry sequence and has a real storage place. Extra trays that never dry properly or lose their lids simply multiply unfinished work. Explore the Cleaning collection and Kitchen guides when the larger kitchen routine needs adjustment.
The finished task is an identifiable, suitable tray-and-lid set that has completed its approved care and can be refilled correctly. That small pause between emptying and refilling keeps the next batch from inheriting an overlooked cleaning job.