There is a piece of kitchen-cleaning advice that sounds sensible until you live with very little counter space: “Clear everything off the counters, then wipe them down.”
In a compact kitchen, that can turn a ten-minute cleanup into a full relocation project. The coffee maker has to go somewhere. The toaster needs a temporary home. The fruit bowl lands on the table. The drying rack moves to the stove. Bottles, lunch boxes, chargers, and the container of utensils end up on the floor or dining chairs. By the time the counter is technically “clear,” the rest of the room is worse.
A better approach is cleaning a small kitchen in place: move only what blocks the section you are actively cleaning, work in narrow zones, and return useful items immediately. You are not trying to create an empty magazine counter. You are trying to restore enough clean, usable surface for real cooking.
This method is especially useful if you have a small kitchen with limited counter space, several daily-use appliances, children’s gear drifting into the room, or a household where clearing everything at once simply creates another mess. For the broader setup, Where to Store Important Documents in a Small Apartment is a useful next read.
Why “clear the whole counter first” often fails in a small kitchen
On a large island, moving a few objects may reveal several feet of open surface. On a narrow apartment counter, the objects themselves may occupy most of the available workspace. Clearing them all at once creates three problems:
- You lose track of what belongs where. The cleanup becomes an organizing project instead of a surface-cleaning job.
- You create temporary clutter somewhere else. The dining table, stovetop, or floor becomes the holding area.
- You increase the effort required to finish. Every object has to be moved twice: once off the counter and once back.
The alternative is not to clean around grime forever. It is to use a zone-by-zone countertop cleaning method that gives you access to the surface without dismantling the entire kitchen.
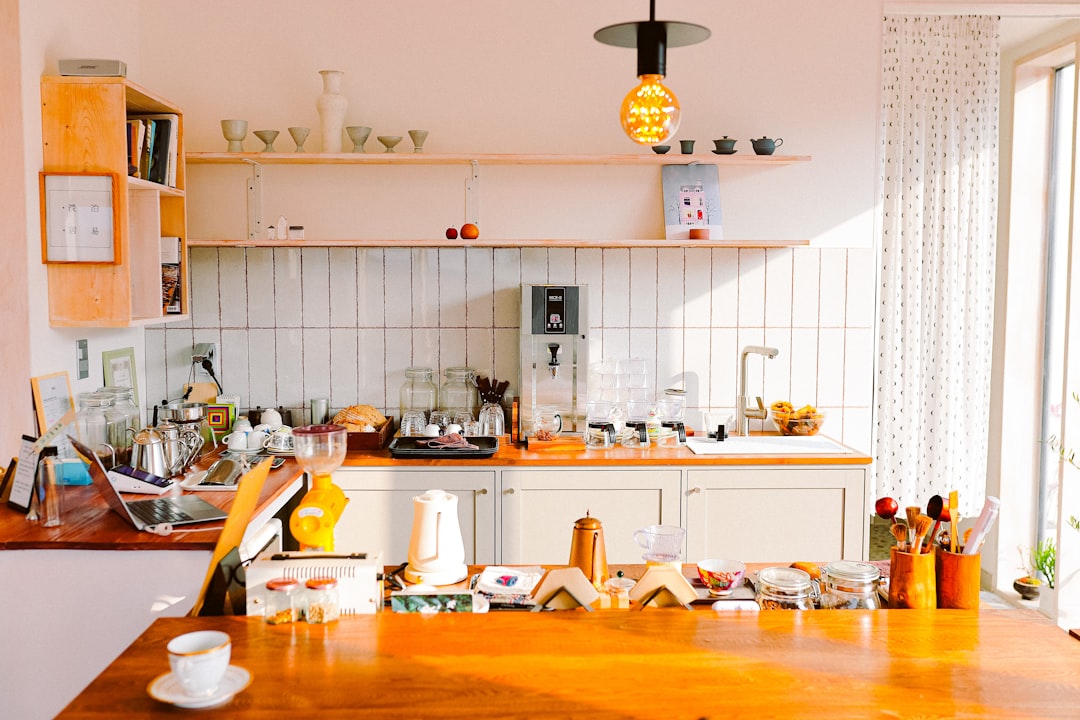
Use the three-status test before you move anything
Before cleaning, look at every item on the counter and give it one of three statuses. This takes less than a minute and prevents random shuffling. You may also find 10-Minute Small Bathroom Cleaning Routine useful for a closely related small-home problem.
1. Permanent counter item
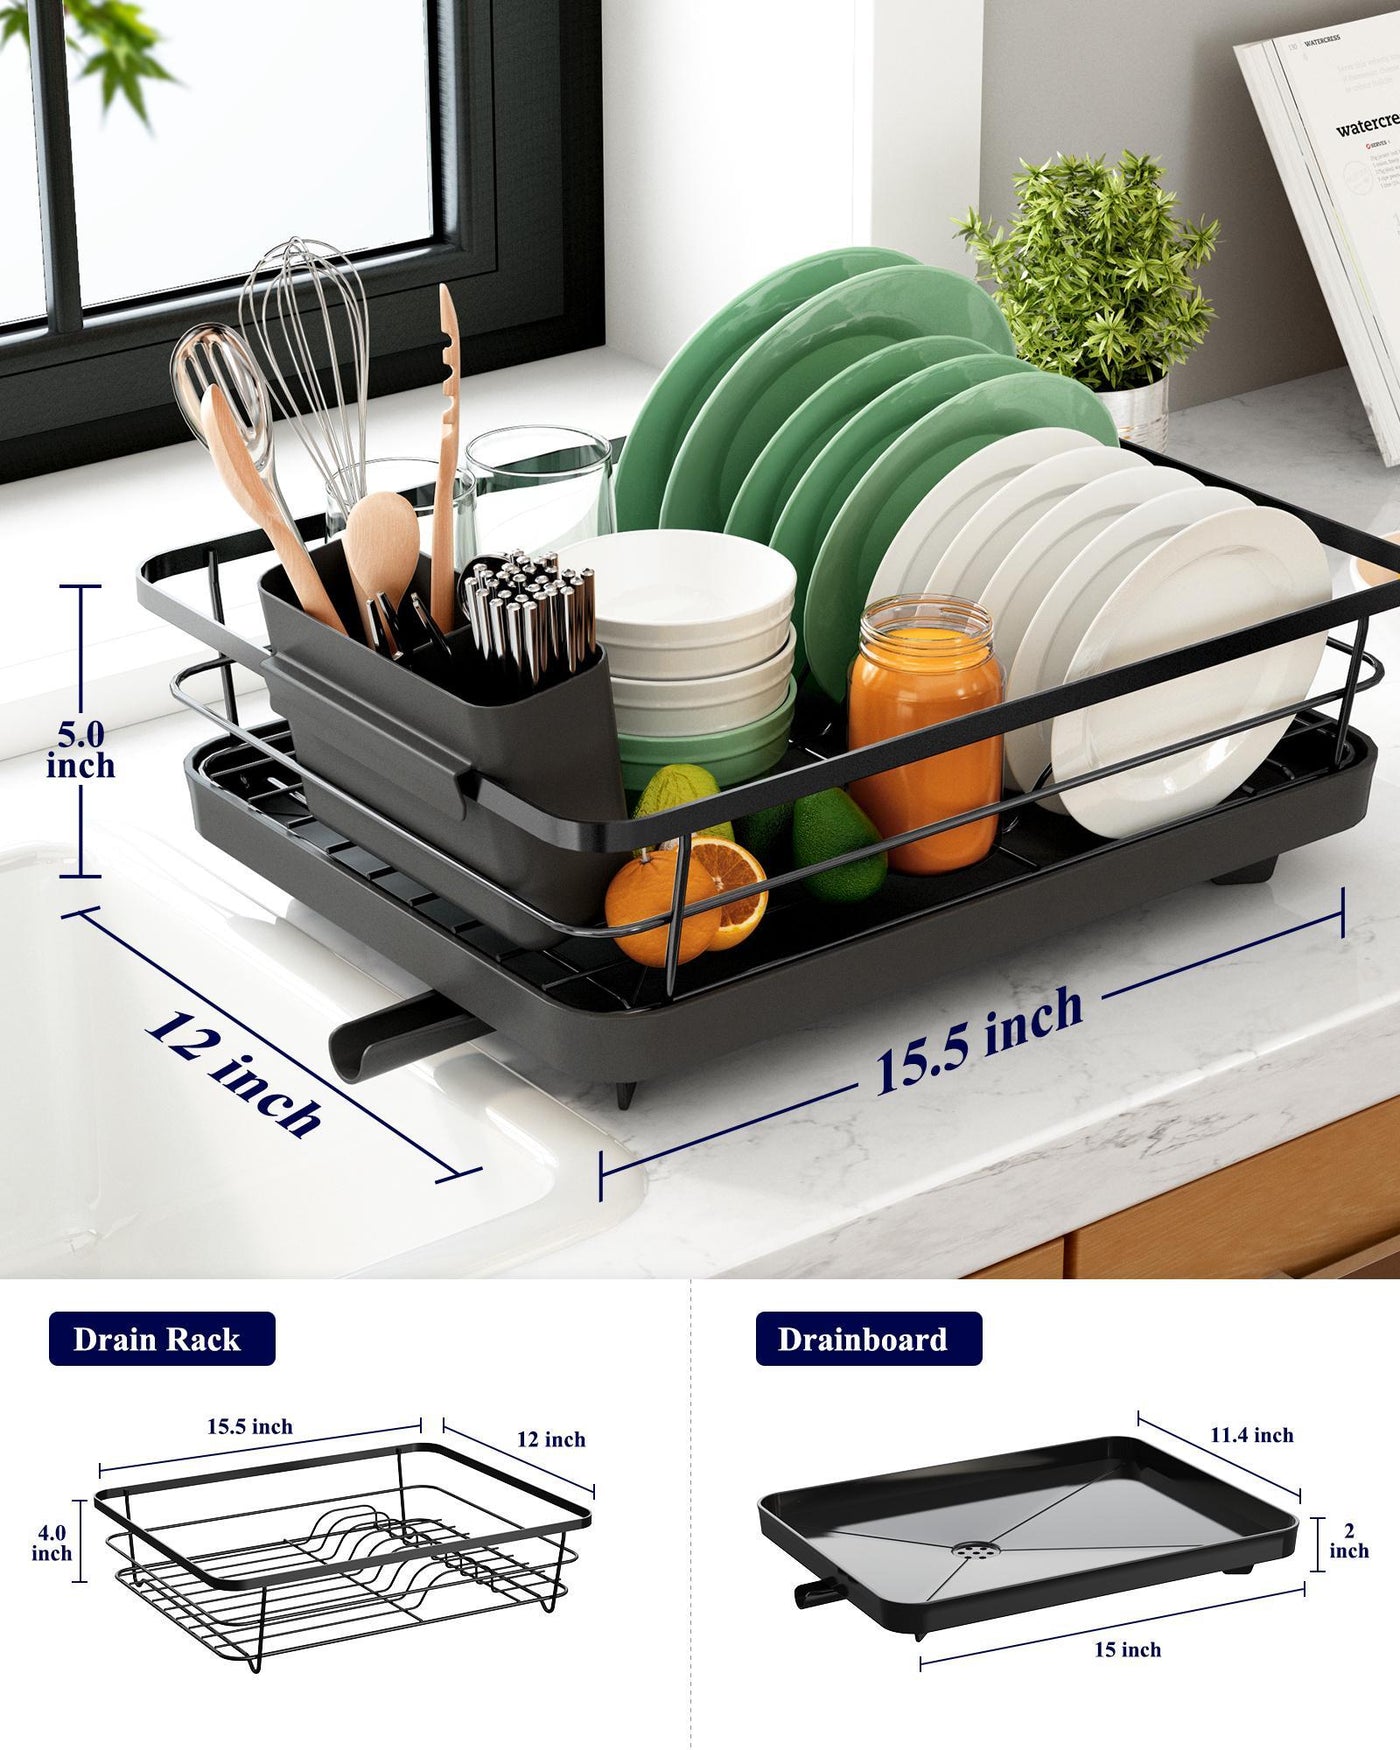
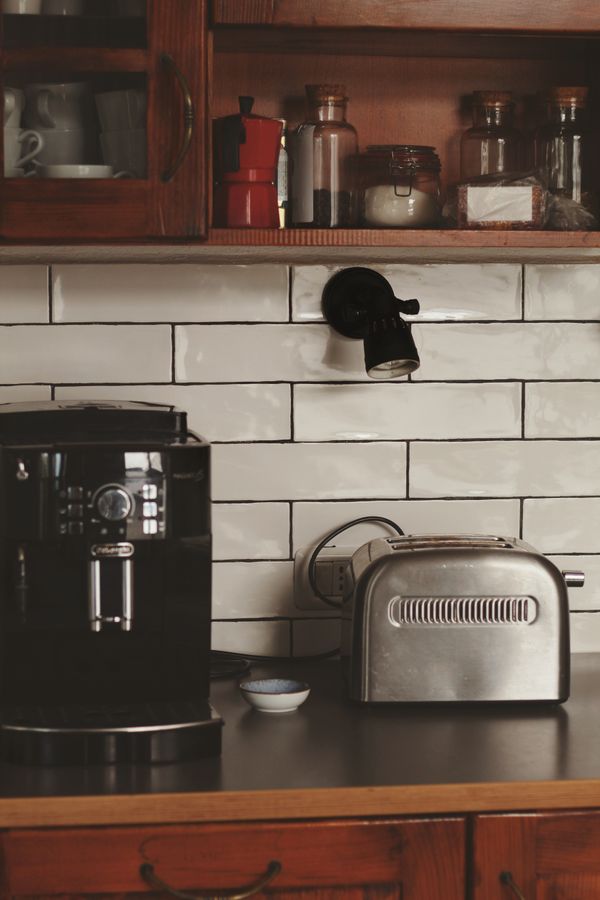
This is something your household uses so often that storing it elsewhere would create friction every day. Examples may include a coffee maker, toaster, electric kettle, knife block, utensil crock, or dish-drying rack.
A permanent item does not need to leave the room every time you clean. It only needs to move far enough for you to clean underneath and behind it.
2. Temporary task item
This belongs on the counter right now because a task is in progress: bread cooling, lunch containers being packed, produce waiting to be washed, or a cutting board still in use.
Keep the task grouped together. Do not scatter it across several surfaces.
3. Drifter
This is the category that quietly steals counter space: unopened mail, backpacks, medicine bottles, receipts, toys, hair ties, batteries, chargers, reusable bags, school papers, and objects that arrived in the kitchen without having a kitchen job.
Drifters should leave the counter during cleaning. But they do not need to be perfectly organized right now. Place them into one small return-home basket or carry them directly to their actual homes if that takes less than a minute.
This single decision—permanent, temporary, or drifter—keeps a countertop cleaning routine from becoming an exhausting whole-house tidy. For a related step-by-step approach, see A Simple Laundry Routine for Families in Small Homes.
The core method: clean the counter in four passes
Instead of stripping the entire counter, divide it into sections roughly one to two feet wide. Then use the same four-pass sequence on each section.
Pass 1: remove only loose and unrelated items
Move trash, packaging, crumbs, dishes, and obvious drifters. Leave permanent appliances and grouped task items where they are unless they block the section you need.
Pass 2: slide, lift, clean, return
Move one permanent item at a time. Wipe the exposed surface, clean the contact area or feet if needed, then return the item before moving the next one.
This is the heart of keep-in-place cleaning. The counter never becomes a giant staging area because only one or two objects are displaced at a time.
Pass 3: clean the edge zones
Pay attention to the narrow places where mess hides: the wall line, backsplash edge, corners, the area behind a toaster, underneath a fruit bowl, and the seam beside the sink.
You do not need to deep-clean every crevice each night. But small amounts of grease, crumbs, and moisture accumulate quickly around stationary objects, so these edges deserve occasional attention.
Pass 4: protect a usable landing strip
When the section is clean, do not immediately refill every inch. Preserve at least one uninterrupted piece of counter as a clear prep zone.
In a very small kitchen, this might be only 18 to 24 inches. That can still be enough for a cutting board, mixing bowl, lunch assembly, or grocery unpacking.
Start with the section you need most—not the messiest section
Traditional cleaning advice often says to start with the dirtiest area. In a working kitchen, it can be smarter to start with the area that gives you the most function back.
If dinner needs to happen in 30 minutes, clear the prep zone first. If breakfast dishes are blocking the sink, restore the wash zone first. If groceries are arriving, free the landing area beside the refrigerator.
Ask one question:
“Which clean surface would make the next kitchen task easier?”
Clean that area before chasing less important mess. This creates immediate payoff and makes it more likely you will keep going.
How to clean around appliances without creating appliance chaos
Daily-use appliances are a major reason small counters feel crowded. The solution is not automatically to hide every appliance. It is to decide which ones deserve permanent real estate and make them easier to clean around.
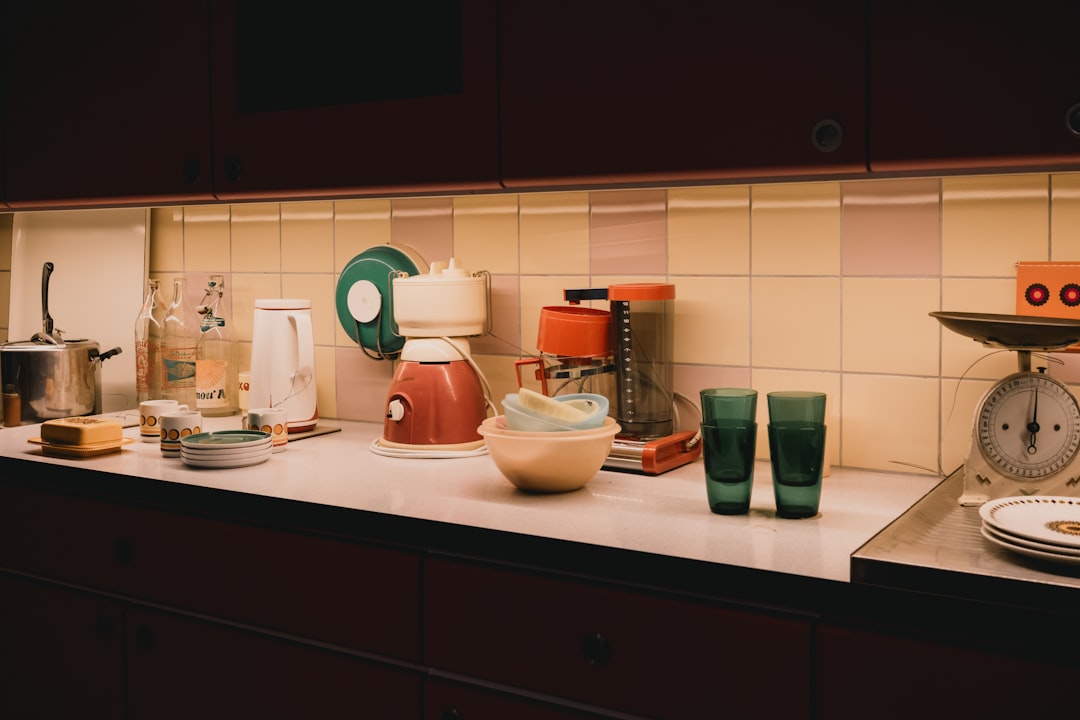
Give each permanent appliance a parking spot
A coffee maker that migrates around the counter creates more clutter than one that always returns to the same location. A defined parking spot also makes cleaning faster because you know exactly where the clear space should begin and end.
Use the “slide distance” rule
If an appliance only needs to move six inches for you to clean underneath, slide it, wipe, and slide it back. Do not carry it across the room unless the appliance or surface requires a different cleaning method.
Keep appliance accessories somewhere else
The appliance may deserve counter space; every accessory usually does not. Extra blender cups, air-fryer racks, coffee filters, measuring scoops, attachments, manuals, and spare parts can often live in a nearby drawer or cabinet.
This helps reduce appliance clutter on kitchen counters without forcing you to put away the equipment you actually use every day.
Re-evaluate “daily use” honestly
An appliance can stay on a counter for months after your routine changes. If the waffle maker has not been used in six weeks, it may no longer deserve premium space. If the rice cooker is used four nights a week, keeping it accessible may be completely reasonable.
The goal is not minimalism. The goal is a counter that reflects your current life.
Use trays only when they reduce movement
A tray can help if it groups items that are always used together: coffee supplies, cooking oils, or a few breakfast essentials. Then you can lift or slide one tray instead of moving five separate containers.
But trays can also become clutter platforms. If the tray fills with receipts, random bottles, and objects that do not belong together, it stops being a cleaning shortcut.
A useful tray should:
- hold one clear category,
- fit comfortably without blocking your prep zone,
- be easy to lift or slide,
- make wiping underneath faster, not harder.
If it fails those tests, the tray is probably just disguising clutter.
Clean the sink zone without emptying the whole counter
The sink area usually has soap, a sponge, brushes, hand lotion, a dish rack, bottles, and drying items. It can feel impossible to wipe unless everything leaves at once.
Use a tighter sequence:
- Put dry dishes away first if they are already finished.
- Group soap and cleaning tools together on one side.
- Wipe the newly exposed side of the sink and counter.
- Move the grouped items onto the clean side.
- Clean the second side.
- Return only the items that are used frequently.
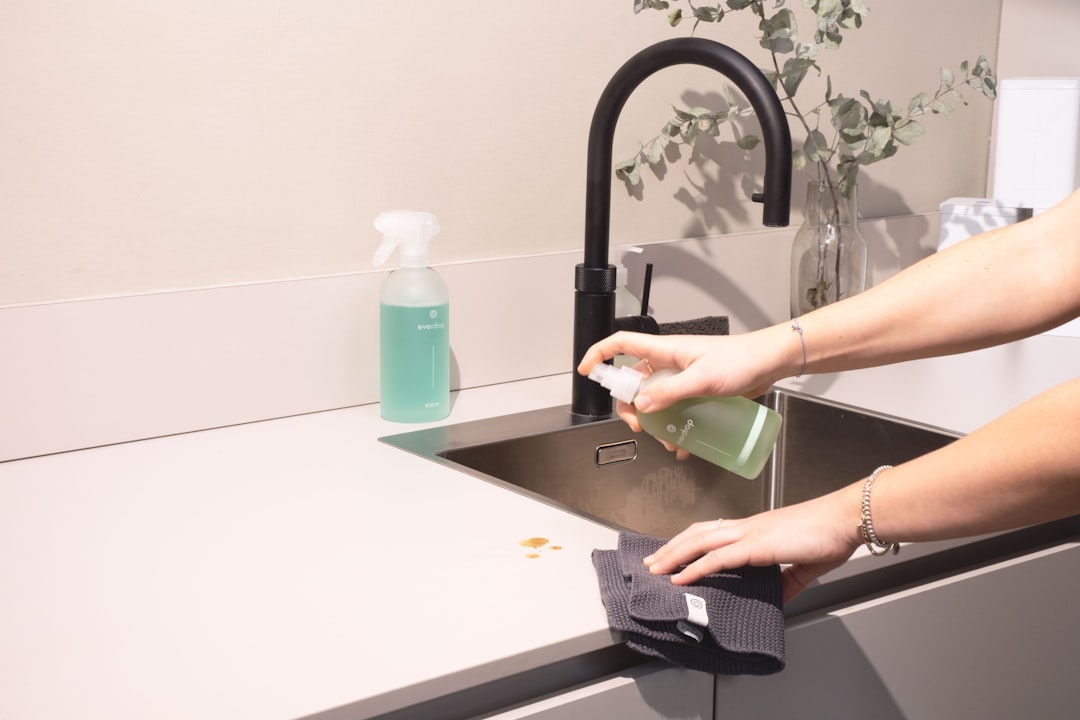
This creates a clean sink area without relocating every bottle to another room.
Separate cleaning from organizing
One of the biggest time traps is trying to make storage decisions in the middle of wiping counters.
You pick up a stack of food containers. One lid does not match. You open the cabinet. The cabinet is crowded. Now you are reorganizing the container shelf instead of cleaning the counter.
Use a boundary:
Cleaning session = restore surfaces. Organizing session = change where things live.
If you notice an organizing problem while cleaning, capture it in a short note:
- Find home for lunch-box lids.
- Move vitamins away from prep zone.
- Reduce reusable bottles.
- Relocate rarely used blender.
Then finish the cleaning job. You can solve the storage issue later when you have the time and attention for it.
What to do with food that legitimately belongs on the counter
Fruit, bread, onions, garlic, tomatoes, baked goods, and cooling food can all occupy counter space for valid reasons. The problem is when food storage expands until no prep area remains.
Create a food boundary
Use one basket, bowl, bread box, or defined section of counter. When food no longer fits inside that boundary, make a decision instead of expanding the zone.
Remove packaging quickly
Produce bags, bread clips, cardboard sleeves, and delivery packaging often take up more room than the food itself. Once food is stored safely, remove unnecessary packaging and recycling.
Check what is actually being eaten
A fruit bowl full of overripe produce is not helping your kitchen work better. Adjust the quantity you buy or store some items elsewhere when appropriate.
The purpose is a functional food zone, not a decorative pile.
The one-clear-board rule
If your kitchen is extremely tight, choose one cutting board or washable board that defines your minimum usable workspace.
Your daily goal is simple: there must always be enough open counter to set that board down flat.
This is easier to maintain than a vague goal such as “keep the counters clean.” It gives the household a visible standard:
- If the board fits, the kitchen can function.
- If the board does not fit, clear enough space until it does.
That small rule protects usable kitchen prep space even during busy weeks.
Use a temporary relocation basket—but empty it the same day
Sometimes several non-kitchen objects really do need to leave the counter before you can clean. Instead of walking each item away separately, use one small basket.
Put only drifters inside: mail, toys, chargers, hair accessories, receipts, school items, or things that belong elsewhere.
Then set a hard limit: the basket must be emptied before the end of the day.
Without that rule, the basket becomes permanent mobile clutter. With the rule, it turns a scattered five-minute cleanup into a single trip through the house.
How to wipe a crowded counter safely and efficiently
The exact cleaner depends on your counter material and the products you use. Follow the care instructions for your surface and the product label. For routine household cleaning, the CDC advises using products appropriate for the surface and notes that regular cleaning is usually sufficient in many home situations; sanitizing or disinfecting may be appropriate in specific circumstances, such as food-contact contamination or illness.
A simple sequence is:
- Remove loose debris and crumbs.
- Move one item or small group.
- Apply or use the appropriate cleaner as directed.
- Wipe the exposed surface.
- Allow the surface to dry as appropriate.
- Return the item only if it belongs there.
- Move to the next section.
If a food-contact surface has been contaminated by raw meat, poultry, seafood, eggs, or their juices, treat that as a food-safety cleanup rather than an ordinary cosmetic wipe. The USDA emphasizes cleaning hands and surfaces and preventing cross-contamination in the kitchen.
Do not clean by pushing crumbs behind things
Cleaning around objects should not mean tracing a cloth around their edges and leaving everything underneath untouched.
The difference is simple:
Cleaning around = never moving the object.
Cleaning in place = moving the object just enough to clean its footprint, then returning it.
For daily cleaning, you may only move lightweight items. Once a week, include the objects that are slightly more annoying to shift. Less frequently, clean behind larger appliances according to their care and safety instructions.
This layered approach keeps the daily routine short without letting hidden mess build indefinitely.
Build a counter map that prevents clutter from spreading
A small kitchen works better when each section has one primary job. You do not need labels. You only need a consistent mental map.
For example:
- Zone A: coffee and breakfast
- Zone B: open prep space
- Zone C: sink and dishwashing
- Zone D: cooking oils and frequently used tools
- Zone E: short-term grocery or lunch landing area
When an object appears in the wrong zone, the problem becomes easier to see. A stack of school forms in the coffee zone is clearly a drifter. A toaster in the breakfast zone may be legitimate.
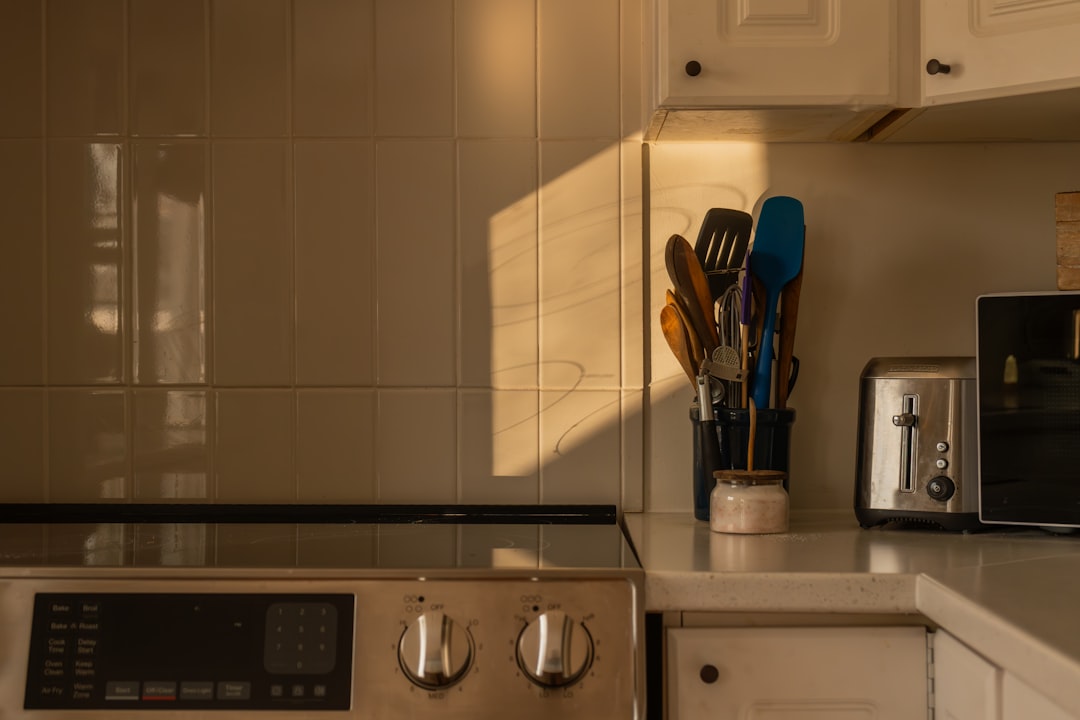
Try the 70-percent rule for visual breathing room
You do not need mathematically precise measurements, but a useful target is to keep at least some counters visibly open rather than filling every inch edge to edge.
If a section can hold six small items, consider allowing only four. If two appliances occupy an entire run of counter, ask whether both truly need to stay out.
The point is to create enough countertop breathing room that wiping, cooking, and unloading groceries do not require a preliminary shuffle.
What to leave out in a family kitchen
Families often need different things accessible than a one-person household. The answer is not to hide everything for appearance. If you are working on the same space, A Home Filing System for Families With No Home Office covers the next decision in more detail.
Items that may reasonably stay out include:
- a coffee maker or kettle used every day,
- a fruit bowl that the family actually uses,
- a drying rack if dishes are hand-washed daily,
- a small utensil container,
- one container for lunch-packing essentials during the school week,
- a water-bottle station if it reduces morning chaos.
The key is that each item supports a repeated household routine. If it exists on the counter only because no one has decided where it belongs, it is probably clutter.
What to do when the counter is covered after dinner
If the entire counter is covered with dinner aftermath, do not start by relocating appliances. Close the active meal first:
- Put perishable food away.
- Move dishes toward the dishwasher or sink.
- Throw away scraps and packaging.
- Group tomorrow’s lunch items if they still need attention.
- Restore one prep section.
- Then use the four-pass method on the remaining counter.
For a more structured after-dinner sequence, use our 15-minute nightly kitchen reset for busy families. It is designed for nights when the problem is not one dirty surface but the whole end-of-day kitchen.
What to do when the counter is always crowded before you even cook
If you clean regularly but the counters are still constantly full, you may have a space-allocation problem rather than a cleaning problem.
Look for these patterns:
Too many categories are stored visibly
Coffee supplies, supplements, snacks, mail, baking ingredients, water bottles, cooking oils, and appliances may each seem reasonable on their own. Together, they consume the kitchen.
Cabinets hold things you use less than the counter items
Prime cabinet space may be occupied by serving pieces, duplicates, or special-occasion items while daily objects sit outside. Rebalancing storage can improve the counter without adding any new organizer.
The kitchen is the household drop zone
If every family member walks through the kitchen and sets things down, add a landing zone somewhere else: hooks, a small entry basket, wall pockets, or a school-gear station.
Appliances have multiplied
A toaster, blender, stand mixer, air fryer, rice cooker, coffee grinder, kettle, and slow cooker can consume an entire kitchen. Decide which ones are daily, weekly, and occasional. Only the first group should automatically receive permanent counter space.
The five-minute version for busy days
When you do not have time for the full method, use this minimum version:
- Minute 1: remove trash and obvious drifters.
- Minute 2: clear enough room for one cutting board.
- Minute 3: wipe that prep zone.
- Minute 4: clear and wipe the sink edge.
- Minute 5: return permanent items to their parking spots.
You will not finish the entire kitchen, but you will restore the two surfaces that matter most: a usable prep counter and a functional sink zone.
The 20-minute version for a more thorough reset
When you have more time, expand the same method rather than inventing a new routine:
- clean the full counter in sections,
- lift trays and small appliances,
- wipe the backsplash where visible grease has collected,
- wipe appliance handles and control areas as appropriate,
- clear drifters from the kitchen,
- clean the sink,
- sweep the main floor area,
- review one appliance or counter category that may no longer deserve permanent space.
The advantage is consistency. Your five-minute, ten-minute, and twenty-minute clean all use the same logic.
How often should you move everything completely?
You do not need to strip every counter every day. A practical rhythm for many homes is:
- Daily or as needed: clean sections in place, especially food-prep and sink zones.
- Weekly: move lightweight appliances, trays, and containers enough to clean their full footprint.
- Periodically: clean behind or beneath heavier items according to manufacturer and surface-care guidance.
Frequency should change with how you cook. A household that fries food often, bakes frequently, has young children, or handles raw ingredients on the counter may need more frequent attention in specific zones.
Frequently asked questions
Is it okay to wipe around a coffee maker or toaster every day?
Yes, as part of routine maintenance, as long as you also move the item often enough to clean the surface underneath and follow the appliance manufacturer’s safety and care instructions.
Should counters be completely empty to look clean?
No. A counter can be visually calm and functional while still holding a few daily-use items. The better standard is whether the surface is clean, the items are intentional, and there is enough room to perform normal kitchen tasks.
How much counter space should I keep clear?
There is no universal measurement, but try to protect one uninterrupted prep area large enough for your most common task. For many small kitchens, the ability to place a full-size cutting board flat is a useful minimum.
What if I have nowhere else to store appliances?
Then treat them as permanent counter items and give each one a defined parking spot. Reduce accessory clutter, group compatible items, and protect one prep zone rather than fighting for an unrealistic empty counter.
How do I stop family members from dropping things on the kitchen counter?
Create a more convenient landing place near the route they already use. Hooks, a basket, a tray by the entry, or a school-gear station often works better than repeatedly asking people not to use the kitchen.
Should I disinfect my counters every night?
Not necessarily. CDC guidance notes that regular cleaning is sufficient in many home situations, while sanitizing or disinfecting may be appropriate in certain circumstances. Food-contact contamination, illness in the household, product directions, and the type of surface all matter.
The goal is not an empty counter—it is a recoverable kitchen
A small kitchen will rarely stay empty if people actually use it. There will be a coffee maker, drying dishes, a lunch box, fruit, a pan cooling, or groceries waiting to be put away.
The better goal is a kitchen that can recover quickly.
Use countertop zones. Move one item at a time. Keep permanent appliances in defined parking spots. Remove drifters without reorganizing the whole house. Protect one clear prep space. Clean under objects often enough that “cleaning around them” never becomes hiding dirt behind them.
If you want the broader daily system that supports this method, start with how to keep a small kitchen clean when you cook every day. This countertop method works best as one part of that larger routine.
When you stop treating every cleanup as a full counter evacuation, maintaining a small kitchen becomes much more realistic: less moving, less temporary clutter, and more usable space when you actually need to cook.
Sources
- When and How to Clean and Disinfect Your Home — CDC — https://cdc.gov/hygiene/about/when-and-how-to-clean-and-disinfect-your-home.html
- How do I keep my foods safe to eat? — USDA FSIS — https://ask.fsis.usda.gov/article/How-do-I-keep-my-foods-safe-to-eat