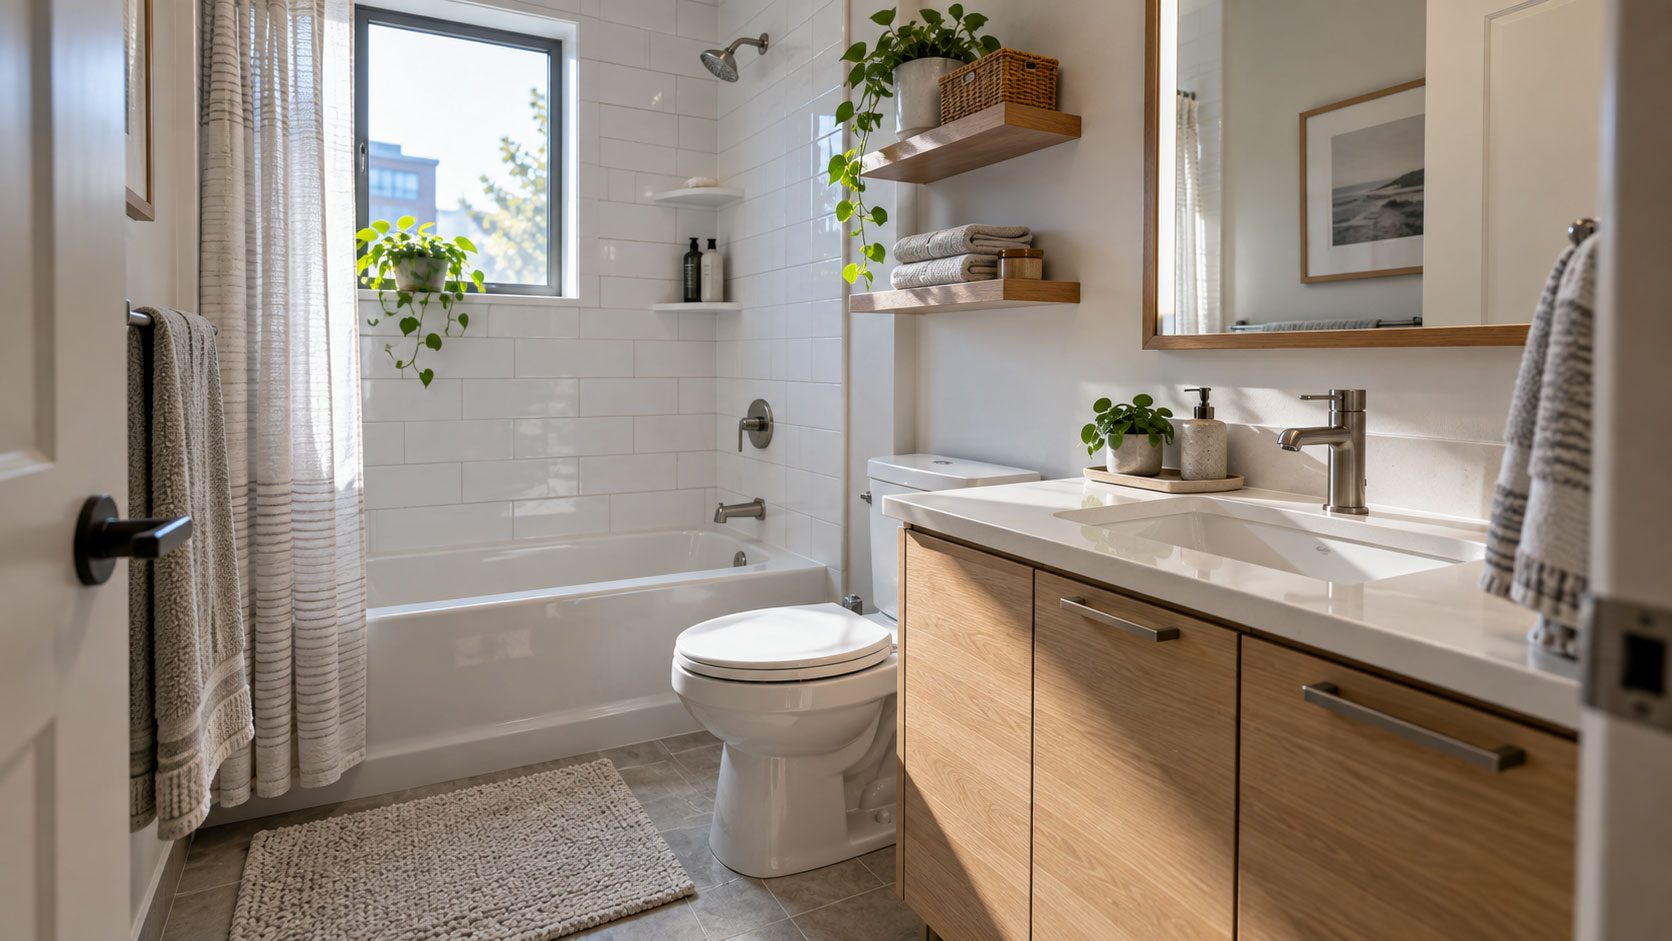
A small bathroom can look messy surprisingly fast. Toothpaste spots on the mirror, water around the faucet, hair on the floor, a damp towel, and a few bottles left on the counter may be minor on their own, but in a compact room they are all visible at once.
That is why a short bathroom reset can have an outsized effect.
This routine is designed for a bathroom that is already being maintained reasonably well. It is not a promise that ten minutes can remove heavy soap scum, restore stained grout, descale years of hard-water buildup, or replace a periodic deep clean.
Instead, the goal is simpler: use ten focused minutes to clean the surfaces that affect how the bathroom looks, smells, and feels most.
When the timer ends, you stop. The bathroom should feel noticeably fresher without turning an ordinary weekday clean into a major project. For a related step-by-step approach, see How to Organize School Papers Without Keeping Everything.
What This 10-Minute Routine Is Designed to Do
Think of this as a maintenance clean between deeper bathroom sessions.
In ten minutes, the priorities are:
- remove visible clutter;
- clear hair and loose debris;
- clean the mirror and sink area;
- clean the toilet;
- touch up the shower or tub where it needs attention most;
- quickly clean the floor;
- return the room to a usable state.
Tasks that require soaking, detailed scrubbing, moving furniture, laundering textiles, or treating buildup belong on a deeper-clean list.
This distinction matters because a routine is easier to maintain when you know what you are not trying to accomplish.
Gather a Small Bathroom Cleaning Kit First
If you spend three of your ten minutes looking for a cloth, the routine will always feel rushed.
Keep the basic supplies together if you have a safe place to store them away from children and pets.
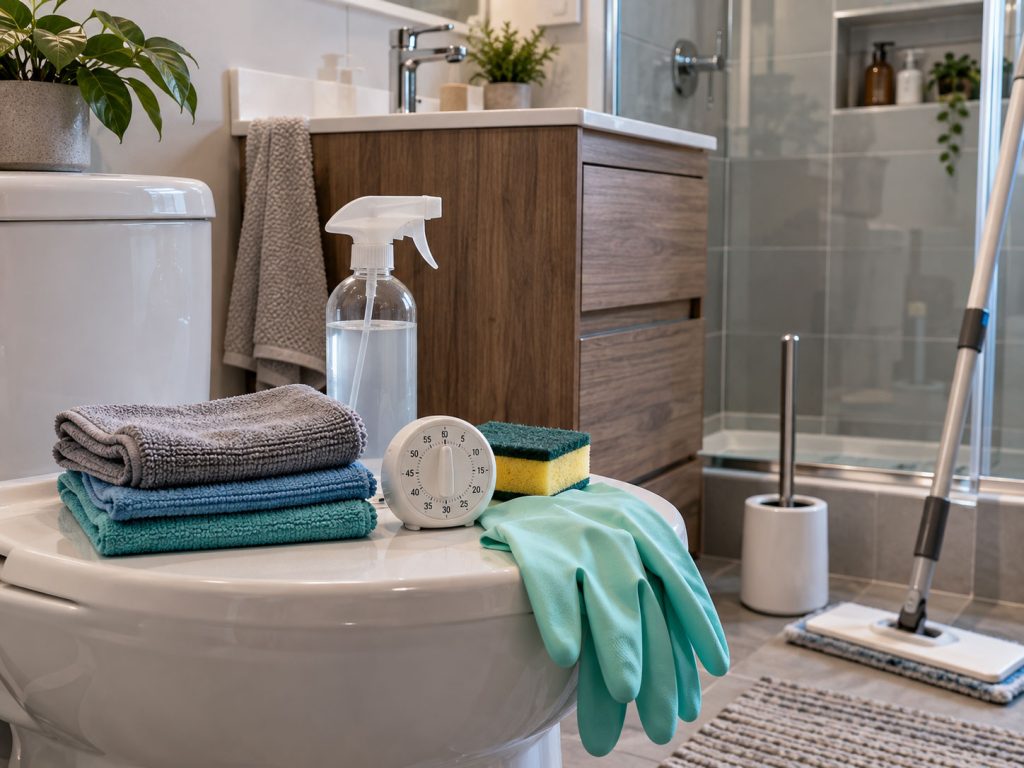
A simple kit may include:
- two or three microfiber or washable cleaning cloths;
- a bathroom or general-purpose cleaner suitable for your surfaces;
- glass cleaner if your mirror requires a separate product;
- toilet bowl cleaner or another product intended for that use;
- a toilet brush;
- a small broom, vacuum, or dry floor tool;
- a floor-cleaning cloth, pad, or mop appropriate for the flooring;
- cleaning gloves if the products you use call for them.
You do not need a different bottle for every surface. You do need to check that whatever you use is compatible with the material you are cleaning.
Natural stone, specialty finishes, wood, painted cabinetry, acrylic tubs, and other surfaces can have specific care requirements. Follow the surface manufacturer’s guidance and the cleaner’s label rather than assuming one product is safe everywhere.
Before You Start: One Important Cleaning-Safety Rule
Do not mix household cleaning chemicals.
In particular, never mix bleach with ammonia, acids, toilet bowl cleaners, or other cleaning products. Dangerous gases can form when incompatible chemicals are combined.
Read product labels, use the recommended amount, and ventilate the bathroom while using cleaning products when the label or conditions call for it.
For routine household cleaning, you also do not need to automatically disinfect every surface every time you clean. Cleaning removes dirt and many germs. Disinfection is a separate step and may be appropriate when someone is sick, when a surface has a specific contamination concern, or when product or public-health guidance calls for it. For a related step-by-step approach, see How to Keep a Small Kitchen Clean When You Cook Every Day.
If you do disinfect, clean the surface first when required and follow the disinfectant label, including any stated contact time.
The 10-Minute Bathroom Reset at a Glance
| Time | Zone | Main job |
|---|---|---|
| 0:00–1:00 | Whole room | Clear clutter and remove loose items |
| 1:00–3:00 | Mirror & sink | Clean the highest-visibility zone |
| 3:00–6:00 | Toilet | Clean bowl and exterior touchpoints |
| 6:00–8:00 | Shower or tub | Target fresh residue and wet-zone mess |
| 8:00–9:30 | Floor | Remove hair, dust, and obvious marks |
| 9:30–10:00 | Reset | Replace essentials and leave the room ready |
Minute 0 to 1: Remove Everything That Slows You Down
Your first minute is not really cleaning. It is creating a clear path so the remaining nine minutes can be productive.
Move dirty towels to the laundry area. Put clothes in the hamper. Return toiletries to their normal storage spot. Throw away empty packaging and obvious trash. Move bath toys into their container if they are dry enough to store safely. For a related step-by-step approach, see Where to Store Important Documents in a Small Apartment.
Do not begin reorganizing drawers.
Do not stop to decide whether you still like a half-used product.
Do not open the under-sink cabinet and start a decluttering project.
Anything that requires a decision can wait. Your goal is simply to expose the surfaces you need to clean.
If the bathroom belongs to several family members, use a temporary basket for items that need to leave the room. Carry the basket out when the routine is finished instead of walking back and forth during the timer.
Minutes 1 to 3: Clean the Mirror and Sink Zone
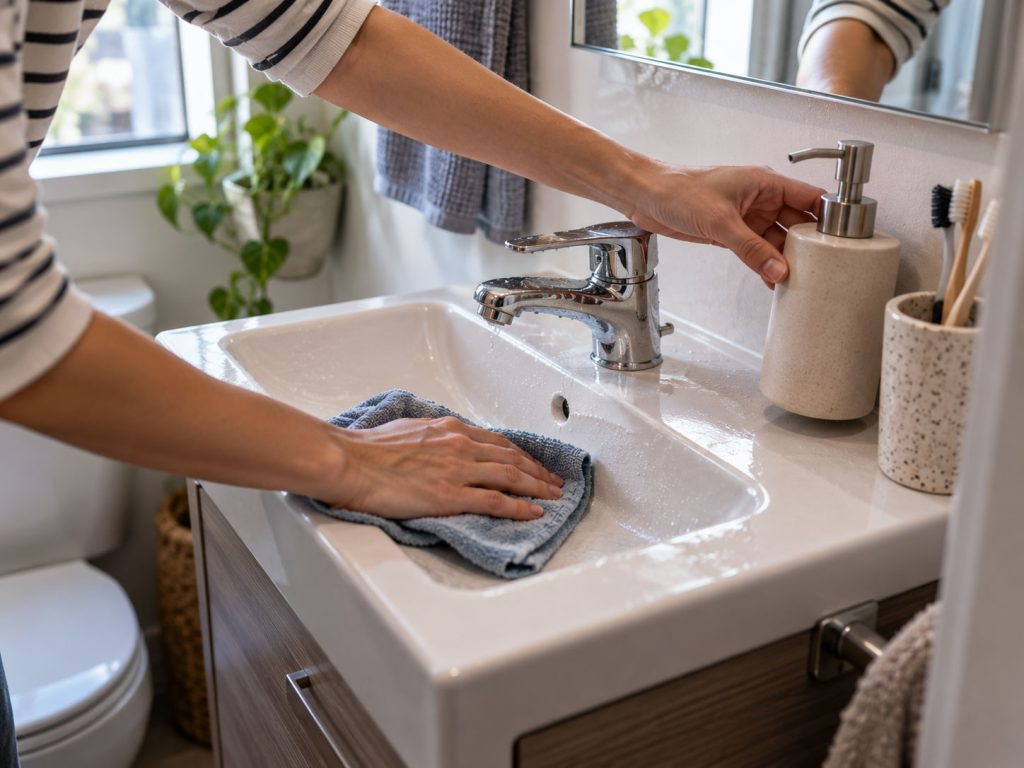
In a small bathroom, the vanity is usually the first area you see. Cleaning it early creates an immediate visual improvement.
Start with the mirror
Remove toothpaste specks, fingerprints, water spots, and obvious streaks using a product and cloth appropriate for the mirror.
You do not need to polish it for several minutes. Aim for visibly clean and reasonably streak-free.
Then move down to the counter
Wipe around the soap dispenser, faucet, toothbrush area, and any objects that remain on the counter.
If the counter is crowded every day, this is useful feedback about the storage system. Do not solve that problem during the cleaning timer, but make a note to address it later. You may also find A Home Filing System for Families With No Home Office useful for a closely related small-home problem.
Clean the faucet and basin last
Wipe the faucet handles and the area around the base where water and residue collect. Clean visible toothpaste, soap, hair, and residue from the sink bowl.
Finish by drying the faucet or counter if your surface tends to show water spots.
At the end of minute three, the vanity should look reset even if you have not touched anything else in the room.
Minutes 3 to 6: Give the Toilet Three Focused Minutes
A toilet does not need an elaborate ritual during every maintenance clean, but it deserves enough time to clean the areas people actually touch and see.
Start inside the bowl
Use the toilet-cleaning product according to its label. Apply it as directed and give it any required dwell time while you work on the exterior.
Wipe the exterior from cleaner areas toward dirtier ones
Depending on your toilet design, focus on:
- flush handle or button;
- tank top;
- seat lid;
- seat;
- rim and exterior bowl;
- outer base if visibly dirty.
Use a cloth or disposable material appropriate for toilet cleaning, and avoid taking a toilet-cleaning cloth directly to the sink or faucet afterward.
Return to the bowl
Scrub with the toilet brush as needed and flush according to the product instructions.
If you consistently notice odor even immediately after cleaning, add the seat hinges, rear base, and floor around the toilet to a future deeper-clean session. Those areas can collect residue that a fast wipe does not fully reach.
Minutes 6 to 8: Do a Shower or Tub Touch-Up, Not a Deep Scrub
This is where a ten-minute routine often becomes unrealistic. Once you start attacking grout and old soap scum, the timer is over.
During the quick clean, target what is fresh and easy to remove.
Depending on your bathroom, that might mean:
- rinsing fresh soap residue;
- wiping the tub rim;
- cleaning the most visible splash marks;
- wiping the shower control and handle;
- removing hair from the drain area;
- squeegeeing a glass door;
- straightening bottles so water can drain around them.
If the shower walls have established soap scum or mineral buildup, put that task on the deep-clean list rather than spending the rest of the ten minutes fighting one corner.
The same rule applies to grout. Fresh surface dirt can be wiped. Darkened grout lines or widespread mildew deserve dedicated attention and the appropriate cleaning method.
Minutes 8 to 9:30: Clean the Floor From the Back of the Room Out
Bathroom floors collect hair, lint, dust, toilet-paper fibers, dried water marks, and whatever travels in on bare feet or slippers.
In a small room, cleaning the floor can take less than two minutes if it is already mostly clear.
Start by removing loose debris with a vacuum, broom, or other suitable dry-cleaning tool. Pay extra attention around:
- the toilet base;
- corners;
- the vanity toe kick;
- behind the door;
- the edge of the bath mat.
Then wipe or mop obvious dirty areas using the appropriate method for your flooring.
Work toward the door so you are not standing on the area you just cleaned.
If the whole floor needs a thorough wet mop, that may push the routine past ten minutes. On maintenance days, a targeted clean is enough. Schedule the full floor clean with the deeper bathroom session.
The Last 30 Seconds: Reset, Do Not Decorate
The final half-minute should return the room to normal use.
Hang a clean hand towel if needed. Put the bath mat back if you moved it and it is clean and dry enough to return. Refill toilet paper if the current roll is almost empty. Return only the everyday items that belong on the counter.
Then leave.
The timer is a boundary. It prevents a quick clean from becoming a forty-minute project because you suddenly notice the medicine cabinet needs reorganizing.
What Not to Do During the 10-Minute Clean
Several legitimate bathroom tasks simply do not belong in this routine.
Save these for a deeper clean or a separate maintenance session:
- scrubbing all grout lines;
- removing established hard-water scale;
- deep-cleaning shower-door tracks;
- washing the shower curtain and liner;
- laundering bath mats;
- cleaning the exhaust fan cover;
- washing walls or baseboards throughout the room;
- emptying and cleaning bathroom cabinets;
- descaling a showerhead;
- deep-cleaning drains;
- cleaning behind or underneath difficult fixtures.
Trying to include these every time is one reason bathroom cleaning feels endless.
If the Bathroom Is Really Dirty, Do Not Force It Into Ten Minutes
A neglected bathroom needs a different approach.
If there is visible mold growth, heavy mineral buildup, persistent odor, thick soap scum, a clogged or slow drain, stained grout, or widespread grime, start with a deeper clean.
After the room has been brought back to a reasonable baseline, the ten-minute routine becomes useful for maintaining it.
This is the difference between resetting a bathroom and restoring one.
A reset deals with recent mess.
A restoration deals with accumulated problems.
Use a “Minimum Viable Clean” When You Only Have Five Minutes
Some days, even ten minutes is more than you want to give the bathroom.
On those days, reduce the routine instead of abandoning it.
Use five minutes for:
- Clear the counter and floor.
- Wipe the mirror, faucet, sink, and counter.
- Clean the toilet seat, handle, exterior, and bowl.
- Remove visible hair and debris from the floor.
- Hang towels and reset toilet paper.
Skip the shower touch-up unless there is a specific mess that needs attention.
This version focuses almost entirely on what a person notices when they walk into and use the room.
Three Tiny Habits Make the Next Reset Faster
The easiest bathroom to clean is the one where wet mess and clutter do not get several days to settle.
1. Give the sink a quick wipe after the busiest routine
If water, toothpaste, makeup, or shaving residue collects every morning, a short wipe after the rush can prevent it from drying onto the surface.
2. Move water off shower glass or walls
If appropriate for your shower, a quick squeegee after use can reduce the amount of water left on the surface and make later cleaning easier.
3. Take something out when it becomes empty
Empty shampoo bottles, finished toilet-paper rolls, packaging, and used-up products should not need to survive until cleaning day.
These habits take less time than reorganizing the bathroom every weekend because clutter and residue have accumulated together.
How Often Should You Do the 10-Minute Routine?
There is no universal schedule that fits every household.
A small bathroom used by two adults may stay presentable longer than the only bathroom shared by two adults and three children.
Let the room tell you the frequency.
You may need this reset several times a week if:
- the bathroom is the family’s only bathroom;
- several children use the sink and toilet;
- the room has poor ventilation;
- hair and dust become visible quickly;
- the vanity collects daily grooming residue;
- the bathroom also serves guests.
A lower-use bathroom may need the routine less often.
Instead of forcing a rigid schedule, watch for the point just before the room starts to feel unpleasant. That is usually the most useful reset interval.
When Should You Disinfect Instead of Just Clean?
Cleaning and disinfecting are related but different jobs.
Routine cleaning with soap, detergent, and physical wiping removes dirt and many germs from surfaces. In most ordinary household situations, that may be enough.
Disinfection may become more relevant when someone in the household is sick, when a high-risk person needs additional protection, or when there is a specific contamination concern.
If you use an EPA-registered disinfectant or another disinfecting product, follow its label. The surface may need to remain visibly wet for a specified contact time to work as intended.
Do not spray one cleaning product over another simply because both are labeled for bathrooms.
More chemicals do not automatically mean more clean.
A Shared Family Bathroom Needs Systems as Much as Cleaning
If the bathroom looks messy again twenty minutes after you clean it, the problem may not be the cleaning routine.
It may be the room setup.
Look for repeated friction:
- towels have nowhere easy to hang;
- toothbrushes crowd the sink;
- children cannot reach their storage;
- bath toys stay wet in a solid container;
- every person keeps full-size grooming products on the counter;
- there is no hamper nearby;
- backup toilet paper is stored somewhere inconvenient.
A ten-minute cleaning routine works best when everyday items already have realistic homes.
Cleaning should remove dirt. It should not require reorganizing the entire family’s belongings every time.
Make Deep Cleaning a Separate Rhythm
The quick routine becomes much more sustainable when you know the neglected details have another place on the calendar.
Your deeper bathroom session might rotate through tasks instead of doing all of them at once.
For example:
| Deep-clean session | Extra focus |
|---|---|
| Session 1 | Shower walls, tub, and glass |
| Session 2 | Grout, corners, and tracks |
| Session 3 | Floor edges, baseboards, and toilet-detail areas |
| Session 4 | Cabinet fronts, storage, and exhaust-fan exterior |
This keeps the routine honest. Ten minutes handles the visible weekly mess; deeper sessions handle buildup.
The Bathroom Does Not Need to Be Perfect to Feel Clean
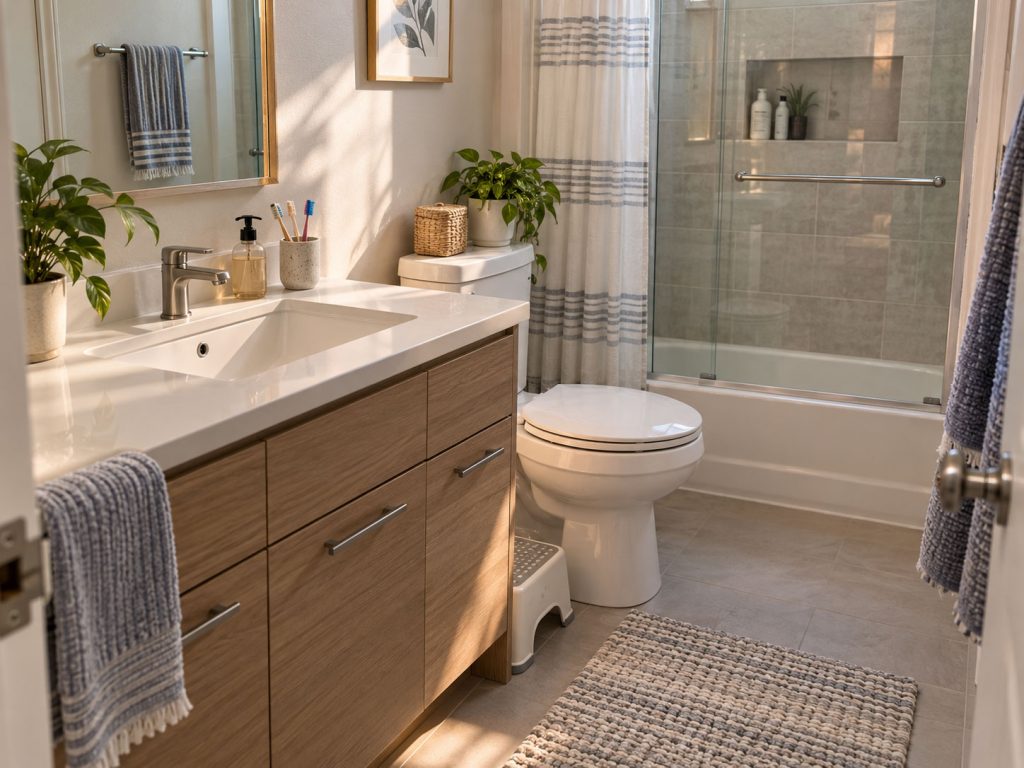
A successful ten-minute reset does not mean every grout line is bright, every towel is freshly laundered, and every bottle is arranged like a hotel bathroom.
It means the sink is usable, the mirror is clear, the toilet is clean, the wet zone is under control, the floor is free of obvious debris, and the room feels ready for the next person.
That is enough for an ordinary day.
Clear the room. Work through the high-impact zones in the same order. Leave deep-cleaning problems for a dedicated session. Stop when the timer ends.
Repeated often enough, ten realistic minutes can do more for a small bathroom than an ambitious cleaning plan that is too exhausting to repeat.
Sources
- Cleaning and Disinfecting — Centers for Disease Control and Prevention — https://www.cdc.gov/hygiene/cleaning-disinfecting/index.html
- Cleaning and Disinfecting with Bleach — Centers for Disease Control and Prevention — https://www.cdc.gov/hygiene/about/cleaning-and-disinfecting-with-bleach.html
- Biological Contaminants and Indoor Air Quality — U.S. Environmental Protection Agency — https://www.epa.gov/indoor-air-quality-iaq/biological-contaminants-and-indoor-air-quality
- Chlorine gas: What happens if you mix bleach and other cleaners — Poison Control — https://www.poison.org/articles/chlorine-gas
- Bathroom Cleaning Checklists for 10 Minutes, 30 Minutes, or 1 Hour — Apartment Therapy — https://www.apartmenttherapy.com/timed-bathroom-cleaning-checklists-36653957