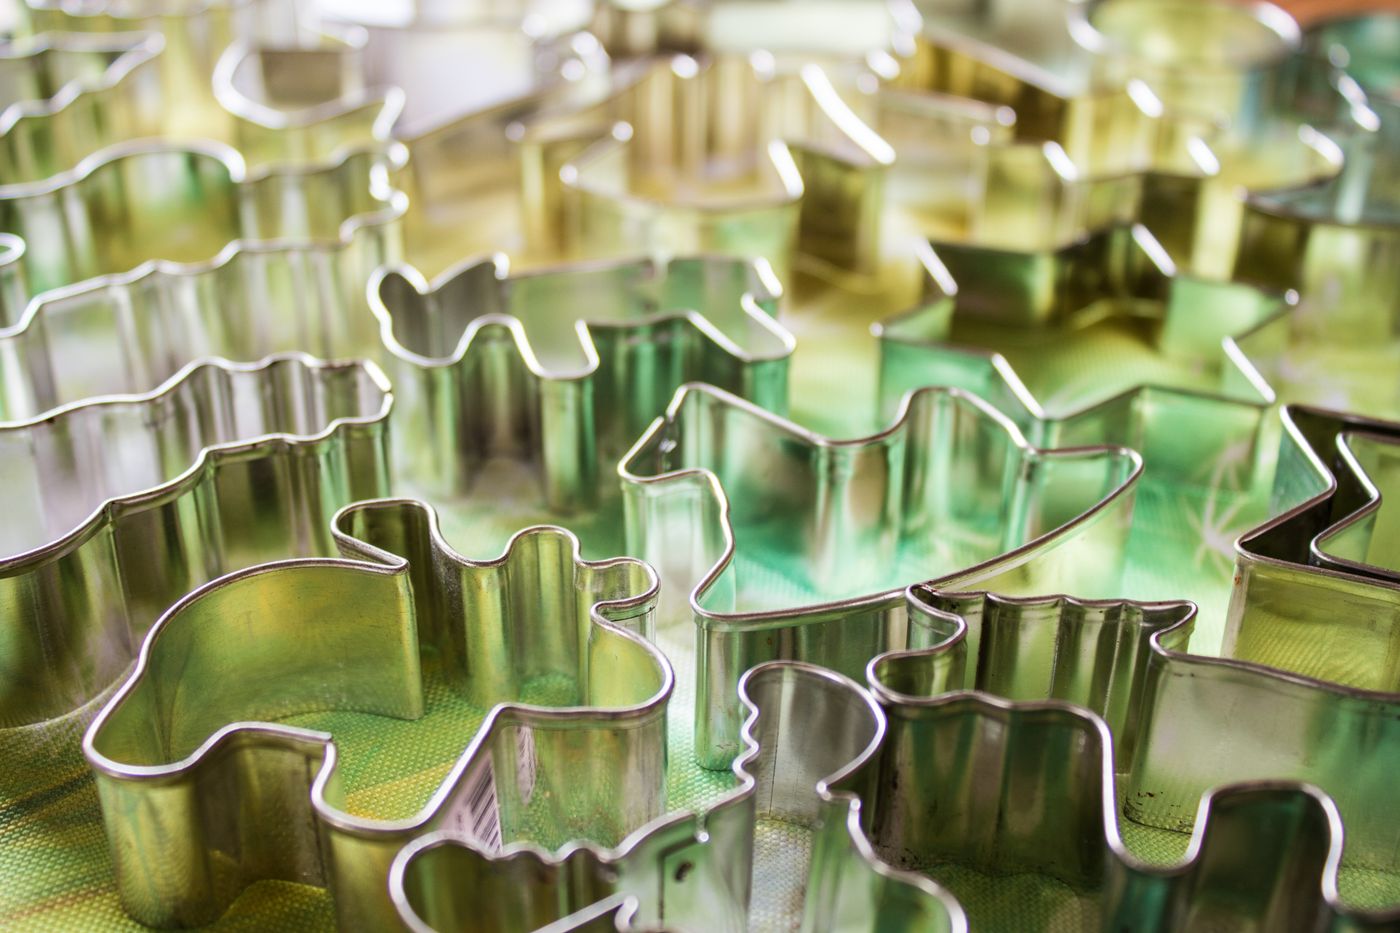
Cookie cutters often return to storage inside one another. That is convenient only after their edges, seams, and hidden contact points have completed the appropriate cleaning and drying. A small wet area between nested shapes can be easy to miss, especially when the collection contains several materials and finishes.
Etsy’s fall and winter 2026 report provides context for handmade seasonal activities. This guide applies that interest to caring for cutters already used in your kitchen. It covers ordinary cleanup, while the actual manufacturer’s instructions determine the method for each cutter.
Separate the collection before assigning care
Lay out the used cutters on a suitable surface and identify the products you actually have. A collection can include metal, coated material, plastic, and printed decorative tools. Similar shapes do not establish similar care requirements. Keep the original maker or packaging information available where the construction is not obvious.
Distinguish kitchen tools intended for the food task from craft tools that happen to have a similar outline. Keep their uses and storage separate according to their instructions. The name of a shape does not establish intended use. If an unmarked cutter’s suitability is uncertain, clarify it before it rejoins the ready kitchen collection.
Inspect seams and the cutting edge
Look at the rim, corners, joins, and any handle or attachment. A cutter can collect residue in a tight corner that is not visible from above. Check whether an apparent brown spot is ordinary remaining material or a change in the surface. Do not keep scrubbing a deteriorating finish as if it were simply dough.
Set aside a cutter with an edge or joint that no longer appears serviceable, and decide on an appropriate next action. Cleaning is a useful moment to notice the change. It does not establish that a distorted or damaged tool should continue in use because it can still cut a recognizable shape.

Read the exact wash instructions
Check whether the maker permits hand washing, dishwasher use, a particular cleaner, or another specified process. Metal does not automatically mean dishwasher-safe, and a plastic-looking cutter may have restrictions that differ from another item in the same drawer. Use the actual product instructions instead of a rule derived from appearance.
For one named example, Wilton directs users of its four-piece nesting circle set to hand wash in warm soapy water, rinse, and dry thoroughly with a soft cloth. That is guidance for that set. Keep it distinct from the requirements of another product, including cutters with coatings, intricate attachments, or different materials.
Remove accessible residue with a permitted tool
Follow the allowed cleaning method and use a tool suitable for the cutter’s finish and shape. Work around the complete outline rather than cleaning only the broad outer face. Check corners and the underside of a rolled edge if those areas are accessible and the maker’s instructions support the method.
Avoid forcing an unsuitable sharp object into a seam to make it look clear. If residue cannot be reached using the permitted care, consult the maker before escalating. A dedicated cleaning tool can help only if it is compatible with the actual item. Buying a larger assortment of brushes will not resolve uncertainty about the cutter’s construction.

Keep soaking and drying decisions product-specific
A long soak is not automatically a useful shortcut. Follow the maker’s stated water exposure and cleaning process. Some collections contain more than one kind of metal or finish, so assigning everything the same soak while you clean the rest of the kitchen may create avoidable problems.
Finish the rinse or other required step as instructed, then give each cutter an appropriate drying arrangement. Keep pieces separated enough to inspect their relevant surfaces. The most important pause comes before nesting: complete the required drying while seams, corners, and contact areas are still visible and reachable.
Check the hidden points before nesting
Look at the narrowest corners, joins, and any area where two cutters will touch. Follow the actual drying instructions and make sure the whole item is ready to store. A broad flat face can feel dry while a recessed section still needs attention. Do not use a closed tin or an already nested stack as the drying location by default.
For a nesting set, return the pieces in the order and orientation intended by the design. Keep the fit loose enough to avoid forcing an edge or scraping a finish. If a previously easy set no longer nests appropriately, inspect for distortion or another change rather than pressing harder to restore the old arrangement.
Complete the rest of the baking cleanup separately
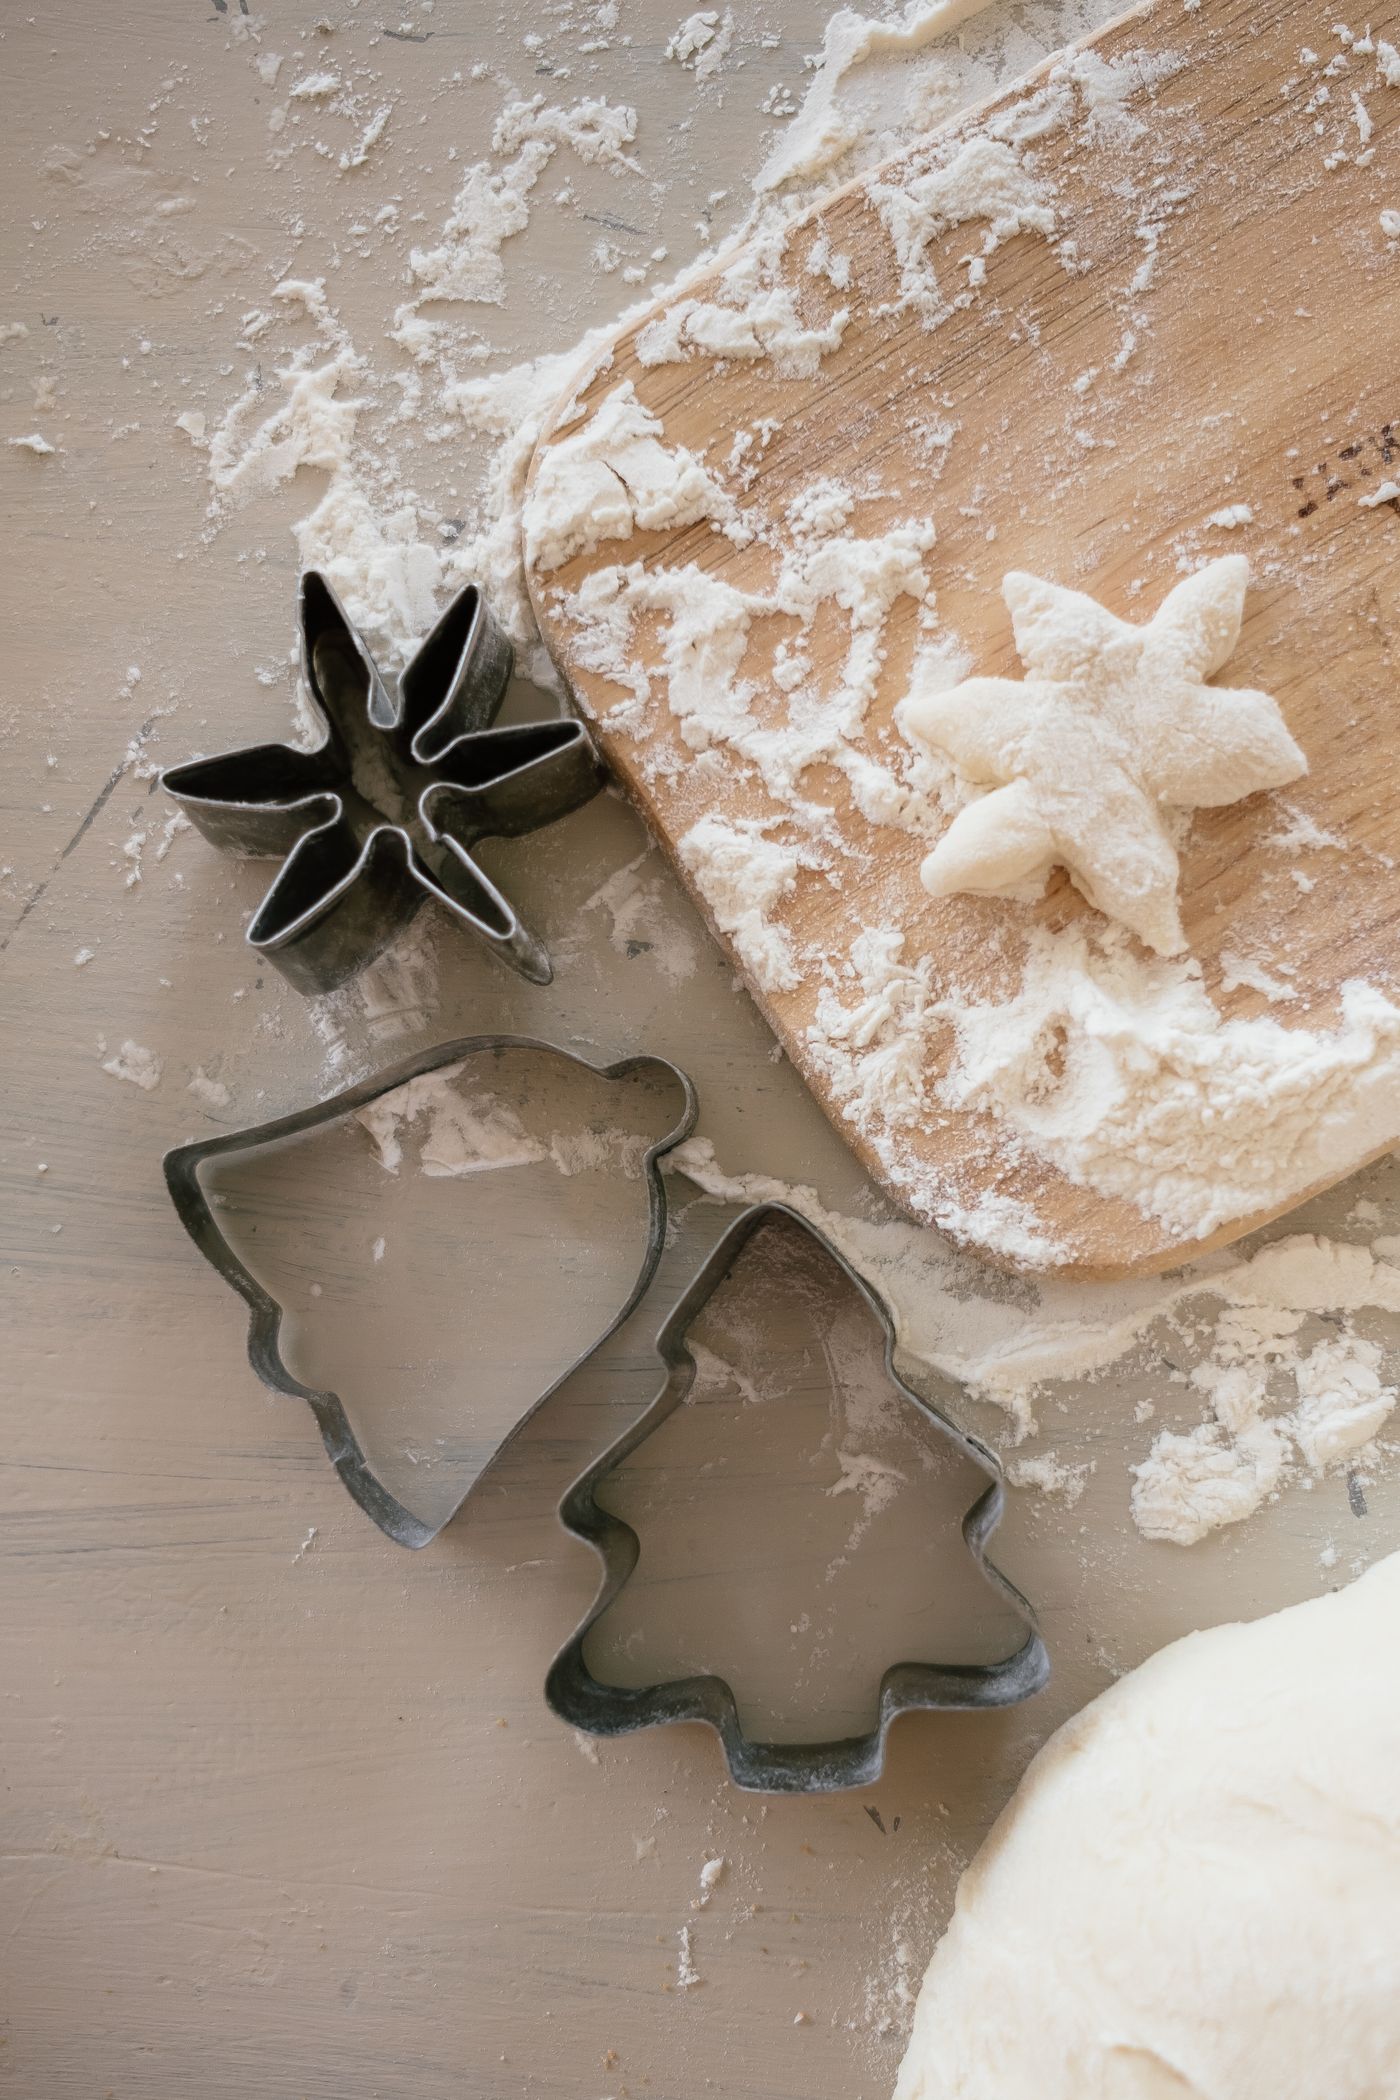
The cutters may have shared a work session with a mat, tray, rolling tool, and serving board. Each has its own construction and care requirements. Keep their cleanup coordinated without placing everything into one assumed wash process. A suitable method for the tray may be inappropriate for a cutter’s coating or a wooden tool.
The silicone baking-mat guide addresses fitting a larger flexible item into a small cleaning area. The baking-sheet hand-washing guide covers another access problem. Use those routines for the actual items they discuss, while preserving the cutter maker’s separate directions.
Keep ready tools apart from unresolved items
Make a small clear place for a cutter awaiting clarification, repair, or replacement. Do not mix it into the ready shapes simply because it matches a useful set. When someone plans the next bake, they should be able to distinguish a complete usable collection from a group that contains an unresolved item.
If only one size of a nesting set is out of use, make that visible. A short note on the storage destination can prevent another person from planning around a size that is absent. Keep the note factual: which cutter is unavailable and what the next action is. There is no need to create an extensive inventory for a modest household set.

Store for the baking you actually do
Once the cutters have completed care, choose an arrangement that keeps their identities and usable condition clear. Nest appropriate sets, keep delicate shapes protected as directed, and avoid compressing the whole collection into an overfilled container. A small gap in the storage box is useful if it prevents an edge from being forced against another object.
Keep the tools within the collection you genuinely use. An unused decorative shape does not need a permanent position merely because it was part of an inexpensive pack. Review the collection when an actual problem appears: missing useful sizes, distorted pieces, or repeated difficulty retrieving the right group.
Make the next clean a predictable finish
Before the next session, find the care information and the drying place while everything is still clean and easy to handle. A suitable dishcloth or permitted cleaning tool can be ready before the cutters become covered with dough. This reduces the temptation to postpone the entire task until the collection has been stacked back together.
The wooden serving-utensil guide provides a related reminder to care for construction rather than appearance. The cutter routine is complete when every intended piece is identified, cleaned by its permitted method, and ready before nesting. That practical finish matters more than making the storage tin look full or perfectly coordinated.
Explore related decisions in our Cleaning hub.
Sources and editorial scope
Editorial research checked October 24, 2026. Published trend reports are context for these editorial applications, not verified live keyword rankings. Practical household guidance; photographs do not document a tested household or authenticate pictured materials.