The awkward part of cleaning a moka pot in a small kitchen is often the pause between coffee and cleanup. The pot is still hot, the sink is needed, and the grounds-filled funnel has nowhere assigned to go. A clear sequence avoids turning that pause into a forgotten pot or an improvised treatment at the end of the day.
Pinterest’s Fall 2026 home-café guidance provides the seasonal context. This article concerns routine care after use, with Bialetti’s Moka Express instructions as a specific reference. It is not a brewing guide, a pressure-valve repair procedure, or permission to apply one model’s instructions to every metal coffee maker.
Identify the exact coffee maker first
Find the maker, model, material, and applicable instructions. Keep the reference accessible to whoever normally cleans it. An aluminum Moka Express, a different stainless-steel design, and an electric coffee maker should not inherit the same process just because their silhouettes look familiar.
Check the condition before treating the job as routine cleaning. If the pot has behaved abnormally, a part is missing, or the assembly is damaged, stop using it and follow the manufacturer’s advice. Cleaning is not a way to certify that a pressure-bearing coffee maker is ready for another brew.
Separate instructions for the pot from instructions for the rest of the coffee station. The French-press cleaning guide handles a different mechanism and residue-removal task. Keep its directions from becoming a generic recipe for every brewer stored beside the same mugs.
Let it cool completely before opening
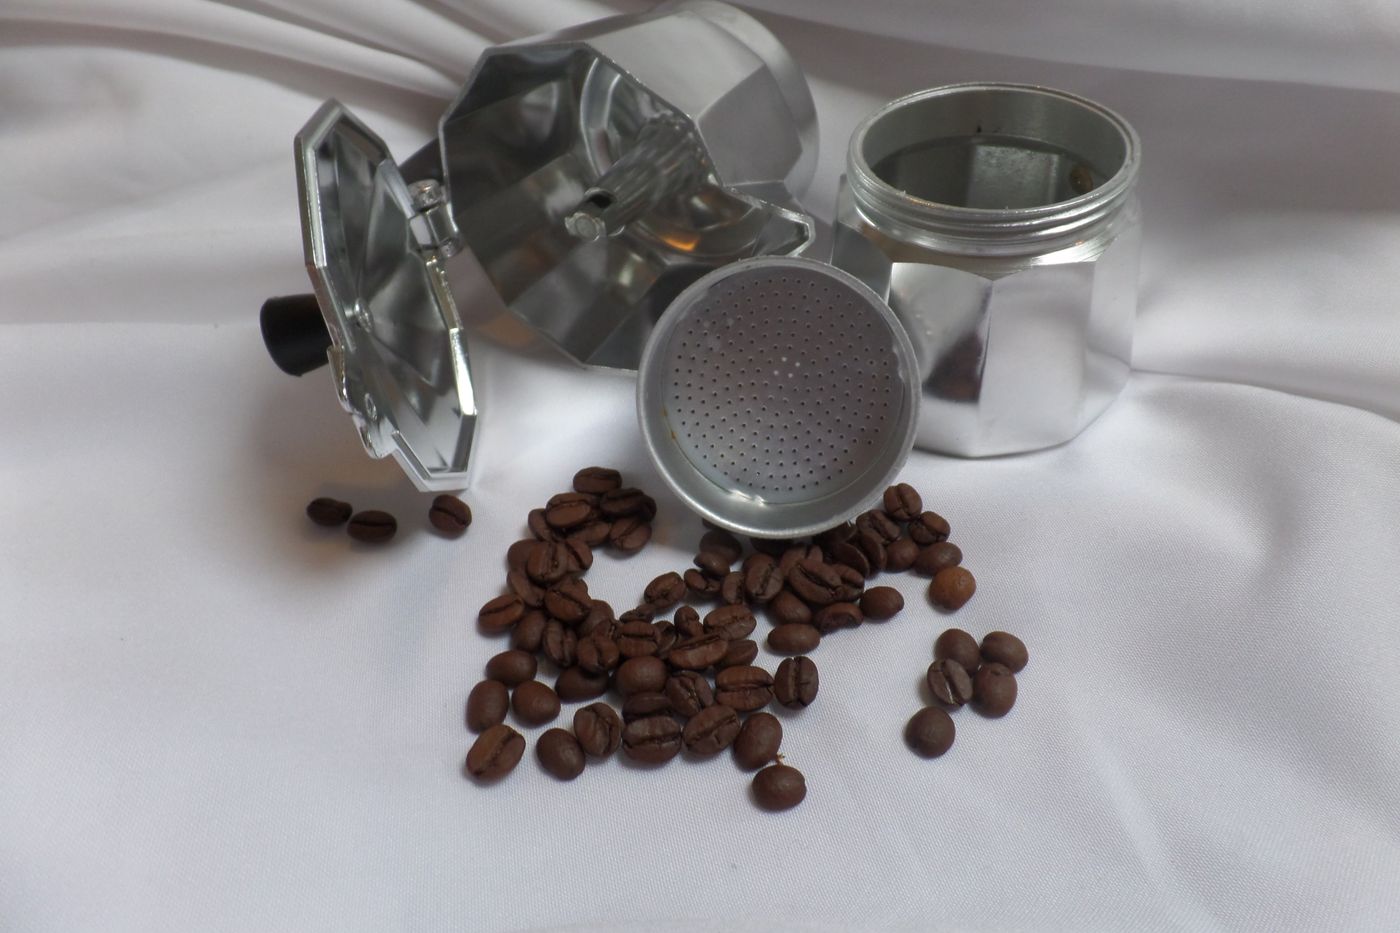
Bialetti’s Moka Express instructions require complete cooling before opening or maintenance. Put the used pot on a suitable surface according to its instructions and let that condition be met. Do not force the joint open or use the handle as a lever because the sink is finally available.
Give this cooling stage a real place in the kitchen routine. Keep the pot from being mistaken for a clean item ready to put away, while maintaining suitable access and supervision for the household. A verbal handoff can help when one person makes coffee and another clears the kitchen later.
Schedule the next step around ordinary kitchen use. You can clear unrelated dishes or prepare an appropriate grounds destination while waiting, without handling a hot assembly. The aim is to remove the pressure to rush, rather than invent a universal number of minutes that every pot and setting must follow.
Prepare a small parts area before disassembly
Once the pot is completely cool and safe to handle as directed, prepare a clean appropriate support for the parts you are permitted to remove. Allow room for the upper chamber, lower chamber, funnel, and any components the exact instructions identify for routine care.
Keep the small parts out of a crowded sink where they can become hidden among dishes or move toward a drain. Use the manufacturer’s terminology where possible so a later replacement enquiry concerns the right piece. A quick reference photograph can help identify the arrangement without replacing the assembly instructions.
Only remove components the instructions say to remove for this task. Do not dismantle a safety valve, pry at a fitted part, or introduce a sharp tool because a photograph makes the area look dirty. Leave uncertain maintenance to the maker’s guidance or an appropriate service route.
Remove grounds through a suitable waste route
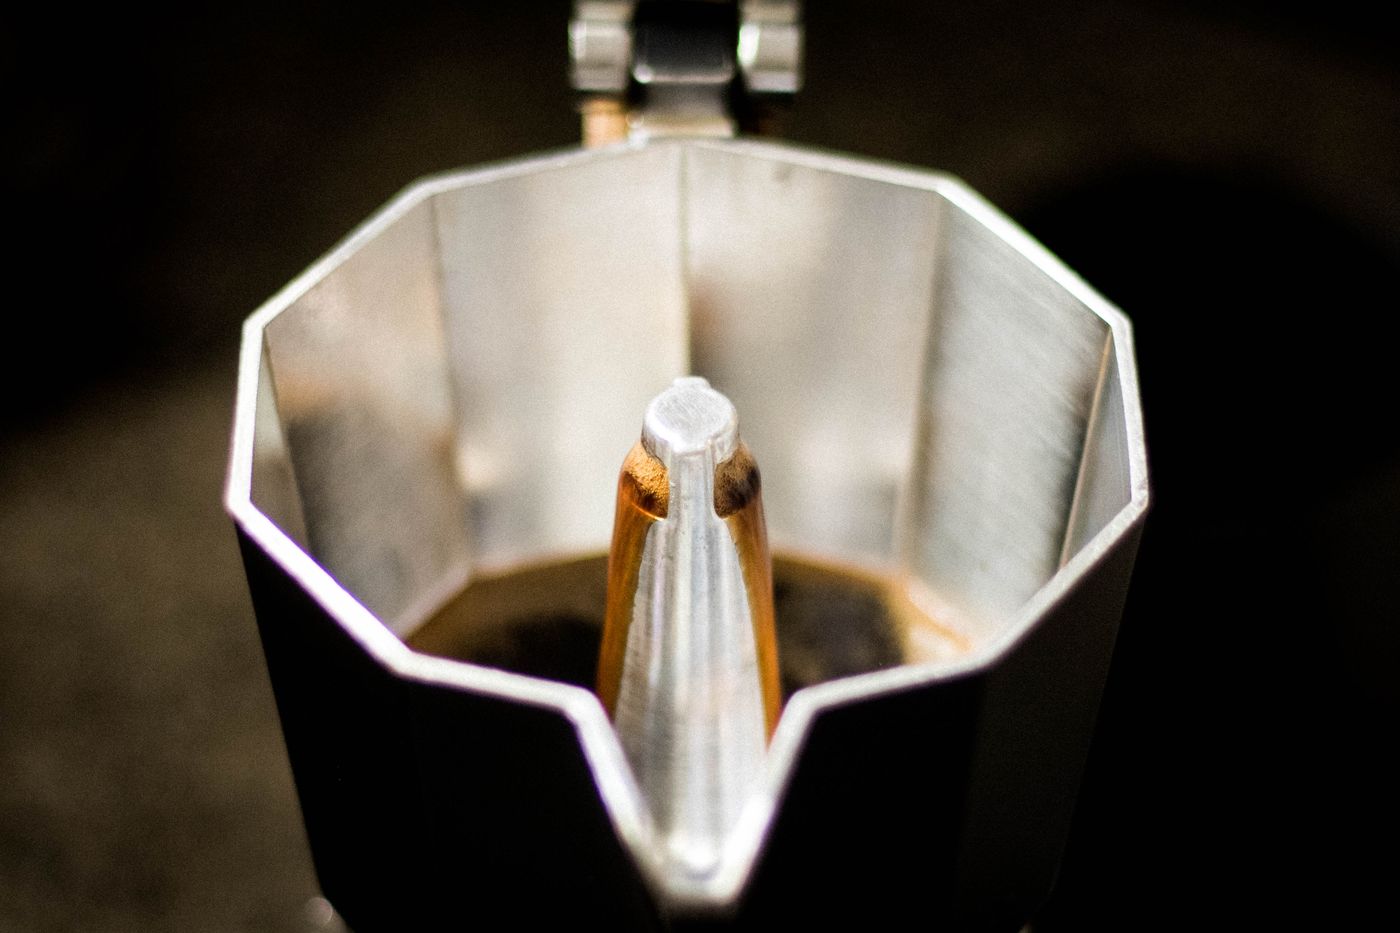
Empty used grounds from the accessible funnel using an appropriate method that does not damage the part. Choose a household waste or composting route suitable to the actual local rules and contents. Do not use the drain as the convenient destination for the entire compacted coffee portion.
Keep the grounds destination close enough that the funnel does not drip across the kitchen while you search for it. If a temporary receptacle is needed, identify it and empty it through the chosen route afterward. Avoid creating a second forgotten container of wet coffee beside the clean dishes.
Brushes or tools should be used only where compatible with the product instructions. The purpose is to remove residue appropriately, not scrape every surface back to an imagined factory appearance. Pause if grounds do not release through the permitted method rather than escalating force on a delicate component.
Follow the maker’s daily cleaning method
For the referenced Moka Express, Bialetti specifies washing after use with warm water without detergent or abrasive materials and excludes dishwasher cleaning. Follow the complete instructions for your exact version. Do not assume that a generic metal-cleaning product or another brewer’s dishwasher claim applies.
Work through the permitted components in an orderly sequence so nothing is missed or confused with another pot’s parts. Keep the cleaning area suitable for the item and inspect the accessible surfaces under ordinary light. A repeated rinse is not evidence that an unrelated stain treatment would be safe or useful.
Keep routine cleaning distinct from descaling, stain removal, and deeper maintenance. The manufacturer’s general articles can discuss additional procedures, but the current model instructions and the actual problem should determine the next step. Do not combine remedies, improvise concentrations, or copy a process meant for a different material.
Inspect without turning cleanup into repair
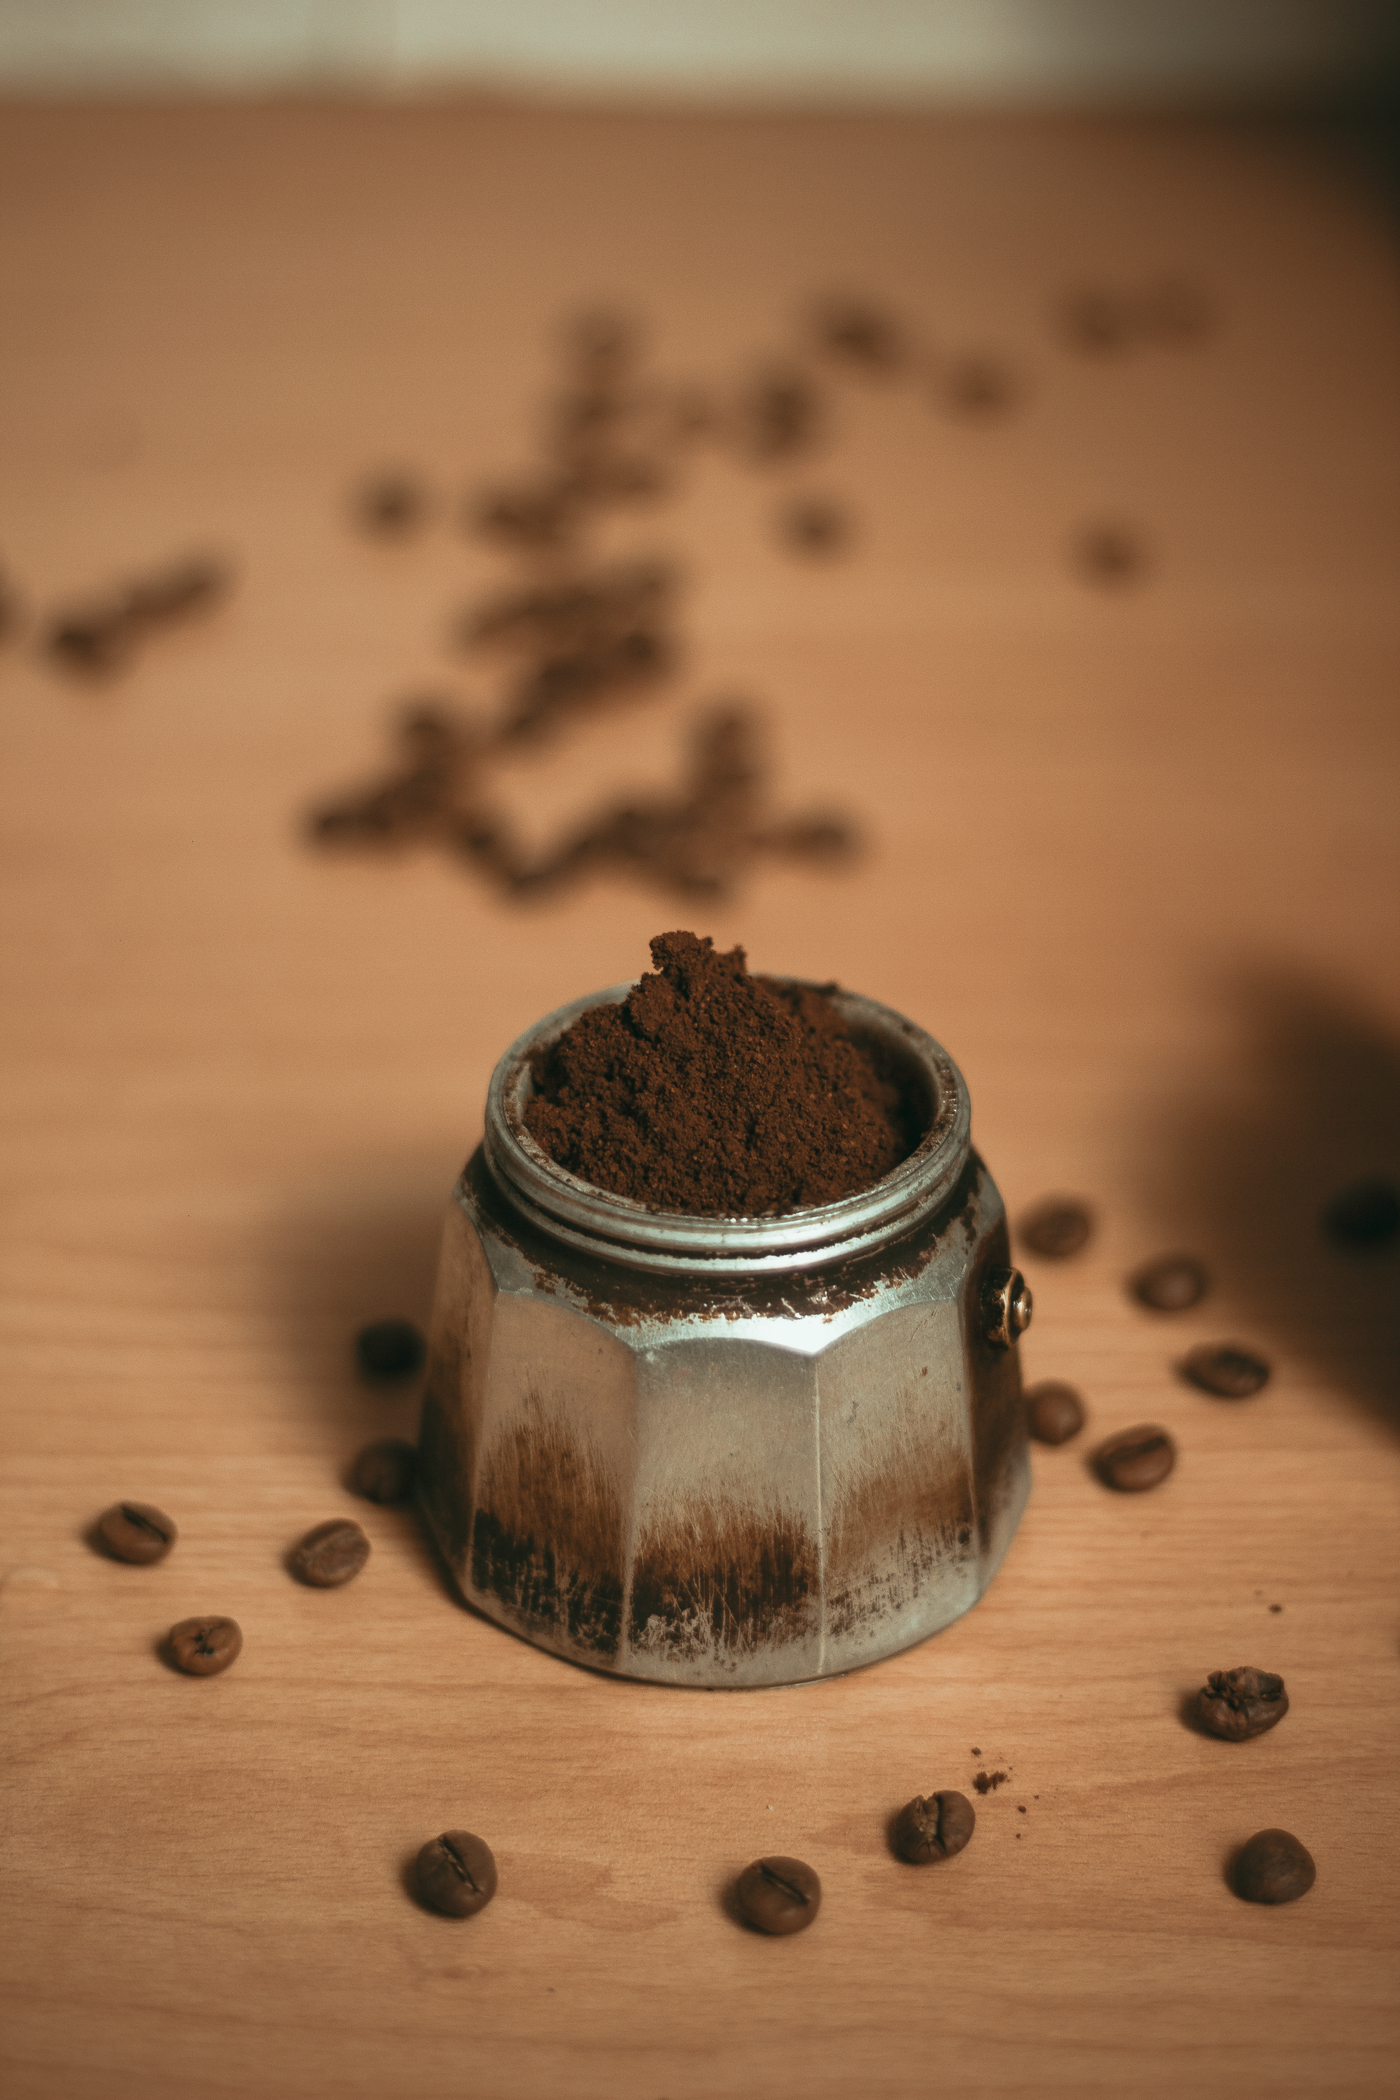
Check the components the maker tells you to inspect, including the relevant gasket and filter parts. Look for obvious damage or wear that needs a separate decision. Do not judge a seal suitable merely because it can be pushed back into place, and do not fill a gap with a similar-looking generic part.
Use the exact model and compatible-part information when seeking a replacement. If you cannot identify what is needed, keep the uncertainty visible and avoid using the pot until resolved. A complete clean assembly should not conceal an improvised repair that another household member assumes has been verified.
Keep the inspection modest and repeatable. This is not a pressure test or proof of internal safety. The useful household result is noticing when ordinary care can be completed and when a product question needs the manufacturer’s answer before the item returns to service.
Finish drying before storage
Complete the drying process in the manufacturer’s instructions, including any specified handling of the components. Reserve enough suitable surface for the separated parts rather than stacking them into a wet tower to clear the counter. Keep the parts identified if more than one coffee maker is being cared for.
Do not close damp components into an assembly simply to make the coffee corner look reset. Check the accessible areas and follow the applicable storage directions. The ice-tray and lid care guide concerns different kitchen parts, but offers another example of planning a drying destination before returning a complete set to use. Keep each item’s actual method distinct.
If that surface repeatedly blocks another activity, change the timing or the coffee station’s capacity. Do not buy another brewer to avoid completing care on the first one. The kitchen needs space for the whole ownership routine, including the unphotogenic interval when clean parts are still drying.

Return the pot with an honest handoff
Reassemble or store the pot as its instructions require, then return it to its assigned location. Account for all relevant parts and keep any unresolved issue separate from ready equipment. Tell the next user if a replacement or manufacturer response is still pending rather than leaving the concern in an unrelated message thread.
For neighboring equipment, the silicone baking-mat care guide and reusable tea-infuser care guide address separate kitchen materials and residue-removal tasks. They can help organize the rest of the cleanup while the moka pot follows its own instructions. Keep the different parts and approved methods separate rather than combining everything into one convenient soak.
A practical moka routine ends with grounds appropriately handled, permitted parts cared for, required checks completed, and the item stored as directed. It supports a small home café by leaving the next person a clear starting point, rather than a shiny-looking object whose condition and maintenance history must be guessed.
Explore related decisions in our Cleaning hub.
Sources and editorial scope
- create.pinterest.com — primary source
- www.bialetti.com — primary source
- m.media-amazon.com — primary source
Editorial research checked October 21, 2026. Published trend reports are context for these editorial applications, not verified live keyword rankings. Practical household guidance; photographs do not document a tested household or authenticate pictured materials.