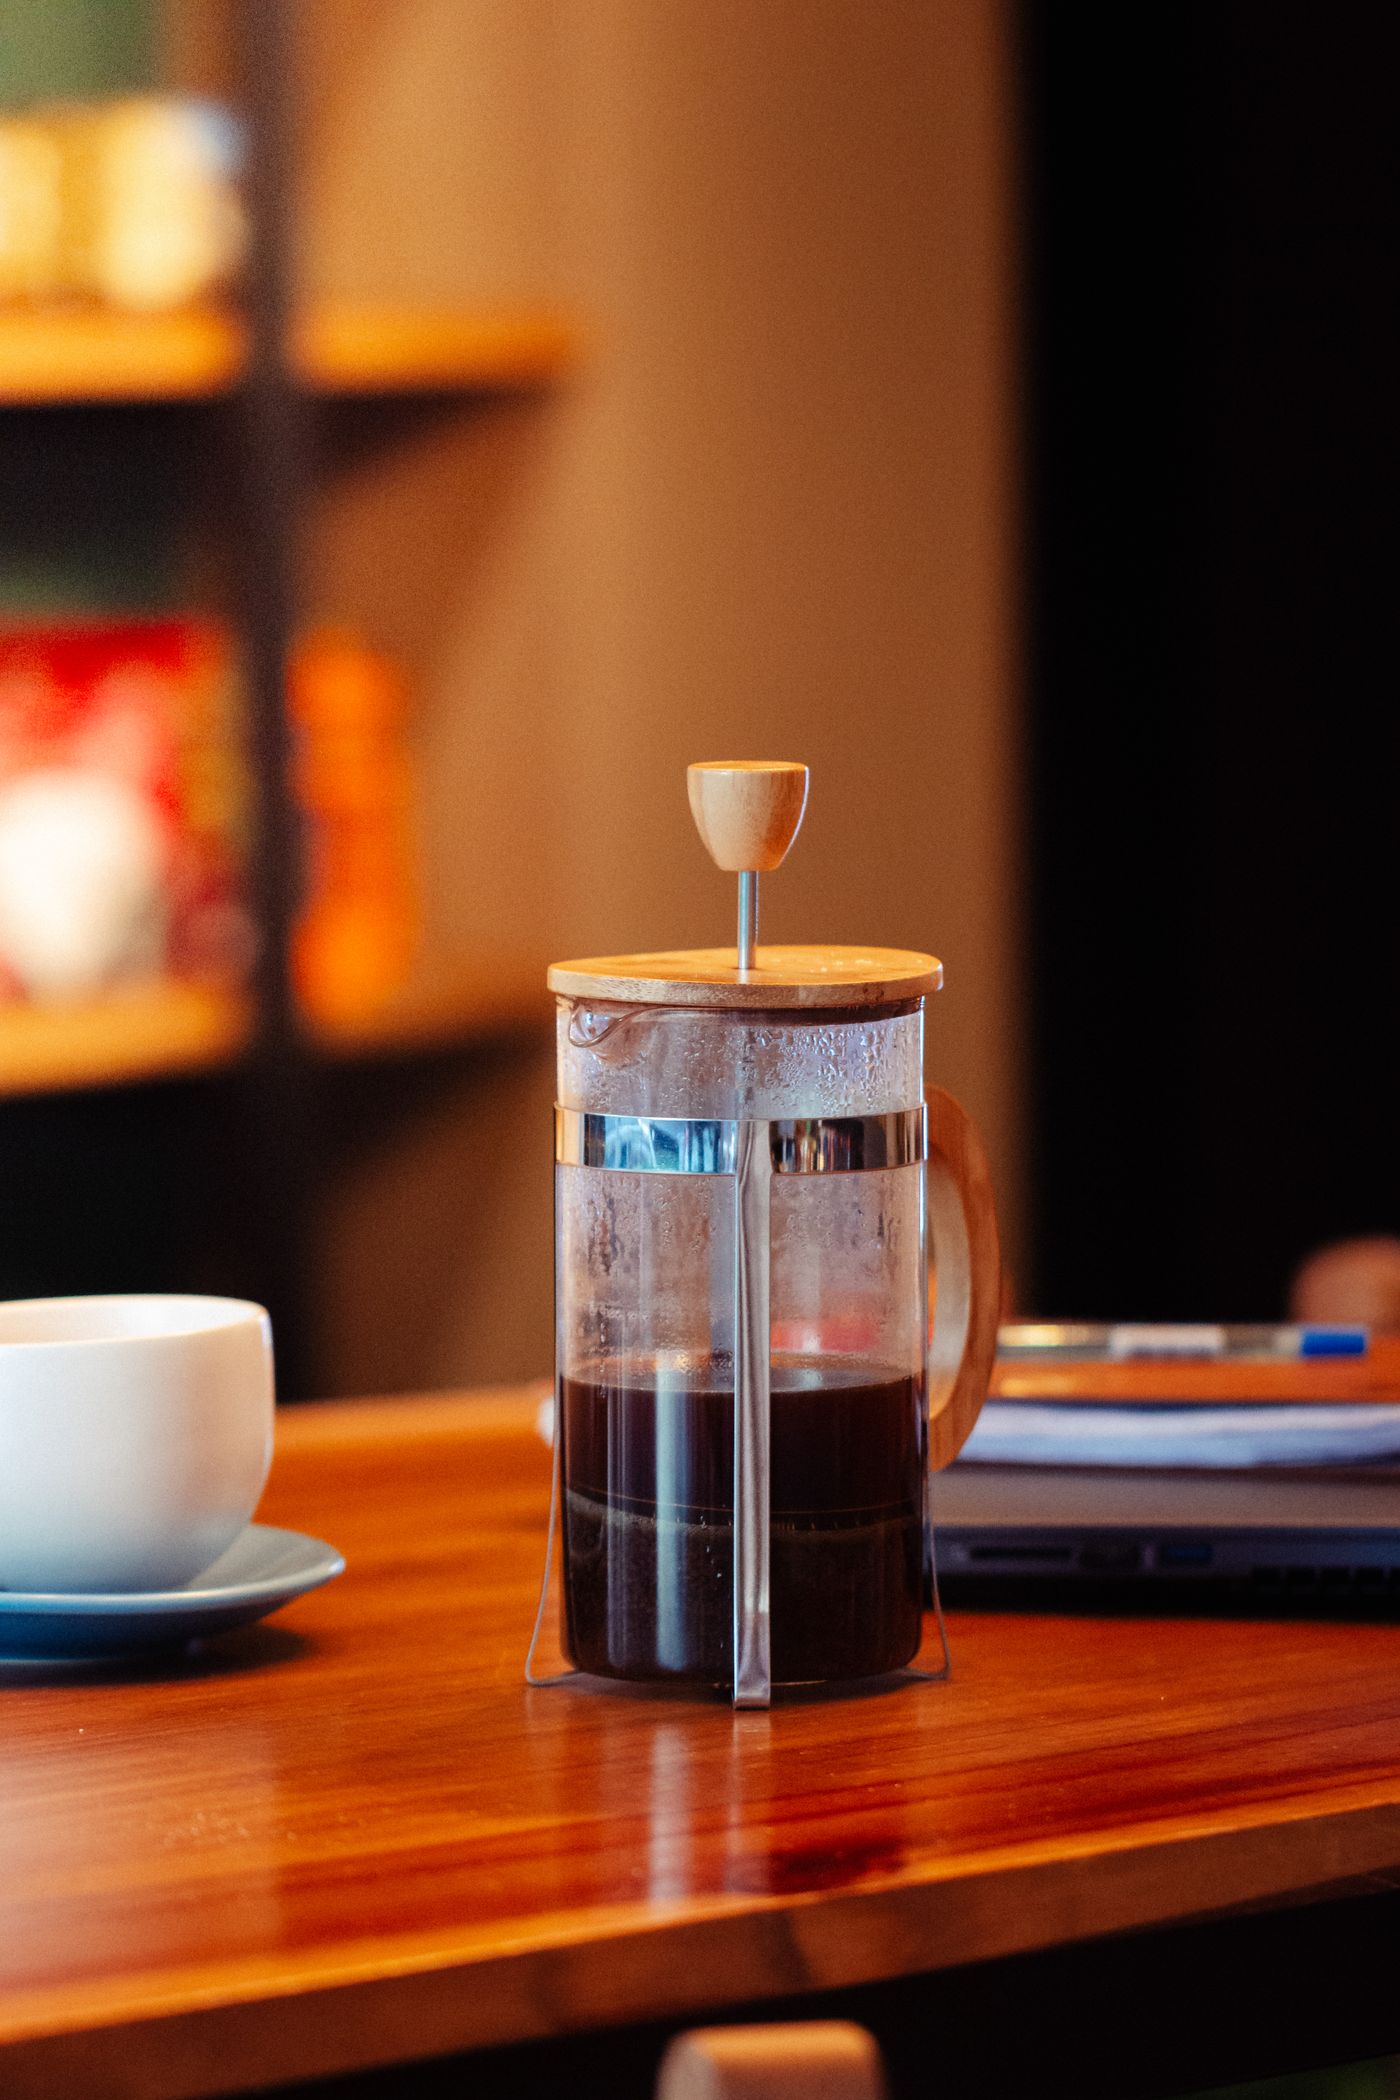
Remove the bulk of the spent grounds before the final rinse, then clean the filter parts your French press is designed to release. That sequence is easier to manage in a small kitchen than emptying the entire slurry into the sink and trying to collect it afterward. Give the wet parts a drying place before the next drink is due.
Pinterest’s fall 2026 Home café engineering direction provides the context for this everyday maintenance task. The method below is a practical response to making more drinks at home, not a claim that a particular press or cleaning accessory is trending.
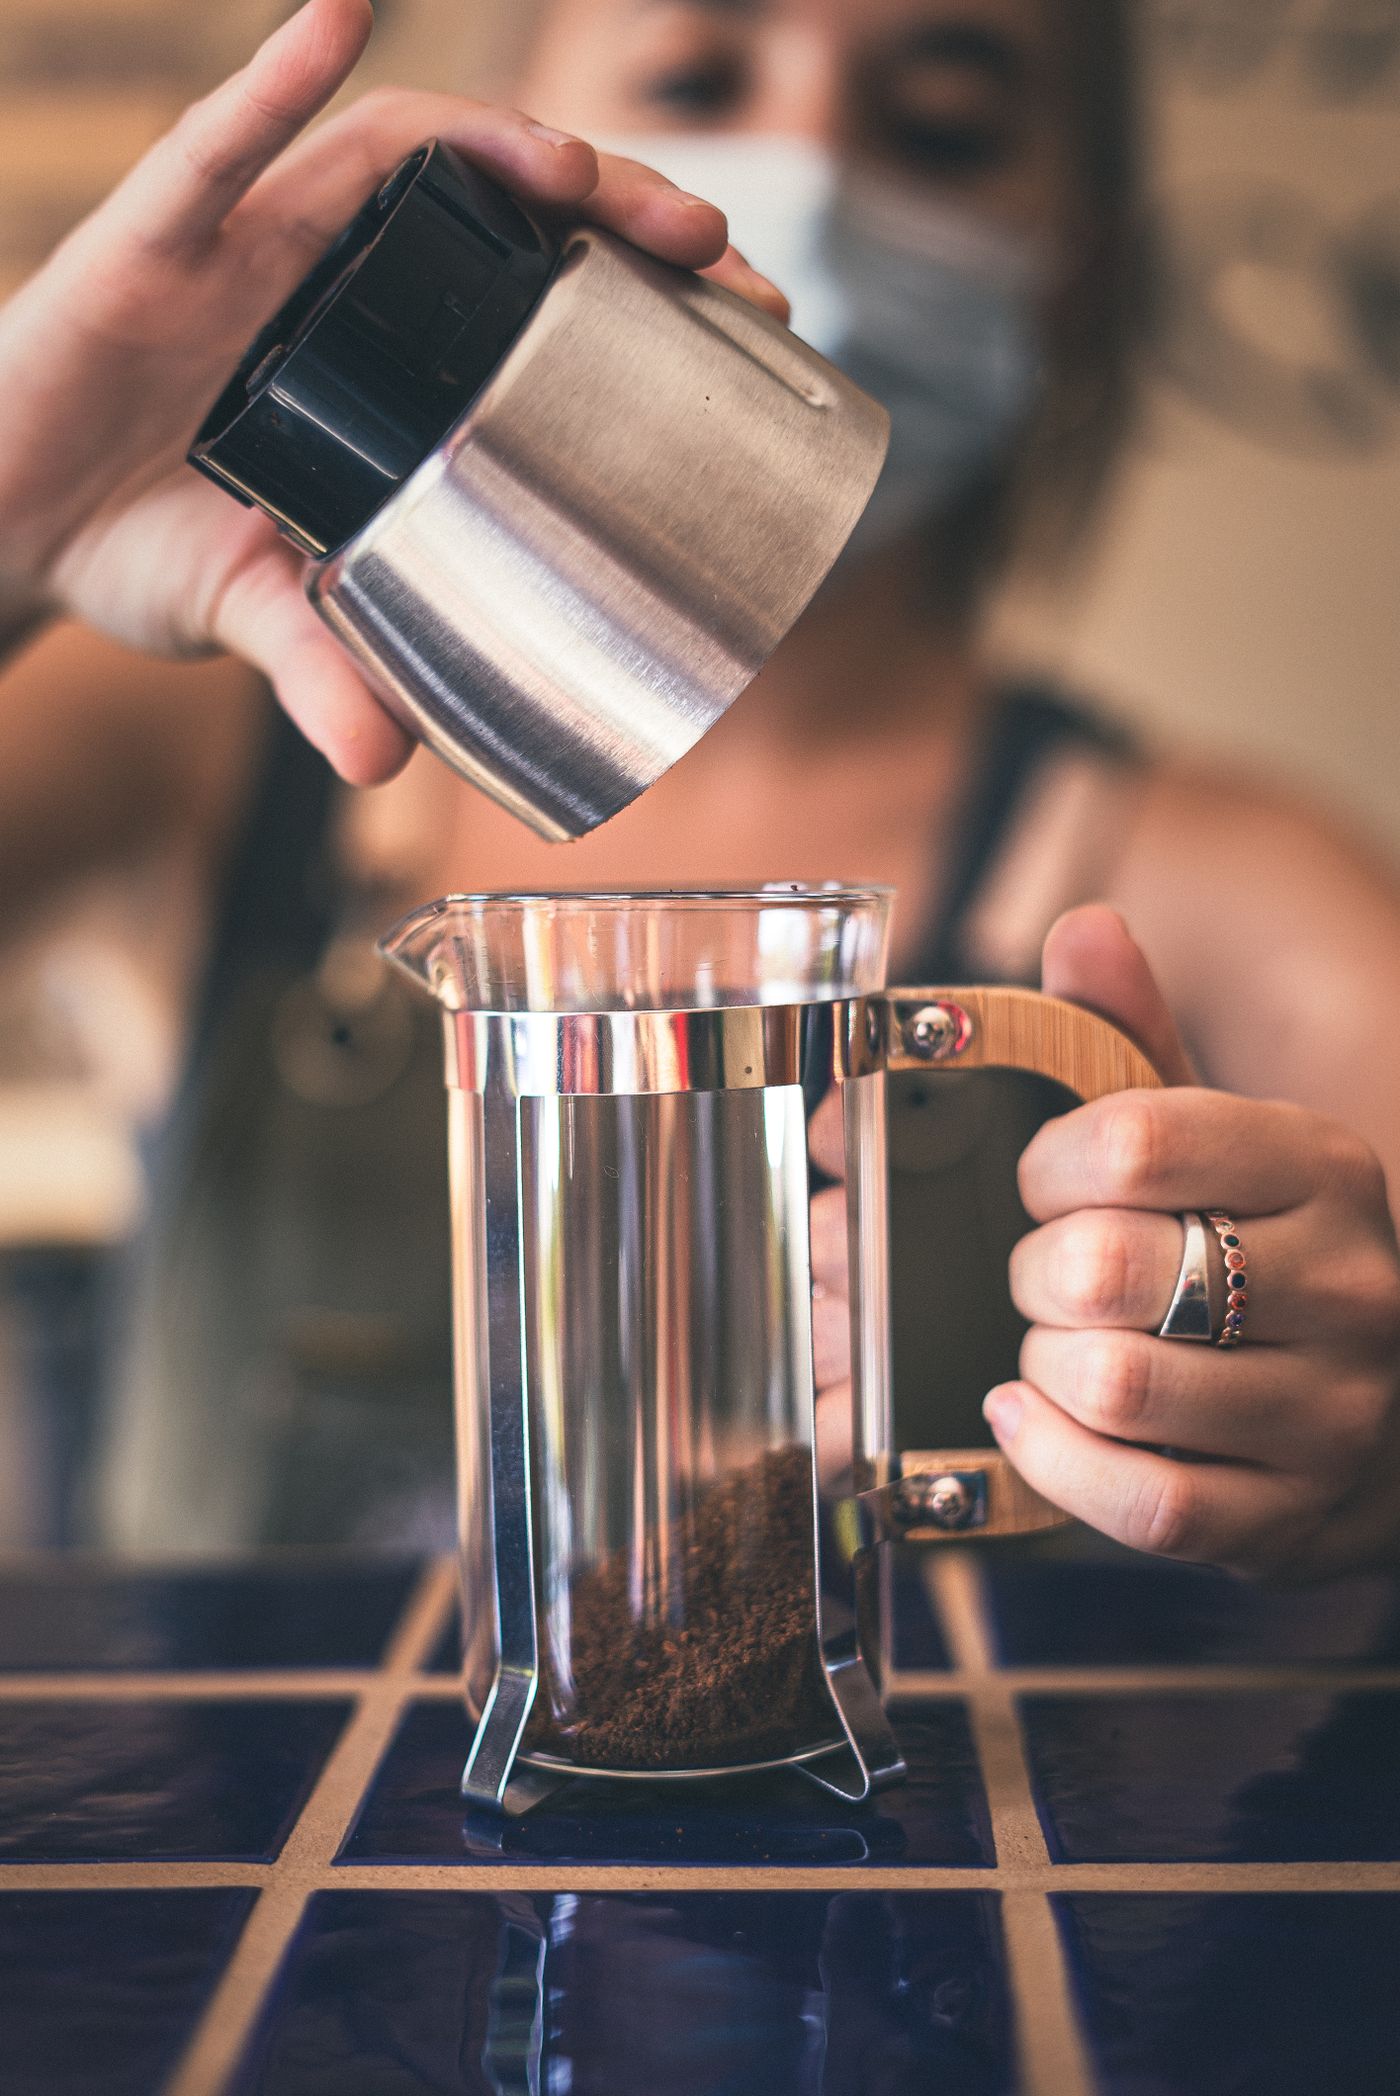
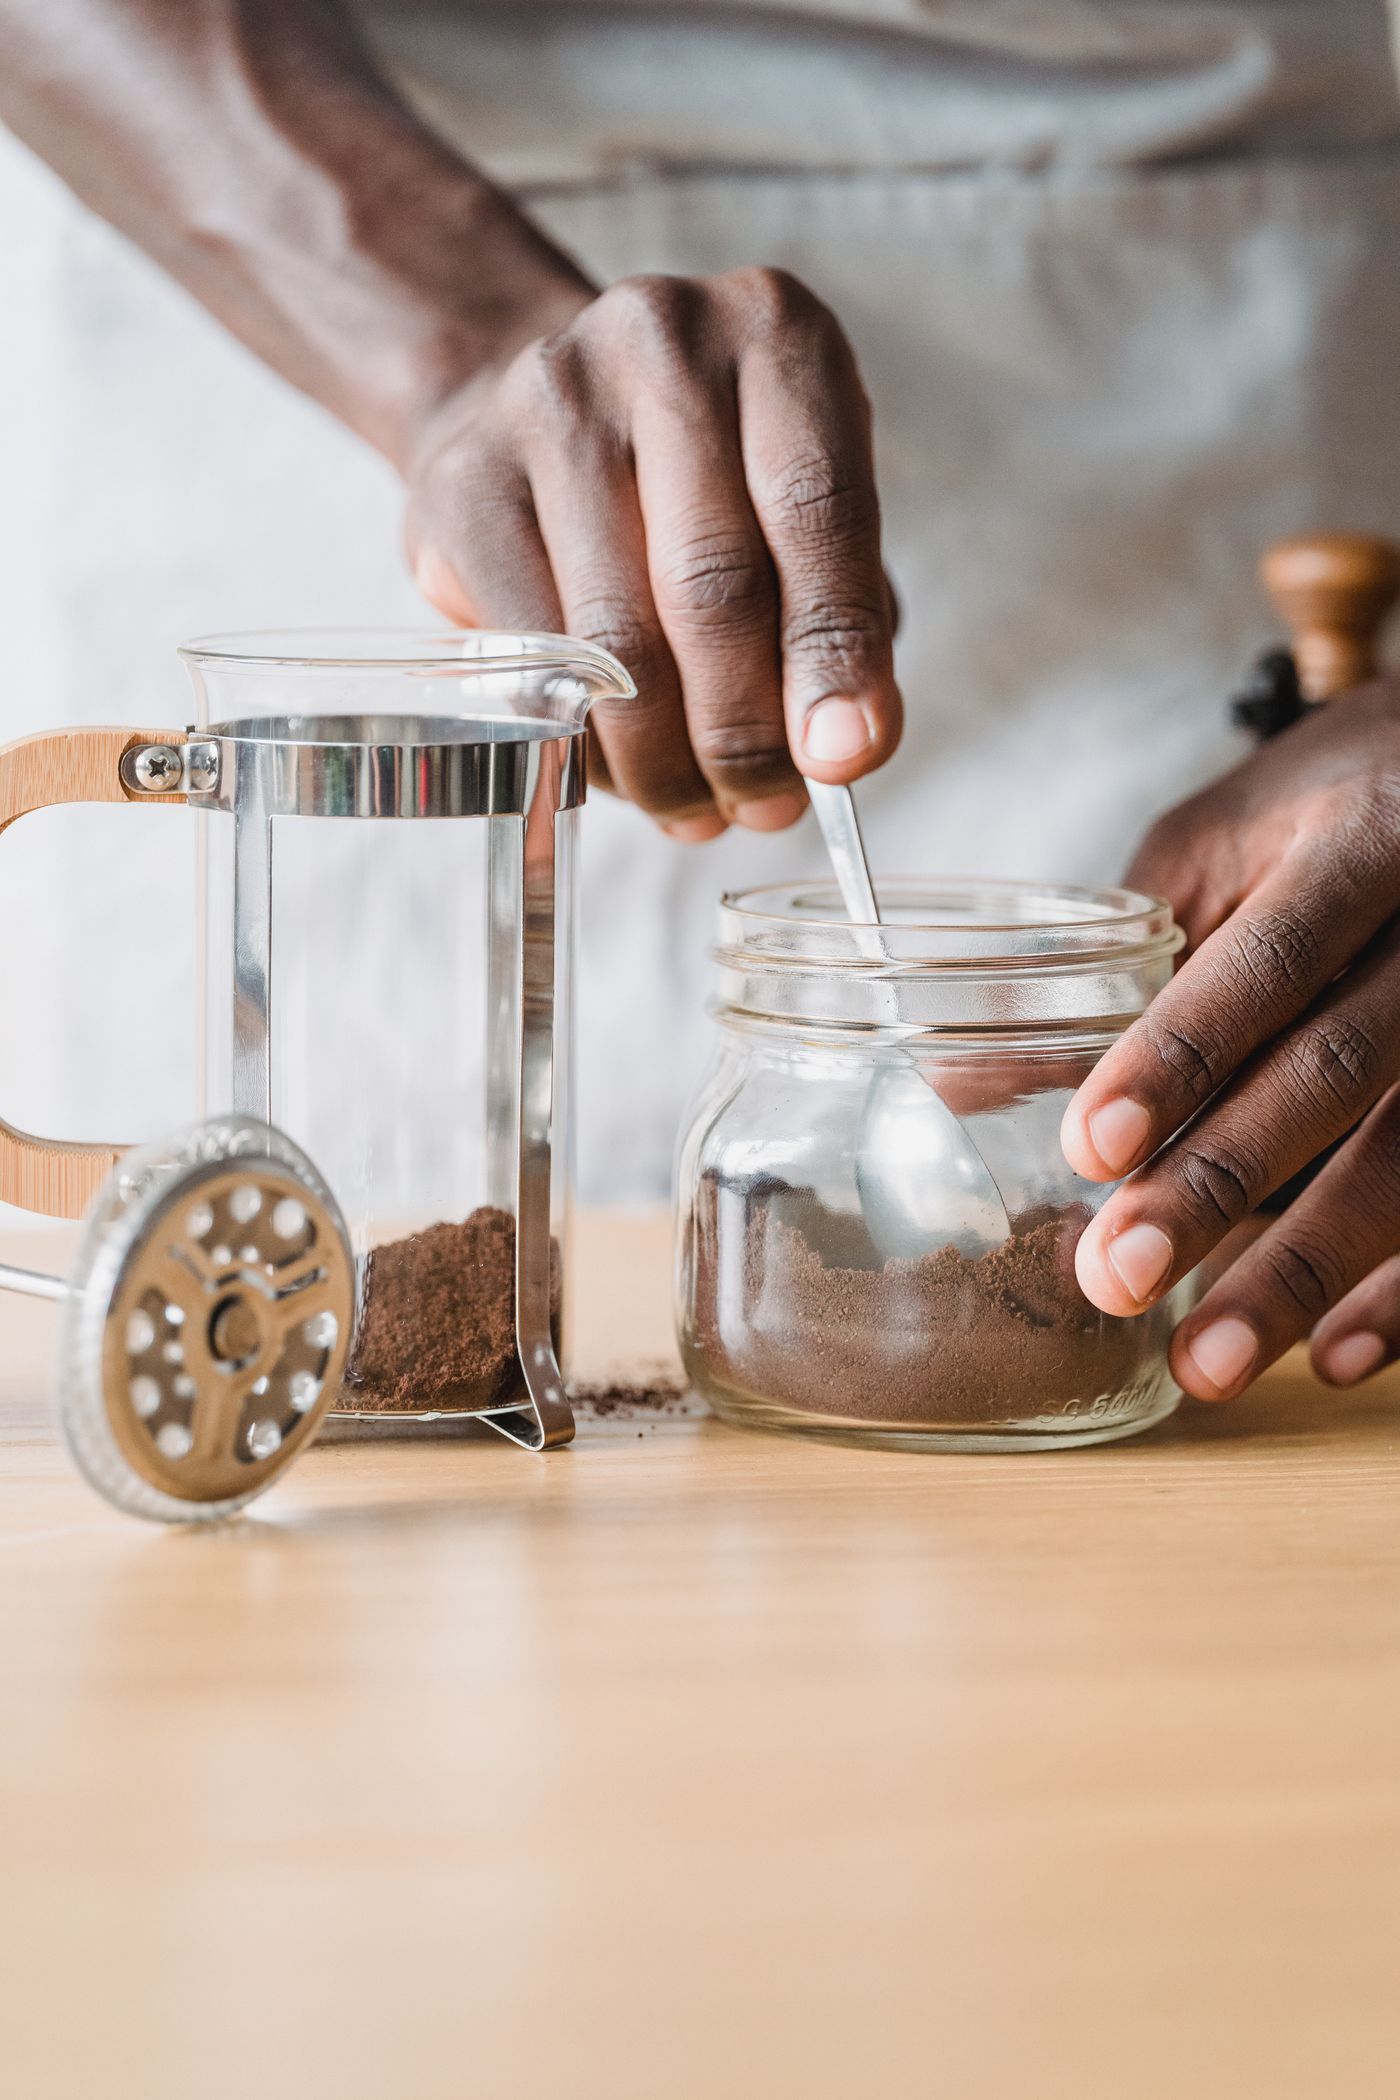
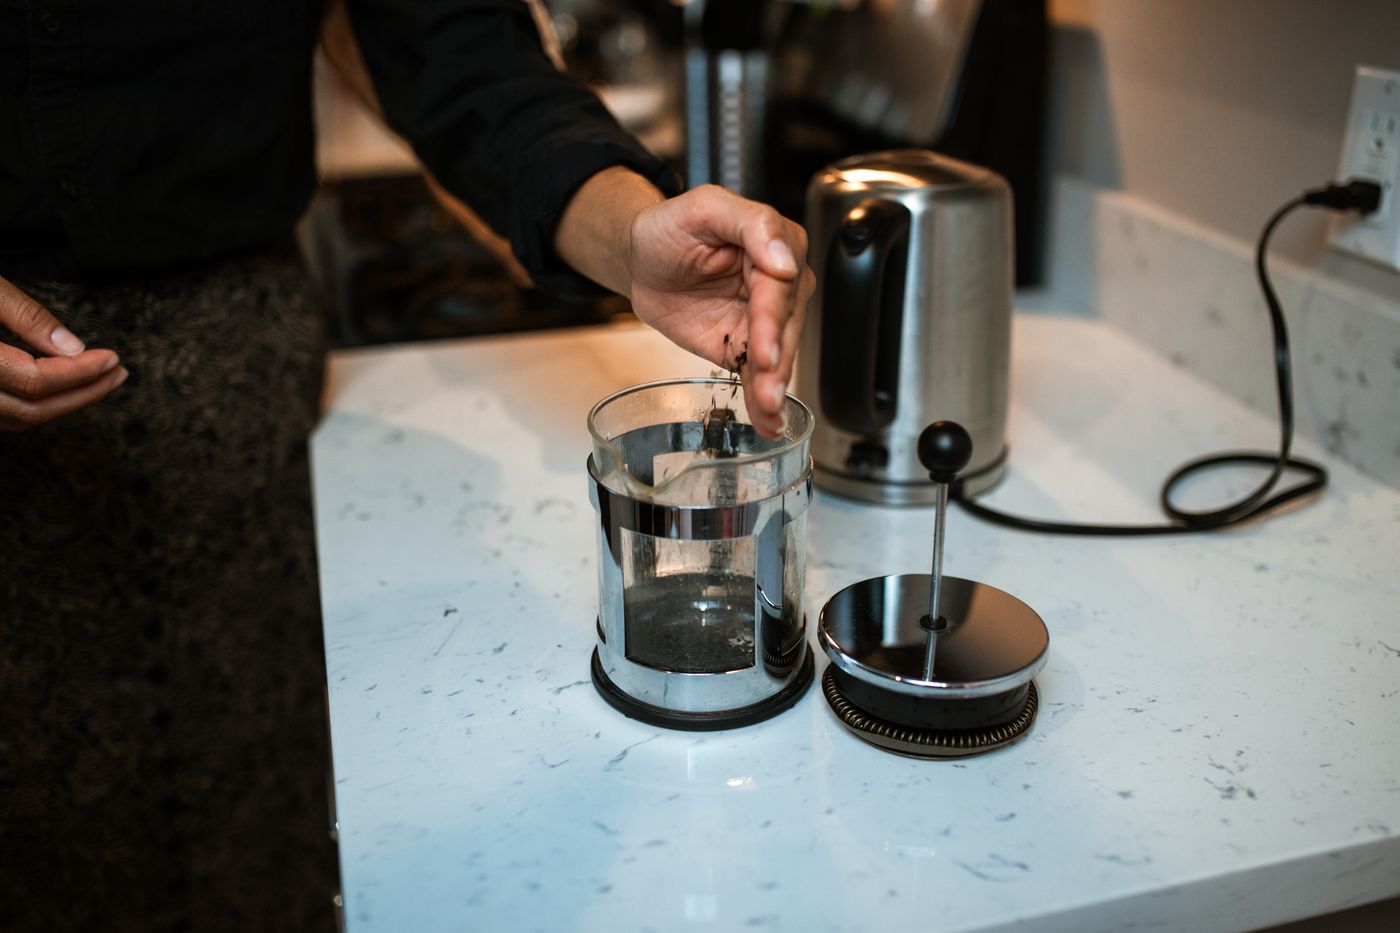
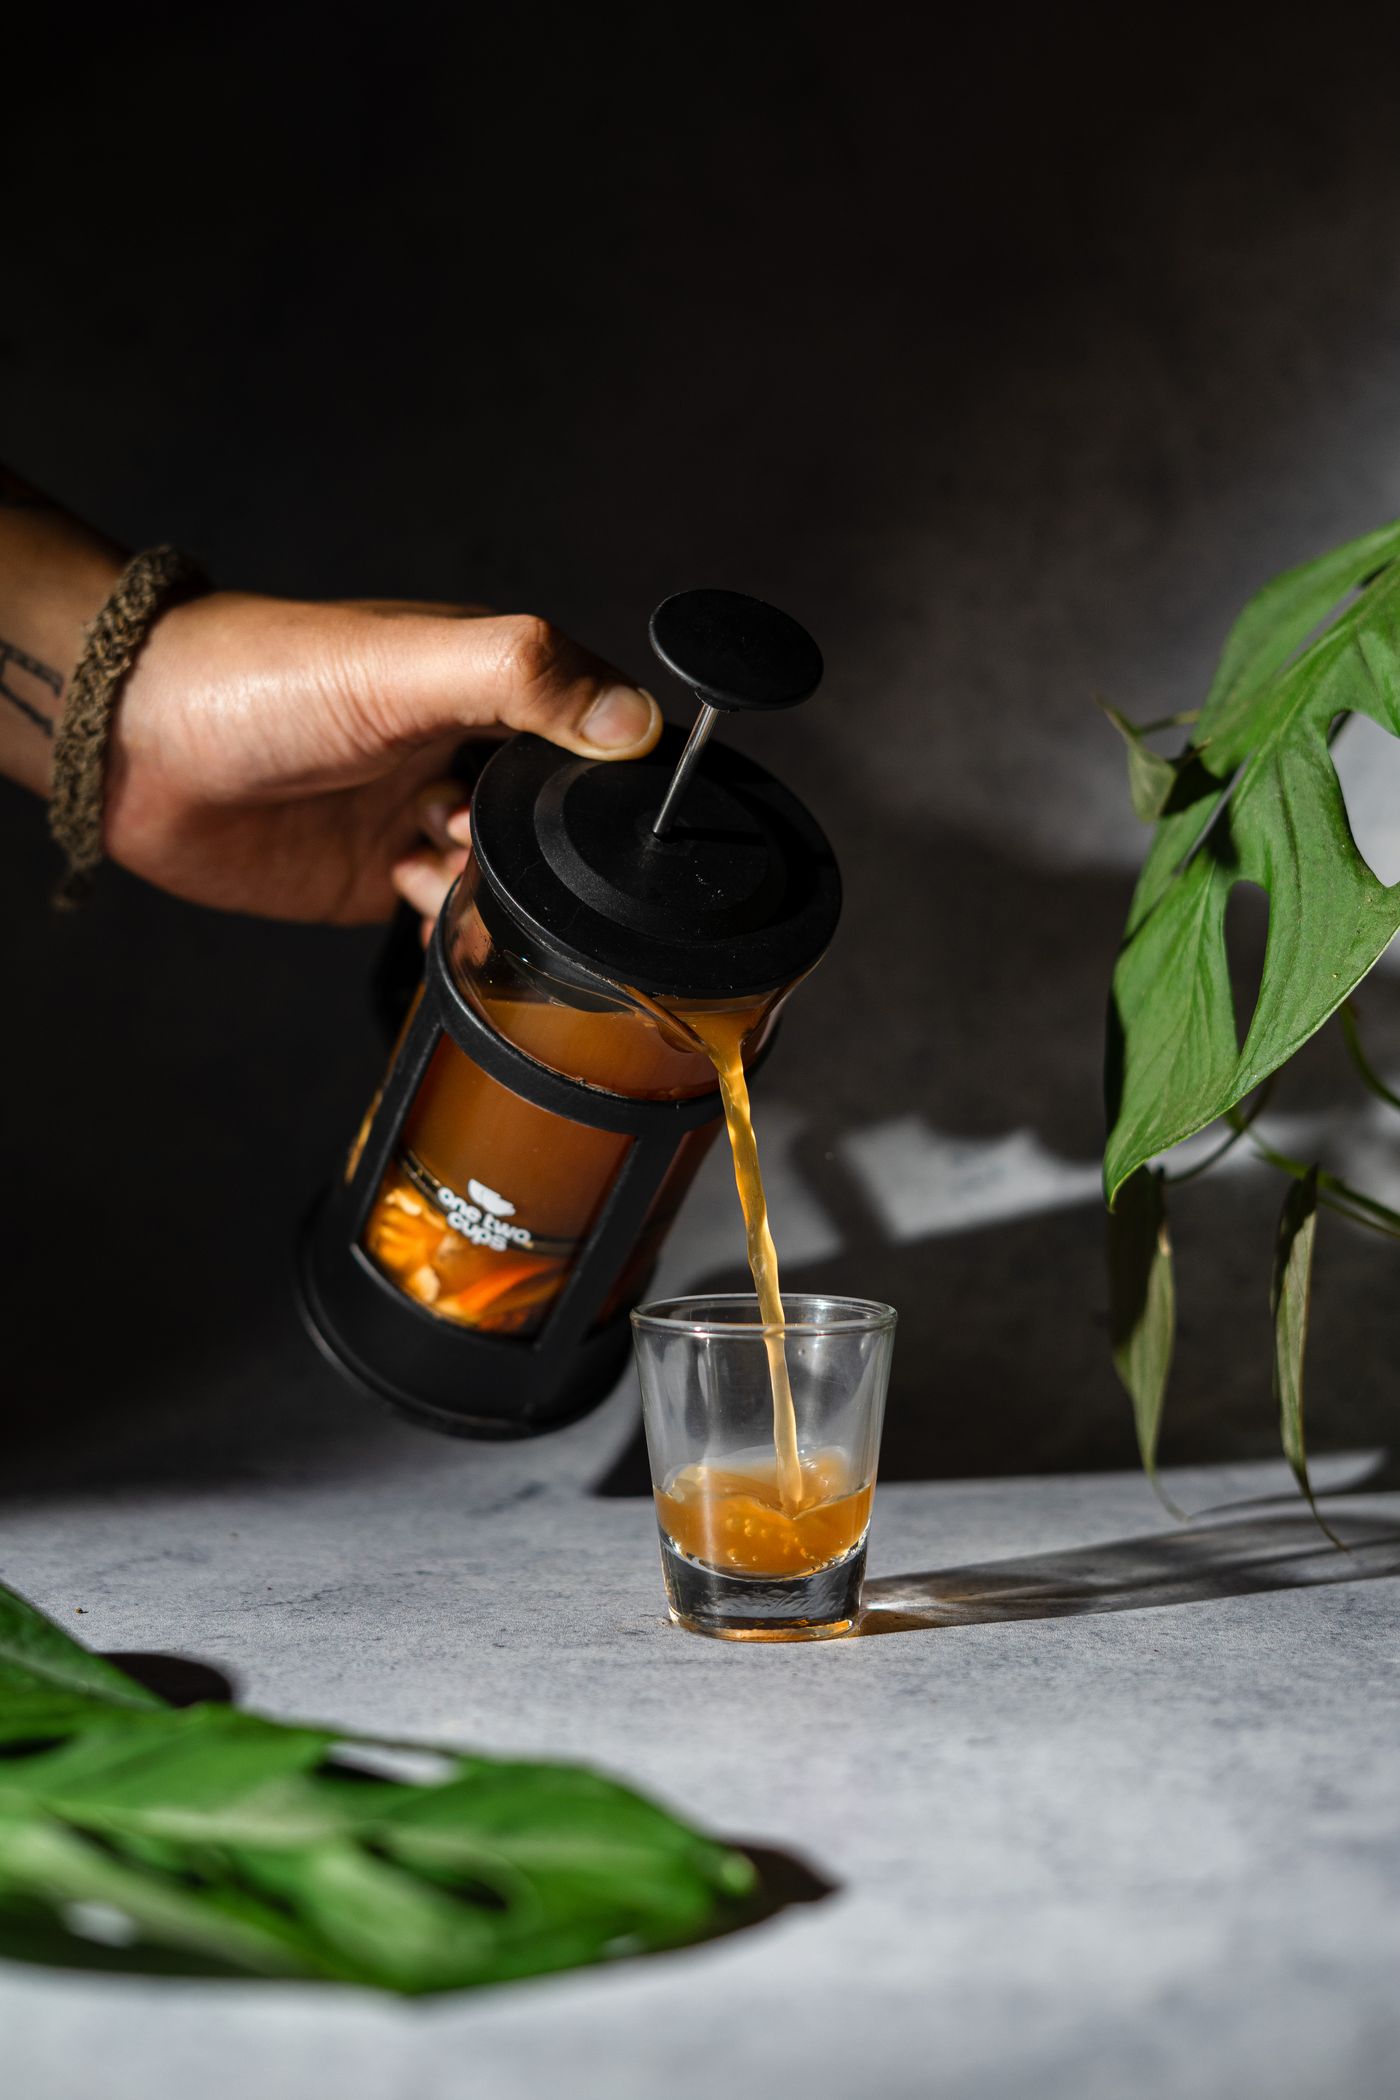
French presses differ. A simple mesh assembly, a nested filter, a glass vessel, and an insulated metal body may have different instructions. Keep the manual for your exact model available, especially for disassembly, dishwasher use, approved tools, and replacement parts. The stock photographs show different press formats rather than one tested cleaning procedure.
Let the press become safe to handle
Finish serving the drink, set the press in a stable position, and allow hot contents and components to cool enough for appropriate handling. Follow the product’s directions. Do not rush a hot glass vessel into cold water or use the press as a container for heating water on a stove.
Clear the working area before lifting the plunger. Put food, clean dishes, and paperwork somewhere they will not receive drips. Choose a suitable place to set the assembly while you deal with the grounds, rather than balancing it across the sink edge.
If a vessel is cracked, a handle is loose, or the plunger is damaged, stop using it and check the maker’s advice. Cleaning is an opportunity to notice a problem, not a way to make damaged equipment usable again. Keep any small loose pieces out of the drain.
Give the grounds a destination first
Choose the appropriate waste route for your household before scooping anything out. Check your local rules for food waste, composting, or ordinary trash. A compost label on a different coffee product does not establish that every filter or accessory in your press belongs in the same stream.
Use a suitable container or liner that can receive the wet grounds without leaking across the kitchen. Keep it stable and within comfortable reach. If you need to move the press repeatedly between the sink, a distant bin, and another counter, adjust the working arrangement before starting.
You do not need a new specialized bin if your existing setup can handle this small quantity appropriately. The important part is a short, clear route from the press to the intended collection point. Avoid creating a permanent extra container that is harder to empty and clean than the press itself.
Lift out the plunger without spreading the slurry
Remove the plunger as the maker directs and let drips return to the vessel where appropriate. Do not tap a delicate mesh assembly against the rim to shake off grounds. Keep the parts supported in a way that does not bend the screen or put weight on a projecting rod.
Use a tool suitable for the vessel to remove the bulk of the grounds. A rigid metal edge can be inappropriate for some surfaces, so follow the model’s care directions. Work gently rather than scraping hard at the bottom to remove every last speck in one action.
Leave the fine remainder for a contained rinse or the method your product permits. Trying to achieve a perfectly dry vessel before washing can add unnecessary handling. The useful distinction is between removing the bulk of the batch and dealing with the small residue that remains.
Catch residual grounds before the final rinse
If your sink arrangement and product instructions allow, use an appropriate fine strainer or other suitable collection method for the remaining grounds. It should remain stable while you rinse, and you should be able to empty and clean it afterward. A device that falls into the sink or clogs immediately is not improving the task.
Keep the rinse manageable. Do not fill a heavy press to the top simply to move a small amount of residue. Carry and support the vessel according to its instructions, and keep the area around the sink clear enough that you can work without knocking it into other dishes.
Collecting grounds before the final rinse is a housekeeping choice, not a guarantee about your plumbing. If the sink is slow or blocked, address that separately through appropriate maintenance. Do not experiment with drain chemicals while the press and its food-contact components are in the work area.
Open only the filter parts intended to separate
Check the manual before unscrewing or pulling components apart. Some assemblies have a particular order, gasket position, or nesting arrangement. Keep the released parts together in a small suitable area where they cannot roll away or be mixed with another household item.
ESPRO’s product-care guidance, for example, calls for separating and hand-washing its two filters after use, with periodic deeper cleaning. That is useful evidence that the filter deserves its own care step. It is not an instruction to dismantle every other brand’s press in the same way.
If you need a reminder of the correct assembly, consult the model’s diagram or take a private reference photo before separating the permitted parts. Do not force a component that will not release as described. Ask the maker about the exact construction rather than treating resistance as a reason to use a larger tool.
Clean the vessel and mesh according to their materials
Use the cleaning method, product, and tools approved for the exact press. Pay attention to seams, the pouring area, the filter edges, and any intended removable seals. Work with enough light to see whether grounds remain, but avoid pressing the mesh into a hard surface to speed the job.
Do not transfer a dishwasher statement from one model to another. A maker may approve some parts or rack positions while a different press requires hand washing. Likewise, an attractive wood lid or applied finish can change the care needs of an assembly that otherwise looks like ordinary glass and metal.
For the surrounding counter, our guide to kitchen grease and sticky buildup addresses the household surface as a separate task. Keep surface-cleaning products away from food-contact parts unless those products are explicitly intended and approved for that use. Cleaning the counter and cleaning the press need not use the same tool or liquid.
Inspect before putting the pieces back together
Look for trapped grounds around the filter edge and check the parts for obvious damage. A bent screen, a worn seal, or a component that no longer sits correctly needs the maker’s guidance. Do not assume a tighter final twist will compensate for a damaged or mismatched part.
Reassemble in the intended order. Make sure the parts belong to this particular model, especially if your home has more than one press. Similar-looking discs and seals are not necessarily interchangeable. Keep spare parts labeled with the model information instead of adding them to an anonymous kitchen drawer.
If the plunger has become unusually stiff, do not respond by pushing harder through hot liquid. Follow the troubleshooting instructions for the product. ESPRO specifically advises against excessive plunger force; the broader household lesson is to investigate a change in operation rather than treating effort as the solution.
Let the parts dry in a real place
Use the drying and storage arrangement the maker permits. Keep the press stable and leave enough room for air circulation where required. Do not tightly close damp parts inside a cupboard simply because the counter is needed for another task.
Our guide to cleaning reusable ice trays and lids discusses a different kitchen item with the same practical scheduling issue: removable parts need an ending after washing. Keep each item’s instructions separate, but make room for the drying stage in the household routine.
Afterward, deal with any grounds that reached the counter or floor. Our small-kitchen floor routine can help keep the cleanup local rather than spreading residue underfoot. Empty and clean any strainer or temporary collection container too, so the solution does not become tomorrow’s forgotten task.
Adjust the routine to your actual coffee habit
If the press is used twice a day, choose a cleaning arrangement that can close between uses. If it is a weekend item, store it appropriately once dry instead of leaving it indefinitely beside the sink. The useful frequency follows the product’s instructions and your use, not a decorative idea of what a coffee corner should contain.
For the surrounding layout, visit the Kitchen room guide. The routine is complete when the bulk grounds have reached the intended collection route, the press is clean and correctly assembled or drying, and the kitchen can return to its other work.
Explore related household decisions in our Cleaning hub.
Sources and editorial scope
Editorial research checked October 15, 2026. Trend-report dates and limitations are stated in the article; these are editorial applications of published signals, not verified October keyword rankings. Practical household guidance; illustrations do not document a tested household or authenticate a pictured material.