A flexible baking mat can be harder to wash than the tray underneath it. In a small sink, one end curls into the bowl while the other drips over the counter. Trying to hold it, scrub it, and rinse it at once can turn a short cleanup into a wet balancing act.
Plan a supported washing route before turning on the tap. Identify the mat, follow its own instructions, and give both sides room to be cleaned and dried. You can adapt the workspace to the mat without cutting it, sharply folding it, or borrowing a cleaning method meant for a different product.
Confirm what kind of mat you have
Check the brand, model, packaging, and current care information. A pastry preparation mat and an oven baking mat are not automatically interchangeable. A product can contain a reinforced construction or surface treatment that changes what its maker permits. Appearance alone does not establish dishwasher compatibility, soaking permission, or a safe cleaning temperature.
Use the directions for your exact mat. As one example, the manufacturer-authored SILPAT care sheet describes wiping with a soft damp sponge, rinsing with clean water, using a weak detergent or soap solution when needed, and air drying. It also permits flat or rolled storage and explains that an oily feel or discoloration can be normal for that product.
Those points are an example, not a rule for every silicone item. If your product’s current instructions differ, use those instructions. Avoid assuming that a baking mat can go in the dishwasher because another silicone utensil can.
Look for damage before continuing. If the mat is cut, torn, or otherwise compromised, consult its maker’s replacement guidance rather than attempting a household repair. A smaller sink is a workspace problem; trimming the mat is not the solution.
Prepare three places: dirty support, rinse route, and drying space
Let the mat and associated cookware cool safely before handling or washing them. Clear a manageable working area beside the sink, leaving food and clean ready equipment out of the splash route. You do not need to empty the entire kitchen, but you do need to know where each stage will happen.
The dirty support should hold the mat without forcing a crease or letting it slide onto an unsuitable surface. A suitable cooled tray or another stable, cleanable support may help, depending on the mat’s instructions and its size. Do not create an unstable bridge across a sink with equipment that could tip.
The rinse route must let clean water reach the section being rinsed while runoff reaches the sink. Check the faucet’s reach and your ability to support the mat. A pull-out spray can help where available, but it does not solve a mat that is precariously balanced.
Finally, reserve a drying position approved for the product. Consider the whole mat, not just its front edge. A place that fits a dinner plate may not support a broad flexible sheet. For managing the surrounding workspace, see cleaning a small kitchen without clearing every counter.
Remove loose food without turning the mat into a scraper
Deal with loose debris using tools and methods permitted by the maker. Keep sharp utensils away from the mat while washing it. Do not use a knife to chase a stubborn patch or bend the sheet sharply so a piece of food cracks away.
Place loose crumbs in the appropriate waste collection rather than deliberately washing a large quantity into the sink. If the mat was used with a strongly flavored food, note that before returning it to a baking setup for a different recipe. Follow the maker’s guidance if an odor remains.
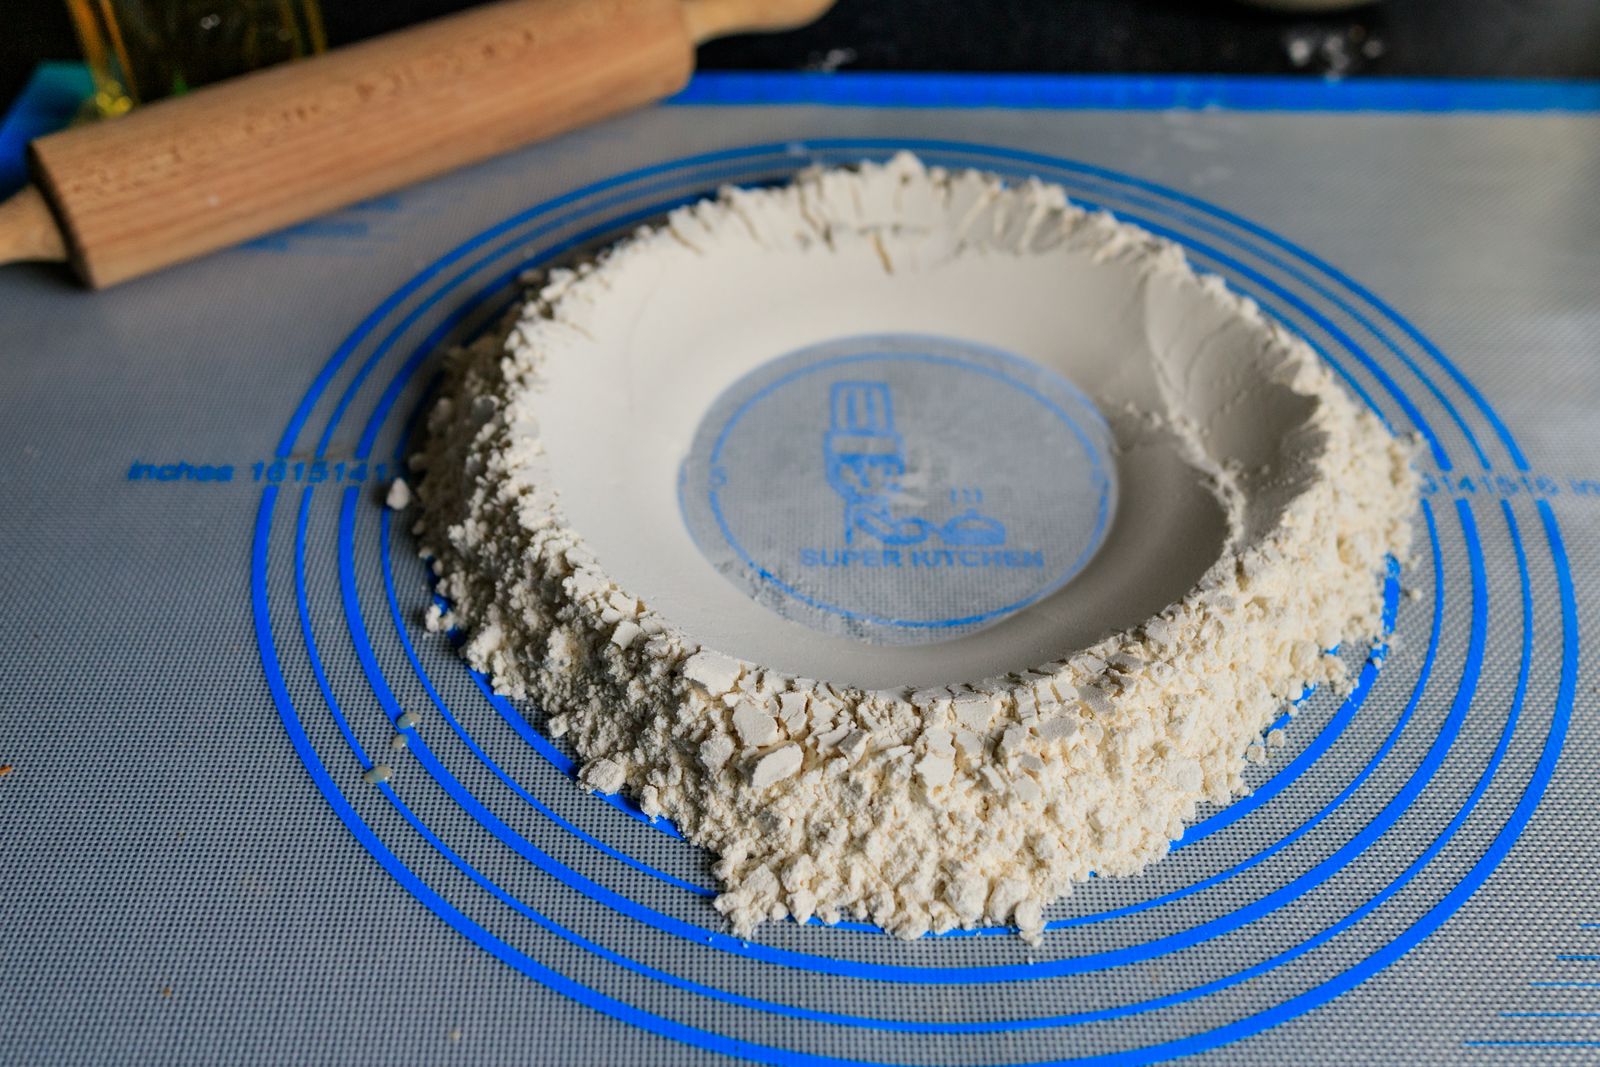
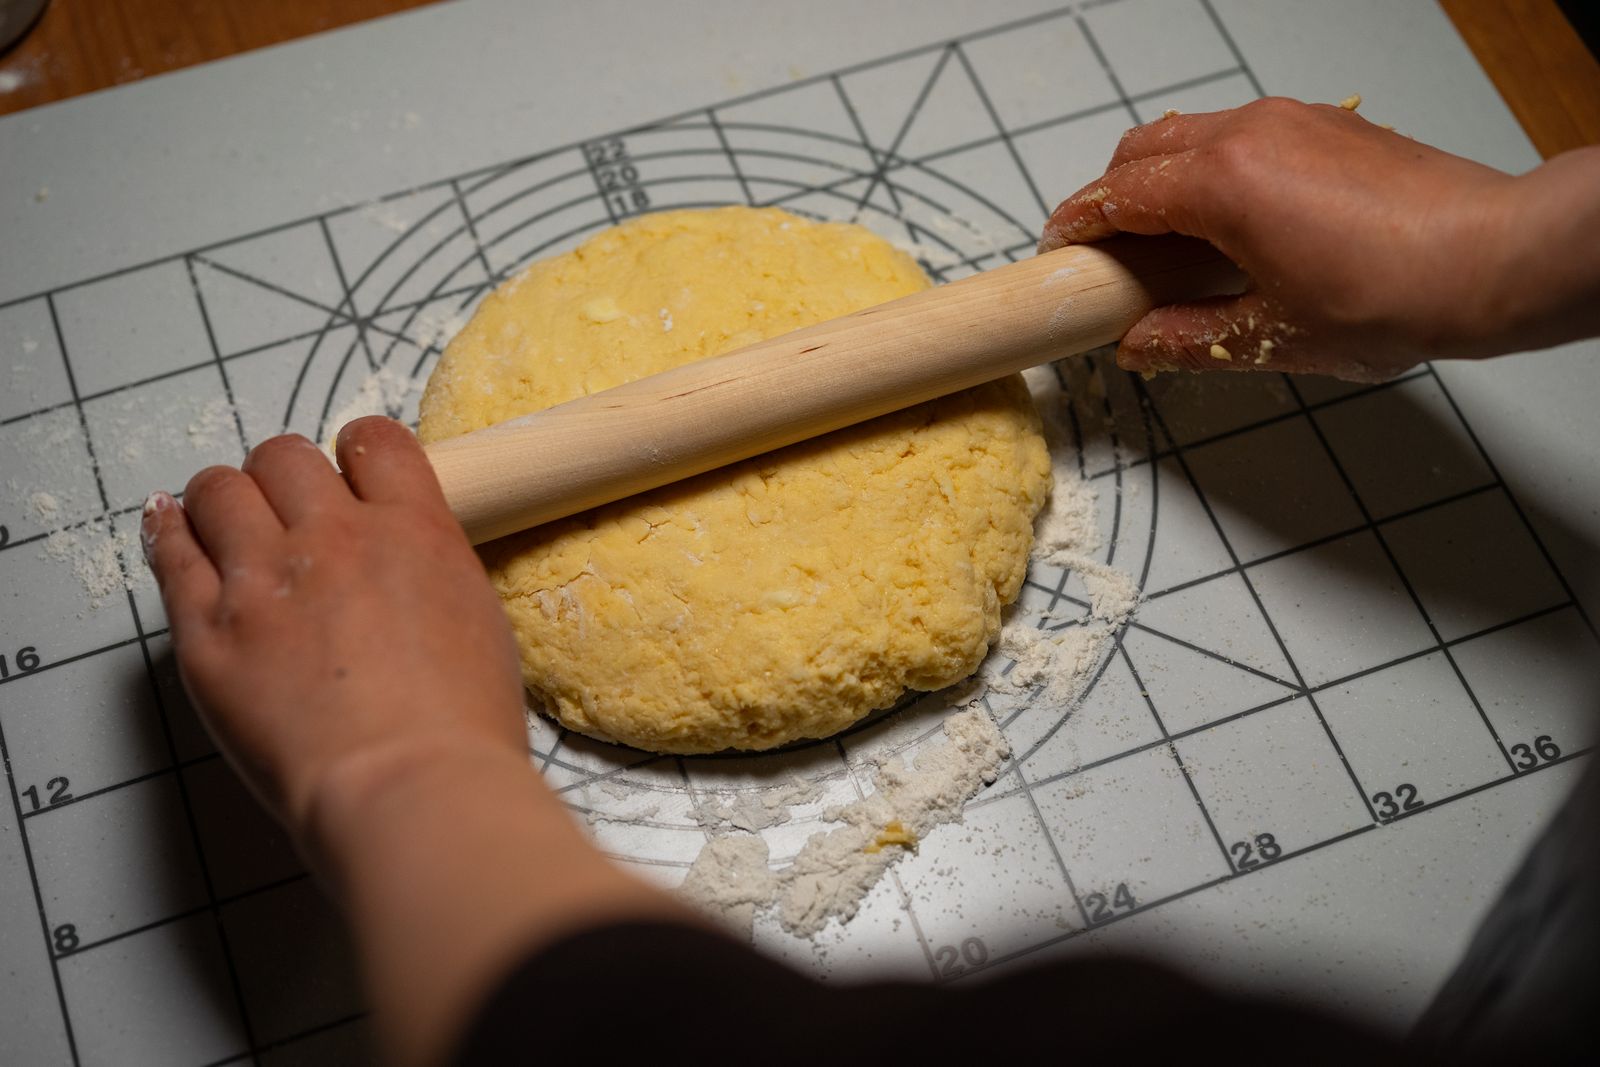
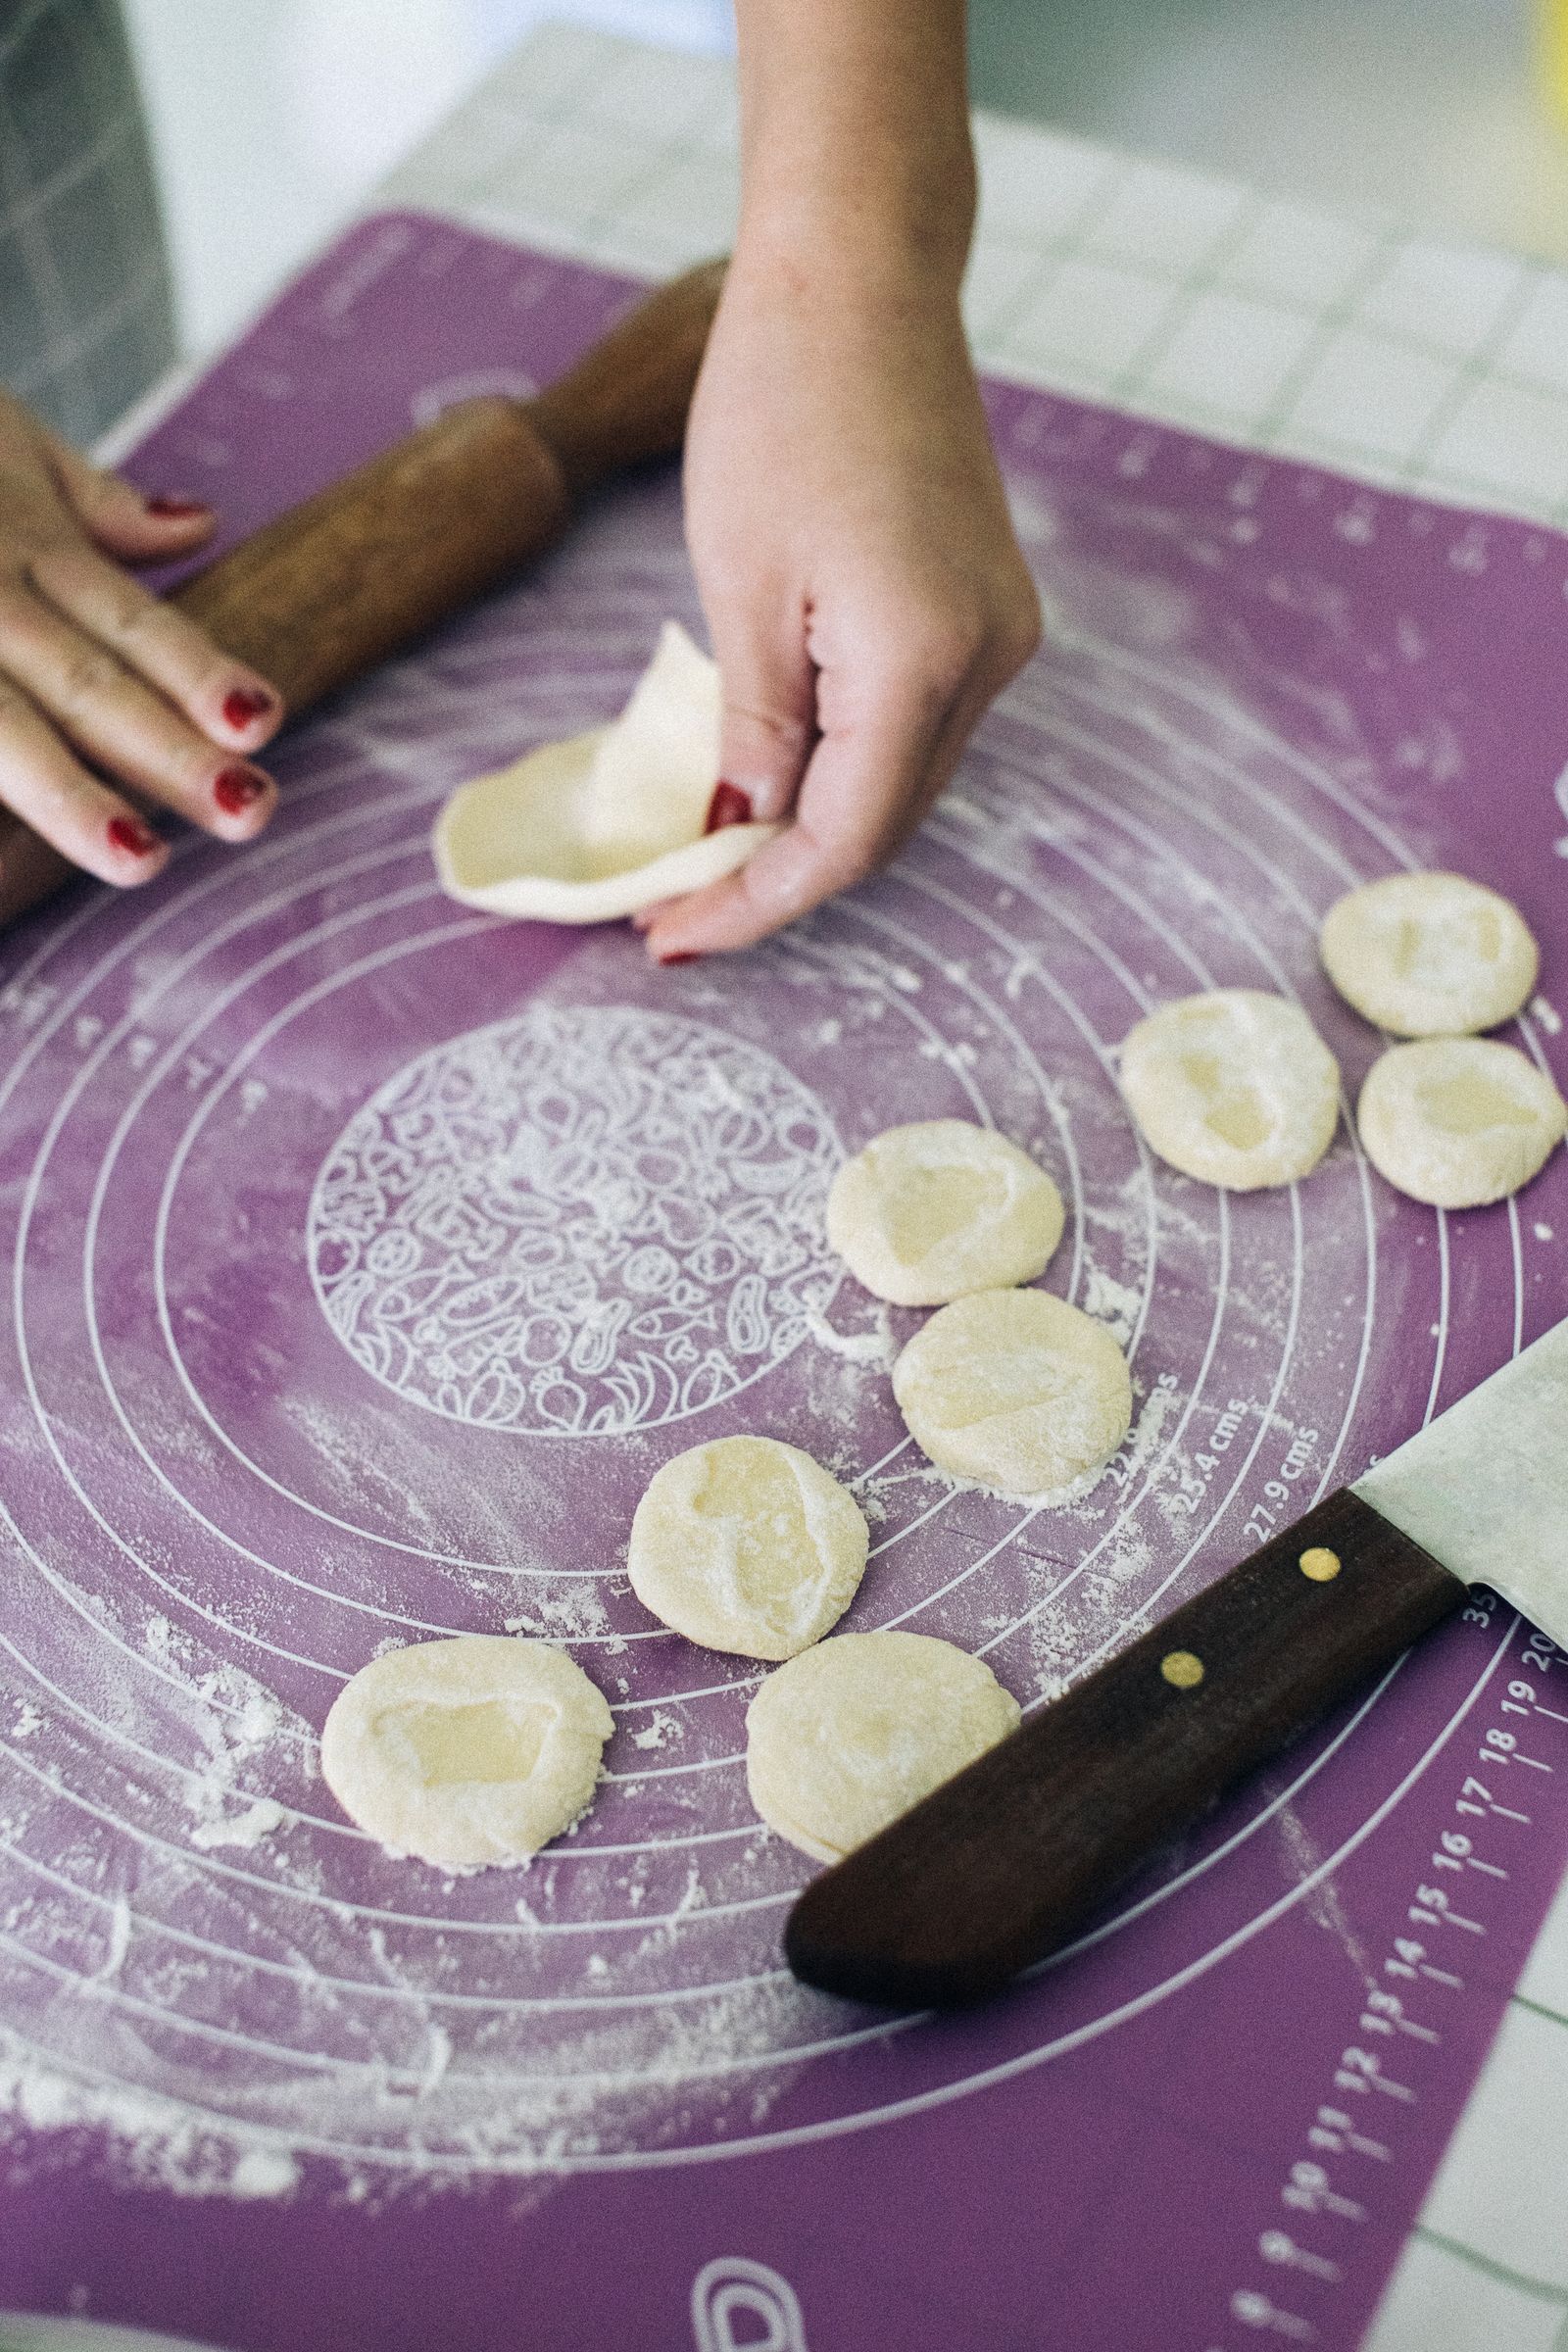
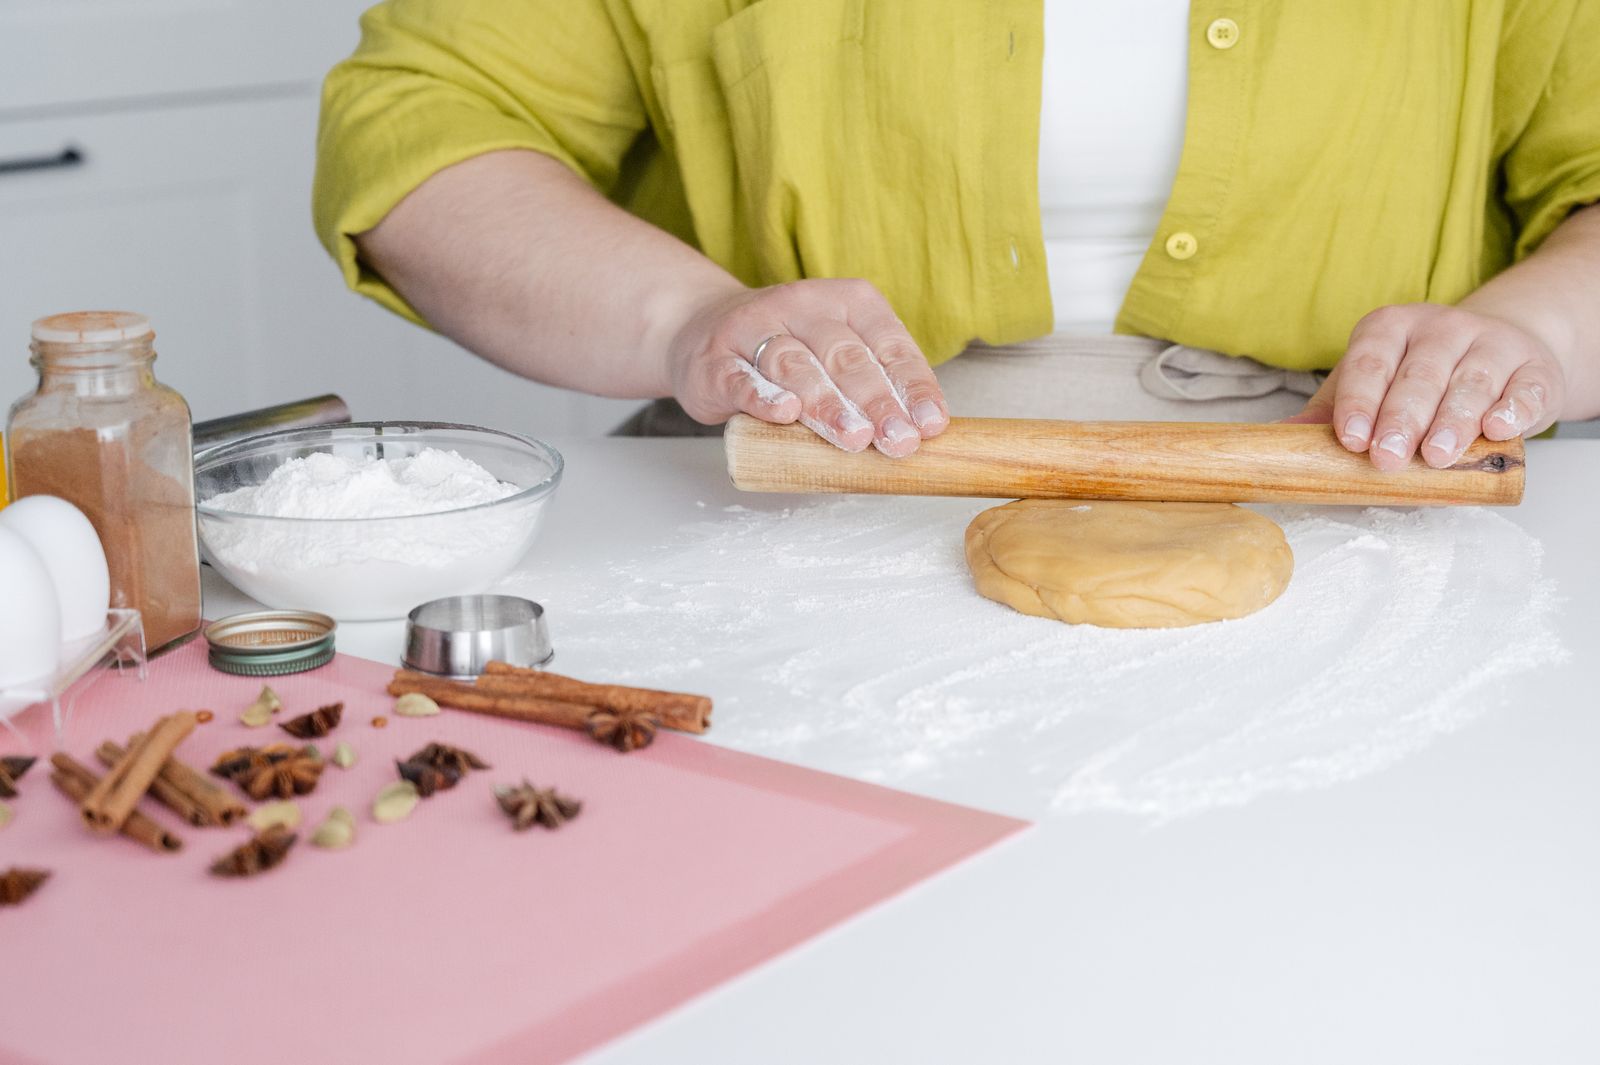
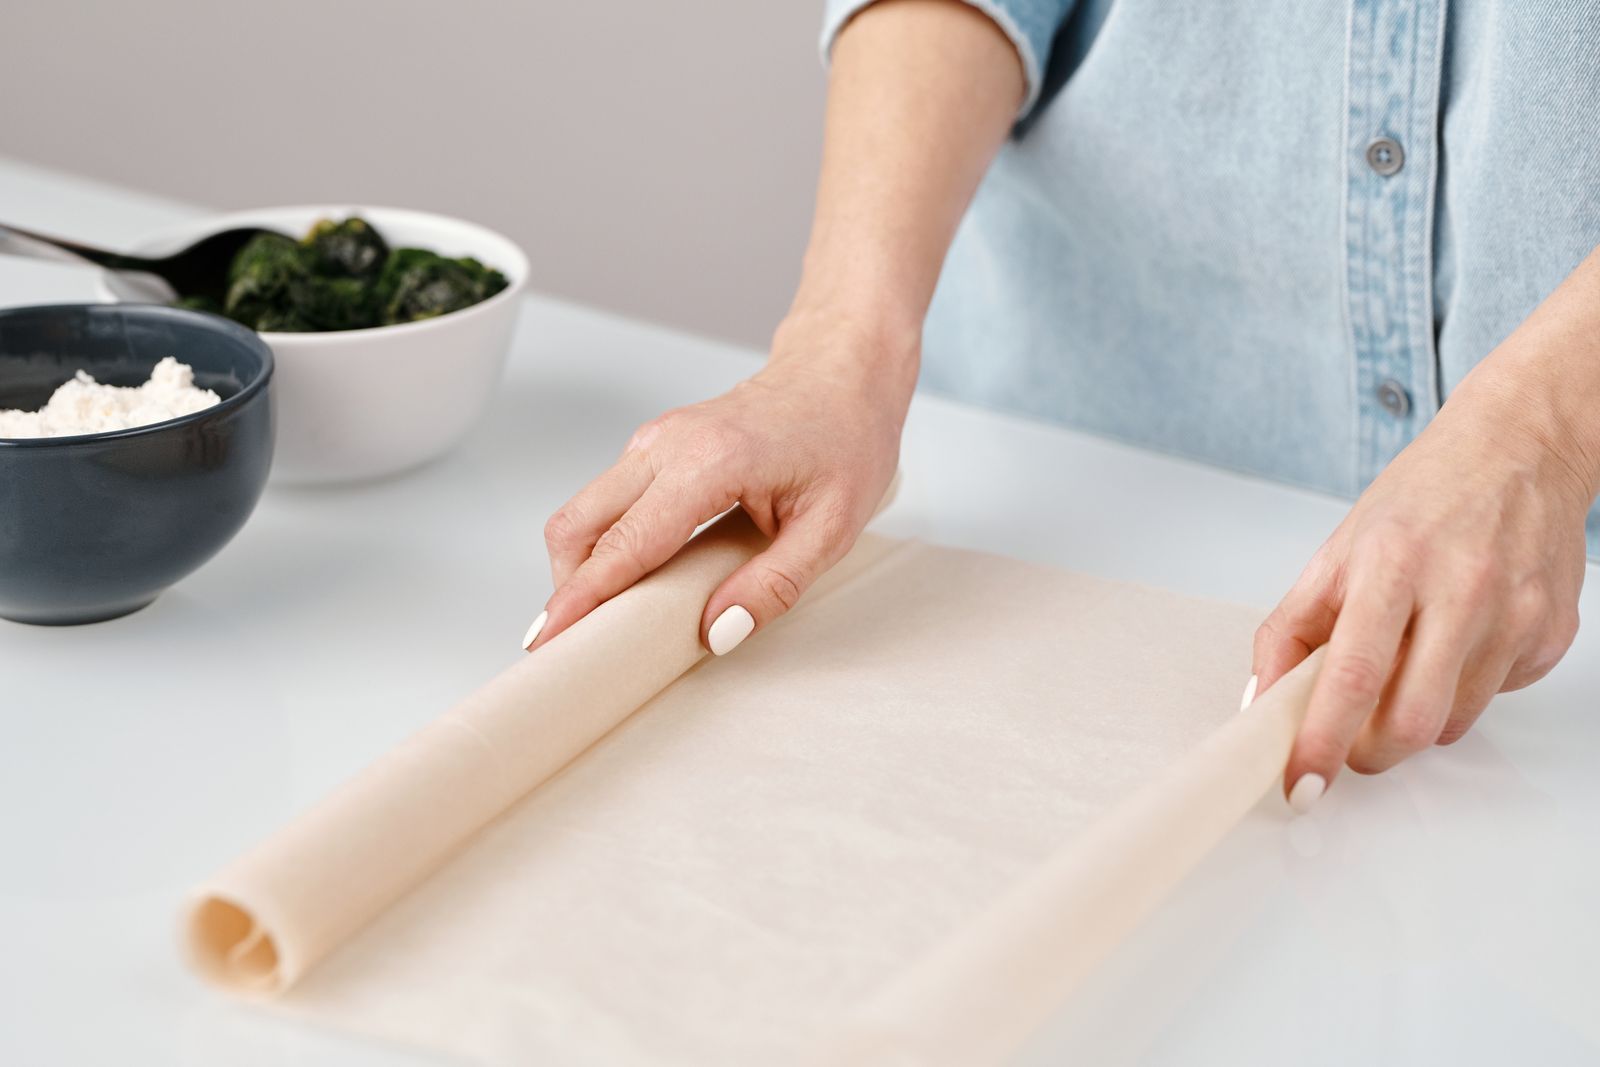
The stock photographs show baking and pastry preparation contexts. They do not demonstrate a tested cleaning treatment, and a pictured tool should not override your mat’s permitted use. In particular, a knife visible near dough is not advice to cut directly on a baking mat.
Wash one supported section at a time
If the rigid tray also exceeds your sink, follow How to Hand-Wash a Baking Sheet When Your Kitchen Sink Is Too Small. A baking sheet and a flexible mat need different support during washing; check each item’s care directions before choosing tools.
Bring the permitted cleaning tool and cleaning solution within reach. Support the mat so you can work on a section without crushing the remainder into the bottom of the sink. Keep the unwashed portion controlled rather than letting it drag across a dirty counter edge.
Work gently according to the care directions. Move the mat only as much as necessary to expose the next section. If it slips every time you touch it, stop and improve the support instead of compensating with a stronger grip or an abrasive tool.
Clean the underside as well as the food-contact side when the instructions call for complete washing. Grease or residue can be transferred during handling, even if the underside was not where the food sat. Reposition the mat so a cleaned side does not immediately rest against a dirty surface.
Keep the tray’s cleanup separate from the mat’s care. A treatment permitted for metal cookware may be unsuitable for the flexible lining. Likewise, cleaning the mat does not clean the tray beneath it. Finish both according to their own instructions.
If you are also reviewing where baking equipment belongs, organizing baking supplies in a small kitchen can help keep the wash route connected to practical storage.
Rinse without transferring residue back
Rinse the washed sections using the maker’s method. Change the mat’s position deliberately so clean runoff reaches the sink and does not pass across equipment you have already put away. Check edges and both surfaces rather than judging the entire mat by one clean-looking center patch.
Where the support itself became dirty, clean it before using it for a later clean stage. A tray that held the unwashed mat should not automatically become its drying tray. This is a simple separation of stages, even when the same small kitchen has to handle all of them.
If soap remains visible or the mat retains an unexpected cleaning-product smell, do not hide the issue by rolling it up. Recheck the permitted rinsing process. More detergent is not always an improvement, and a stronger homemade mixture is not a substitute for confirmed product instructions.
Distinguish ordinary appearance from a reason to investigate
A mat does not necessarily return to its original color after every bake. For the SILPAT product described in the linked care sheet, the maker specifically notes normal discoloration and an oily feel after washing. That prevents appearance alone from becoming a reason for increasingly aggressive scrubbing.
It does not mean every coating, smell, or patch on every mat is harmless. Identify what you are seeing and consult your own product’s guidance. Food residue, an unremoved cleaning product, ordinary product characteristics, and physical damage are different possibilities.
If you cannot resolve the condition with the permitted care method, contact the maker. Do not escalate through boiling, oven treatment, abrasive powders, solvent cleaners, and concentrated detergent simply because online suggestions list them. The relevant question is whether the method is authorized for this mat.
Complete drying before storage
Use the product’s permitted drying method in the space you reserved. Ensure the arrangement exposes the necessary surfaces and remains stable while the kitchen is used for other tasks. Avoid suspending a wet sheet where it drips onto clean dishes or creates an obstacle beside the sink.
Check the underside and edges before returning the mat. A top surface can look ready while moisture remains where it touches a support. Change its position if necessary, using an approved method, and allow the drying stage to finish.
Keep drying tools suited to their actual role. The clean-and-used cloth organization guide can help prevent an unidentified kitchen rag from becoming the final contact with freshly washed equipment.
Choose storage that does not restart the problem
Store the dry mat as its maker permits. If rolling is allowed, give the roll enough space to keep its intended form rather than forcing it into a tight gap. If storing flat, avoid trapping it under sharp or heavy objects that make retrieval awkward or could damage it.
Keep the mat near the baking equipment it belongs with, while preserving the distinction between items ready for use and items still drying. For multiple mats, make their purposes identifiable if the household needs to separate different uses. Do not create extra categories unless they solve a real confusion.
A workable cleanup leaves the sink available again, the mat fully ready, and its storage accessible for the next recipe. Find more related routines in the Cleaning collection and Kitchen room guide. The useful improvement is controlled support through washing, rinsing, and drying, rather than fitting the whole mat into the sink at any cost.