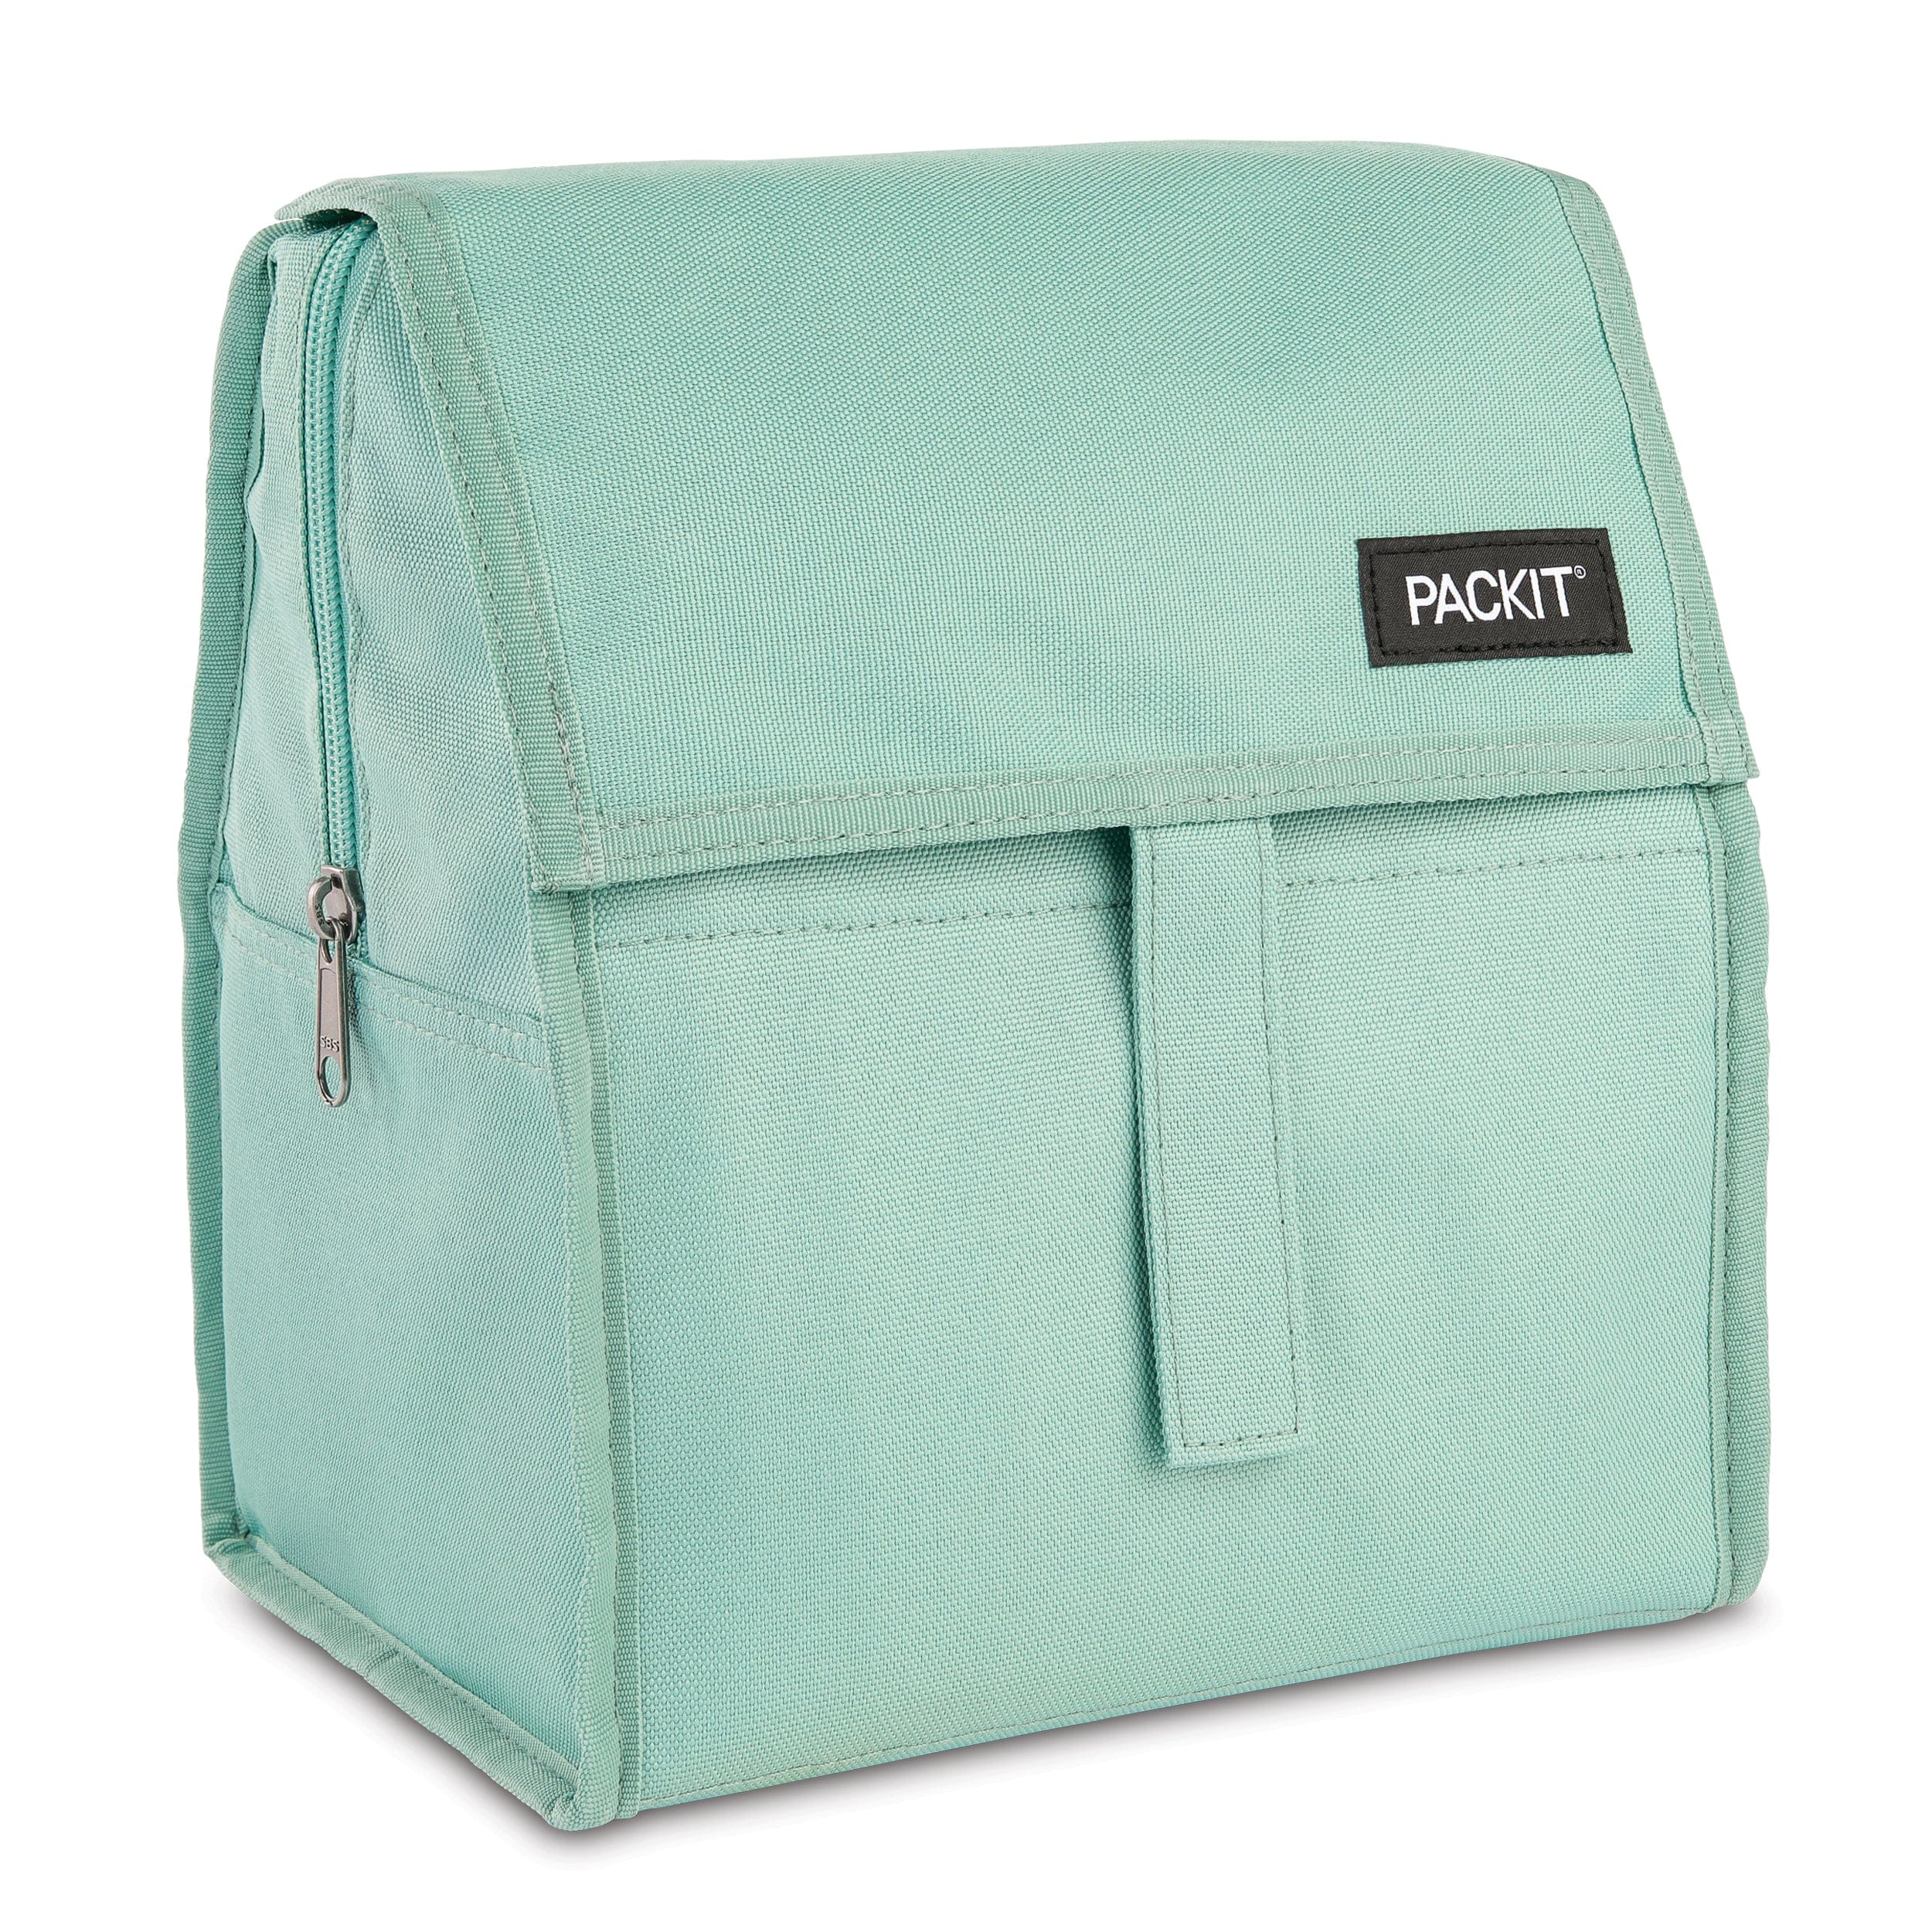
An insulated lunch bag can look clean from the outside while hiding yogurt in a seam, condensation beneath an ice pack, and crumbs behind a pocket. Spraying fragrance over the problem makes tomorrow’s lunch smell different without removing yesterday’s spill. A better routine starts by emptying the bag completely, checking its care instructions, and leaving enough time for the cleaned bag to dry before it is closed again. If you are working on the same space, Clean a Silicone Baking Mat in a Small Kitchen Without Folding It Into the Sink covers the next decision in more detail.
There is no single washing method for every insulated bag. Some have removable inserts; some contain gel built into their walls; others combine fabric, foam, coatings, and zippers. This guide explains a careful workflow for everyday cleanup. The instructions for your exact model take priority, particularly when deciding whether immersion, machine washing, or any cleaning product is permitted.
First separate the bag from everything it carries
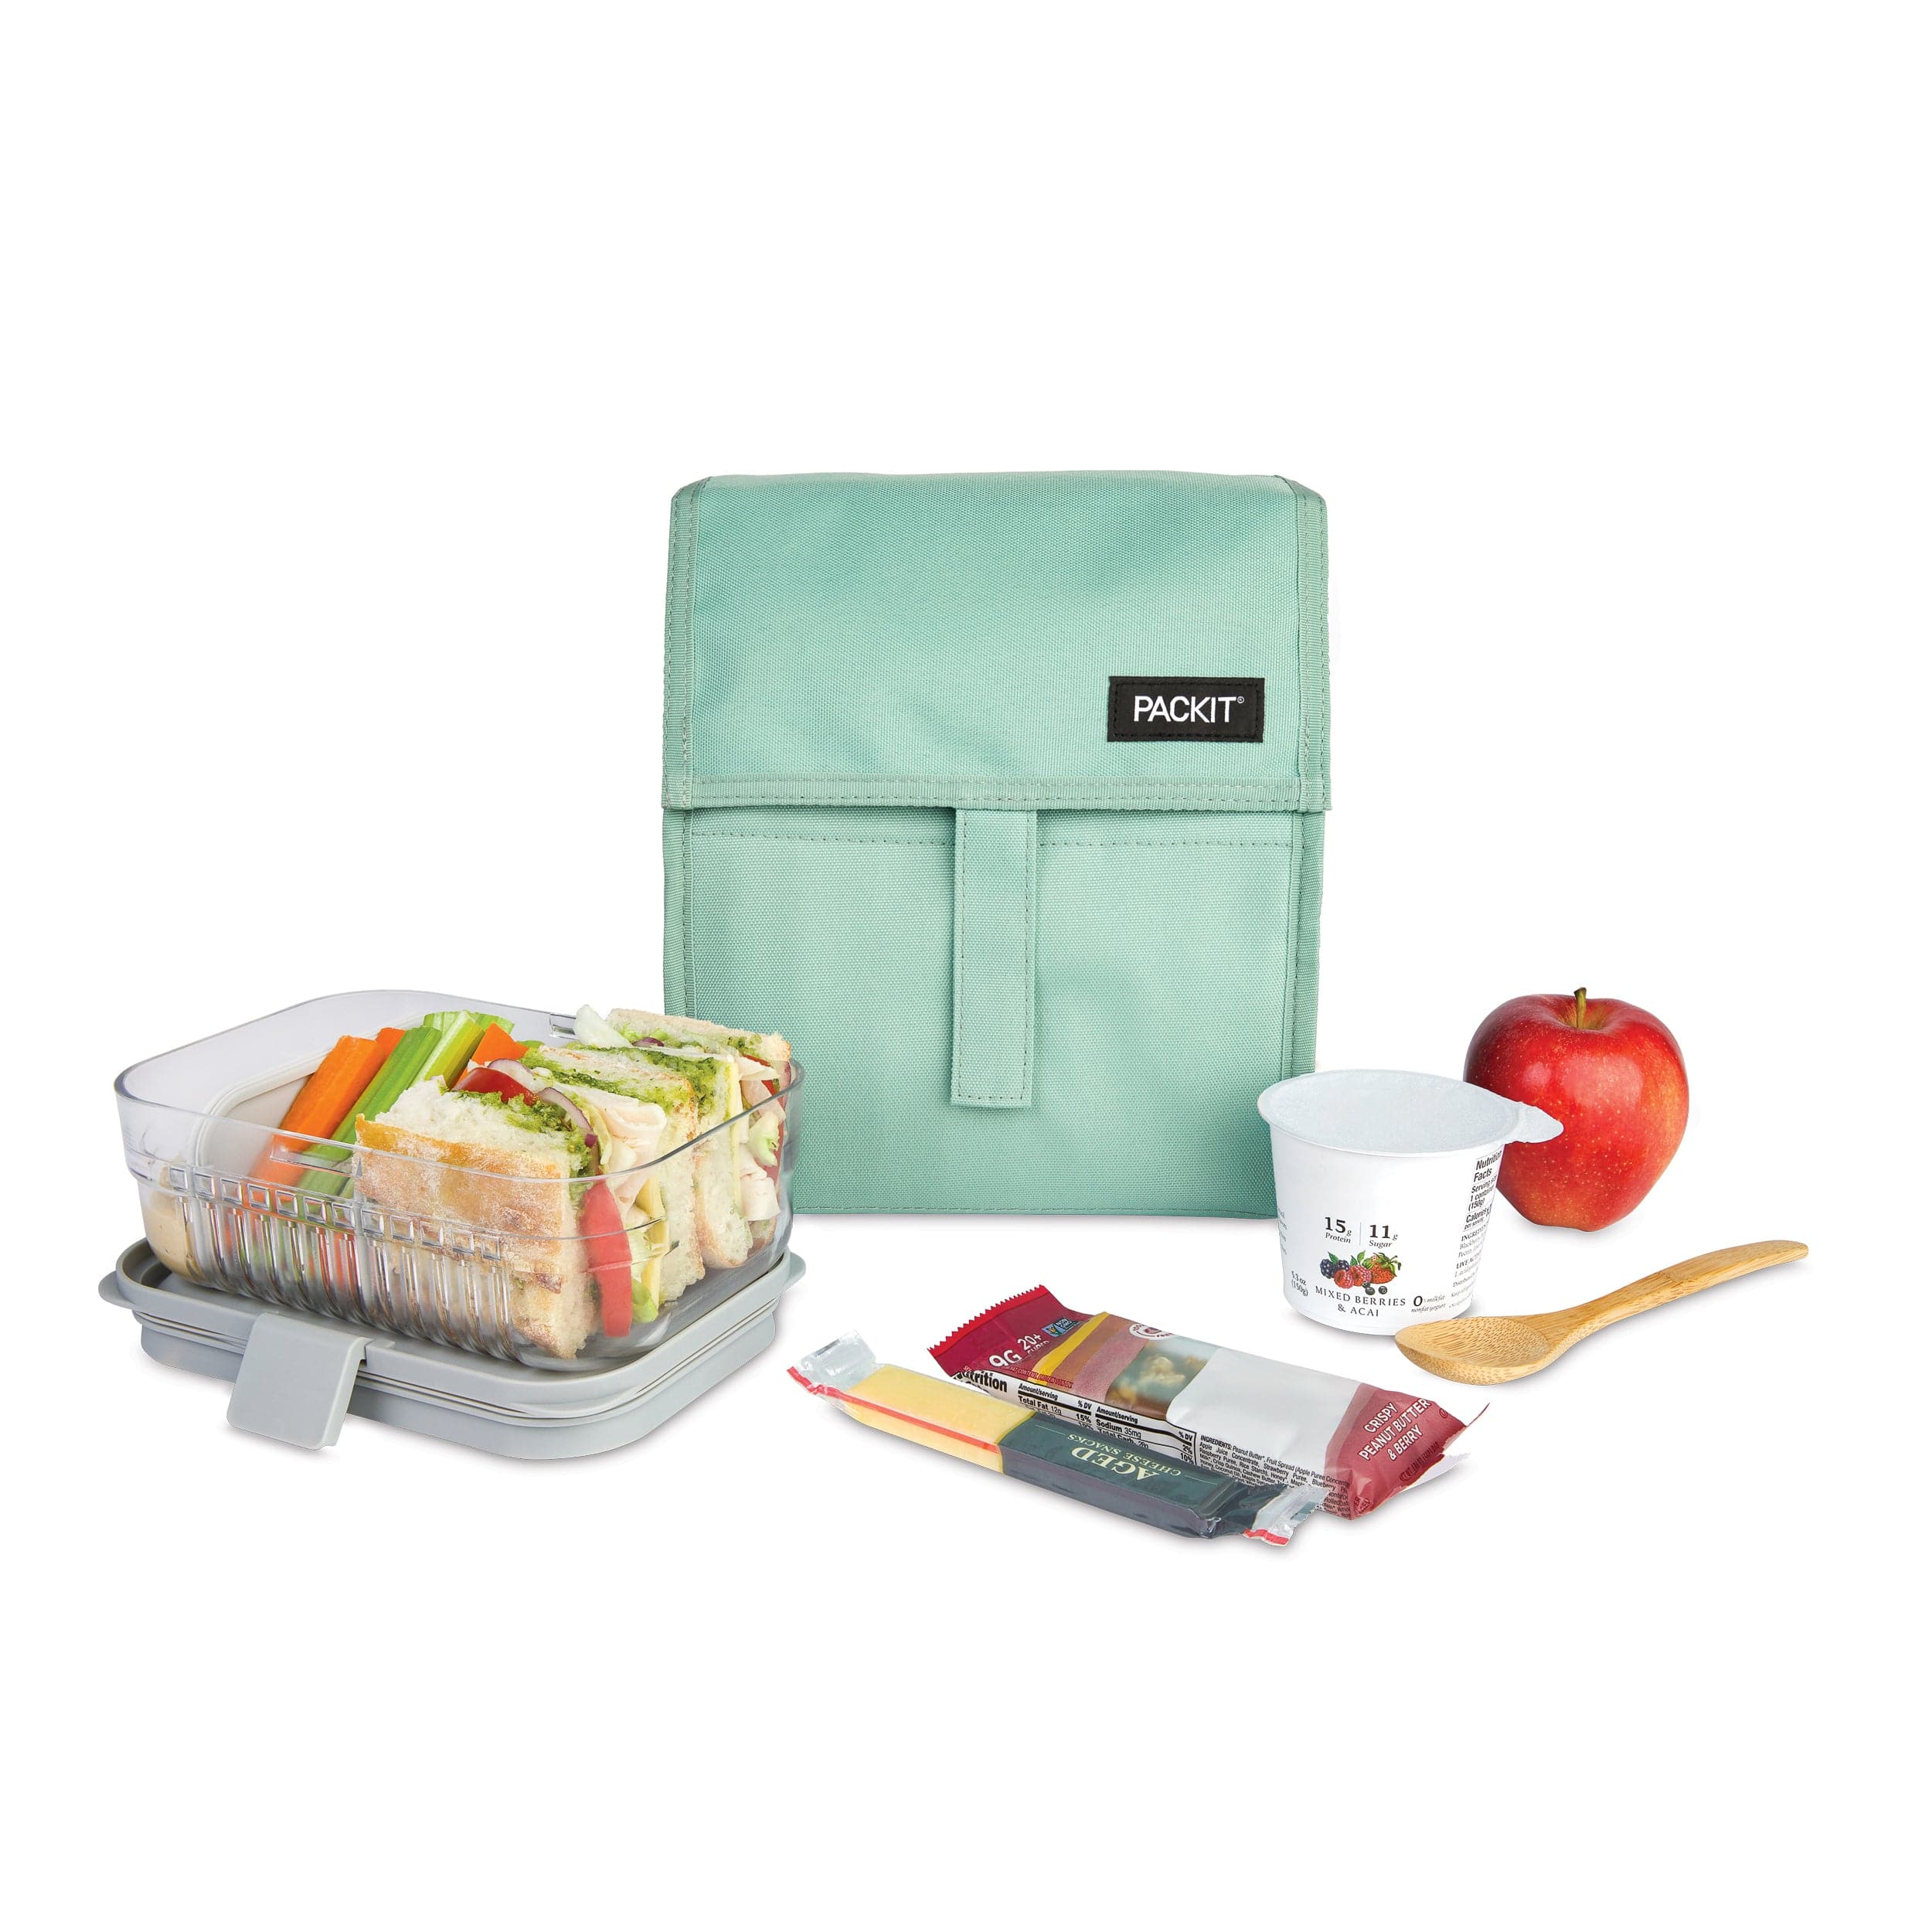
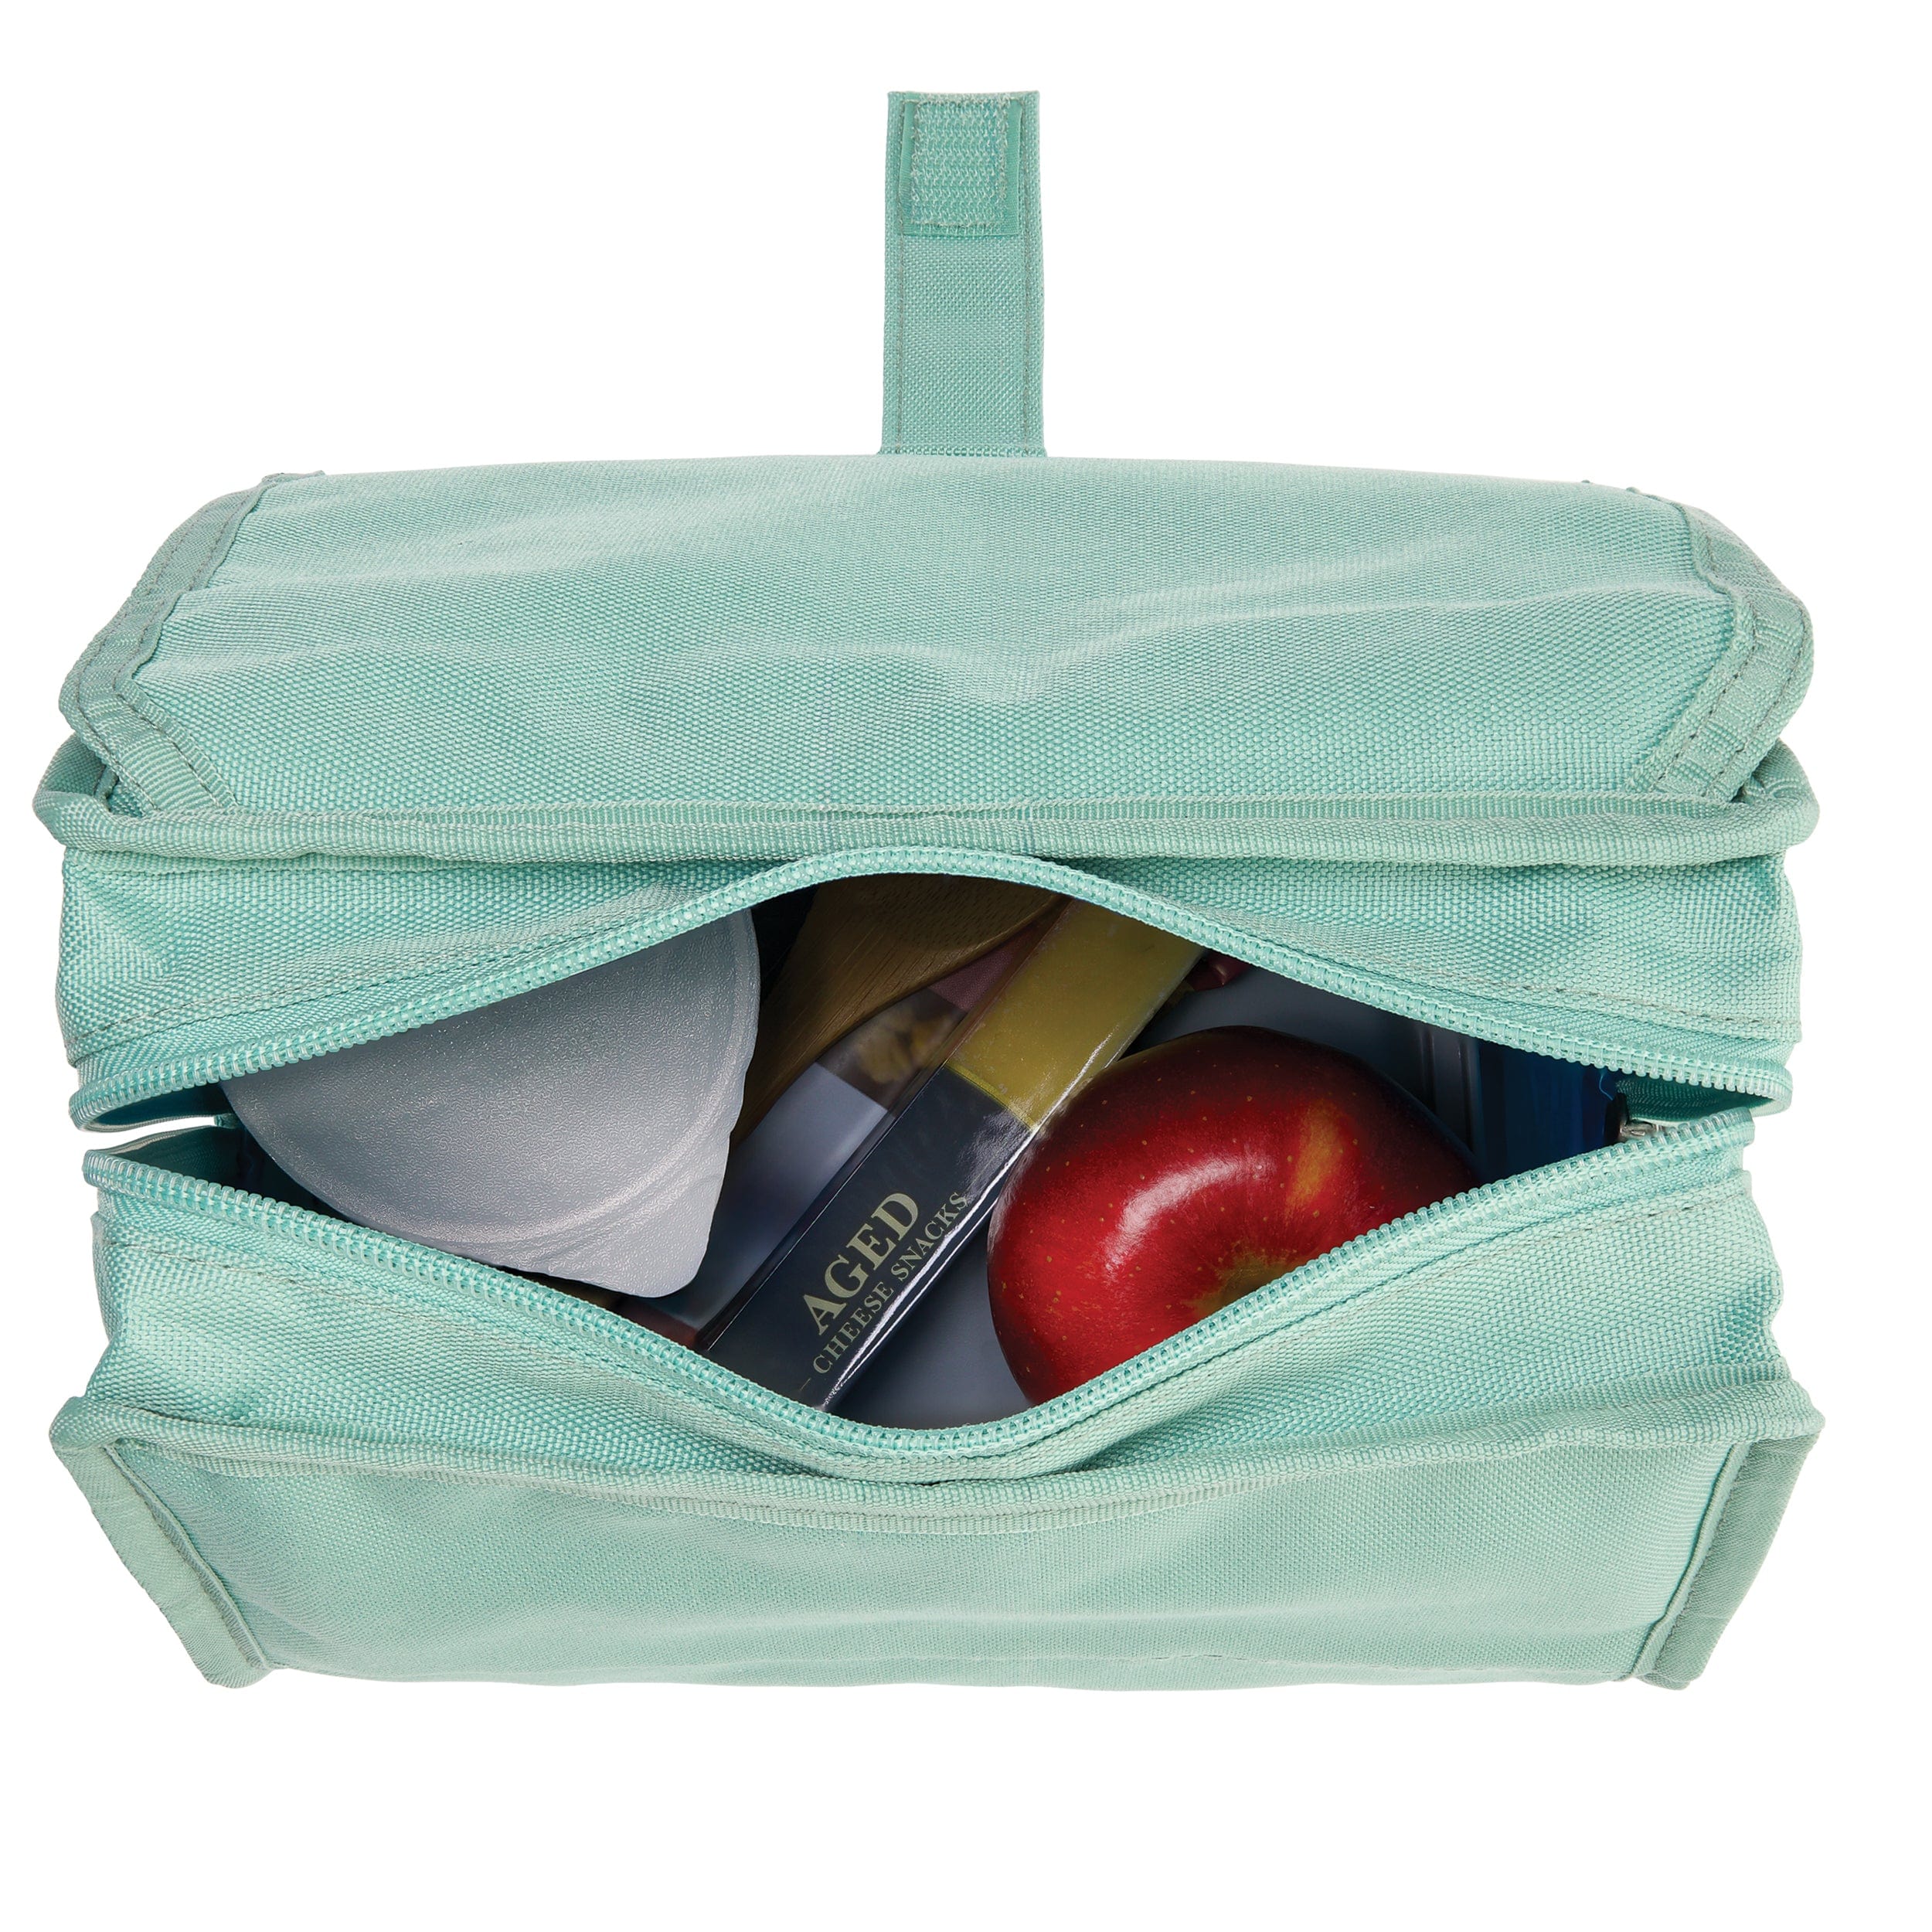
Remove food containers, utensils, napkins, wrappers, and ice packs. Open exterior and interior pockets, including the small compartment that usually holds a spoon. Check beneath a removable base panel if the manufacturer allows you to lift it. A bag is difficult to inspect while containers remain wedged into the corners.
Handle leftover food according to appropriate food-safety guidance rather than treating the bag-cleaning routine as evidence that a meal remained safe. Cleaning the carrier does not establish what happened to the food during the day. Wash reusable containers using their own directions and keep that task separate from wiping the bag.
If lunch containers are already scattered around your kitchen, use the existing lunchbox and water-bottle storage system to give each cleaned part a destination. The bag should not become the storage place for wet utensils or a container waiting to be washed.
Read the label before choosing the cleaning method
Look for the care label or the manufacturer’s guidance for the exact product. “Insulated” describes a purpose, not a washing instruction. Do not infer that a bag is machine washable because its exterior resembles a backpack, or that it can be submerged because the lining wipes clean.
PackIt’s official care and cleaning guidance, for example, calls for complete air drying with the flap open before freezing. That is a model-specific instruction relevant to its freezable design, rather than a reason to put an ordinary lunch bag in the freezer. The useful lesson is to check how your own construction changes the process.
If the label is missing, identify the model from a receipt or manufacturer tag and contact the maker when needed. Avoid escalating to hot water, strong chemicals, or a washing machine simply because a gentler attempt did not remove a mark. A cosmetic stain may be less troublesome than a damaged lining that can no longer be cleaned properly.
Remove dry debris before adding moisture
Tip loose crumbs into the trash and gently brush accessible corners with a clean, soft tool. Take care around stitched edges, printed surfaces, and any coating. Do not use a sharp object to dig food from a seam; it can puncture the lining or pull stitching apart.
Removing crumbs first makes the later wipe more effective. Otherwise, the damp cloth turns dry debris into a paste and pushes it further into the corner. Work with the bag fully open so you can see where the particles go, rather than blindly wiping the inside through a narrow opening.
Check the zipper area for trapped debris without forcing the mechanism. A zipper that is catching may need the maker’s advice, not extra pulling. Keep any zipper treatment separate from the food-contact area and use only a method the manufacturer permits.
Clean the lining with the permitted solution
Where the manufacturer allows mild soap and water, apply it using a soft cloth rather than assuming the whole bag should be soaked. Work on accessible panels, seams, and corners with controlled moisture. Remove soap residue using the method the care instructions specify; a bag should not retain cleaning-product residue around tomorrow’s containers.
Do not combine cleaning products or improvise a disinfecting mixture. A routine cleaner and a disinfectant serve different purposes, and a disinfectant must be suitable for the material and used according to its own label. This article does not supply a universal sanitizing protocol for insulated carriers.
Our Cleaning guides follow the same principle: match the method to the surface before increasing strength. “More powerful” is not automatically more appropriate for a thin liner, coated fabric, or sealed insulation panel.
Treat a removable insert as a separate item
If your bag has a rigid insert, remove it only as directed and clean it under its own care instructions. An insert may have different temperature and dishwasher limits from the surrounding bag. The fact that one component is dishwasher safe does not mean the assembled carrier is.
Inspect the space beneath and around the insert for residue. It is easy to clean the visible tub and overlook the bag that supports it. Conversely, repeatedly scrubbing the outer fabric will not remove a spill trapped beneath a panel. Understanding the components prevents both wasted effort and accidental damage.
Let each cleaned piece dry before reassembly. Do not use the insert to hold the bag’s damp lining tightly against its insulation. If the parts are difficult to remove or reinstall, photograph the correct arrangement when it is clean and dry so the next cleanup does not involve guessing. For the broader setup, Clean Reusable Ice Cube Trays and Lids Before the Next Refill is a useful next read.
Dry with the bag open, then inspect again
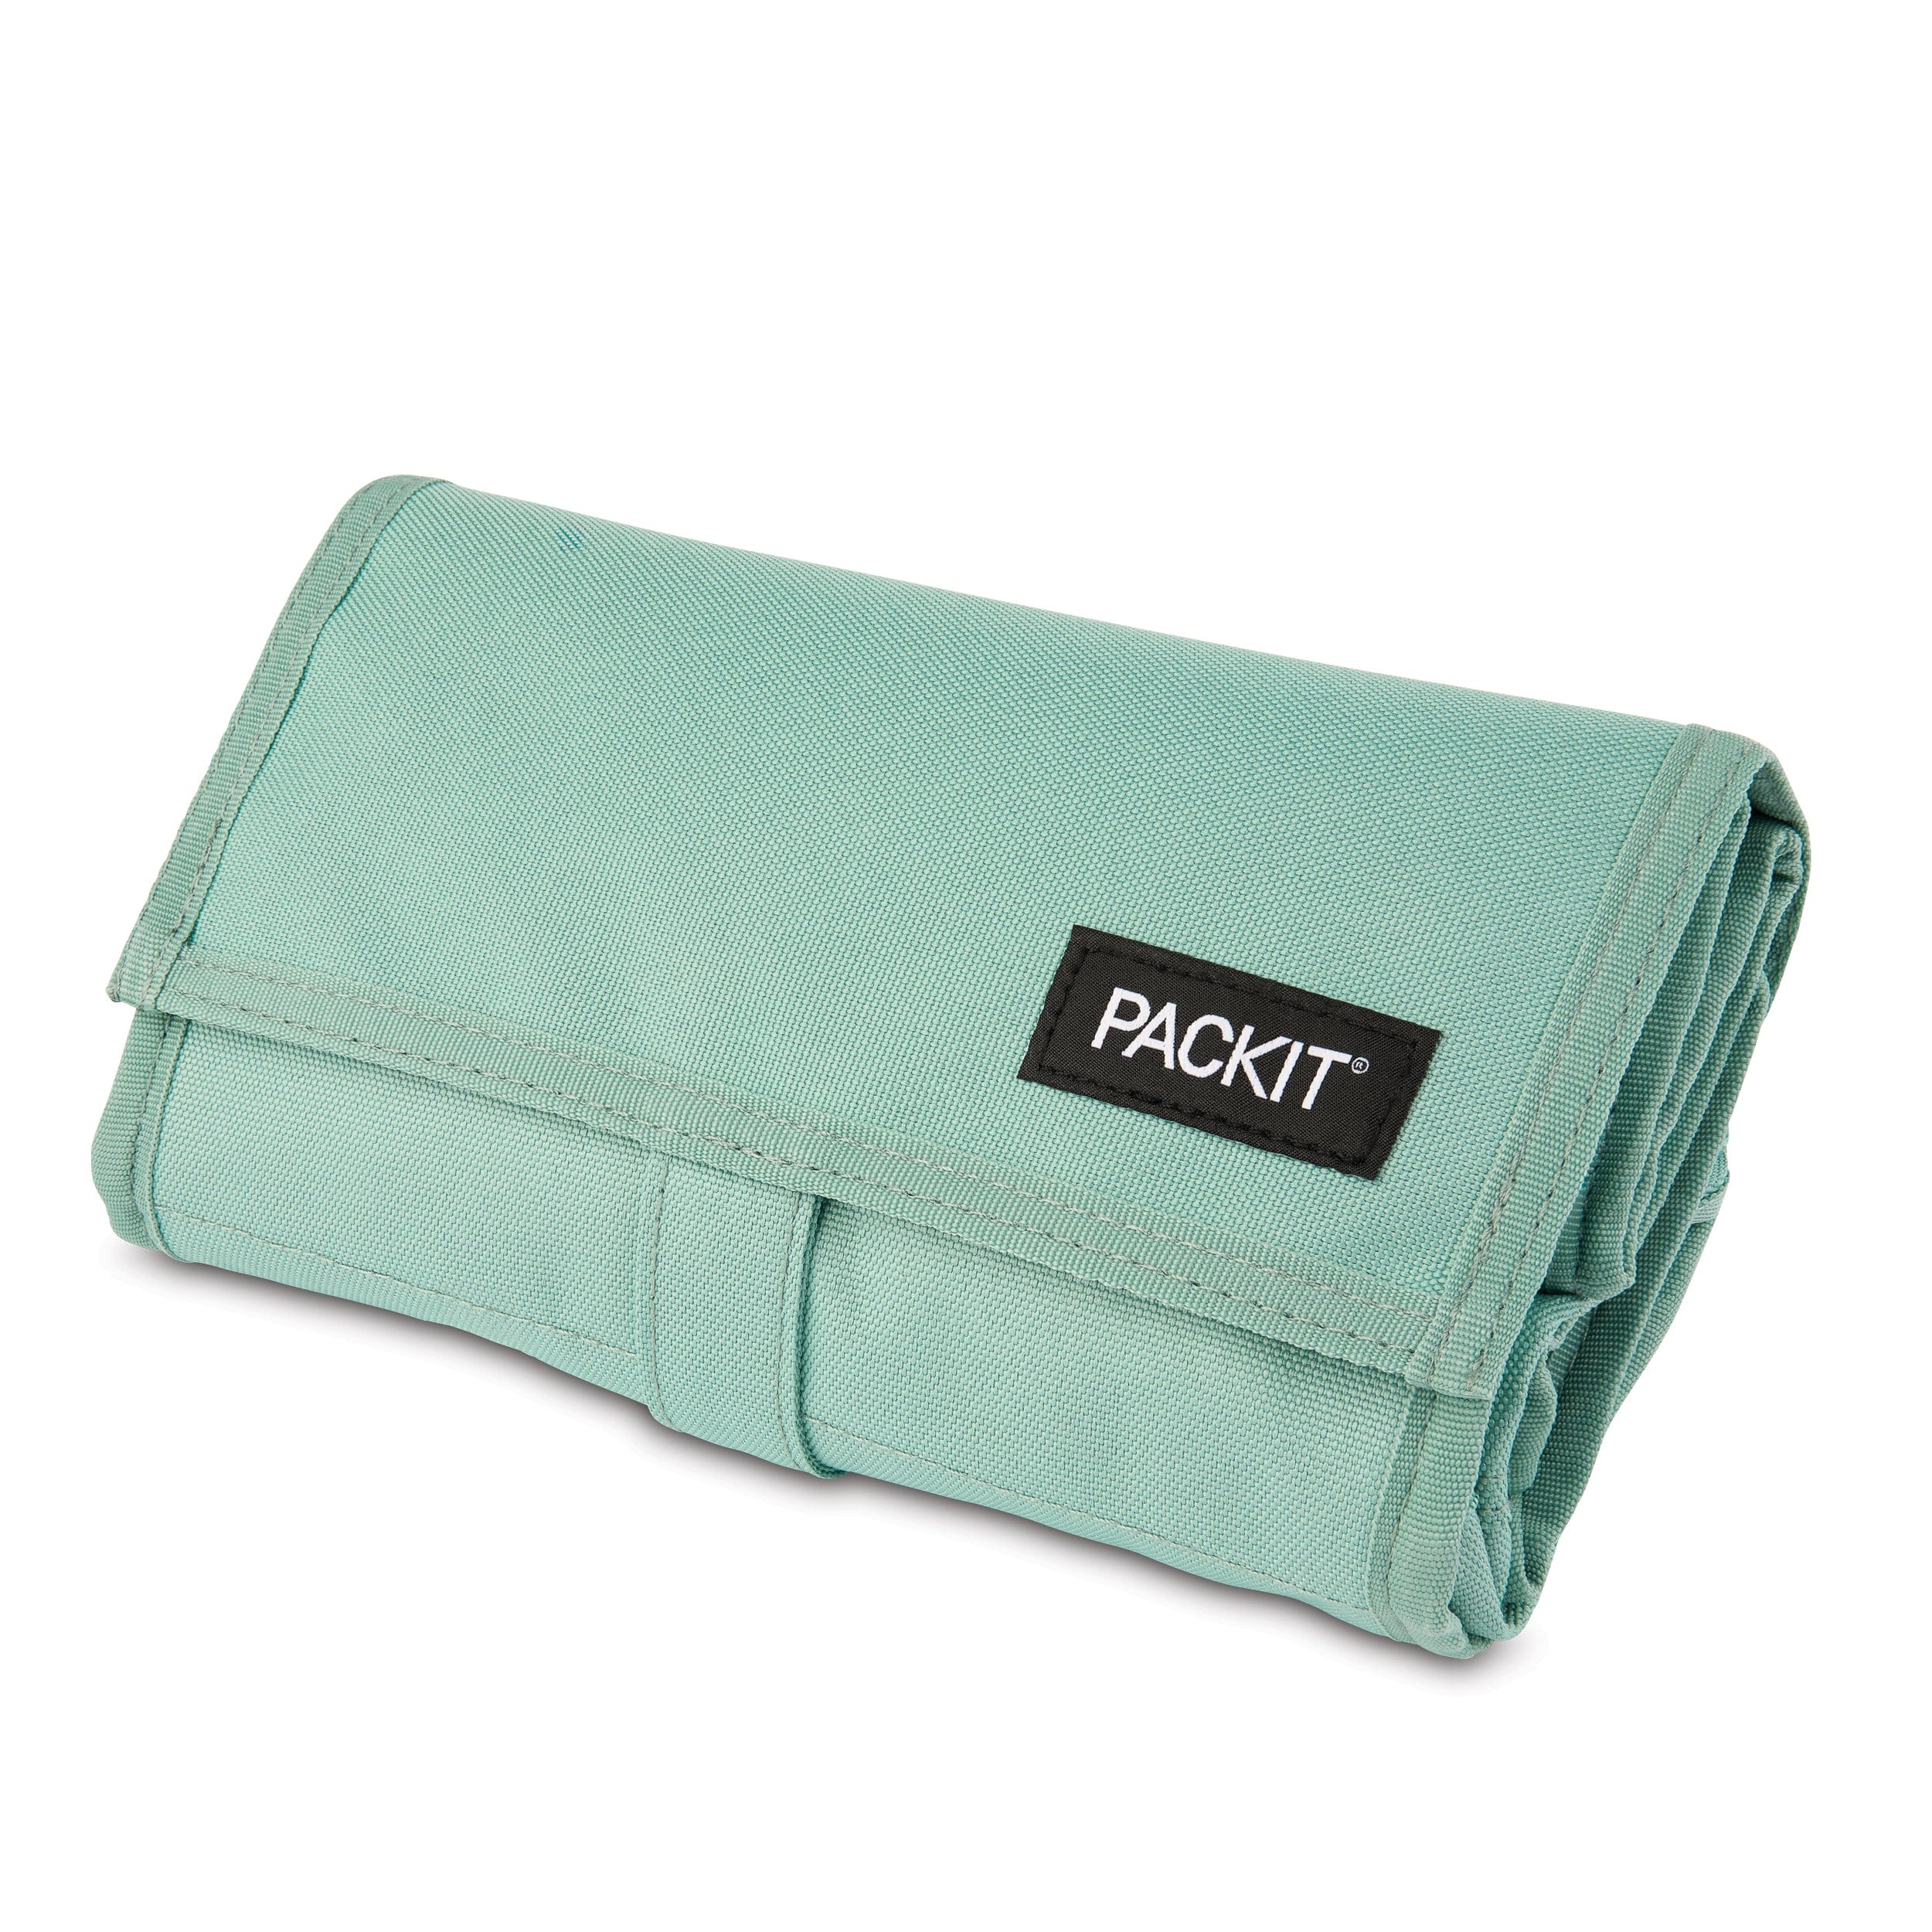
Keep the flap, zipper opening, and permitted pockets open in a suitable ventilated place. Follow the maker’s restrictions on heat and sunlight. Do not assume a tumble dryer, radiator, or hair dryer is an acceptable shortcut for glued layers or coated fabrics.
Check corners and folds with your hand rather than judging only the outside. The exterior may feel dry while moisture remains beneath a flap or along the base. Before closing the bag, inspect those areas and confirm that any removable insert has dried as well.
In a small kitchen, reserve a temporary drying spot that does not block food preparation or the sink. A washable tray can help define the space, provided it does not hold the bag in standing water. Our guide to keeping kitchen counters usable can help you plan where temporary tasks belong.
Decide whether the bag is still serviceable
Look for separated seams, peeling or torn lining, persistent residue in an inaccessible space, damaged closures, or instructions you can no longer follow because a component is broken. Ask the manufacturer about repair or replacement where appropriate. Do not assume another wash will fix deterioration in the construction.
A lingering smell is a reason to investigate the source, not proof of a particular organism or a guarantee that a stronger product will solve it. Recheck removable components and hidden food residue first. Avoid masking the smell with fragrance, which makes the carrier harder to assess and can transfer an unwanted scent to its contents.
Keep the decision practical. A faint old mark may be cosmetic; a liner you cannot clean as instructed is a different problem. The label and manufacturer can clarify the difference for that product better than a general cleaning hack.
Make tomorrow’s cleanup smaller
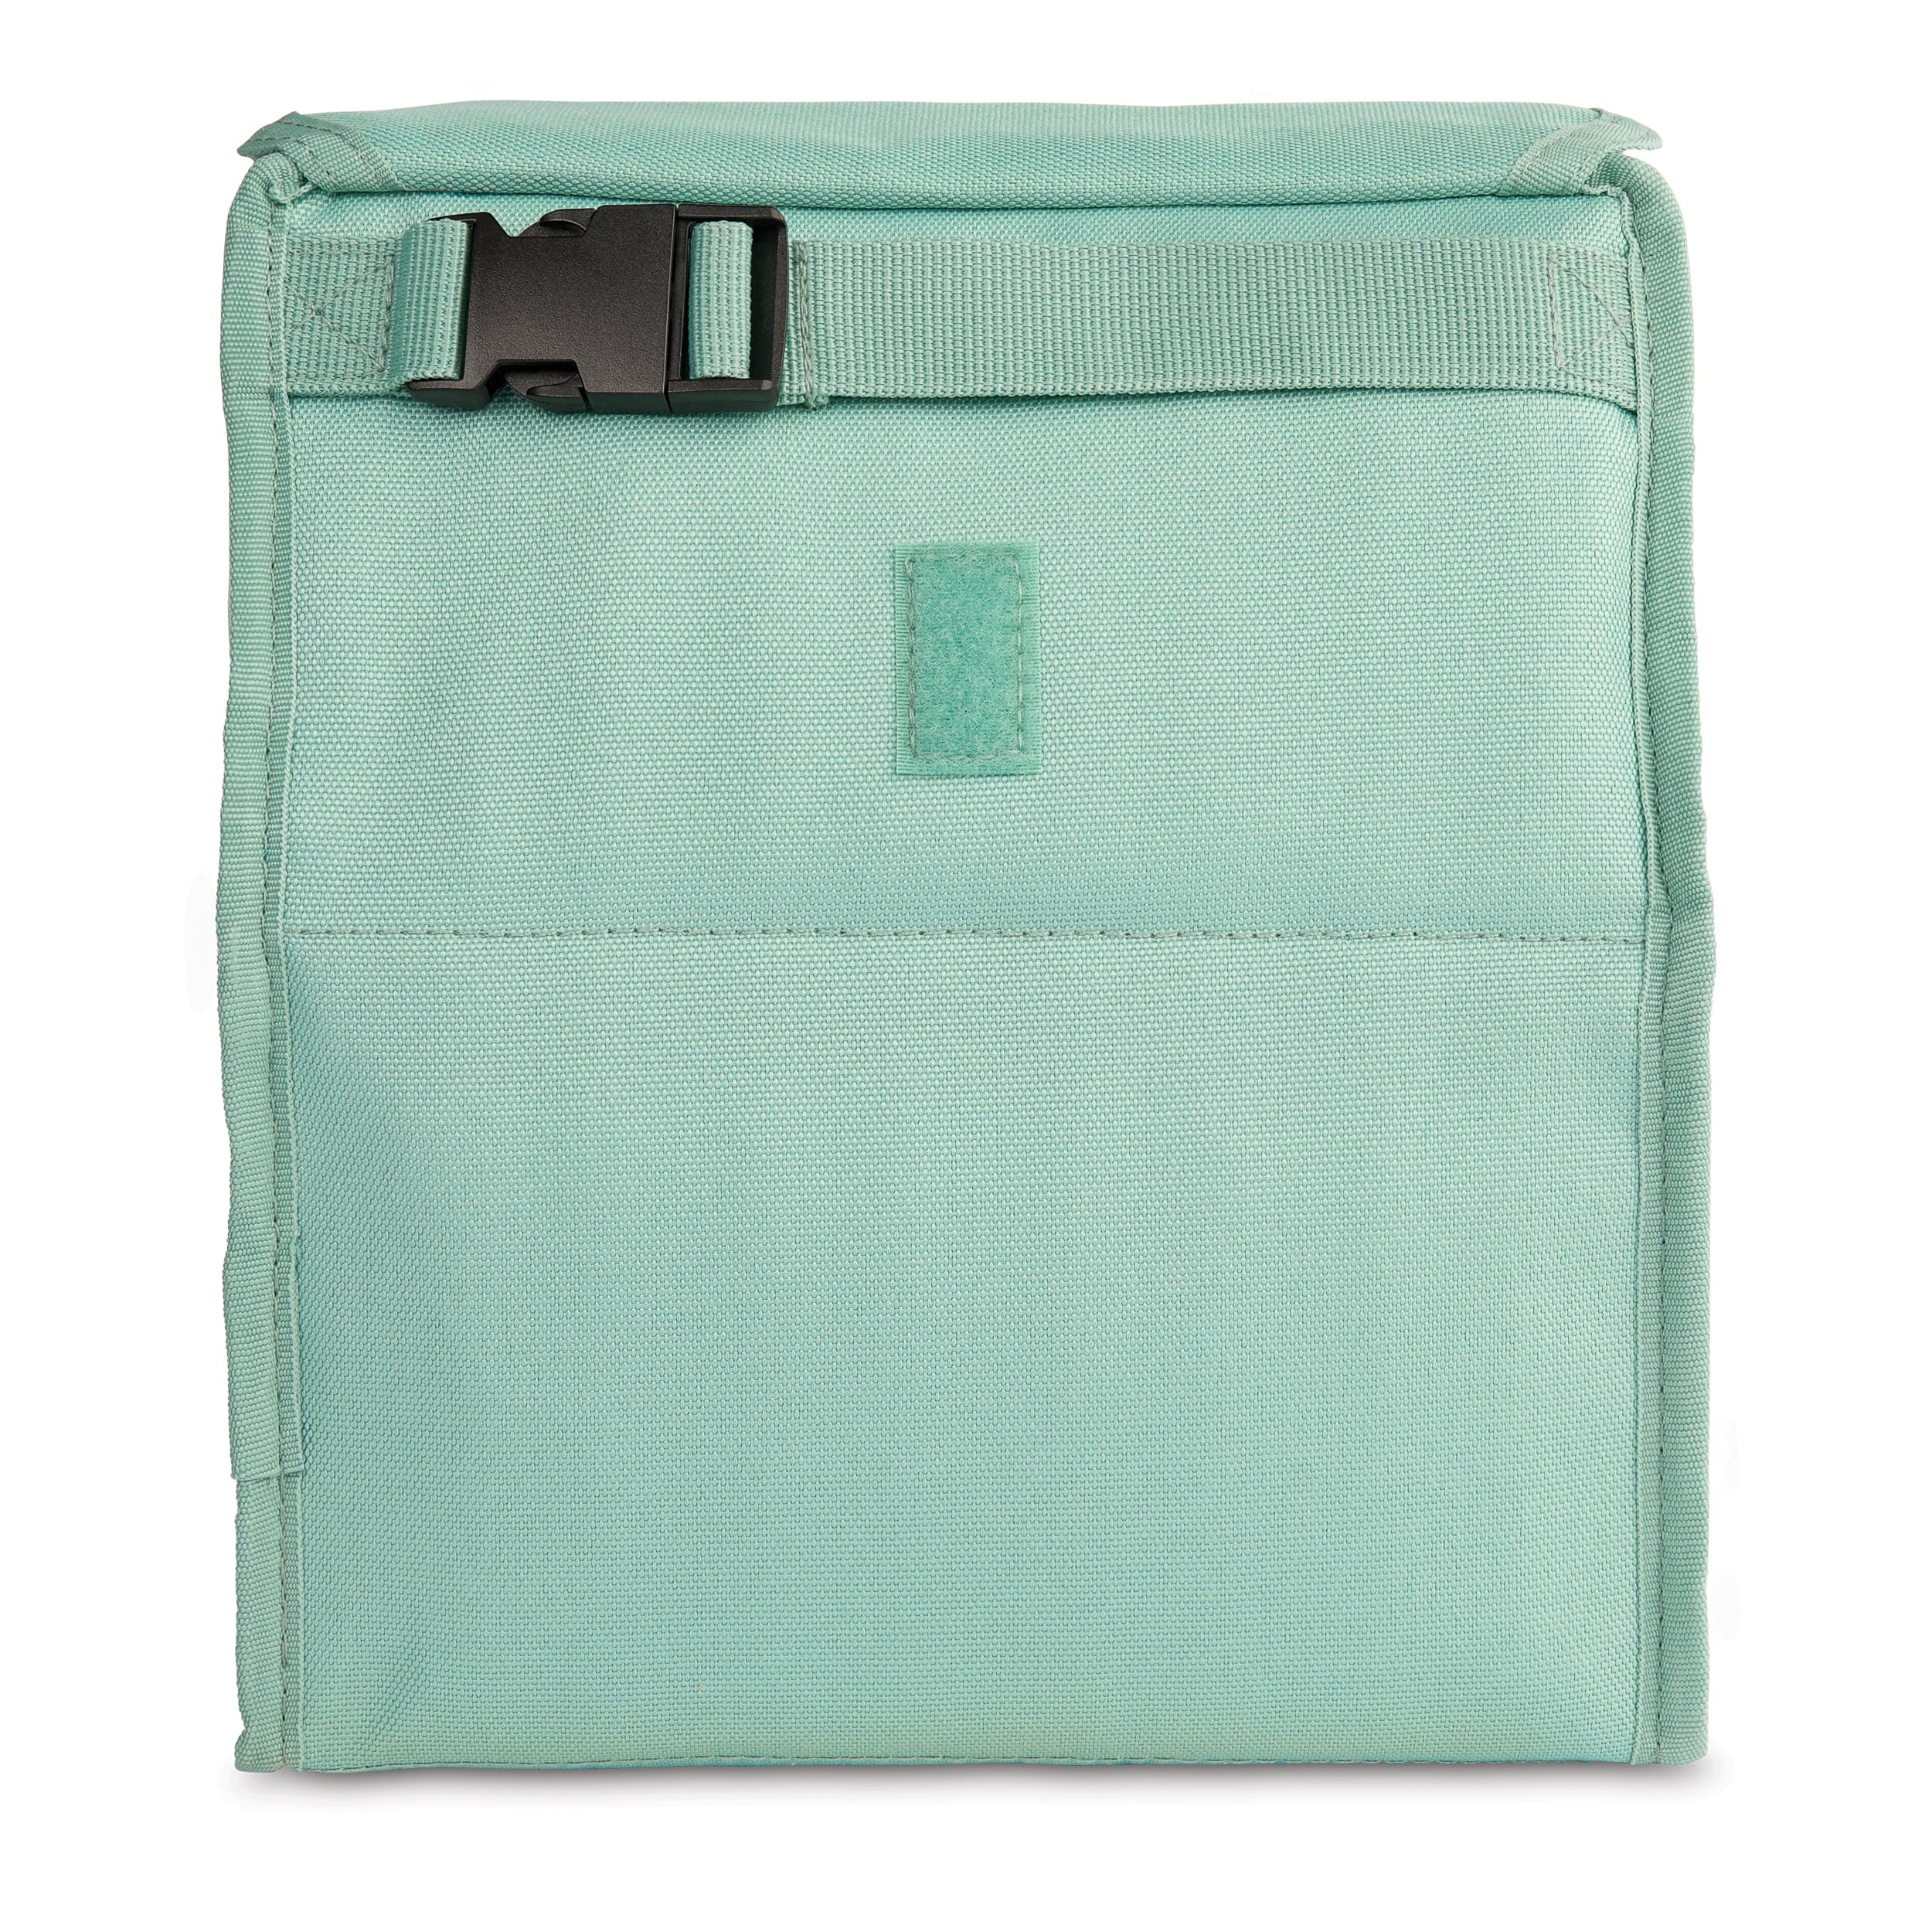
Empty the bag soon after it returns home, while the contents and any spill are still easy to identify. Give washed containers and the carrier separate drying space. Once everything is dry, return the parts to the lunch-packing area instead of rebuilding a wet kit inside a closed bag. If you are working on the same space, Clean Reusable Drinking Straws With a Complete Parts, Drying, and Return Routine covers the next decision in more detail.
You do not need a second collection of cleaning supplies beside the backpack station. One accessible cloth and the maker-approved method are more useful than several scented products. Teach children a manageable first step, such as removing containers and opening the bag, while an adult handles the appropriate cleaning decisions.
Explore Kitchen ideas for the packing side of the routine and the after-dinner kitchen reset for finding a dependable time to finish it. A clean, fully dry bag is a better starting point for tomorrow than a carrier that was hurriedly wiped and immediately zipped shut.