Wooden serving utensils often reach the sink after the meal has ended and the washing bowl is already full. Leaving them there until everything else is finished is convenient, but soaking is not an appropriate default for wood. The useful routine starts by identifying the utensils and finishes, then making room for the care their maker actually specifies.
Houzz’s Fall 2026 report includes warm wood tones and natural materials among its design directions. Wooden utensils can contribute that character through everyday use, provided their care remains practical. This guide covers ordinary cleaning and return, not disinfection claims, restoration of damaged wood, or permission to use an unsuitable item with food.
Identify the working utensils and their finish
Check the product record, packaging, or maker’s mark for the pieces you use. Confirm whether the entire utensil is wood or whether it includes a separate handle, coating, decorative finish, or other material. A matching-looking pair may have different histories and instructions if the pieces were acquired separately.
Separate decorative wooden objects from utensils intended for the serving task. Their appearance does not establish food-contact suitability or a cleaning method. Likewise, do not assume that directions for a large cutting board apply in full to an unfamiliar carved or painted spoon.
Find the maker’s specific washing and maintenance instructions before applying a treatment. OXO’s Beechwood Salad Servers, for example, are identified as a two-piece set with a mineral-oil finish and hand-wash care. That example shows why the actual product matters; it does not authenticate any of the utensils in the contextual photographs.
Inspect before trying to remove every mark
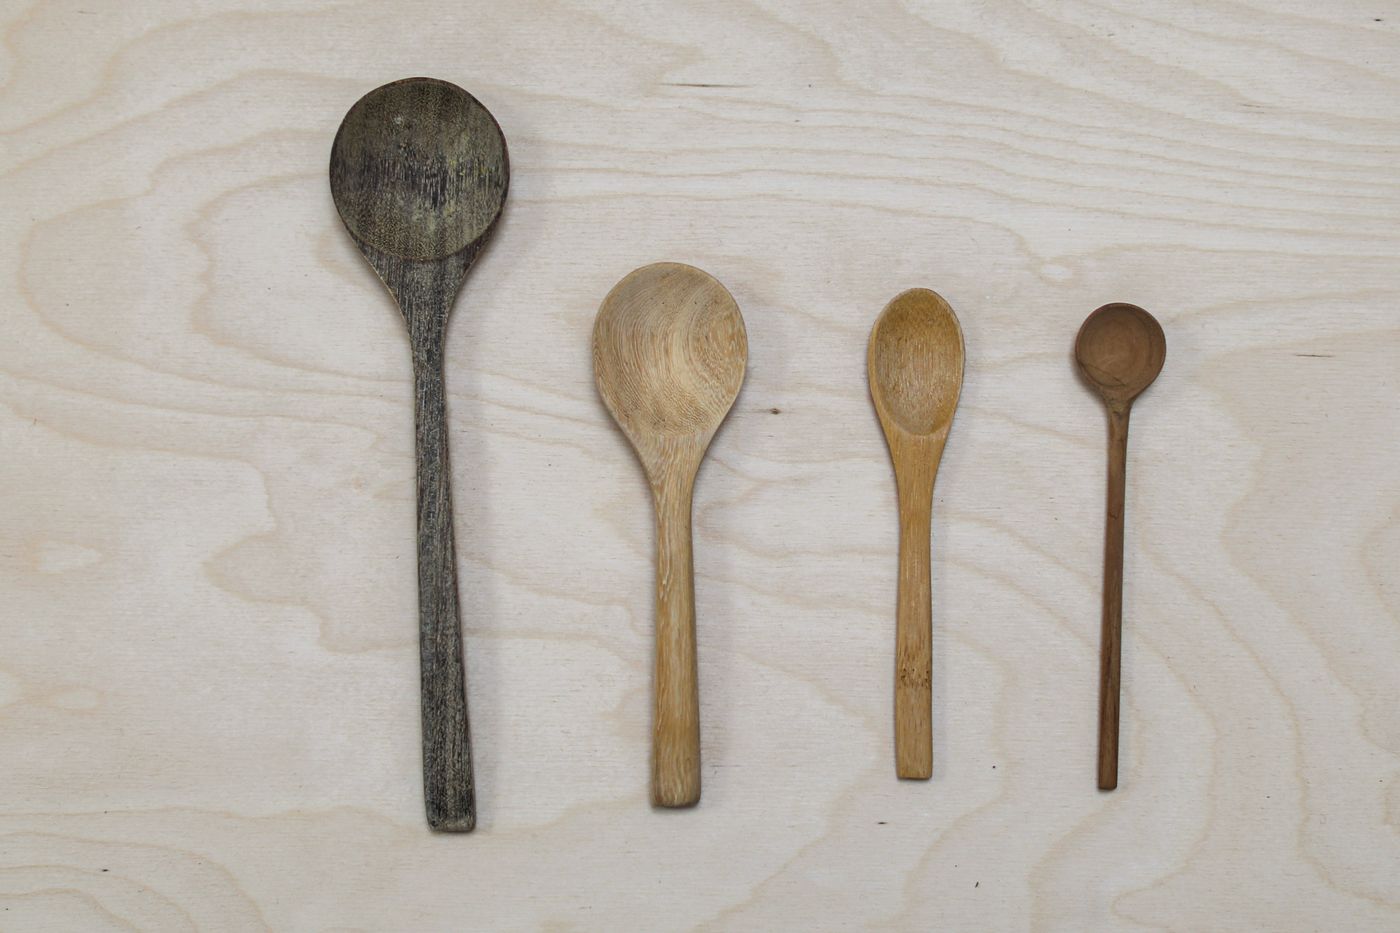
Look over the bowl or head, the neck, the handle, and any joins that are part of the construction. Check for cracks, loose components, splinters, coating changes, or areas that are no longer suitable for use. Keep a questionable piece separate while you obtain appropriate advice or decide on replacement.
Do not diagnose all discoloration as removable food residue. Natural variation, wear, and damage can require different decisions. A cleaning routine should not include sanding, bleaching, sealing, or other restoration simply because an online tip recommends it for a different wooden object.
If the pair no longer matches in condition, assess each piece individually. Keeping a serving pair visually complete is less important than using utensils suitable for their purpose. Do not put a damaged item back in the crock just because it has been washed and the handle still looks attractive.
Clear a short washing route before the meal ends
Choose where the utensils will be cleaned and where they can dry completely according to their instructions. If a small kitchen sink is crowded, remove other items in a manageable sequence rather than forcing the utensils into a partly filled bowl of unrelated dishes.
Arrange an appropriate clean drying area that will not be splashed by the remaining washing. Avoid balancing long handles across an unstable pile. The next person using the sink should be able to tell which items are being cleaned and which are already drying.
For another awkward sink-sized item, cleaning a silicone baking mat in a small kitchen considers the work area and return sequence. Its material-specific method does not transfer to wood, but the planning principle does: establish a practical route before the object reaches a crowded sink.
Remove loose food without forcing the surface
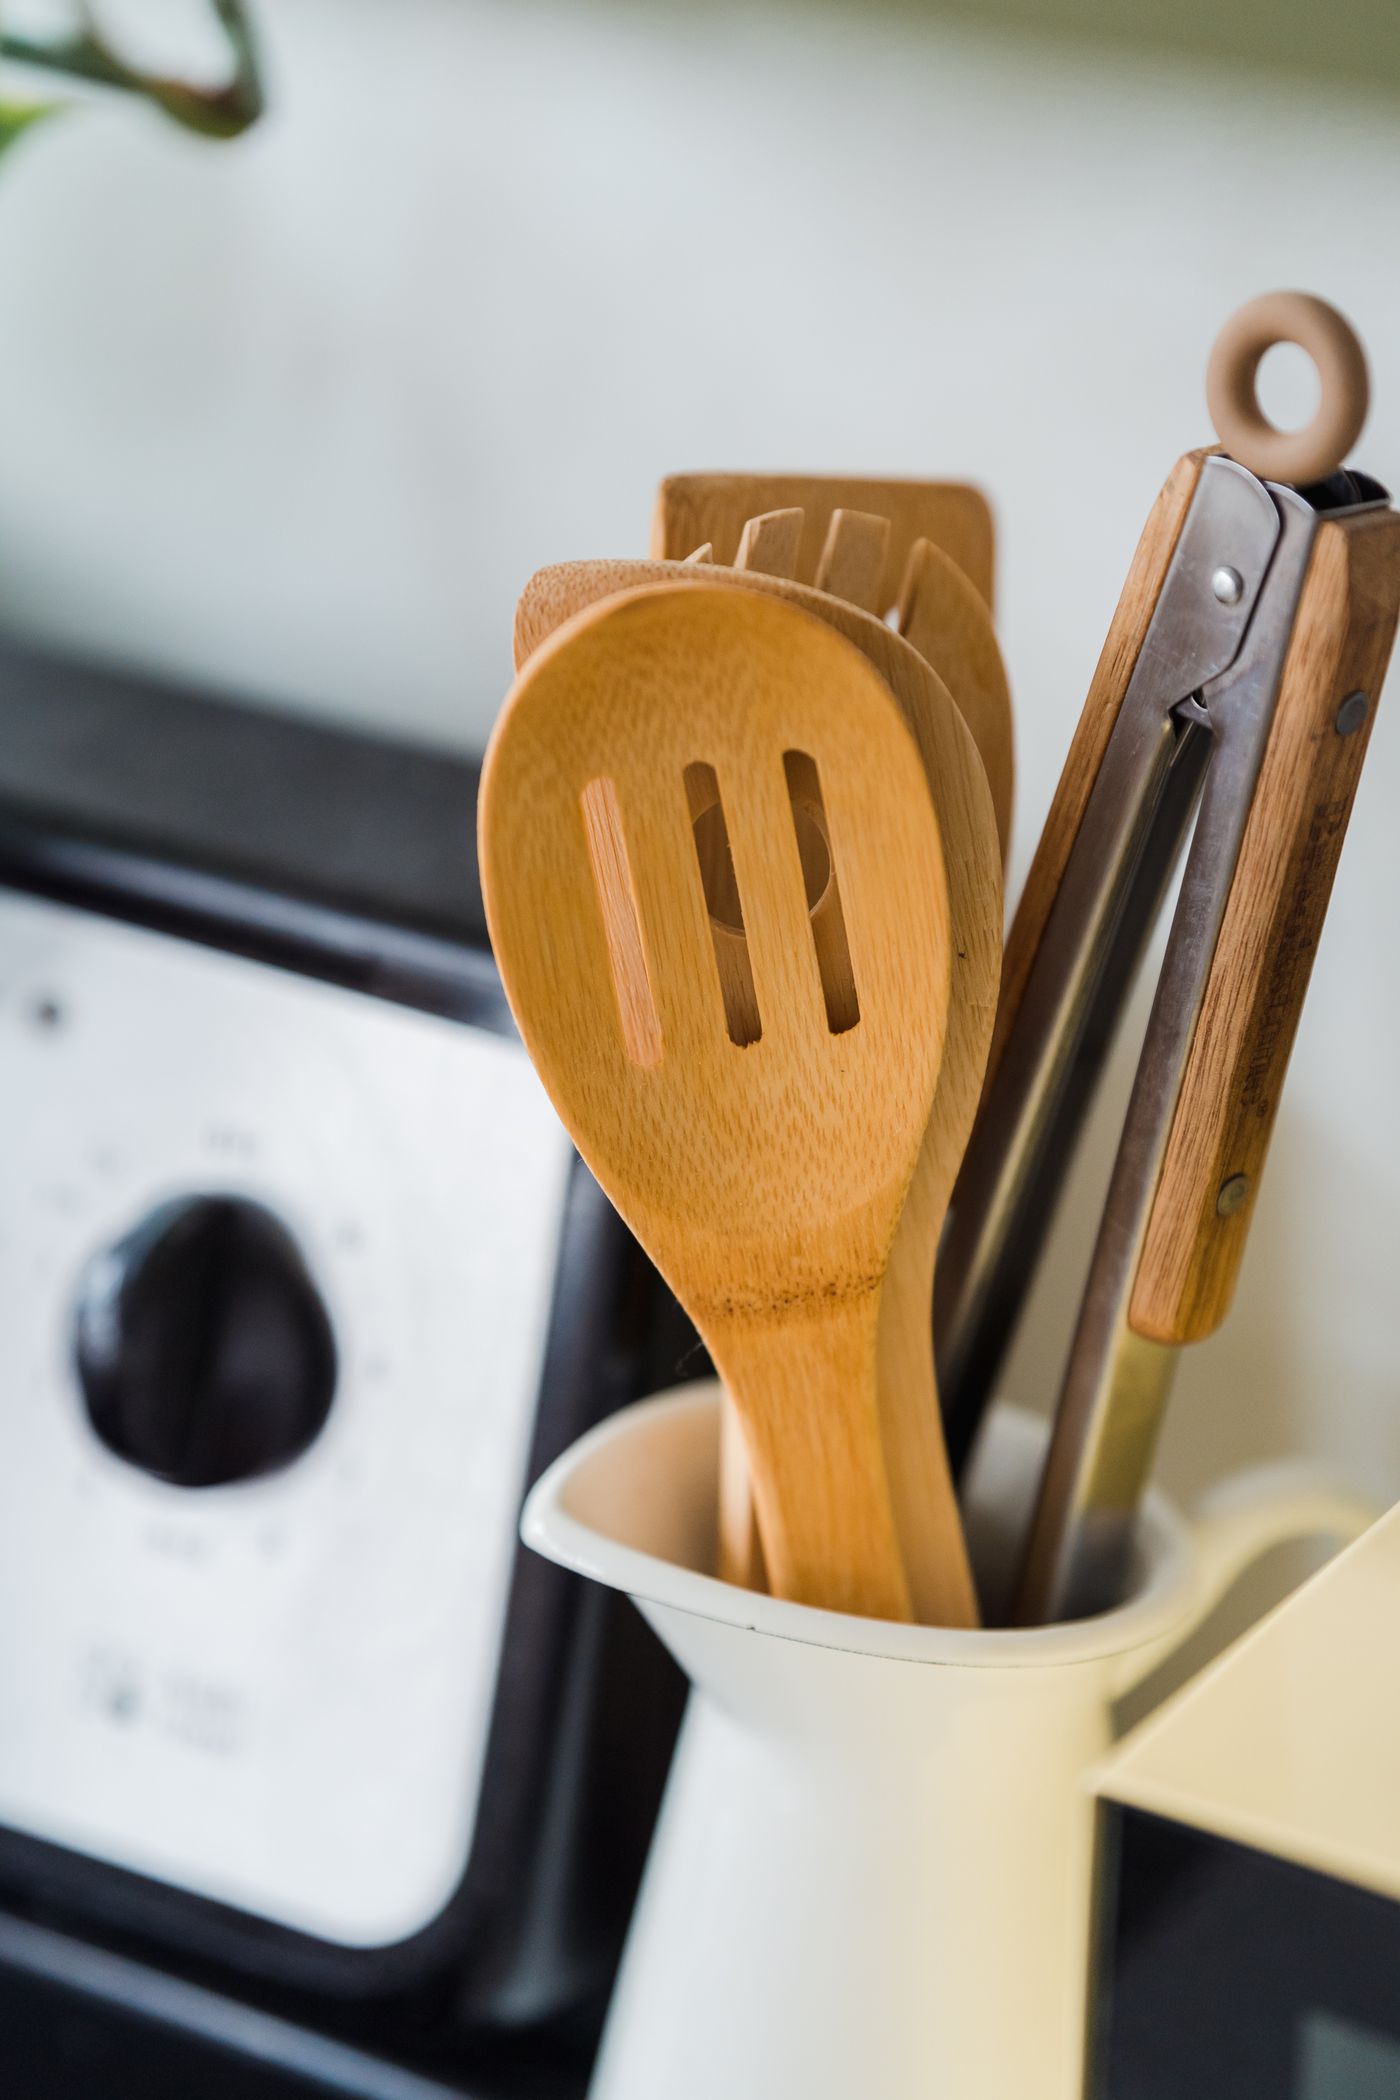
Move loose remnants into the appropriate household waste route before washing. Use a suitable method that does not gouge the wood or force a hard tool against a narrow fork tine. Keep the utensil supported so it does not slip into another object or onto the floor.
If food has dried into an awkward area, consult the permitted cleaning method rather than automatically soaking the whole piece. A material that looks solid can still have a finish or construction that limits water exposure. Stop if removal requires enough pressure to bend or damage the utensil.
Do not use a sharp blade as an improvised cleaning scraper. The goal is to remove ordinary residue within the maker’s instructions. A persistent deposit or damaged area is a reason to seek the appropriate next step, rather than an invitation to experiment until the surface changes.
Follow the wood-specific wash instructions
OXO’s wood-care guidance specifies hand washing with mild dish soap and warm water, avoiding submersion and dishwashers, rinsing all sides, and drying thoroughly with a towel before allowing the item to finish drying. Follow the applicable directions for your actual utensils, including any product-specific exceptions or additional restrictions.
Handle one piece at a time so the food-contact head, edges, and handle remain visible. Use a cleaning implement appropriate for the finish and the maker’s method. Do not borrow an abrasive treatment from metal cookware or assume that a stronger concentration will clean wood more effectively.
Check accessible gaps or tines as directed, then complete the required rinsing without leaving the utensil in the washing bowl. If several constructions are present, keep their cleaning routes separate. Cleaning reusable straws as complete assemblies illustrates another object whose parts determine the method; it is a useful reminder to retain each item’s own care identity.
Complete drying before nesting the pair
Remove surface moisture according to the instructions, then allow the pieces to finish drying in a suitable position. Do not stack two still-damp heads tightly together simply because they are designed to nest for storage. A space-saving feature is useful only when the items are ready to be stored.
Keep the drying location stable and appropriately clear of heat or other conditions the maker restricts. Do not use the oven, a hot appliance, or a direct heater as an improvised drying shortcut. The routine should fit the kitchen without turning a wooden utensil into another timed appliance task.
If the cupboard or crock must be moved to create drying room every time, reconsider the arrangement. A small defined area can be more useful than a larger collection with no practical return route. The ice-tray cleaning and drying discussion concerns a different material, but similarly separates a finished clean item from one still waiting to be stored.
Make conditioning a separate decision
Cleaning and conditioning are different tasks. If your maker calls for maintenance oil or wax, use the product type and method it recommends for the particular food-contact utensil. Do not apply a furniture polish, scented oil, or cooking oil on the assumption that any oil suits any wood.
OXO’s wood-care page distinguishes suitable wood-utensil oils and waxes from ordinary cooking oils. Refer to the full current directions when maintenance is due rather than compressing the process into an unverified household recipe. Other makers or finishes may require a different approach.
Allow the specified maintenance process to finish before returning the utensil to service. Keep its storage and use status understandable to anyone else in the household. A simple temporary note can prevent a person from taking an item that is still undergoing care.
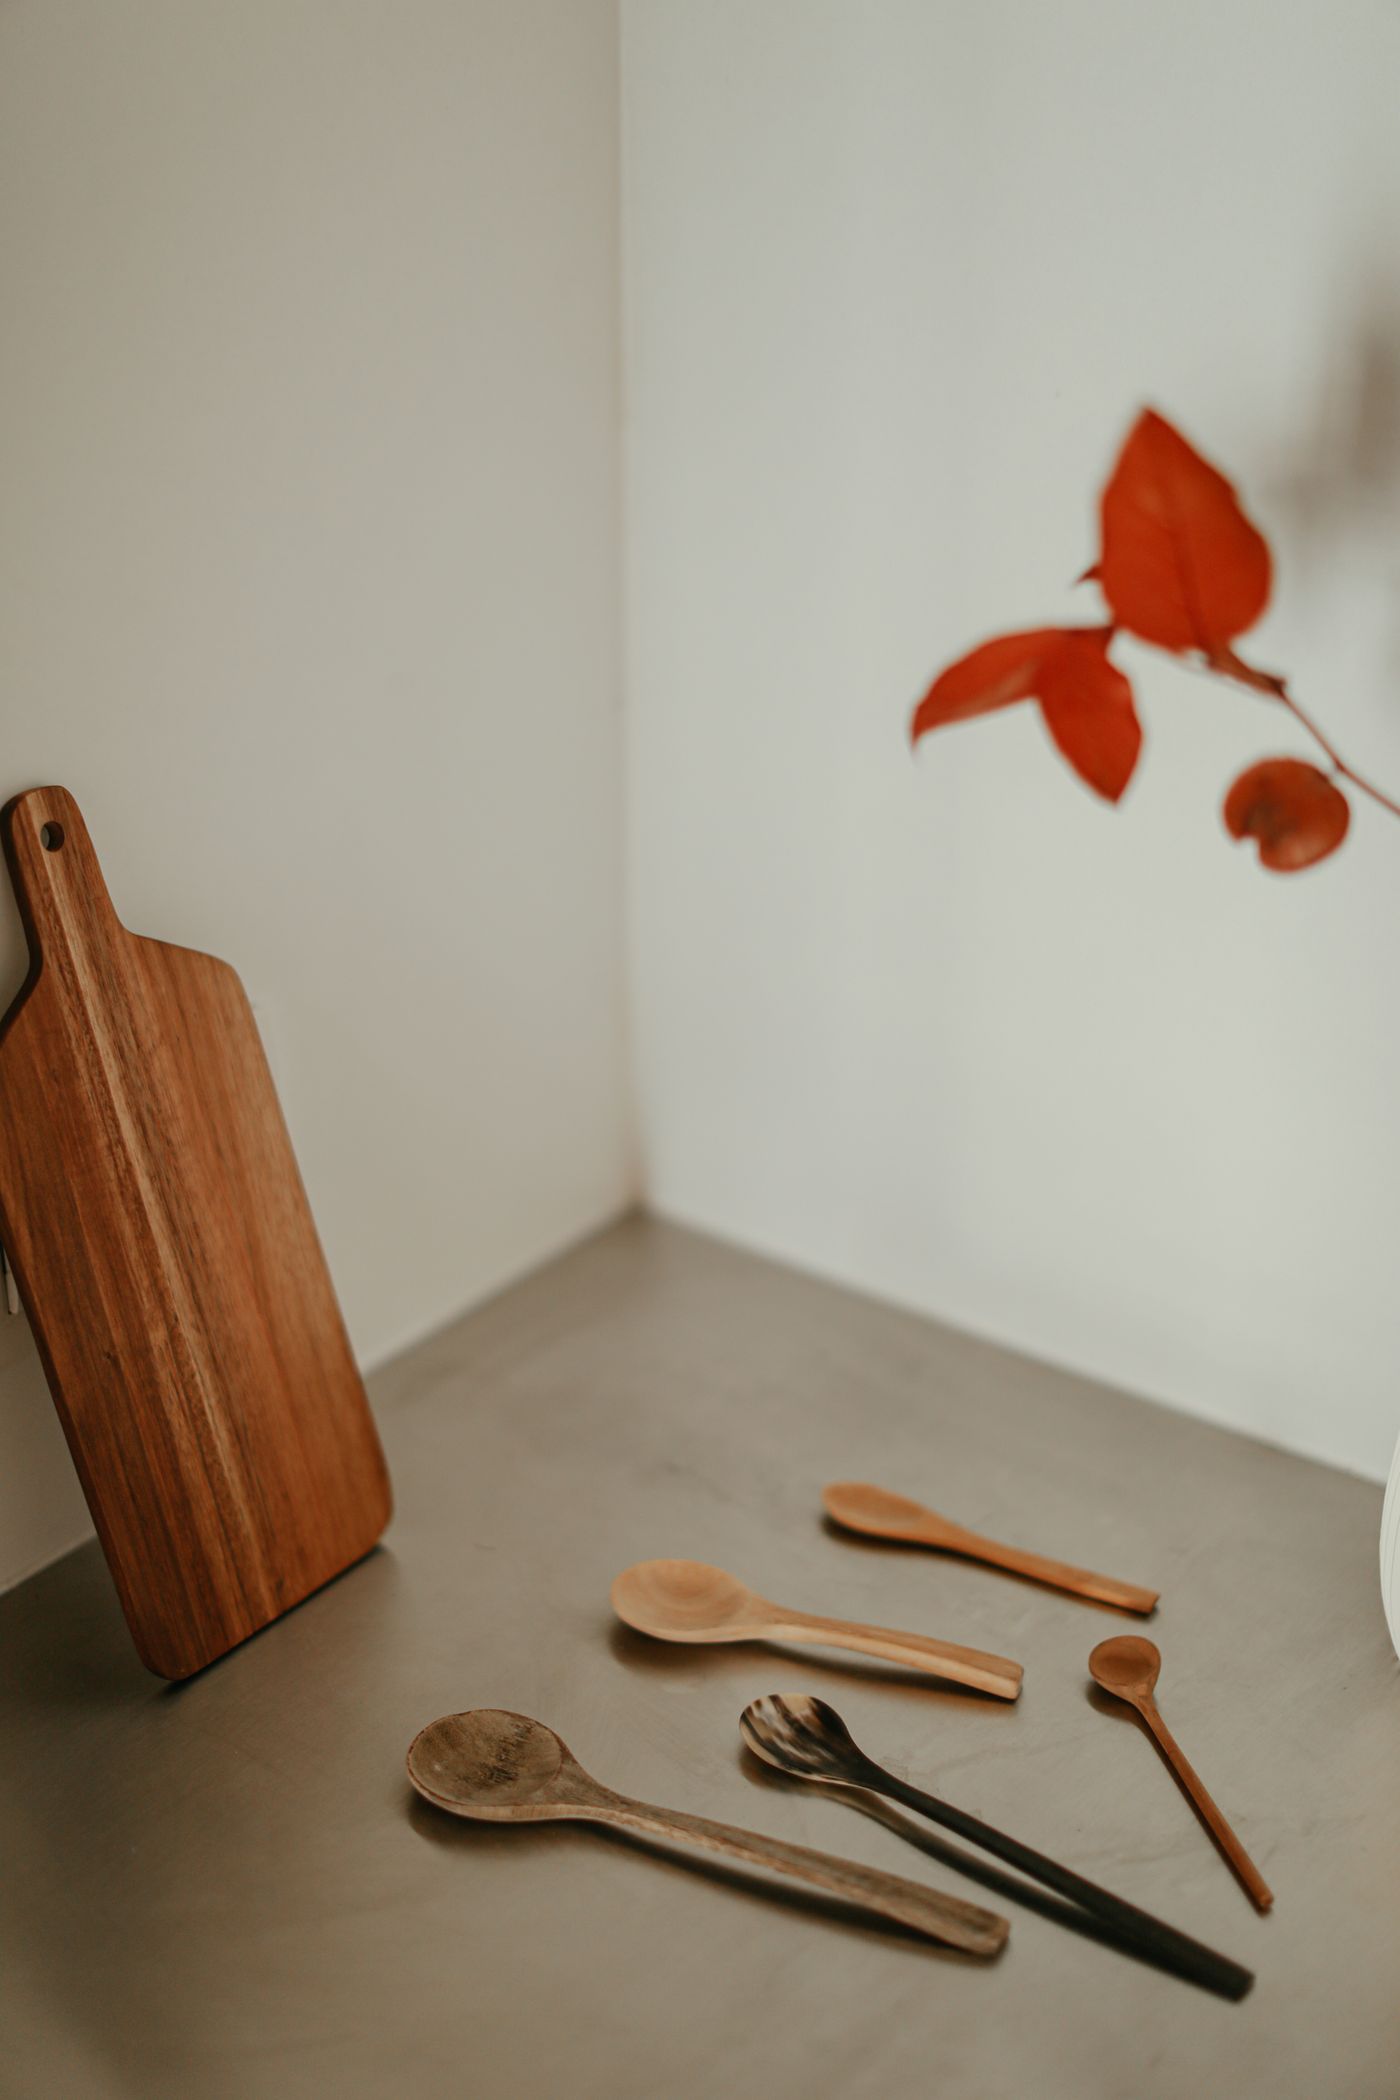
Return the pieces without recreating the problem
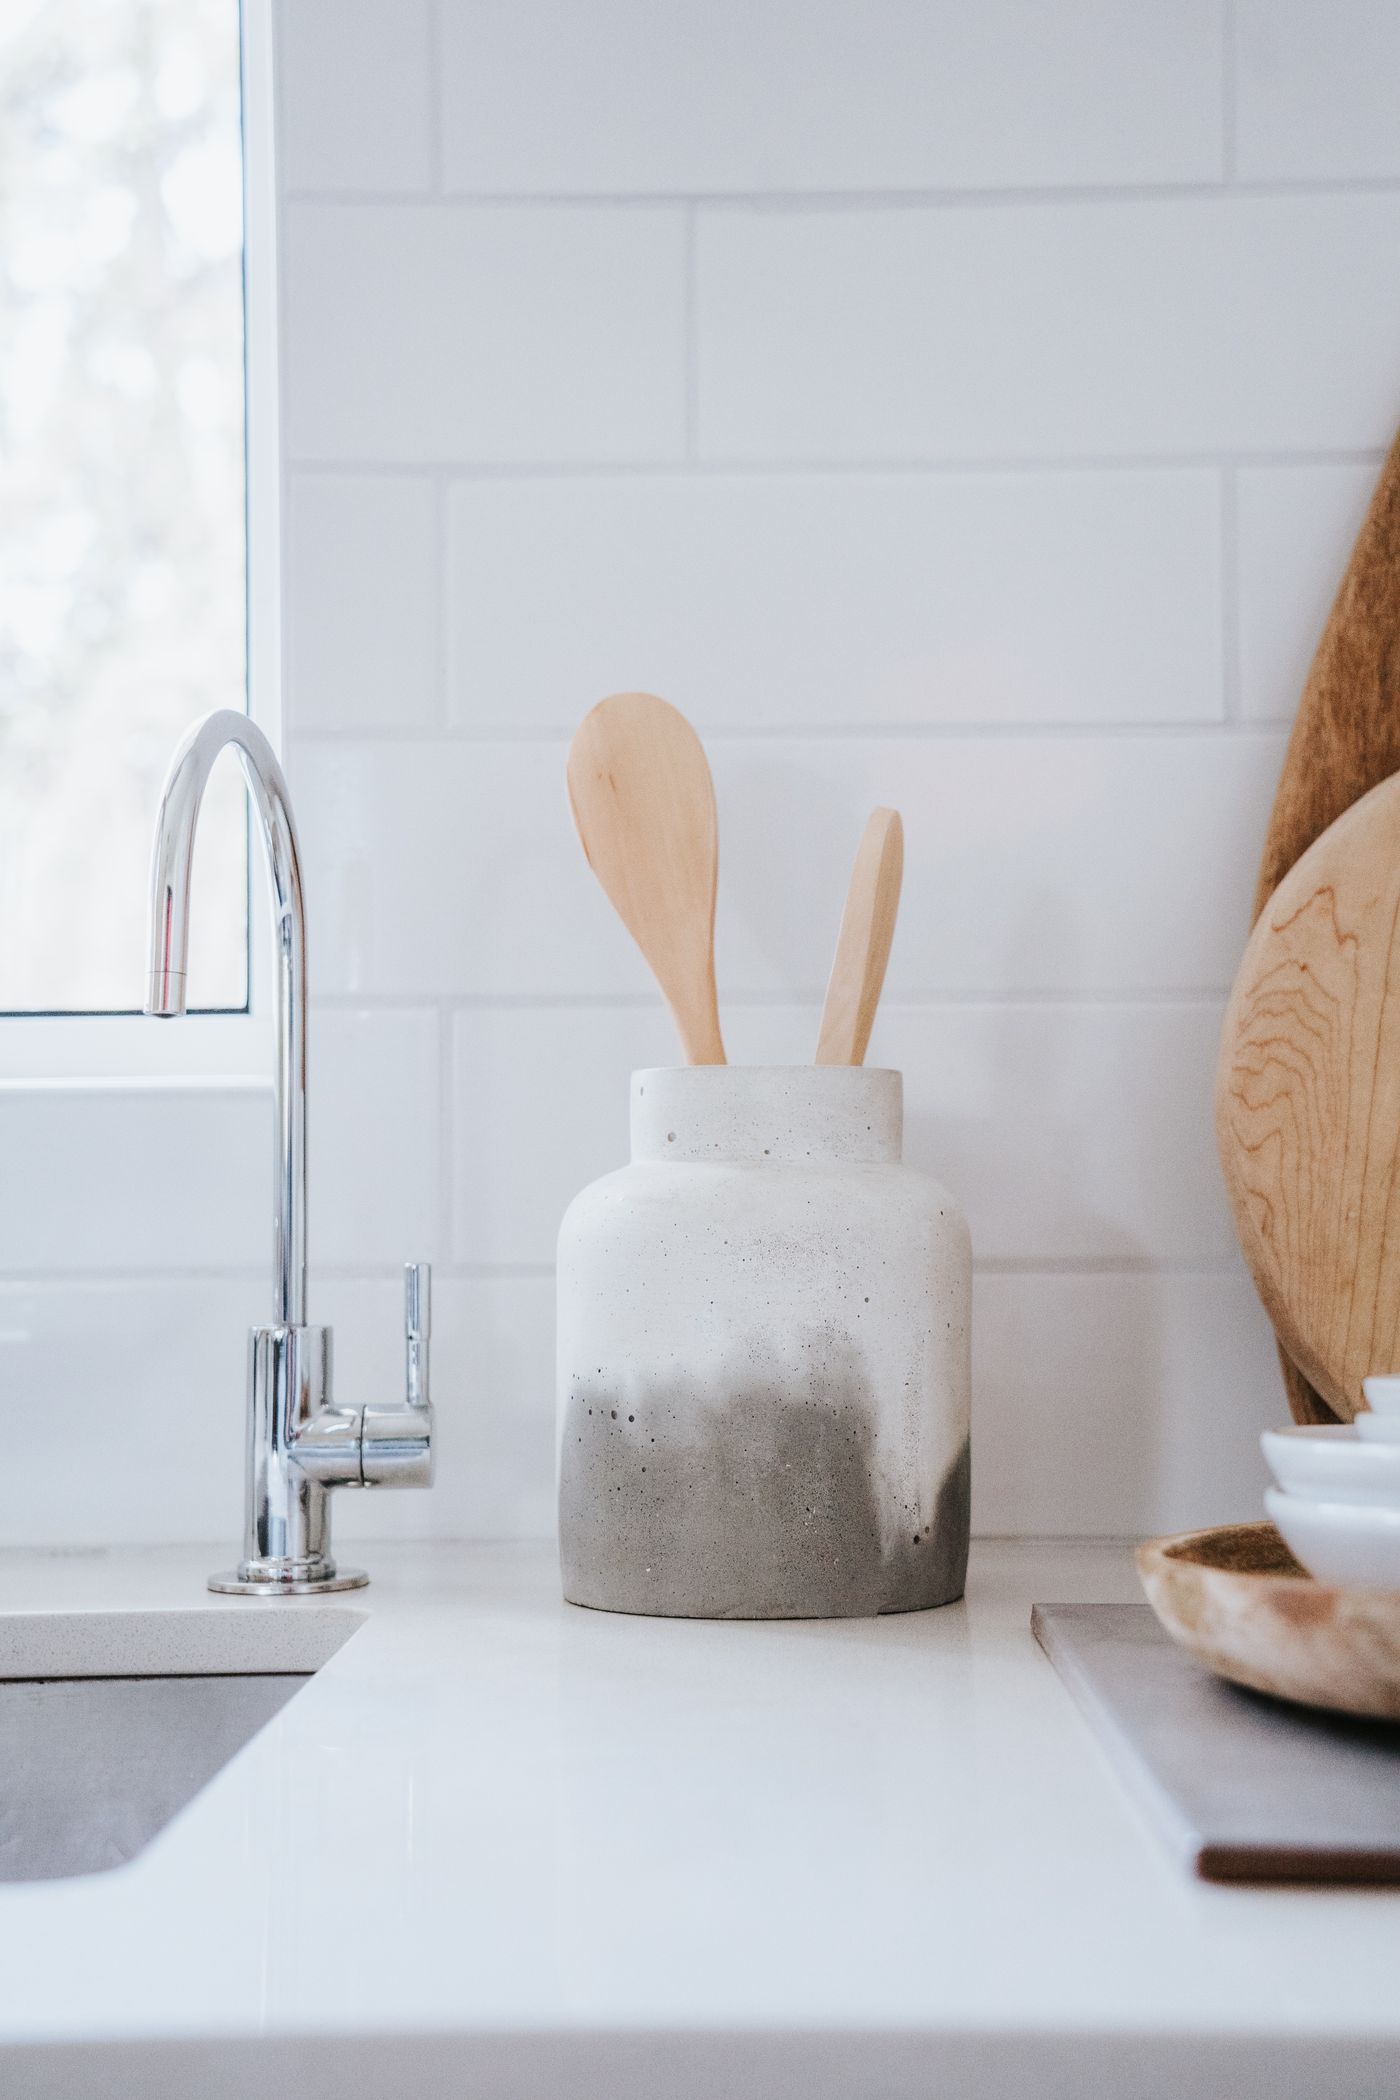
Choose a clean, suitable storage location with room to retrieve the utensils without scraping them against unrelated sharp tools. If you use a crock, assess its condition and the way items stand inside it. It should not become a damp collection point simply because the handles look attractive on the counter.
Store the serving pair together when that supports actual use, but do not force an overly full drawer to close. Keep product-specific care information somewhere it can be found again. A second person should not need to infer the routine from the wood color or from a different utensil’s dishwasher symbol.
If the kitchen reset includes other reusable items, washing and returning grocery bags offers another separate care route to plan. Give each material the method it needs while keeping the overall cleanup manageable.
The completed task is a pair of suitable utensils that has been cleaned as directed, inspected, fully dried, and returned to a sensible place. That ordinary sequence preserves the usefulness of warm wooden pieces without treating them as either indestructible tools or decorations too precious to use.
Explore related household decisions in our Cleaning hub.
Sources and editorial scope
Editorial research checked October 17, 2026. Trend-report dates and limitations are stated in the article; these are editorial applications of published signals, not verified October keyword rankings. Practical household guidance; illustrations do not document a tested household or authenticate a pictured material.