
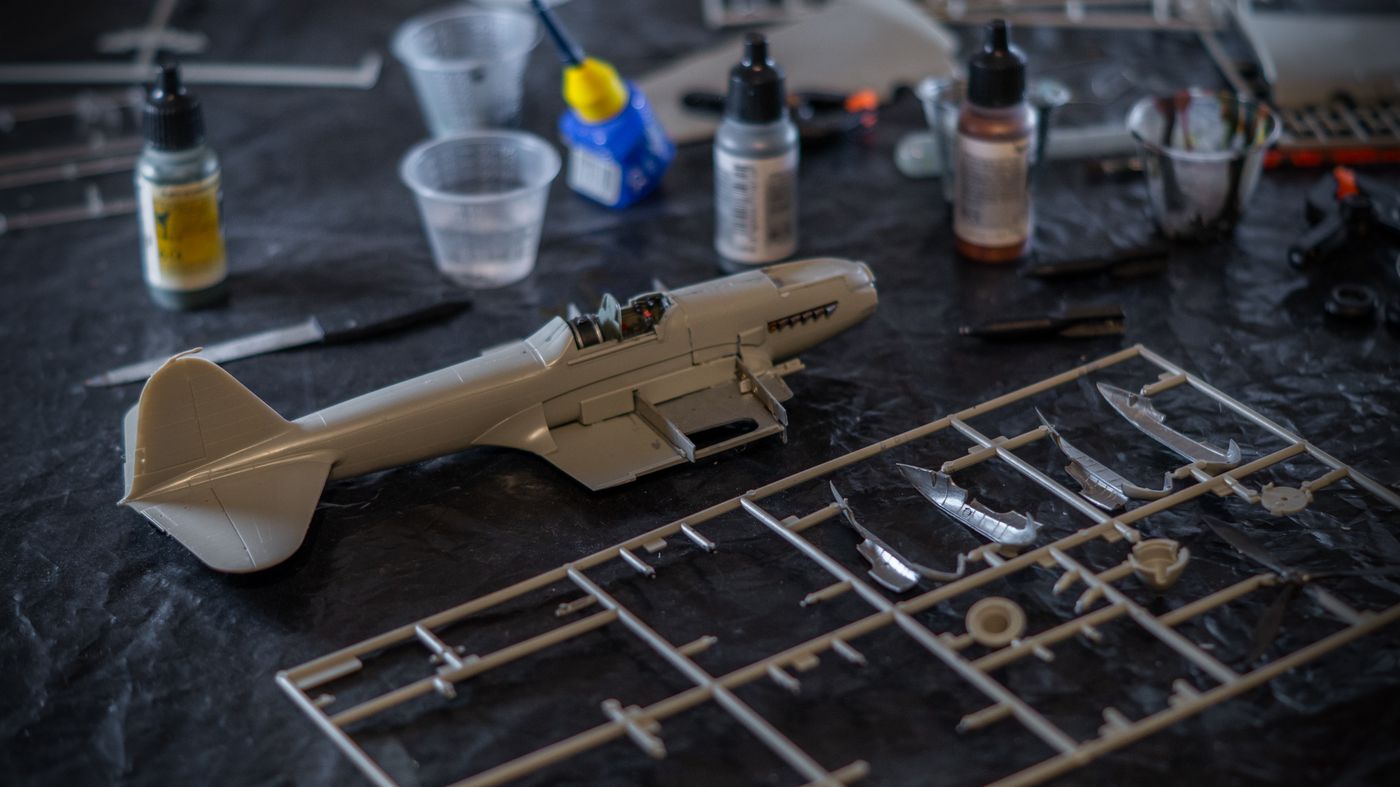
A model kit becomes difficult to restart when the pieces are still present but their identities have disappeared. A gray shape in a mixed box may belong to a wing, a wheel assembly, or another project entirely. The useful organizing decision comes before that happens: keep the manufacturer’s part references attached to the work for as long as the instructions need them.
Pinterest’s published 2026 hobbies report identifies interest in model-kit hobbies. This guide applies that context to a small household workspace; it does not claim that a particular storage product or model is currently trending. The aim is a kit that can stop between sessions and resume without a detective exercise.
Decide whose kit this is
Start with the actual kit’s age guidance, instructions, and materials. Some models involve very small components, sharp tools, adhesives, or paints that require a suitable adult-managed workspace. Keeping a kit in a child’s room does not make every part of the activity appropriate for that child. Put restricted tools and supplies in their own appropriate storage, outside this parts-organizing routine.
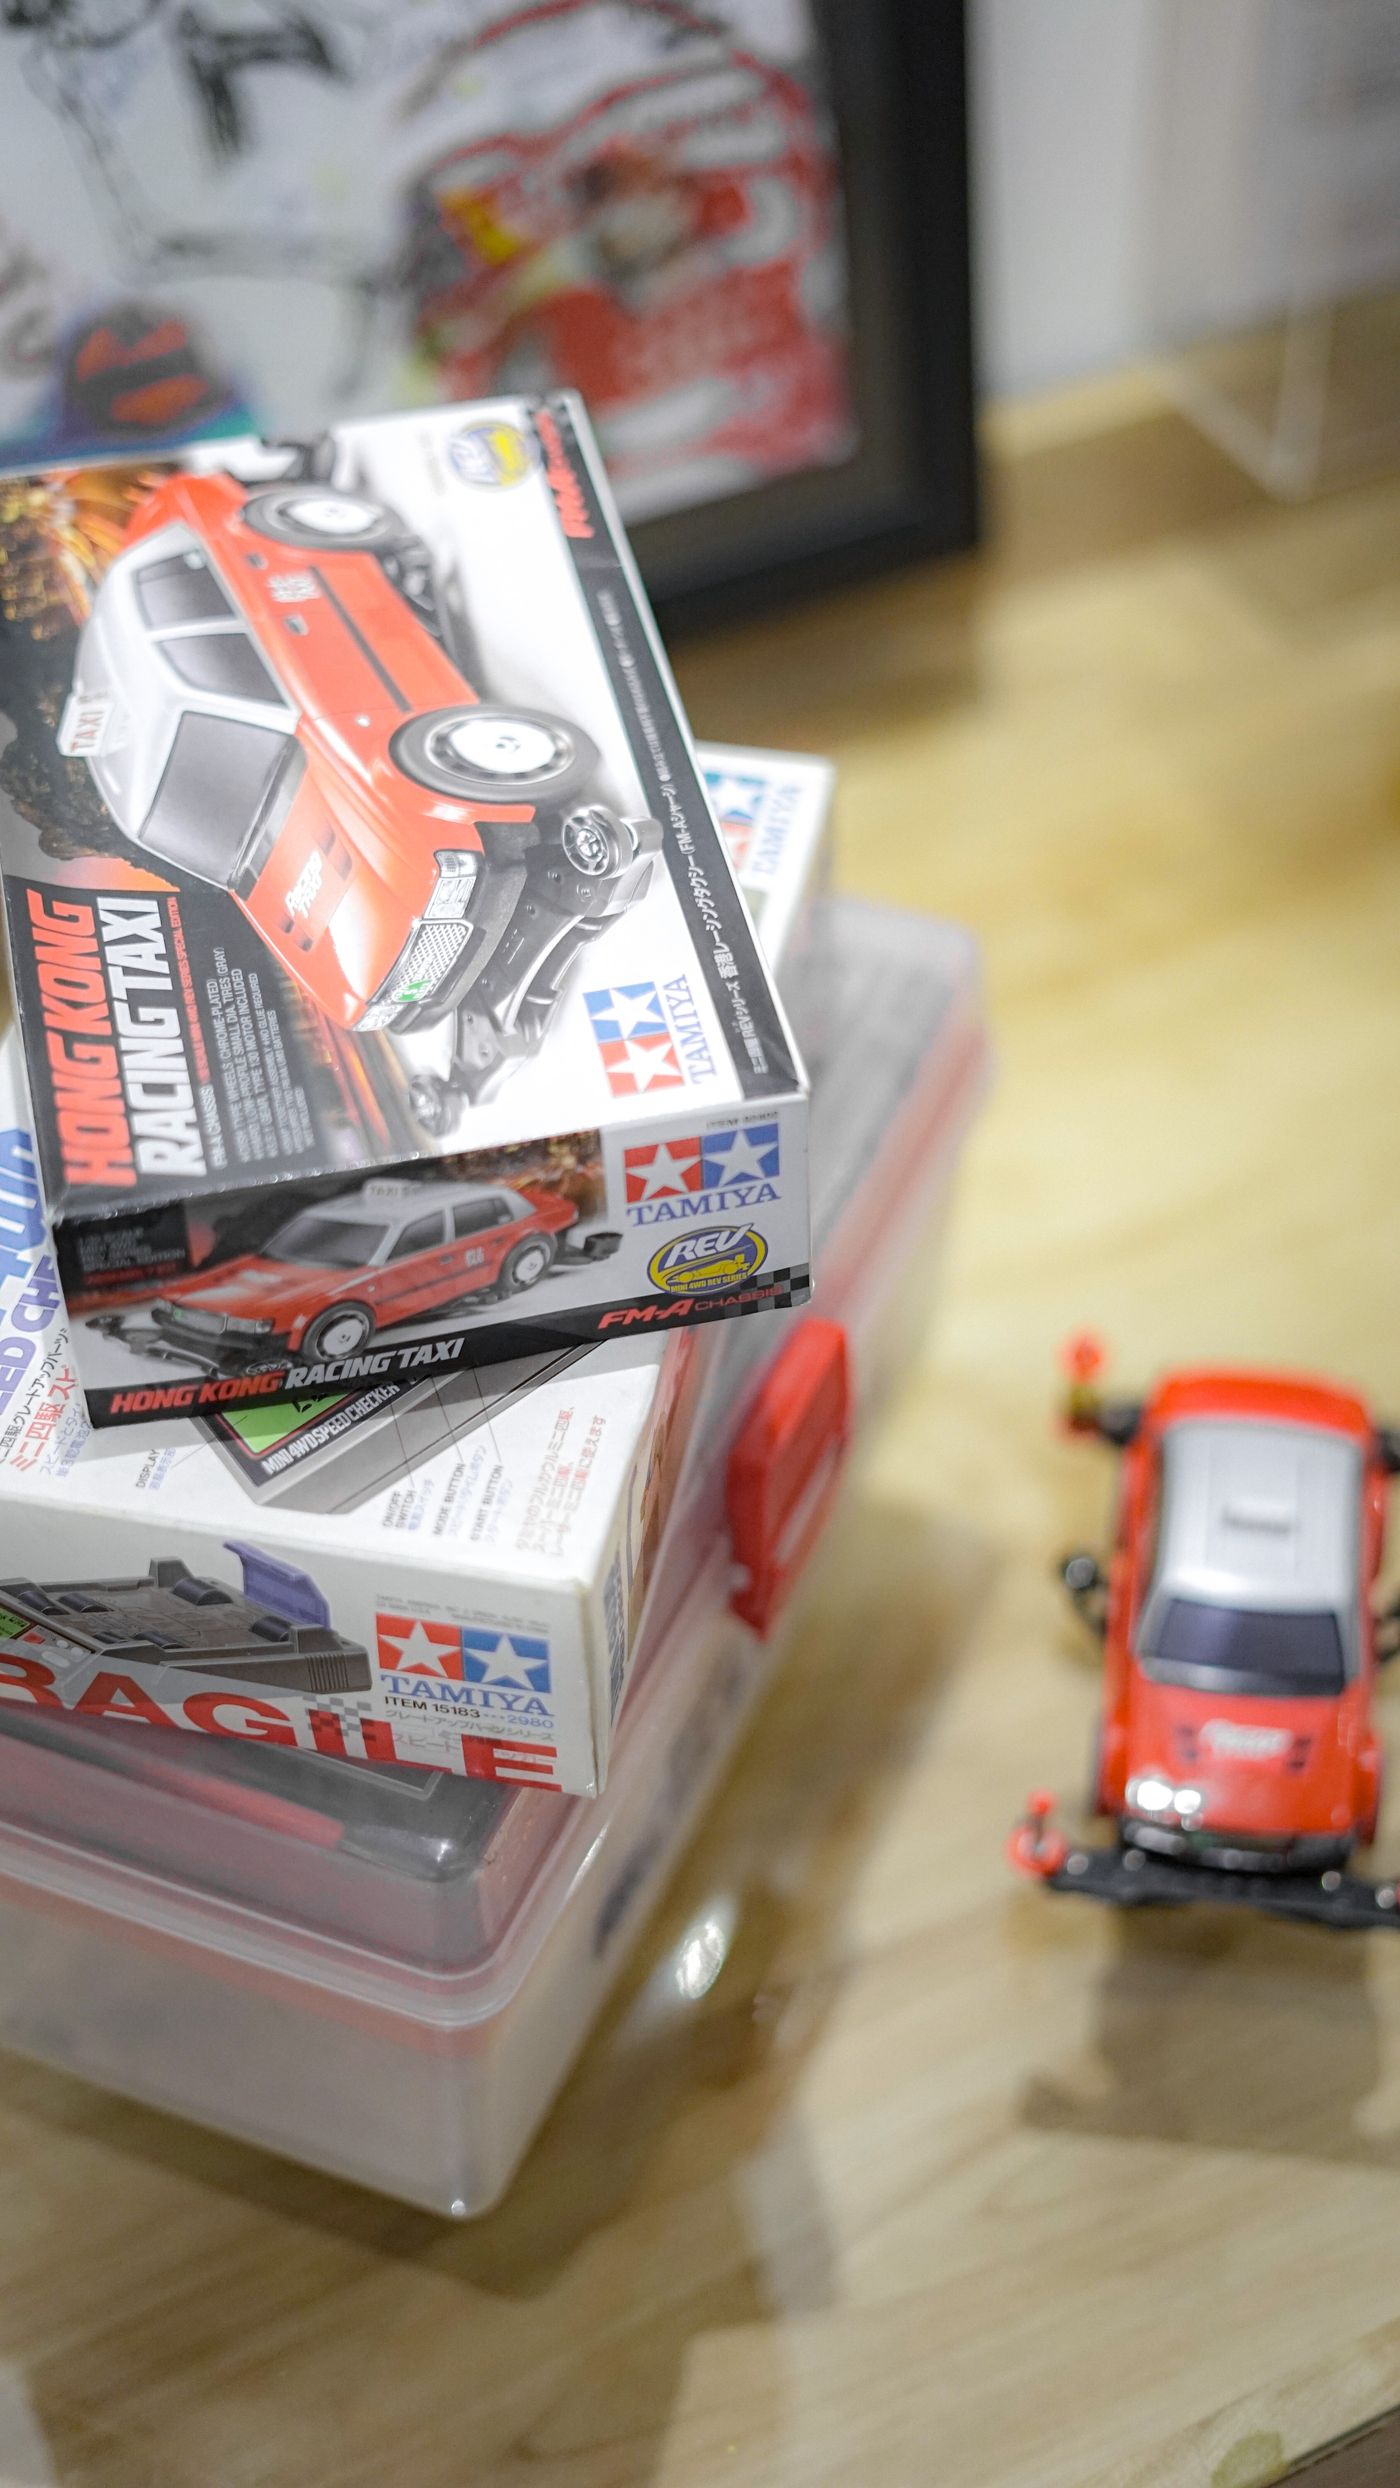
Give the active kit one clear identity: manufacturer, model name, scale where stated, and the kit number printed on its box. These details matter when two versions depict the same vehicle. Write them on a simple project card or retain the relevant box panel. A photograph of the box can supplement that record, but it should not replace readable instructions needed while building.
Preserve the reference system already provided
Before removing anything, look at how the instructions identify parts. A kit might combine a frame letter with an individual number, or use a different system entirely. Keep that system intact rather than inventing new names such as small gray piece. The names should lead someone back to the diagram without requiring the original builder to translate them.
When the instructions and construction sequence permit, leave unused pieces on their identified frames. Do not detach everything merely to make it fit a prettier container. Some frame sections carry the only obvious identifying mark. If the kit arrived with loose pieces, match and retain their supplied packaging references before dividing them into another organizer. This is identification work, not advice about cutting or assembly technique.
Keep the current step visible without rewriting the manual
Use a removable bookmark or a separate note to record the last completed instruction step. Add the next action in ordinary language, such as check the two indicated parts before continuing. Do not mark an uncompleted step as finished because its pieces have been gathered. That distinction is useful when another household member moves the project or the builder returns after a week.
If several pieces have already been detached, group them according to the next actual assembly described by the kit. Preserve their part references on the group’s card or suitable closed container. Avoid scattering every piece into individual compartments unless there is a clear retrieval benefit. An elaborate system can make a short session feel like unpacking a workshop before any enjoyable work begins.
This resembles keeping sewing patterns associated with their correct project and version: the identifying information is part of the usable material. The storage should preserve the original relationships rather than substitute a new catalog that nobody maintains.
Give loose components a controlled pause
Choose a container that actually contains the smallest parts involved. Test its lid and edges with the empty container first. A broad tray can be useful while working, but it is not necessarily secure storage after the session. Do not assume a compartment lid seals every section independently, or that a box stays closed when tilted during transport.
Keep the paused assembly separate from loose parts that could scratch, bend, or catch on it. Follow the kit’s instructions for curing, ventilation, and handling where adhesives or finishes are involved; a storage box is not a substitute for those requirements. Do not close a project away simply because the family needs the table. Plan the appropriate stopping stage before beginning that session.
Separate consumables from the kit’s remaining pieces
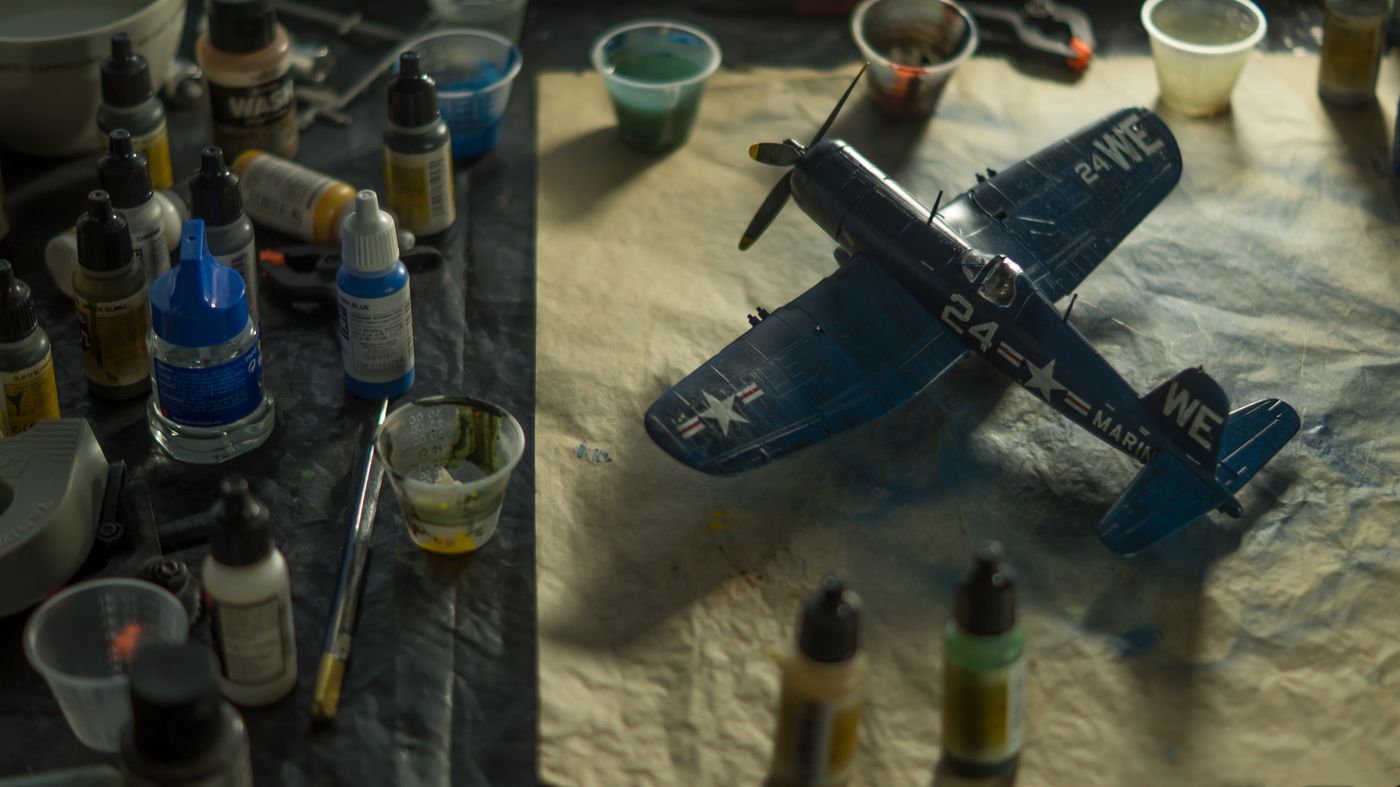
Paint, adhesive, sanding materials, and tools should follow their own labeling and storage instructions. Retain product identities and do not transfer chemicals into anonymous household containers. This article’s project box is for keeping a kit intelligible; it is not a recommendation to put all hobby materials together regardless of their care requirements or the people who can access them.
For the ordinary nonchemical accessories, keep only those needed for the current project nearby. A small reference note can point to the appropriate tool location without duplicating every tool into every kit box. If existing supplies already serve the activity, test that arrangement before buying a dedicated organizer. The capacity ceiling approach helps keep a growing hobby collection within an intentional household limit.
Make sharing explicit
When an adult and child work together, decide who checks the references and who records the stopping point. These roles can change with the session. A child might locate a printed frame number while an adult handles an age-restricted task. Avoid making the youngest participant responsible for identifying an unknown piece after the original references have already been thrown away.
If two builders have similar kits, keep each kit’s loose pieces within its own boundary. A common bowl of offcuts or spare parts is easy to misread as a source of usable pieces. Keep ordinary waste separate from uncertain components until the responsible builder checks them. Do not replace a missing item with a similar-looking piece from the other kit without checking the instructions.
Test the storage with a genuine restart
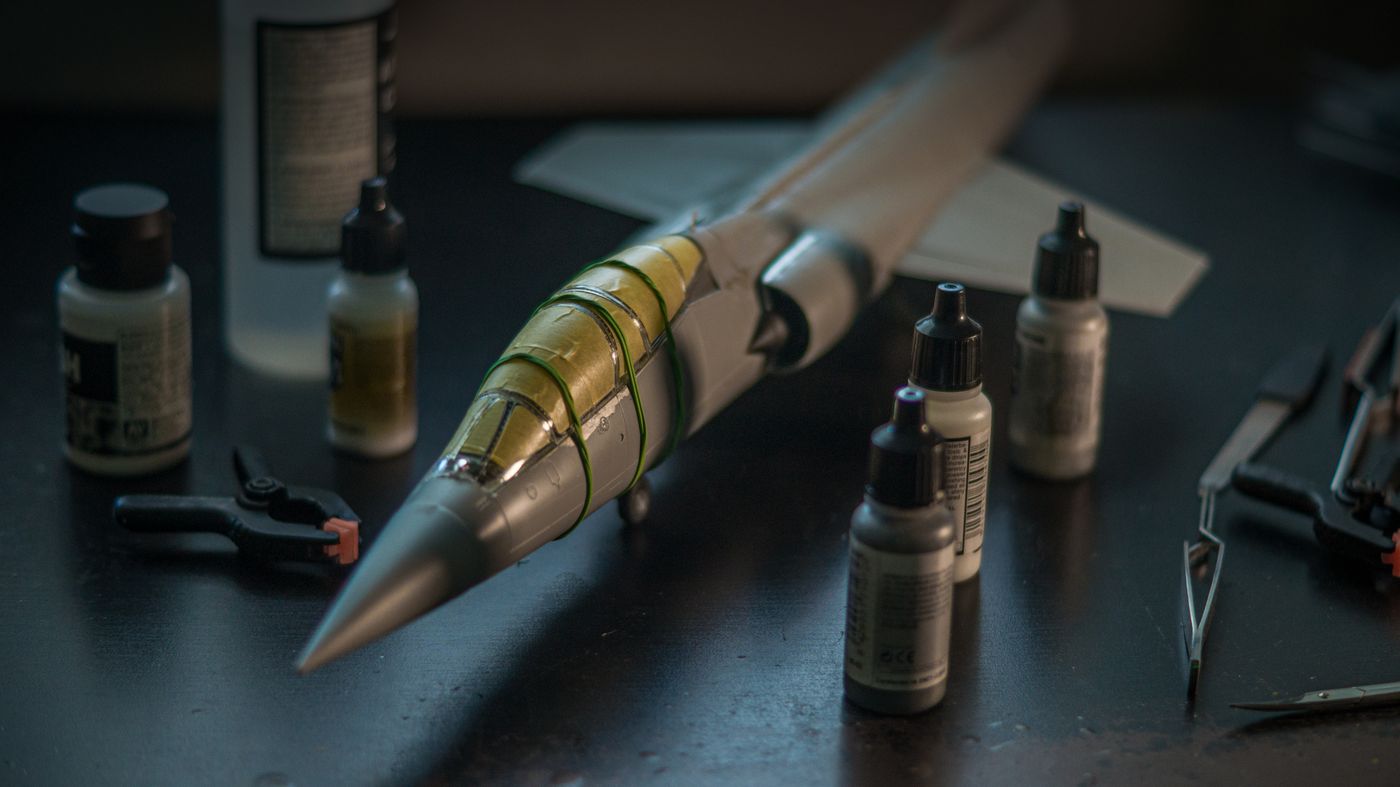
At the end of a suitable session, put the instructions, project identity, remaining frames, and correctly identified loose groups in their intended places. The next time, ask whether you can locate the current step and the required references without unpacking unrelated kits. That small restart test reveals more than a photograph of neatly aligned compartments.
If the system fails, change the part that caused the delay. A slipping bookmark needs a more reliable note; an unreadable number needs better preserved identification; an overflowing box needs a review of what belongs to the project. Avoid responding to every problem by adding more compartments. The choice between text, pictures, color, and no extra labels depends on who is doing the retrieval.
Decide what happens when the model is complete
Completion changes what needs to remain together. Keep the instructions, kit identity, and any genuinely useful remaining components in a modest reference package. Follow the maker’s guidance where future handling or repairs require it. Do not assume every spare-looking piece is interchangeable with future kits, and do not let unidentifiable remnants become a permanent growing collection by default.
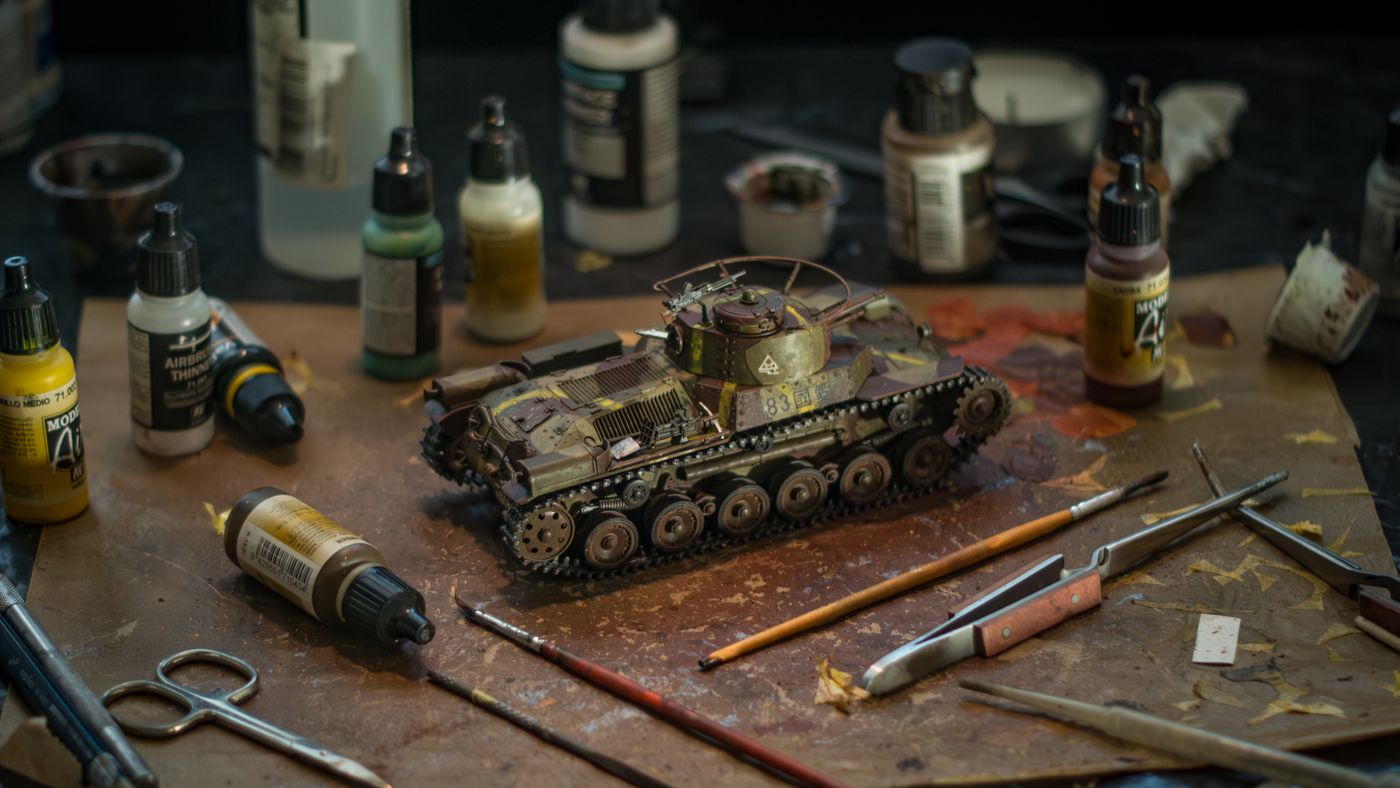
Give the finished model an appropriate display or storage position based on its actual size and fragility. A completed aircraft with projecting wings needs a different place from its original flat frames. If the room has no suitable destination, choose a smaller next project or pause purchasing. More unfinished kits will not resolve a shortage of safe display space.
The arrangement is working when the builder can name the project, find the next instruction, and retrieve the correct pieces while keeping household access appropriate. Keep the useful references, keep the session’s pause understandable, and let the hobby remain about building something rather than repeatedly reconstructing its identity.
Explore related decisions in our Home Organization hub.
Sources and editorial scope
Editorial research checked October 23, 2026. Published trend reports are context for these editorial applications, not verified live keyword rankings. Practical household guidance; photographs do not document a tested household or authenticate pictured materials.
