
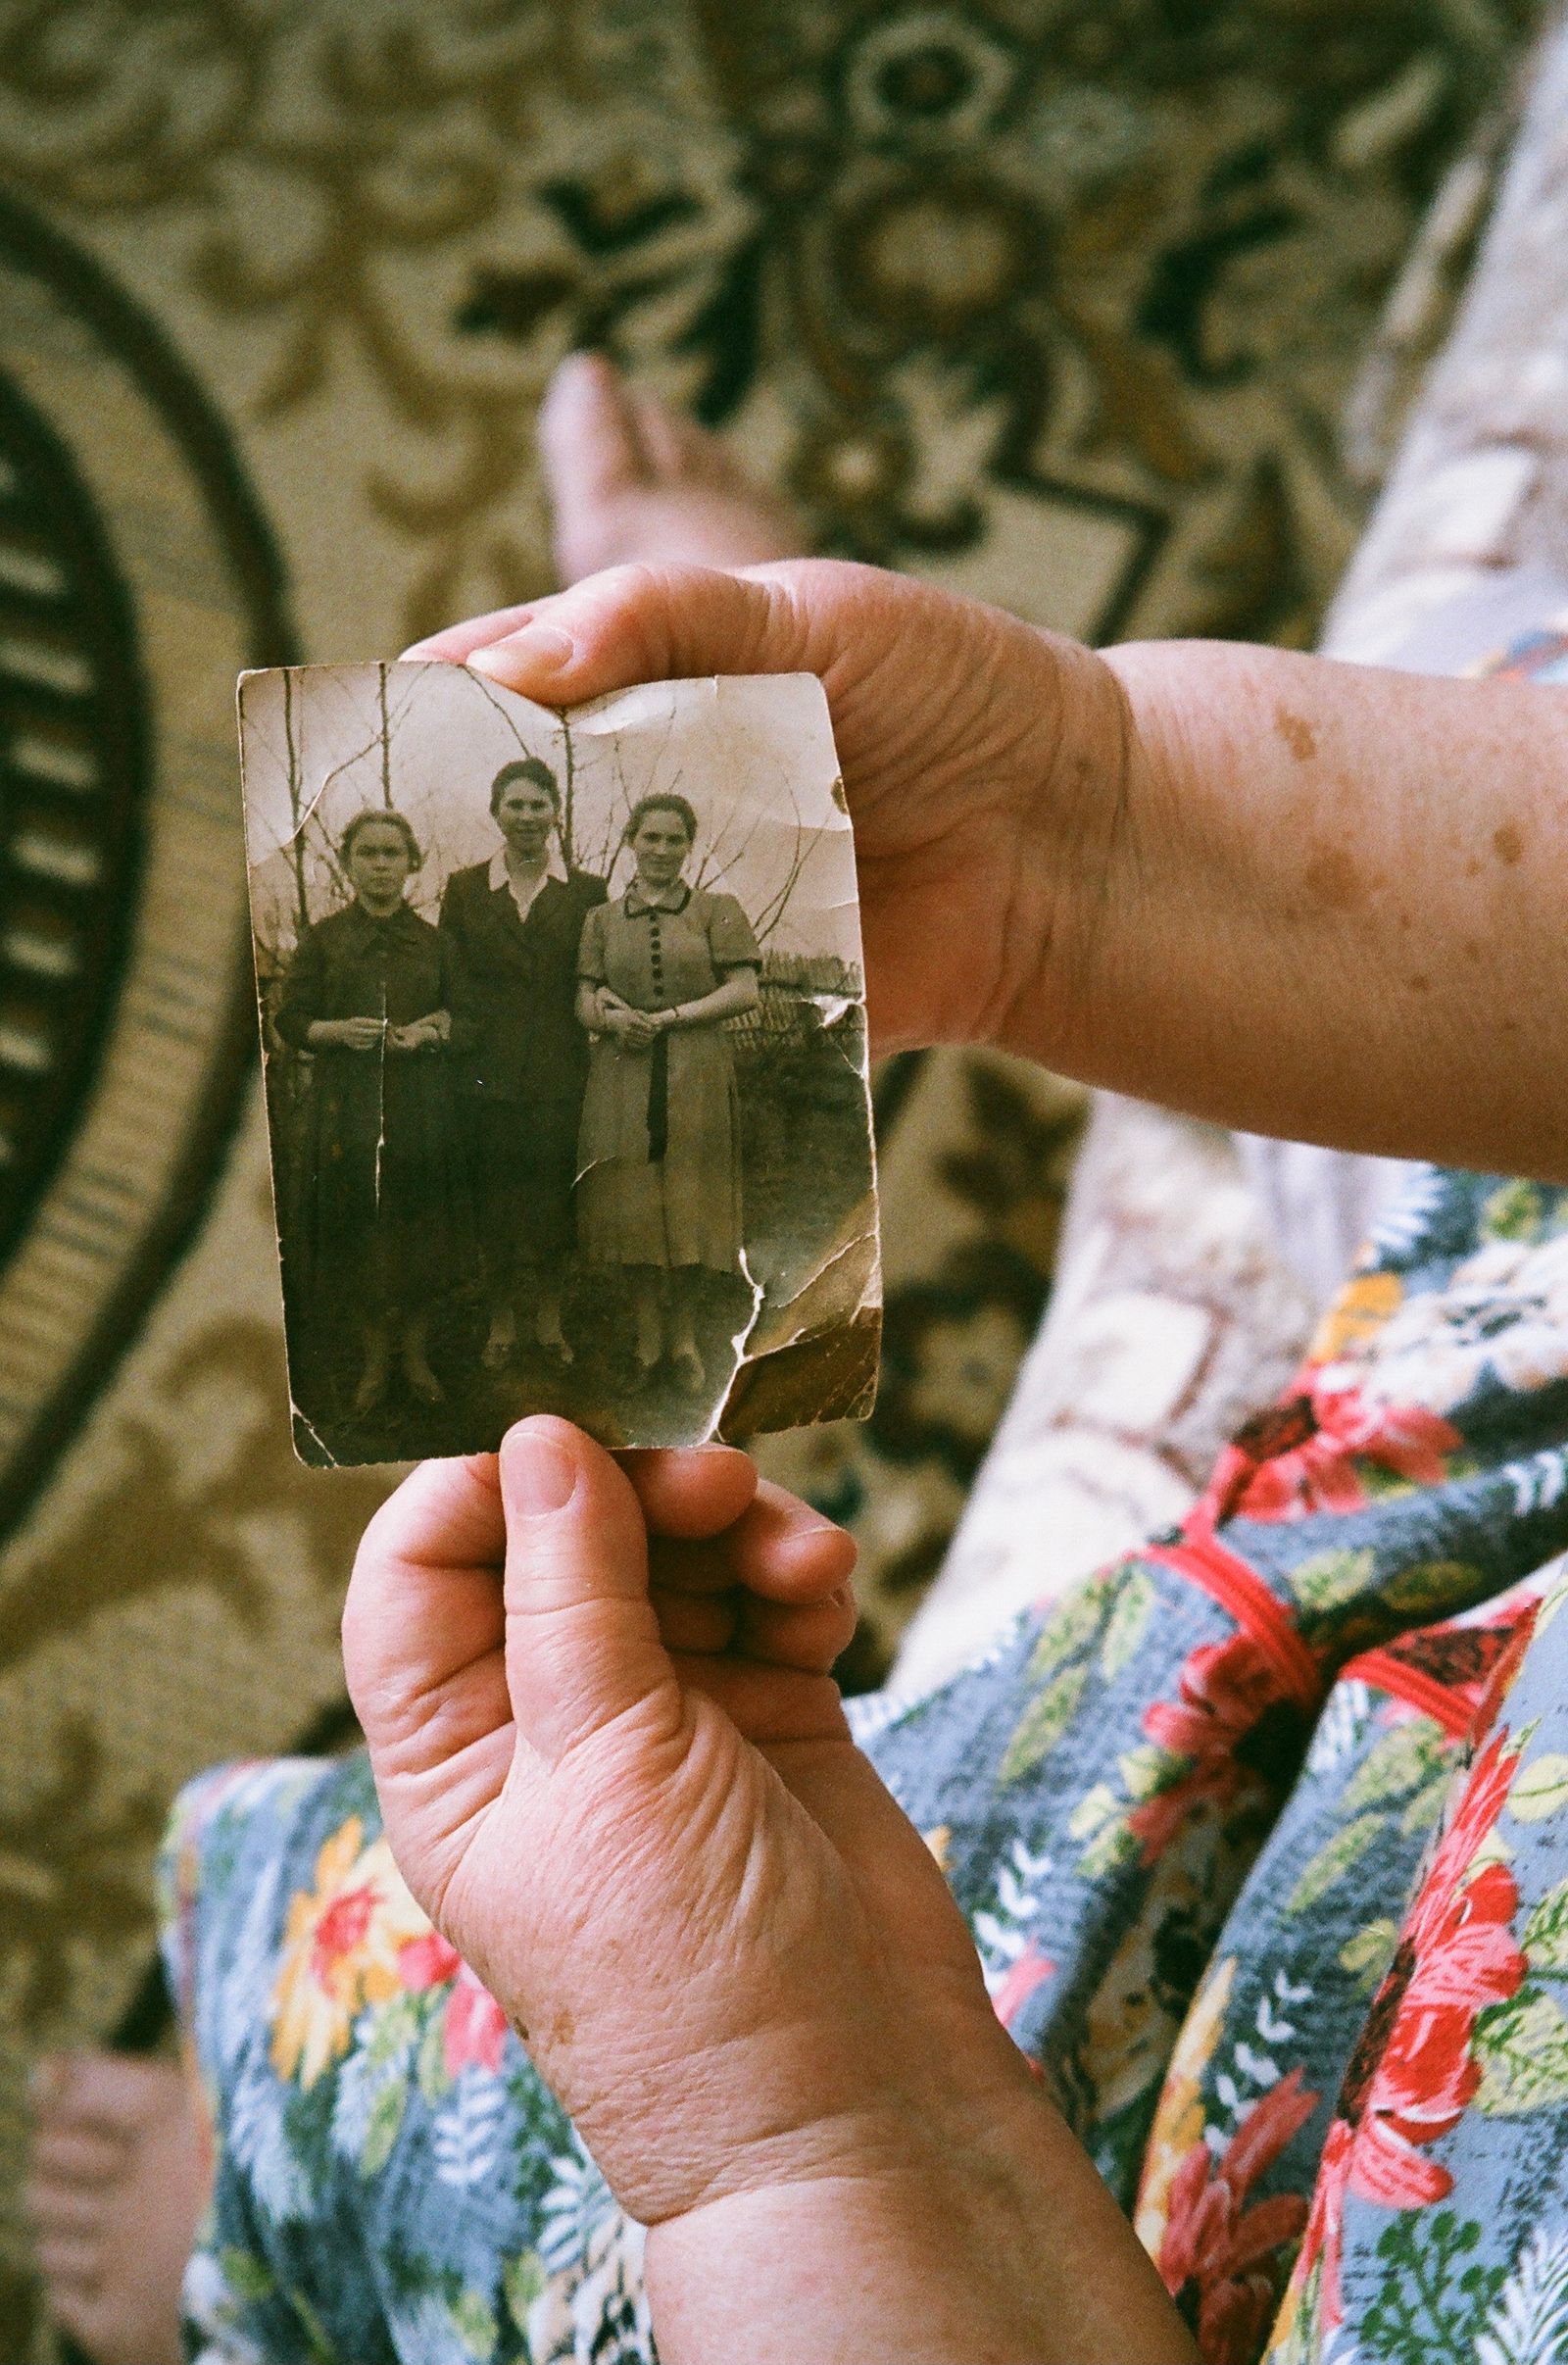
A box of family photographs can feel like one unfinished job, although it contains several different jobs: deciding what is there, identifying people, choosing what to digitize, handling fragile prints, and finding a home for the originals. Trying to solve all of them in a single afternoon often leaves photographs spread across the dining table and no clear way to stop.
Begin with one small scanning project. Choose a limited group of prints, keep their original relationships intact, and prepare a simple record that will connect each digital file to its physical source. This guide covers sorting and project organization. It does not prescribe scanner settings, restore damaged photographs, or decide what your family should discard.
Choose a project you can describe in one sentence
Use a specific event, album, or group as the boundary. “Digitize the photographs from the 1998 reunion for the family” gives you a manageable selection and a purpose. “Digitize every photo we own” does not tell you where to begin or when the first session is complete. Keep the larger collection closed while working on the chosen group.
Write down the intended use. A private family reference collection has different requirements from a professionally printed exhibition or an archival preservation project. If you need a particular technical standard, obtain appropriate advice before the scanning stage. The sorting plan should reflect that requirement rather than pretending any convenient file will serve every future use.
Identify who owns the prints and who is helping. Borrowed originals should remain clearly associated with their owner. Agree on access, return arrangements, and sharing expectations before you begin. A photograph being physically present in your home does not settle who should receive copies or where those copies should be posted.
Prepare a clear work area and a safe stopping place
Choose a dry, clean work surface with enough room for the selected group and its temporary supports. Keep food, drinks, and unrelated craft materials away. Plan a covered storage destination before opening the box. You should be able to stop without balancing exposed prints on top of household clutter.
Use handling guidance appropriate to the material. The National Archives guidance on photo albums and scrapbooks emphasizes clean handling, suitable gloves for photographs, and avoiding force on bound albums. A fragile print or tightly bound album deserves a careful assessment rather than being pulled apart to make it fit a scanner.
Set damaged, stuck, mold-affected, or otherwise uncertain material aside without attempting a home repair. Ask a qualified conservator or appropriate archival service about handling it. Keep that decision visible on the project record. The everyday sorting workflow is for material you can handle appropriately; it should not become an experiment on an irreplaceable original.
Our guide to paper files versus digital records helps distinguish a useful digital copy from a decision about the original. Scanning a family print is one completed task. Deciding how to retain or return the physical photograph remains another.
Record the original grouping before sorting
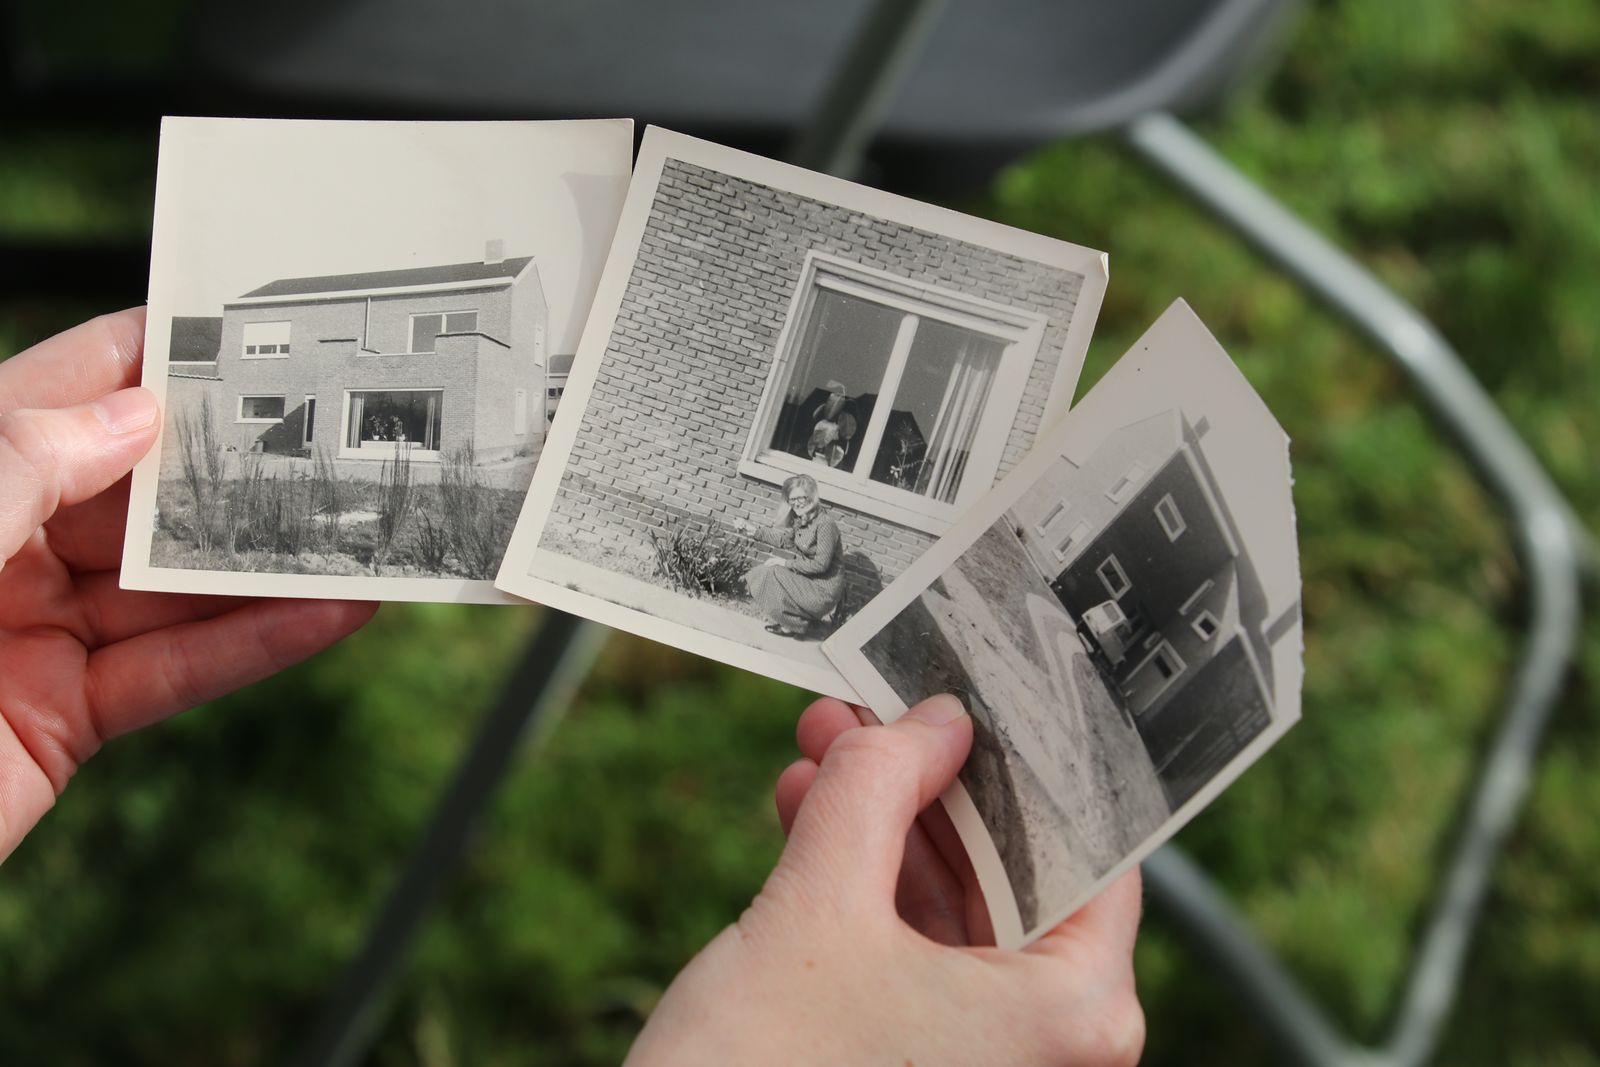
Note which envelope, album page, or packet held the photographs. Preserve labels and captions that may explain the group. A quick reference photograph of the arrangement can help if it is appropriate for the material and your agreed process. Do this before reorganizing by person or date, because the original sequence may contain information you will otherwise lose.
Create a plain group identifier such as “Reunion-1998-envelope-A.” Use the same identifier on your working record and on a suitable temporary container or support. Do not place new adhesive labels directly on photographs merely to keep the project moving. Choose a method that protects the original while keeping its identity connected to the work.
Keep captions with the correct print. If several loose notes are present, record their relationships before separating them. When a relationship is uncertain, write “possibly associated” rather than turning a guess into a confident family fact. That small distinction makes the eventual digital collection more useful to someone who was not present during sorting.

Use three working decisions
For the selected group, decide whether each item is ready for the planned scanning process, needs identification first, or needs specialist handling. These are workflow decisions, not judgments about a photograph’s value. Keep the original order or identifier associated with each item whichever path it takes.
The identification group should remain small enough to discuss. Write the unanswered question beside the identifier: a person’s name, a date range, or the location. Avoid sorting all unknown photographs into one giant pile called “later.” A useful question makes the next conversation specific and lets you stop when the information is not available.
A duplicate-looking print deserves a closer comparison before any discard decision. The reverse may contain a caption, one version may have a different crop, or the copies may belong to different relatives. If you only need one digital image for the current project, mark the scanning choice while leaving ownership and retention decisions separate.
Do not let the sorting stages multiply indefinitely. A large system of colored folders can become another barrier to beginning. Three clear decisions and an identifier usually offer enough structure for a first small project. Add a new category only when it changes what you will do next.
Build a small identification record
Use one record with columns for identifier, known people or event, date or estimated range, source of the information, and an open question. Keep uncertainty explicit. “Grandmother thinks this is summer 1972” carries more useful context than silently writing “1972” as a confirmed date.
Ask relatives about a limited number of images at a time through a channel they can comfortably use. Share only the copies and information appropriate to the family agreement. Keep the questions short. A person may recognize a face immediately while having no memory of the location; let the record preserve that partial answer without pressuring them to invent the rest.
If memories conflict, record the alternatives and their sources. You do not need to resolve every family-history question before completing a useful scanning batch. A file can remain labeled with a broad date range while the original envelope information stays attached to it.
The record can live with a small household reference file. Our guide to organizing family paperwork gives reference material a clear address without creating an oversized archive. Keep the photo-project record easy to retrieve for the next session.
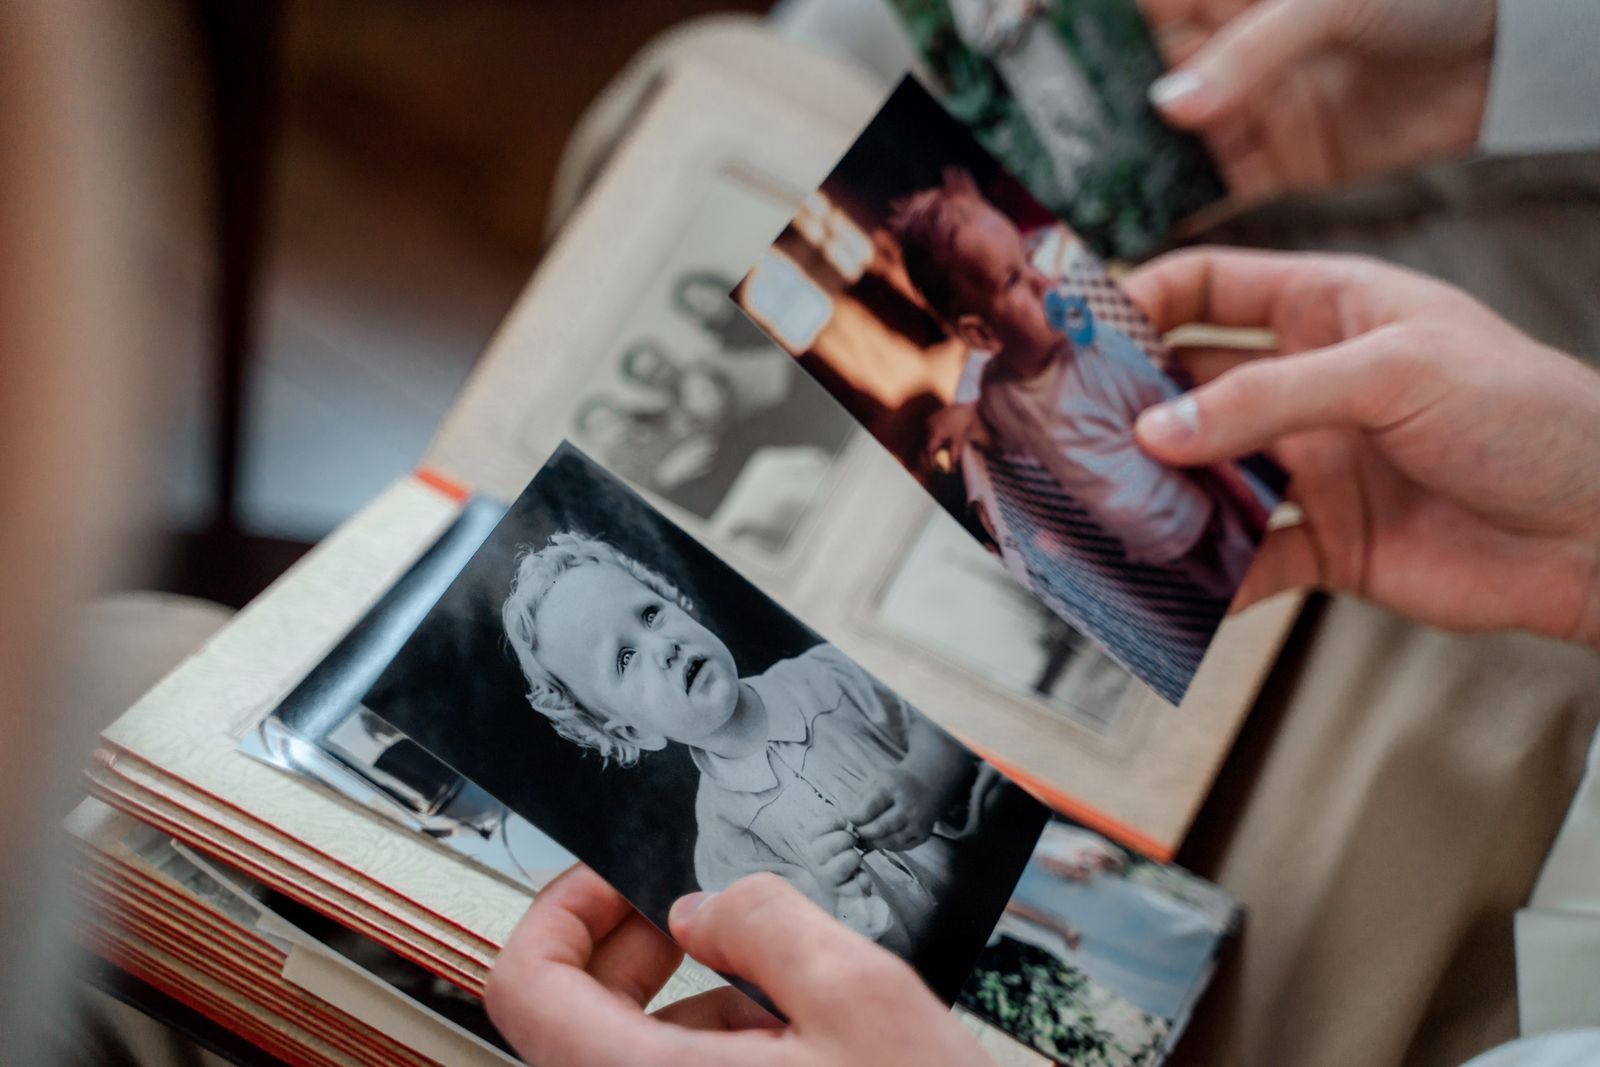
Give digital files names that connect to the originals
If the record is kept outside a dedicated workroom, our home filing system without an office can help give it a consistent address. Choose a place the authorized project helper can find, and keep borrowed-print ownership information with the same reference. A record left beside the scanner may become difficult to locate when the equipment is put away.
Choose a simple naming pattern before you start scanning. Use the group identifier followed by a sequence number, with consistent digits where that helps sorting. You can add a short descriptive name, but avoid making the filename the only place where detailed family information lives. The record should explain the identifier.
Keep originals produced by the scanning process separate from edited sharing copies if your chosen process creates both. Decide where the files will be stored and how their backup will be verified. Follow appropriate guidance for the devices and services you use; do not assume that seeing a file once means a reliable backup exists.
Check a small sample before scanning the whole group. Confirm that the files open, identifiers match, and the output suits the agreed purpose. If you are using a service, ask how they preserve order, handle originals, name files, and return the material. Resolve those questions before handing over irreplaceable photographs.
Close a session without losing your place
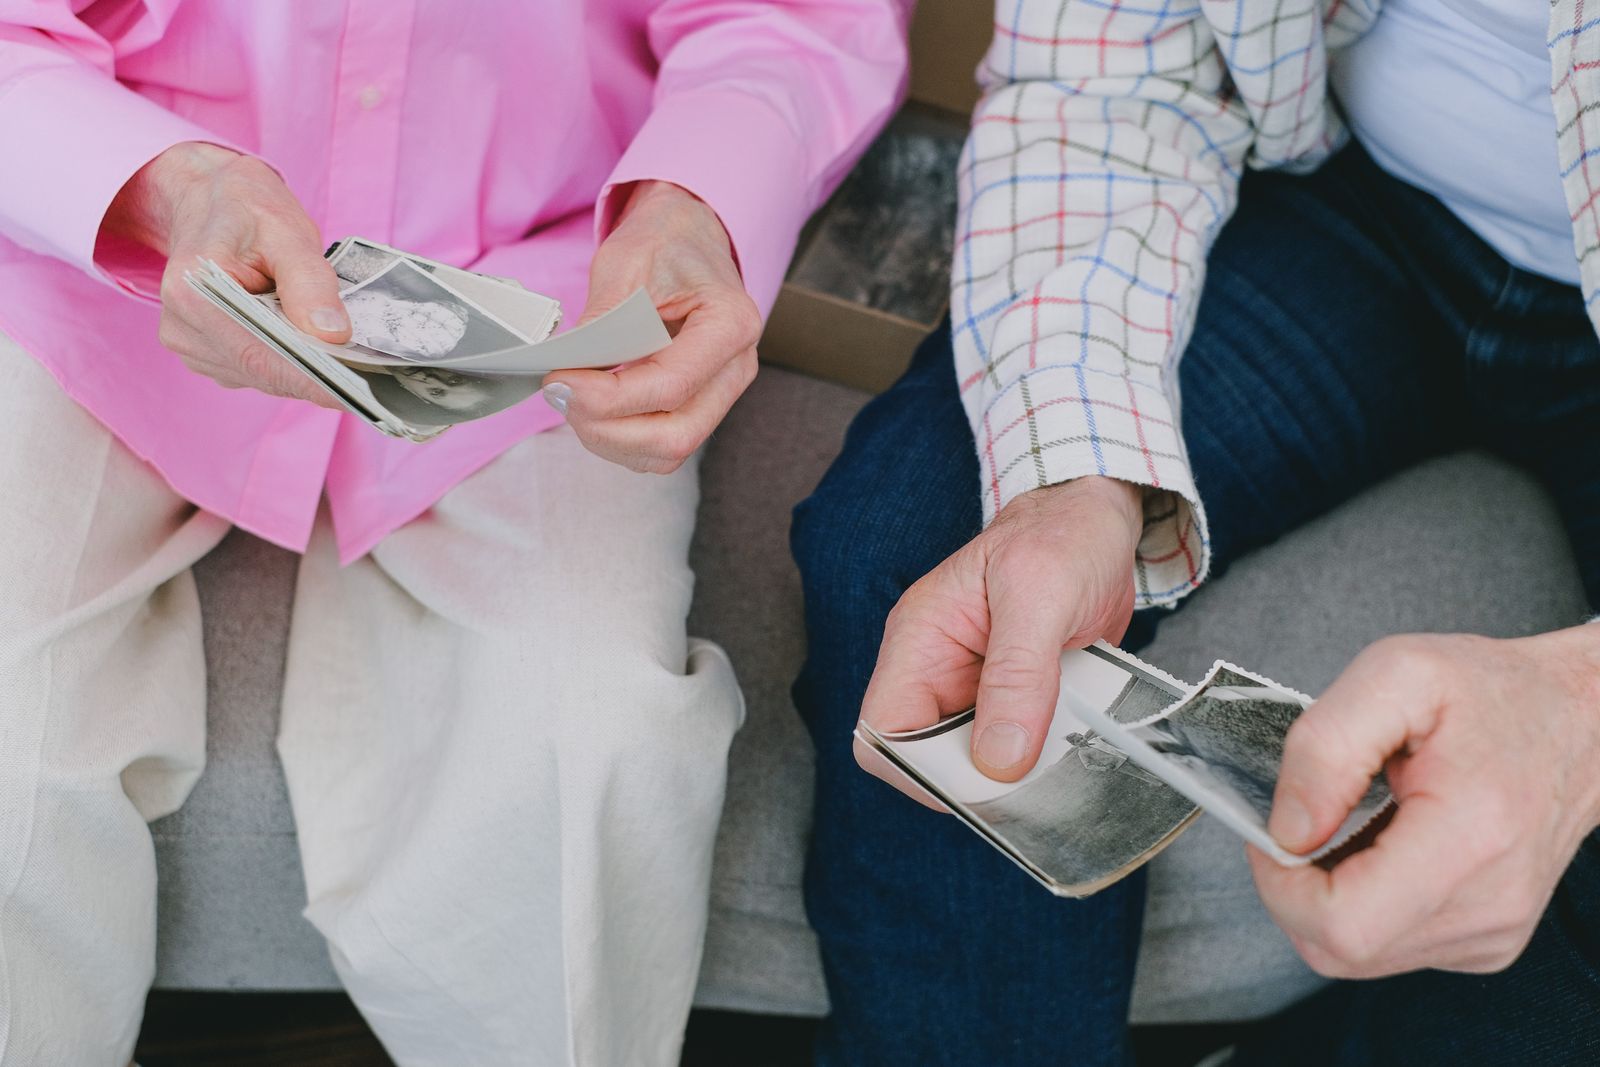
Before closing the first batch, choose one original and follow its identifier through the record to the digital file and back again. Check a print with a separate caption as well as a straightforward image. This small reconciliation can reveal a skipped sequence number or a note attached to the wrong photograph before the mistake spreads to a larger collection. Correct the record while the selected group is still together.
Give the family a plain completion message in the agreed private channel when you are ready to share. State which group was digitized, where authorized people can find it, what remains uncertain, and when borrowed originals will return. Avoid presenting estimated identities as confirmed history. You can invite a specific correction without opening the entire collection for a fresh round of unsorted commentary.
Record the last completed identifier and the next task. Return the prints to their suitable storage arrangement, keeping completed and waiting work clearly distinguished. Do not leave a scanner loaded or photographs exposed because you hope to continue after dinner. A planned stopping place protects both the work and the shared table.
Give borrowed prints an actual return plan. Check the selected group against the original record before returning it, including envelopes and notes. Keep the digital copies within the sharing agreement. The project should end with a complete handoff, rather than leaving someone else’s originals in a household “to do” box.
Explore Home Organization and our Home Office guides for other small reference workflows. When the first group is complete, decide whether to begin another. A finished, identifiable batch is a useful result even while the larger family collection remains a future project.
