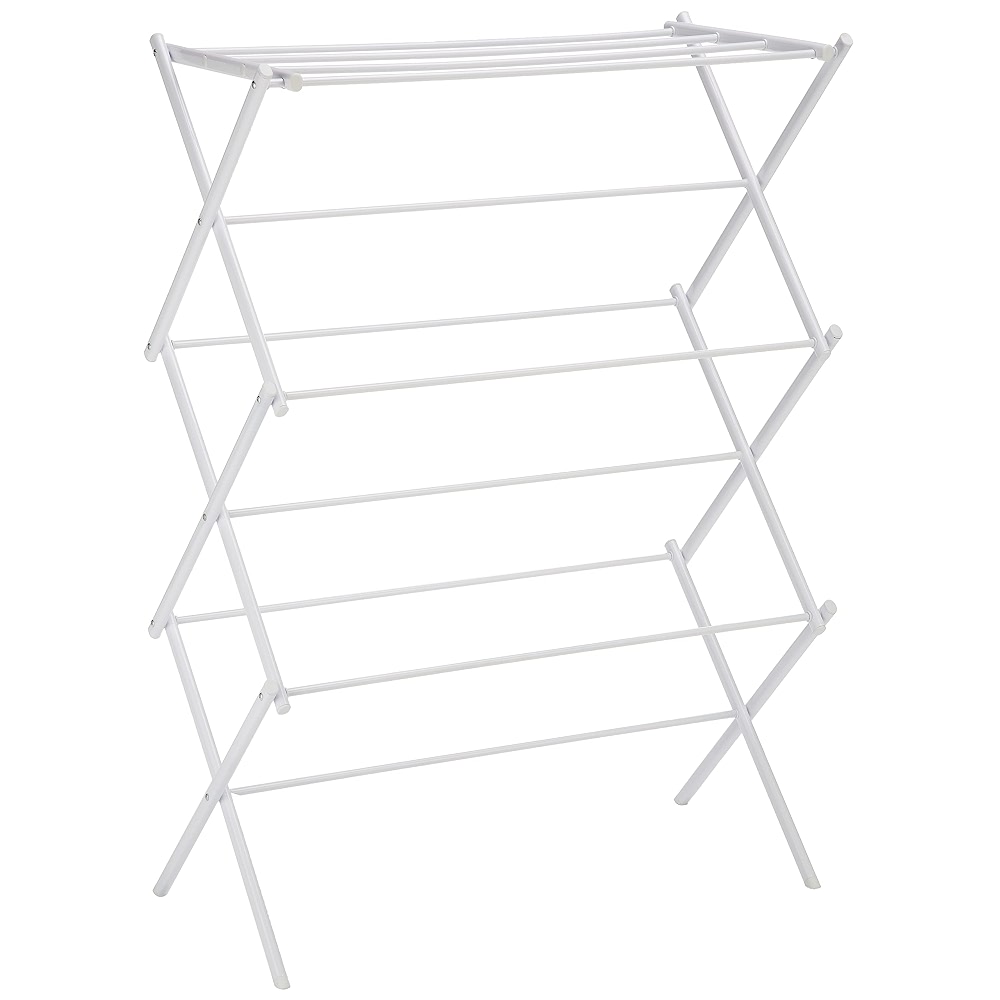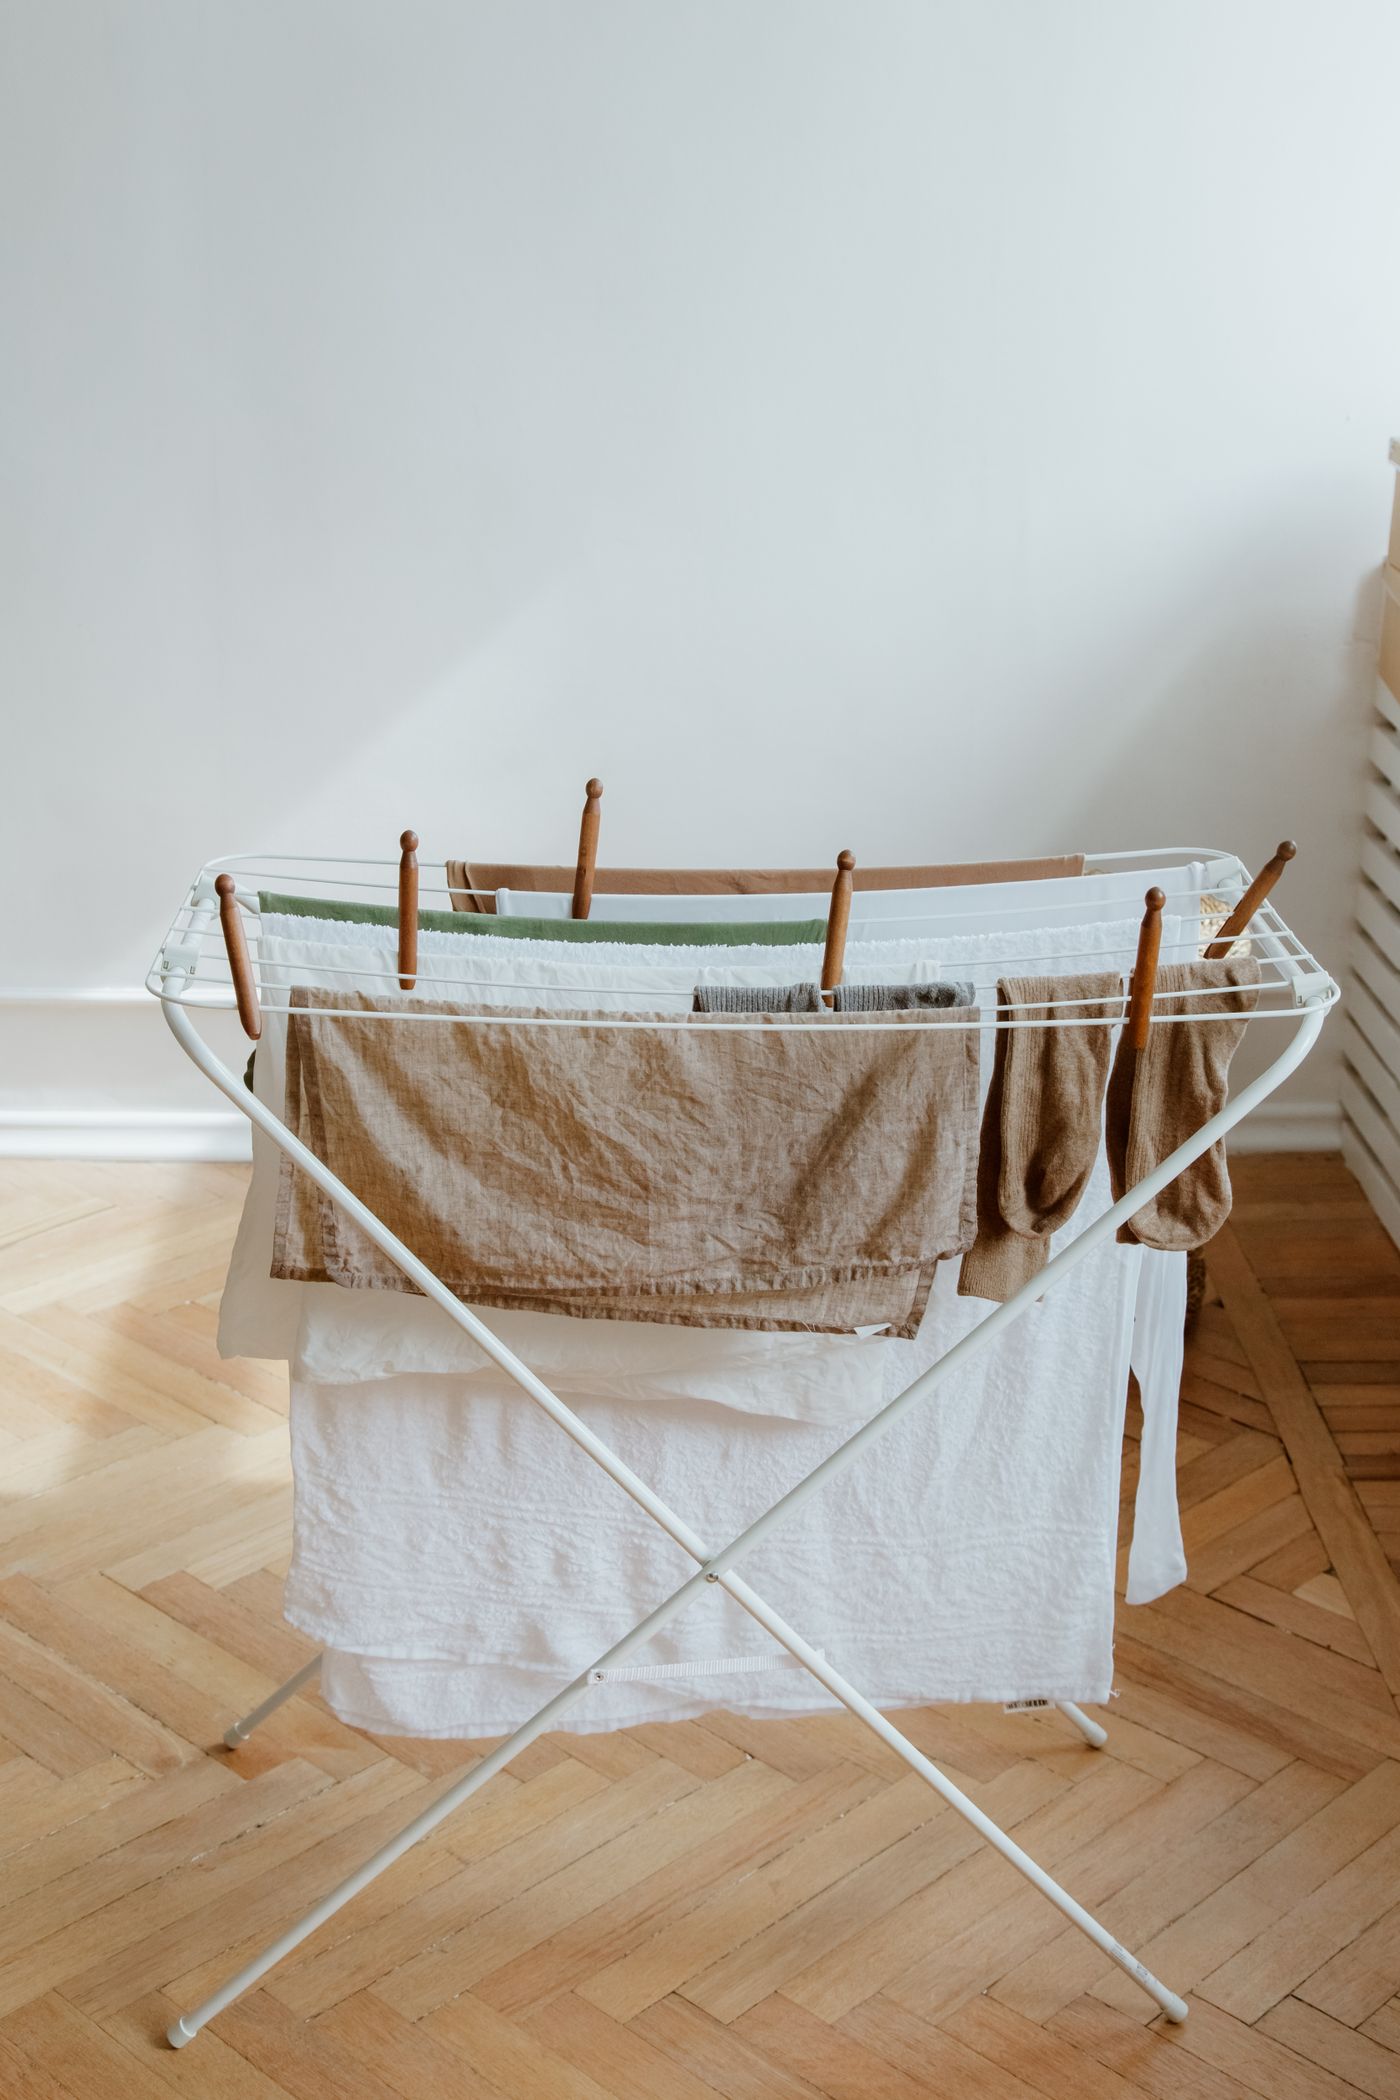
Clean an indoor drying rack while it is empty, using the method approved for its actual frame and finish. Work along the rails, inspect the folding points without dismantling them, and let the rack dry as directed before folding or loading it. Clean clothes should not be the first thing to reveal residue left from months of storage.
Houzz’s fall 2026 report emphasizes livable interiors. Maintaining a useful rack is a practical application of that principle in a small home: an item can spend more time in view during indoor drying season without becoming another decorative purchase. This guide concerns care of the existing rack, not a claim that a particular model is trending.
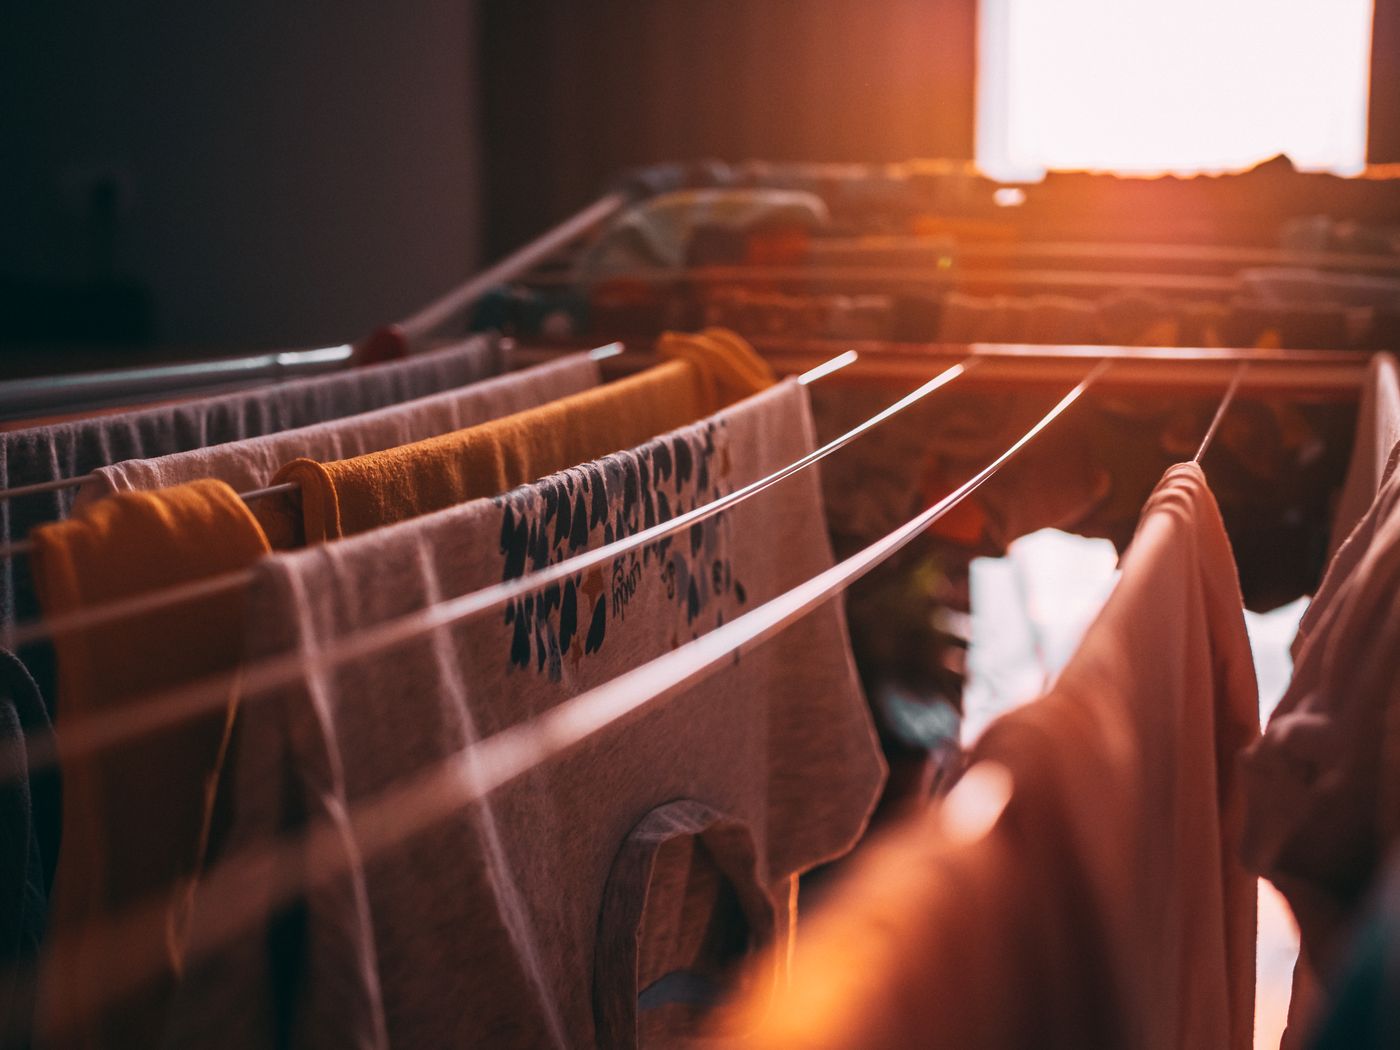
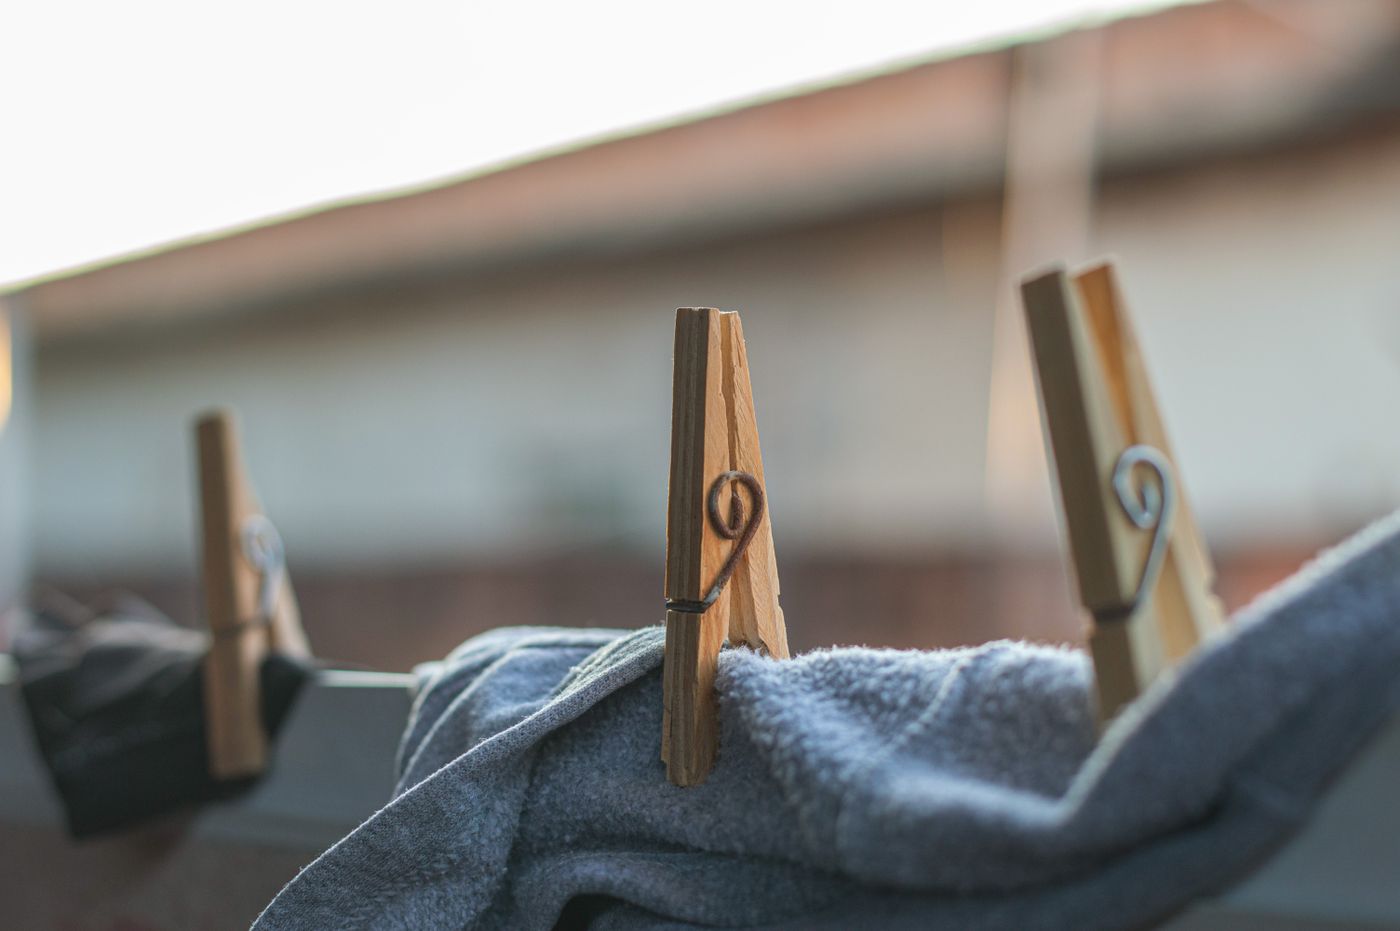
The photographs illustrate several drying arrangements. They do not identify a tested model or establish that every frame tolerates the same cleaner. Find the care information for your own rack before starting, especially if it combines coated metal, plastic joints, wood, or other materials.
Empty and identify the rack
Remove all laundry, hangers, clips, and detachable accessories that the instructions permit you to remove. Keep any model-specific parts together. A rail that is clear of clothes is easier to inspect, and the cleaning task will not transfer moisture or residue onto a fresh load.
Look for the model label, purchase record, or maker’s instructions. The appearance of a white rail does not tell you whether the coating is suitable for a particular chemical. A wood-look detail may also have different care requirements from the rest of the frame.
For wood details, Brabantia’s wooden-product care guidance, for example, distinguishes wiping from soaking and advises air drying without a heat source. That is material-specific guidance, not permission to apply one method to every rail, coating, or joint on another rack. Use the instructions belonging to the item in front of you.
Choose a stable working position
Open and support the rack as its design requires, in a place where you can reach it without blocking an ordinary route. Keep enough room to move around it. Do not balance the frame on a bathtub edge or another improvised support simply to lift the rails closer to your hands.
Protect the surrounding area appropriately for the permitted cleaning method. Move clean laundry and open supply containers away from the task. If the rack lives beside the washer, clear only the space you actually need rather than emptying the entire laundry area first.
Our laundry-supply storage guide helps distinguish the working space from product backstock. Keep bottles upright and out of the movement route. A rack-cleaning session should not create a new spill while you are trying to remove an old mark.

Inspect before applying a cleaner
Look along the rails for loose debris, sticky residue, damaged coating, and places where laundry may have caught. Check the feet and the visible joints too. A stain on an intact surface is a different task from a sharp edge or a damaged structural part.
If a rail is cracked, a support is bent, or a locking component no longer works as intended, stop using the affected rack and ask the maker about the correct response. Cleaning cannot restore the designed strength of a damaged frame. Do not cover a defect with tape and treat the rack as repaired.
Avoid trying to identify a material by scraping or scratching it. The care record is better evidence than a destructive experiment. For a stubborn mark that the approved method does not remove, ask for guidance instead of gradually increasing abrasion.
Work along each accessible rail
Use the cloth and cleaning method the maker permits. Keep the cloth appropriately damp rather than dripping when that is the specified method. Work through one section at a time so you can see which rails and contact points have been addressed.
Pay attention to the underside and the ends where residue can be less obvious. Support the frame as directed without leaning your body weight onto a rail. A drying surface is designed for its stated laundry load, not necessarily for the pressure of someone scrubbing hard.
Our cleaning-cloth separation guide is helpful here. Start with a suitable clean cloth that has not carried grease, strong cleaning products, or grit from another task. A cloth that looks dry can still transfer something you do not want on the next shirt.
Keep cleaning separate from lubrication or repair
Wipe accessible joint exteriors only as the instructions allow. Do not force cleaner, water, oil, or spray into a hinge because it seems stiff. The maker may specify a particular maintenance method, or the change in movement may require replacement rather than lubrication.
Keep fingers clear of moving and closing points when repositioning the empty frame. Use the handles and folding sequence provided for the model. Do not ask someone to hold a partially closed section while you work on another part without understanding how the mechanism operates.
If the rack has an electrical component, heated rails, or a powered accessory, use its own instructions and appropriate disconnection procedure. This guide does not supply a cleaning method for heated airers. A simple folding frame and an electrical drying appliance are different products.
Treat clips and removable accessories individually
Separate accessories can carry their own materials and care limits. Check whether clips, sock holders, or hangers are intended to be removed and how they should be cleaned. Do not pull off a fitted part merely because it resembles a detachable one on another rack.
Keep the quantity of accessories realistic for the way you dry clothes. An accumulation of unused clips can make the rack harder to fold and inspect. Return unrelated hangers to their normal storage instead of leaving them attached through every cleaning and drying cycle.
Avoid using the same cloth on an obviously dirty accessory and then immediately wiping a cleaned rail. Complete the appropriate cleaning and return route for each item. The goal is a ready drying arrangement, not simply a cleaner-looking top surface.
Give the frame a drying stage
Follow the maker’s drying directions and keep the frame appropriately open while necessary. Check the accessible areas where moisture can remain around fittings or feet. Do not fold a wet rack into a tight gap just because you want the floor space back immediately.
Plan the task between laundry loads if possible. Our laundry-sorting comparison can help identify where a small maintenance task fits within your existing routine. You do not need a separate cleaning calendar if there is already a sensible point when the rack is empty.
Do not speed drying with a heat source or another method the product does not permit. Material combinations can react differently, and an ordinary radiator or hair dryer is not automatically appropriate. Let the instructions determine the process rather than the time you hoped the task would take.
Check the folded and stored positions
Once the rack is ready, fold it through its intended sequence. Confirm that accessories have not become trapped and that the frame closes as designed. If movement has changed, investigate the cause appropriately instead of forcing it into its old storage gap.
Keep the storage position suitable for the frame. A damp corner or a location that requires dragging the rack against rough surfaces can undo the benefit of careful maintenance. Leave a practical retrieval route so the next person does not have to pull it out by an unsuitable part.
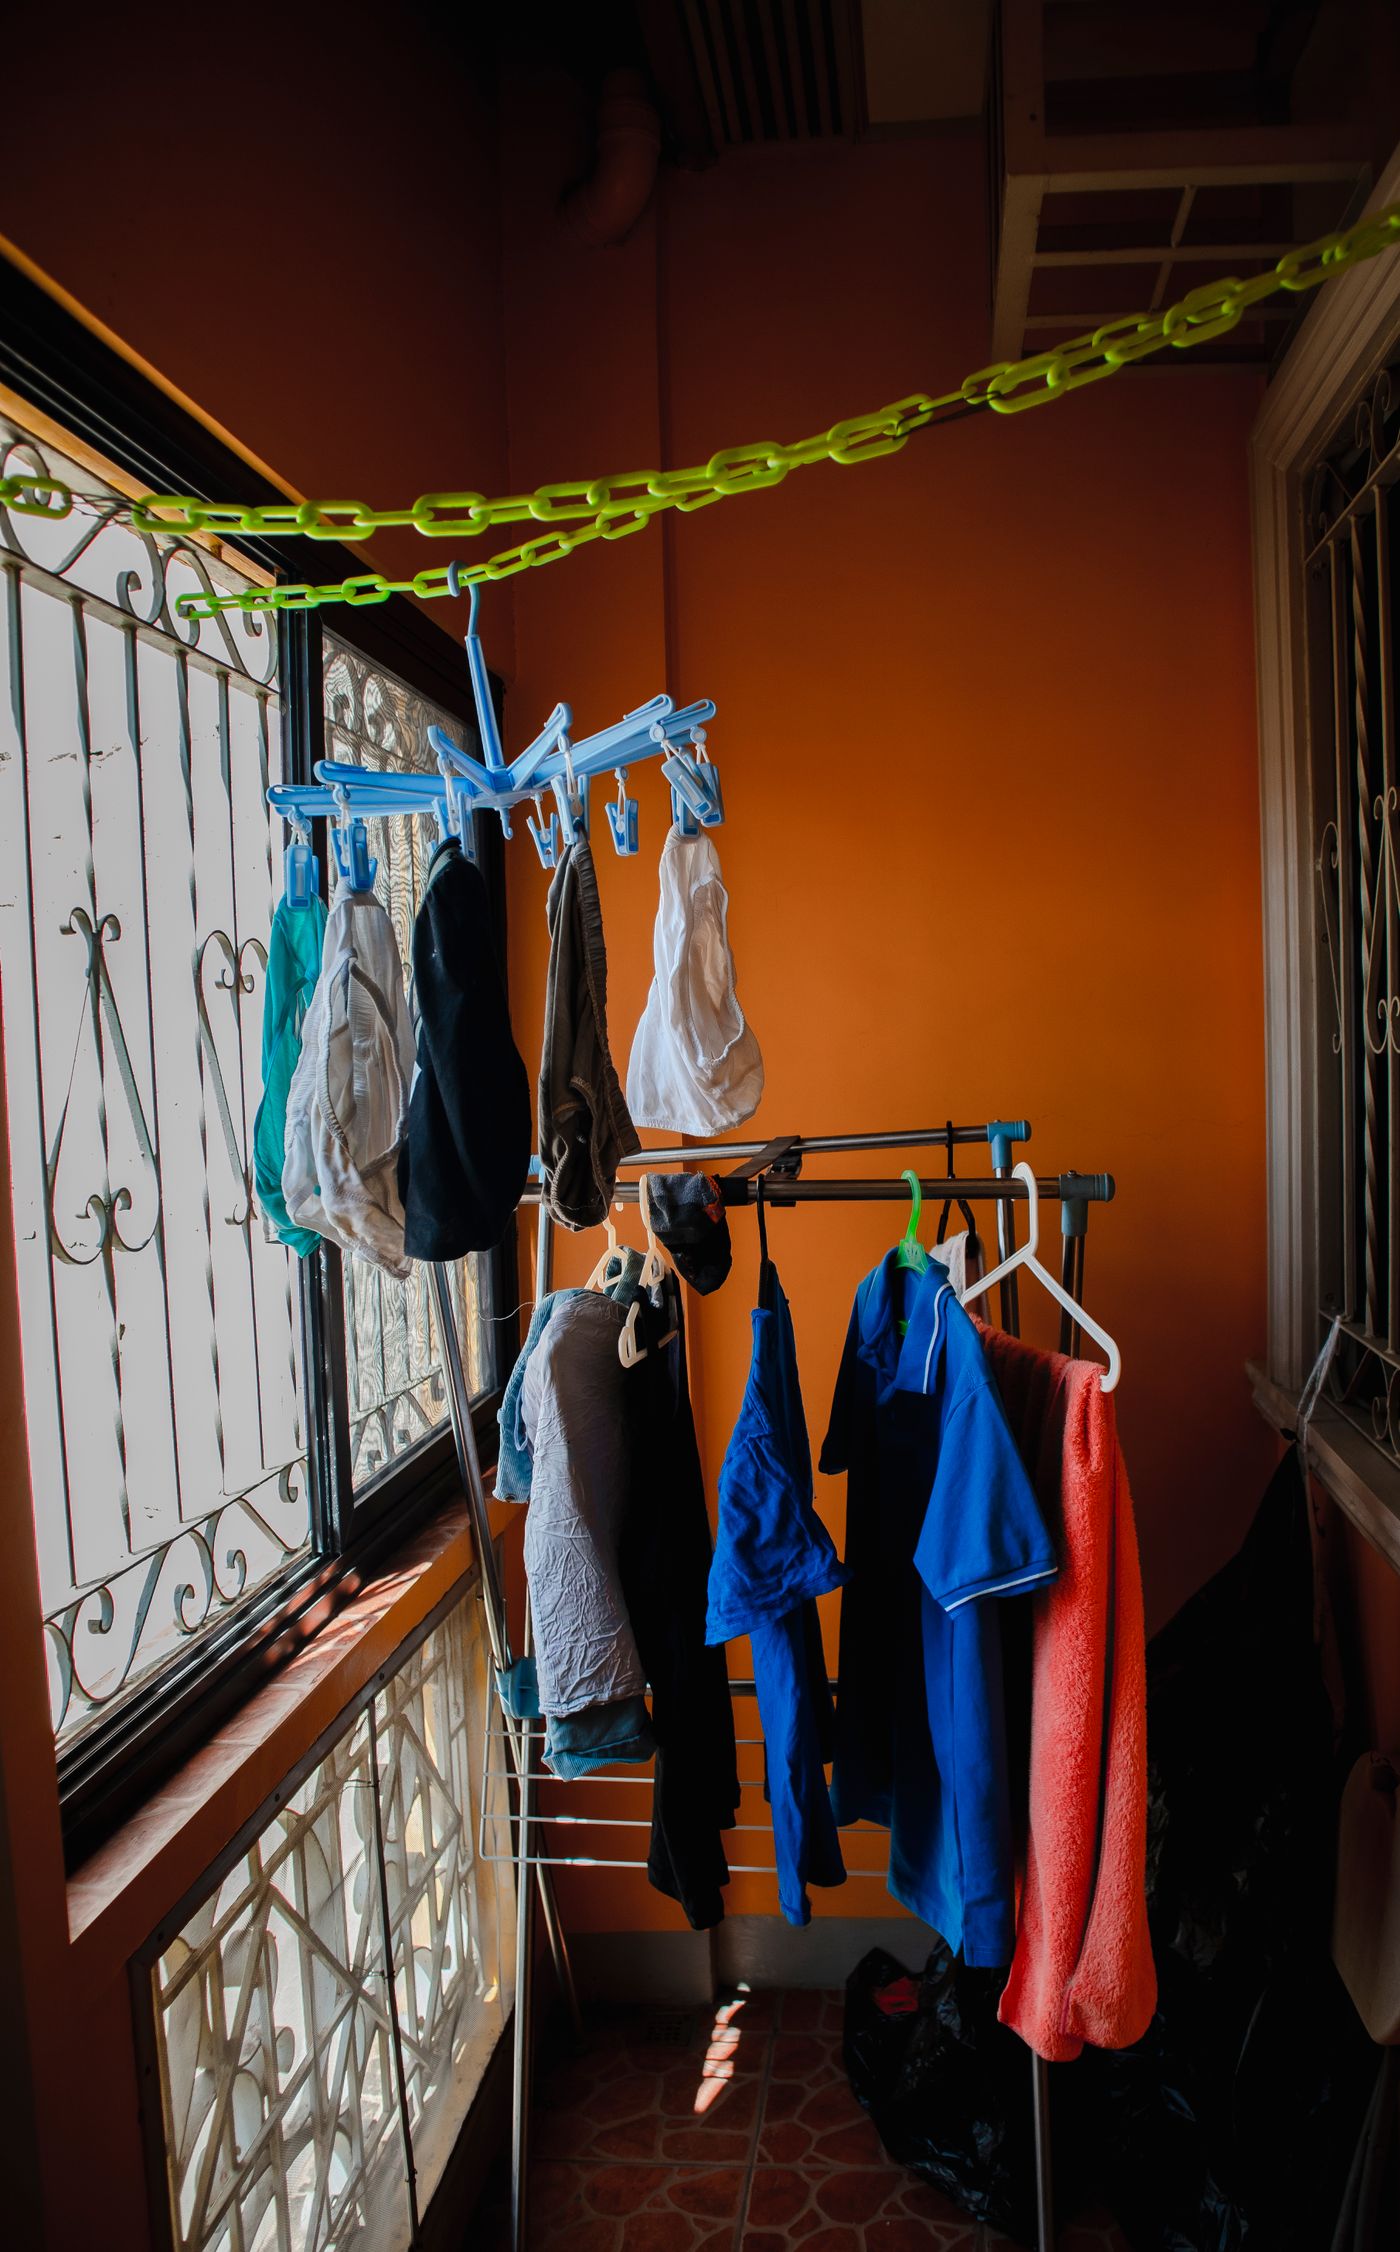
For laundry that itself needs particular care, our soft-slipper washing guide illustrates why drying instructions belong to the garment as well as the equipment. A clean rack does not make every textile suitable for hanging, nor does a delicate garment justify exceeding the rack’s intended loading method.
Reload with an ordinary useful check
Before the next load, look over the contact surfaces and confirm that the rack is ready for use. Load it according to its own directions and the clothing labels. Keep the surrounding route and access to the washer usable while the frame is open.
Notice recurring residue. It may come from the storage position, a particular accessory, or the way laundry is handled. Address the actual source where you can instead of relying on stronger cleaning each time. A short appropriate wipe at a natural empty moment may be easier to maintain than an occasional major scrub.
The task is complete when the rails are appropriately clean, the frame works as intended, and both its open and folded positions remain practical. The rack can then return to its modest job: supporting the laundry the household actually needs to dry.
Explore related household decisions in our Cleaning hub.
Sources and editorial scope
Editorial research checked October 16, 2026. Trend-report dates and limitations are stated in the article; these are editorial applications of published signals, not verified October keyword rankings. Practical household guidance; illustrations do not document a tested household or authenticate a pictured material.