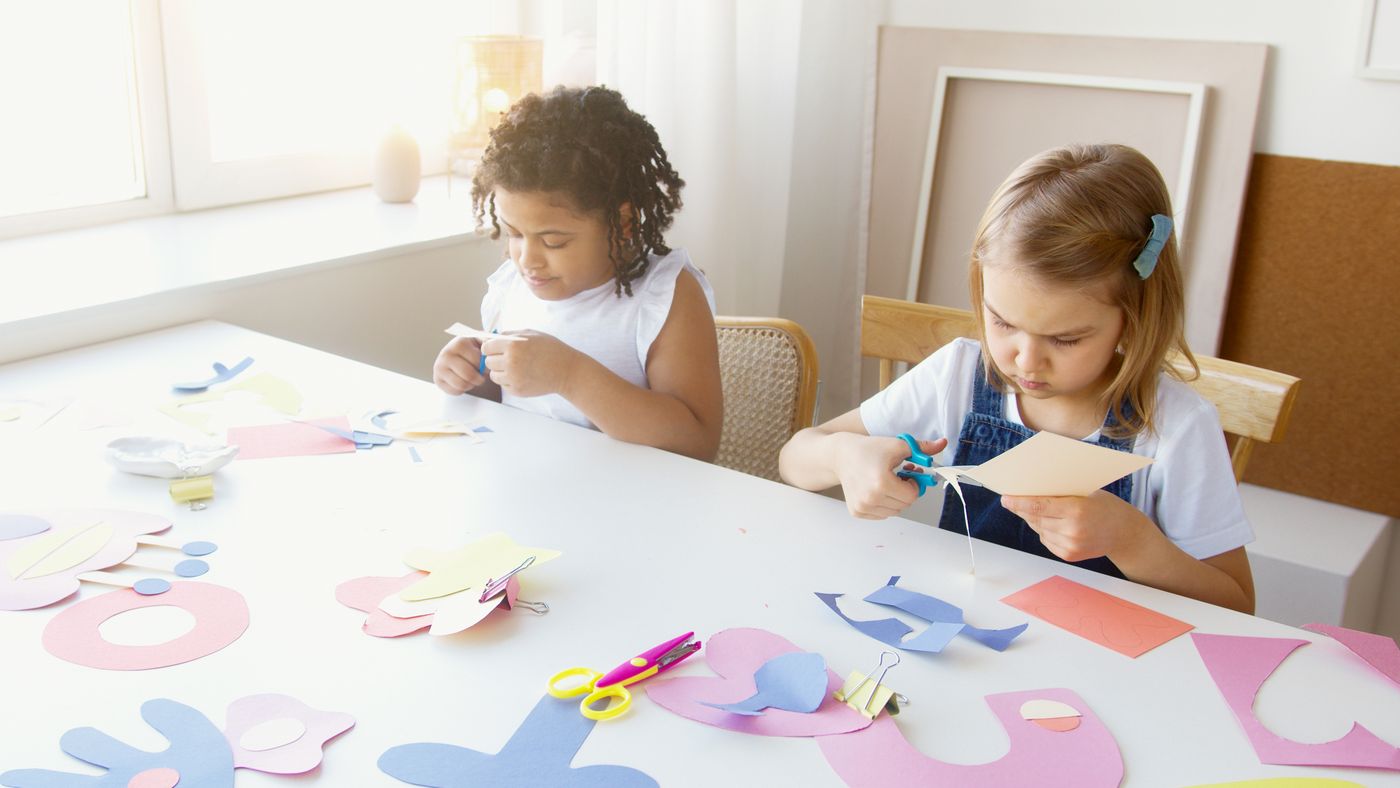
A family collage session becomes easier to finish when the main decision is what each person wants to make, not which of several hundred paper scraps they should use. A modest set of images, a backing, and a place for wet glue to dry can support a satisfying activity without turning the kids’ room into a permanent paper workshop.
Choose one format and a clear stopping point before starting. Let children arrange pieces before committing them, keep the materials appropriate to their ages and abilities, and decide what will happen to both finished work and unused supplies. The session should leave a recognizable piece of work and a room that can return to its normal purpose.
Pinterest’s fall 2026 report highlights casual crafting and time away from screens. This is a practical family activity connected to that theme. It is not a developmental assessment, an art lesson with promised results, or evidence that a particular paper-craft kit is necessary.
Pick a format small enough to complete at this session
Offer a manageable backing such as an appropriate sheet of sturdy paper or card already on hand. Decide whether the work will become a picture, a card, or a page in an existing project. Avoid promising to frame or permanently display every piece before knowing what each child wants to do with it.
Use a loose prompt if the family enjoys one: an imaginary room, a garden made from unexpected colors, or a creature assembled from shapes. A prompt can help someone begin without prescribing the finished image. Children who prefer an abstract arrangement can use the same materials without matching a model.
Keep the format independent from the larger room-storage project. Our art-supply organization guide can help establish the ordinary home for materials. This session needs only a selected working portion, not a complete reorganization of every marker, painting, and unfinished school project.
An adult can make a collage alongside the children, but avoid preparing an elaborate sample that becomes the standard everyone feels required to copy. A simple demonstration of arranging and attaching one piece is usually enough to explain the mechanics. The interesting part is how each person chooses to combine the available material.
Prepare paper choices that are appropriate and easy to handle
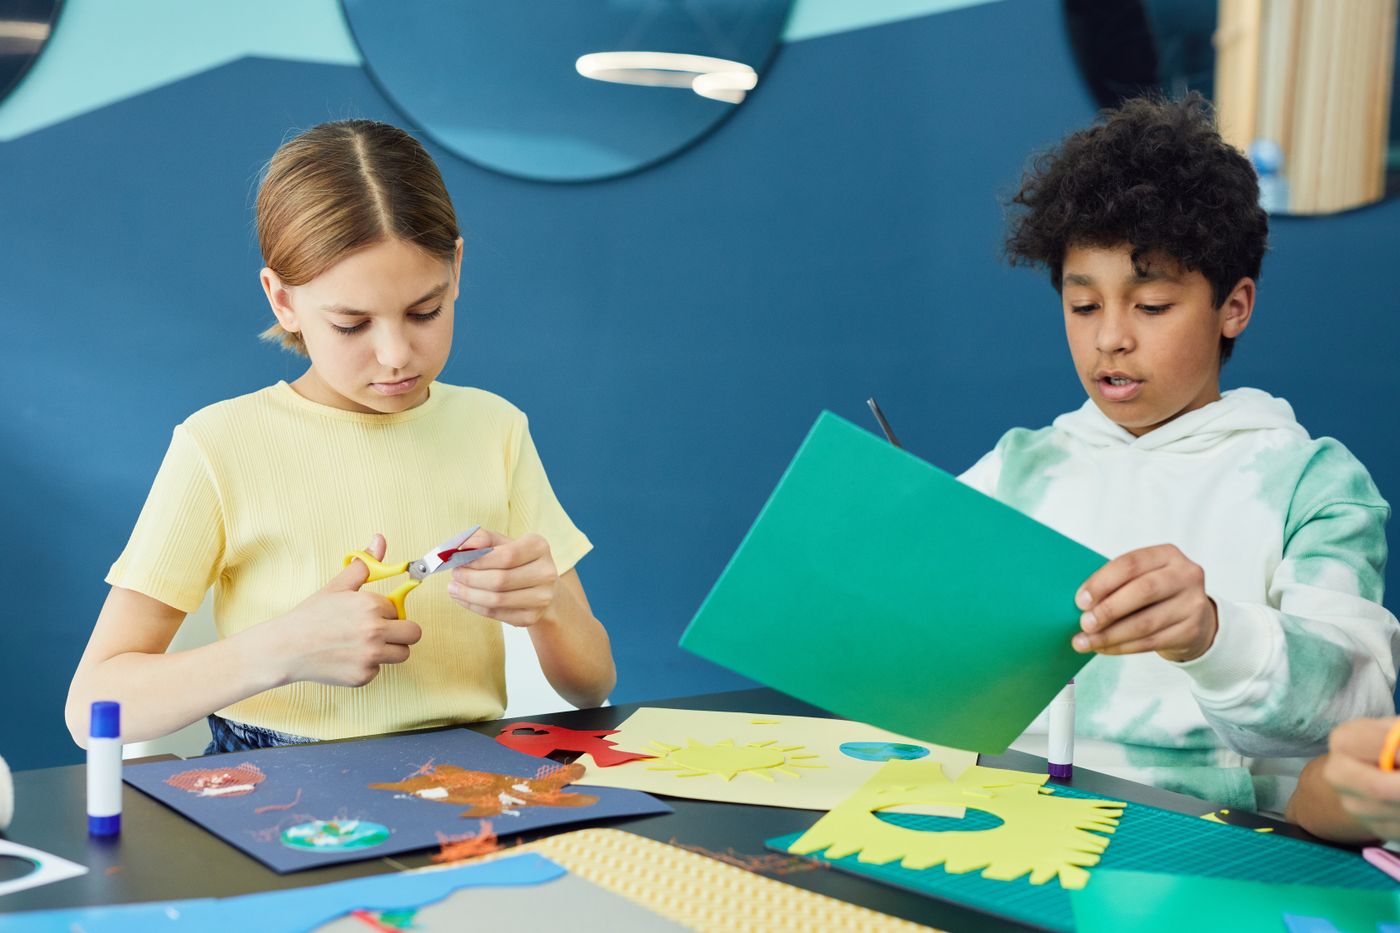
Choose clean paper without private information, sharp attached components, unknown residues, or content unsuitable for the children participating. Look through old magazines before they reach the table. Keep mail showing names, addresses, account details, or other personal information out of the craft selection.
Offer a few different kinds of material: large color areas, pictures that can be cut into recognizable shapes, and plain paper for filling gaps. Very thin, glossy, heavily coated, or textured paper may behave differently with the chosen adhesive. Follow the adhesive’s material and age guidance rather than assuming every paper will attach equally well.
For younger participants or anyone who finds cutting difficult, prepare suitable larger shapes or offer tearing where that works for the material and person. Do not equate independent scissor use with successful participation. Someone can choose colors, place pieces, describe a scene, or ask another person to cut a requested shape.
Keep scissors and other tools appropriate to the users and supervise their use. Avoid adding craft knives, hot glue, or tiny embellishments merely to make the activity look more advanced. Those change the setup and handling requirements without being necessary for a paper collage.
Give every person a working area and a small shared supply area
Protect a suitable table according to the surface and materials involved. Each person needs enough room for the backing, a few loose pieces, and ordinary hand movement. Shared supplies should be reachable without leaning across somebody else’s wet work.
The shared-table changeover routine is useful when the same surface must return to homework or meals. Identify a drying position elsewhere before starting if the work cannot stay on the table. A table that looks large enough for dry paper can become awkward once several pieces must remain undisturbed.
Keep drinks and food away from the active glue and paper area. Set a small scrap collection within reach, but distinguish unused usable paper from pieces that are no longer wanted. A single mixed pile makes people search through rubbish for a shape they set aside a moment ago.
Choose a starting amount of material that still allows the backing to remain visible. If the activity stalls, offer a small additional selection. Beginning with the entire magazine collection can turn making into prolonged browsing and make the eventual cleanup much larger than the finished pictures.
Arrange first, then make the attachment decision
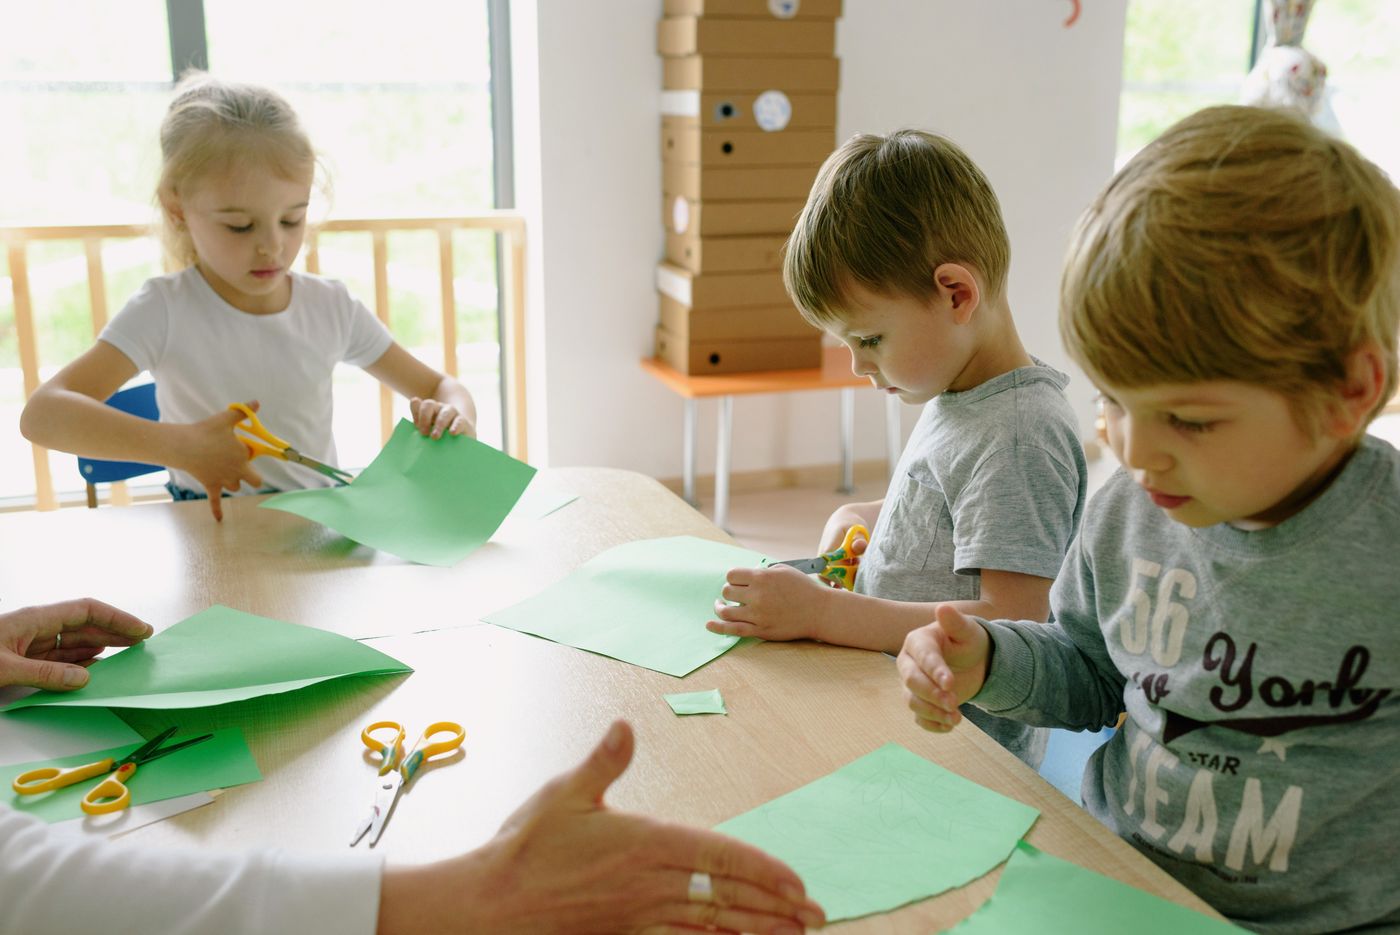
Invite everyone to place pieces loosely before using glue. They can try a large background shape, add a focal picture, and move the arrangement until it feels ready. Do not insist on a particular design vocabulary; the purpose is to let the maker notice what changes when a piece moves.
For a child who is overwhelmed, reduce the choice to two or three possible pieces. Ask a concrete question: which one belongs near the bottom, or whether a shape should overlap another. If the child prefers to work without narration, leave space for that too.
An optional reference photo can preserve a loose arrangement before pieces are lifted for gluing, but it is not required. Take one only with the appropriate agreement and avoid turning the session into constant photography. A small accidental change can become part of the work instead of a reason to restart.
Once a section is chosen, follow the adhesive instructions for the permitted amount and method. Keep caps and tools where they can be found again. If an adhesive requires an adult’s help or a particular ventilation condition, honor that limit; do not substitute an unverified product because it happens to be in the drawer.
Make sharing tools predictable without taking over the artwork
Agree on a simple handoff for a popular glue stick or pair of scissors. A person can request it and finish the current small action before passing it. Provide an appropriate alternative when the tool itself is creating avoidable frustration, rather than requiring the whole family to wait in a queue.
Keep criticism and repair separate from the maker’s decisions. Ask before moving, trimming, or pressing down a child’s chosen piece. If help is requested, explain what you will change and why. An adult can support the mechanics without quietly redesigning the picture into something more symmetrical.
Use the family’s ordinary small-home chore handoff for shared tasks such as collecting scraps or returning capped supplies. Give each person a concrete action suited to their abilities. “Clean the craft mess” is much harder to act on than “put the unused blue paper in this envelope.”
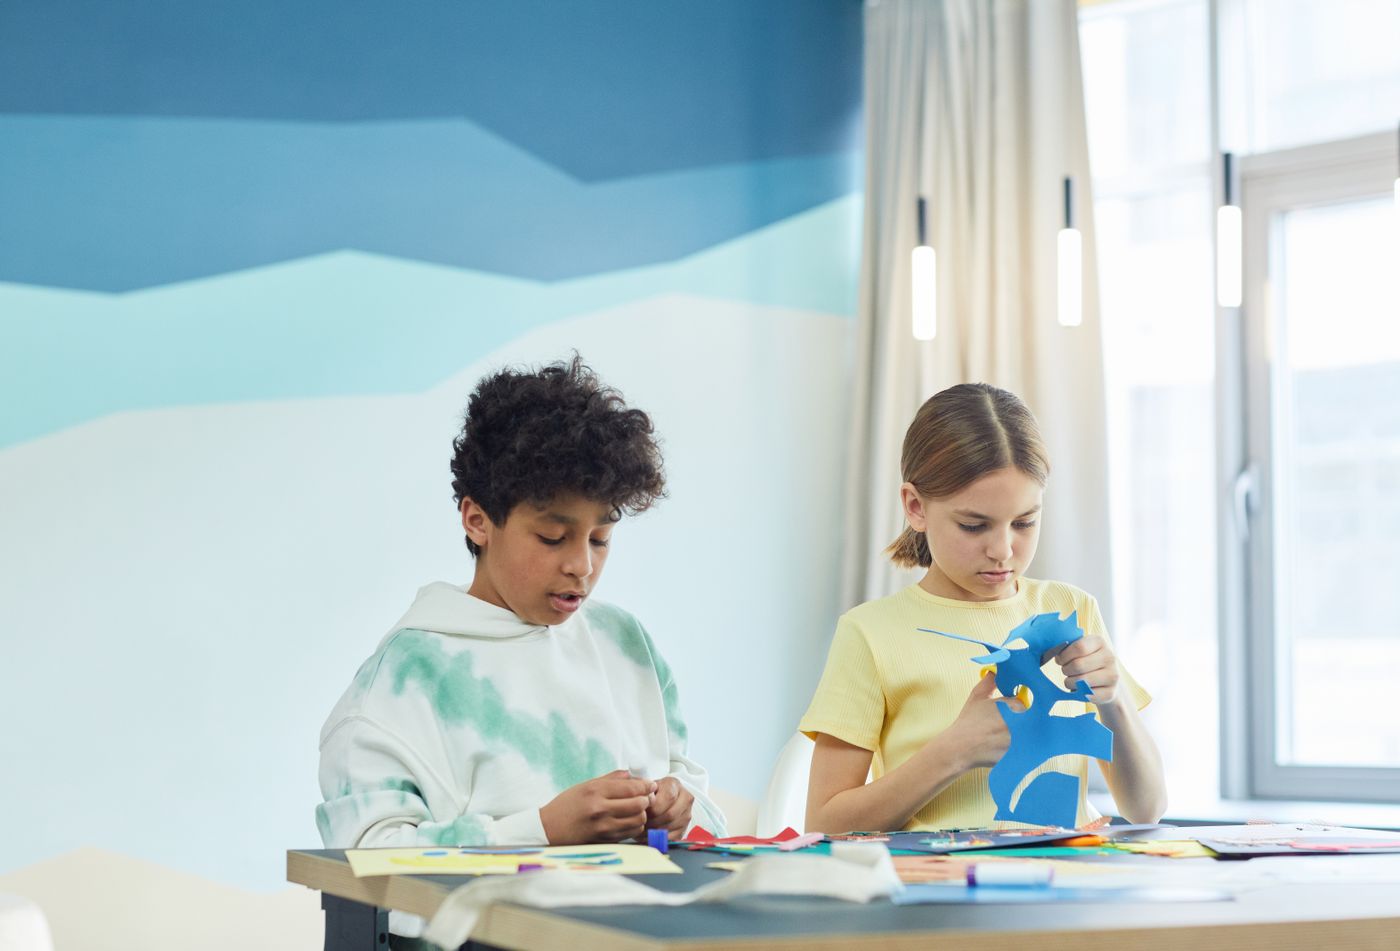
Decide what finished means before attention runs out
Some collages will reach a natural finish quickly; others may continue beyond the available time. Give a clear heads-up before the session ends, then offer an honest choice: call the piece finished, complete one small remaining section, or store the dry or drying work for a defined next session.
Do not glue every remaining scrap onto the backing simply to clear the table. Empty space can be an intentional part of the work. Nor does every paper piece selected during browsing need to become a promise for another activity. Returning supplies is part of finishing, not evidence that the session failed.
For unfinished pieces, keep only the selected materials actually needed to continue. Record the maker’s next step in their own words when that helps. A loose sheet with a few chosen shapes is easier to resume than an unsorted heap of all the paper that was on the table.
Dry, return, and display without creating another pile
Follow the adhesive instructions for drying and handling. Keep work in a stable place where it will not be touched, stacked prematurely, or moved by the next room activity. Do not assume that a surface that feels dry at one edge means the entire layered piece is ready to pack away.
Return supplies only when they are in a suitable condition for storage. Cap adhesives, account for tools, and separate usable clean paper from unwanted scraps. Follow local disposal guidance for coated or adhesive-covered materials instead of assuming all paper craft waste belongs in recycling.
Ask each maker what they would like to do with the finished collage. A temporary display, a gift to a named person, or keeping it in an existing artwork allowance are all possible choices. Use the rotation principle to keep displays manageable rather than requiring a new permanent wall position for every session.
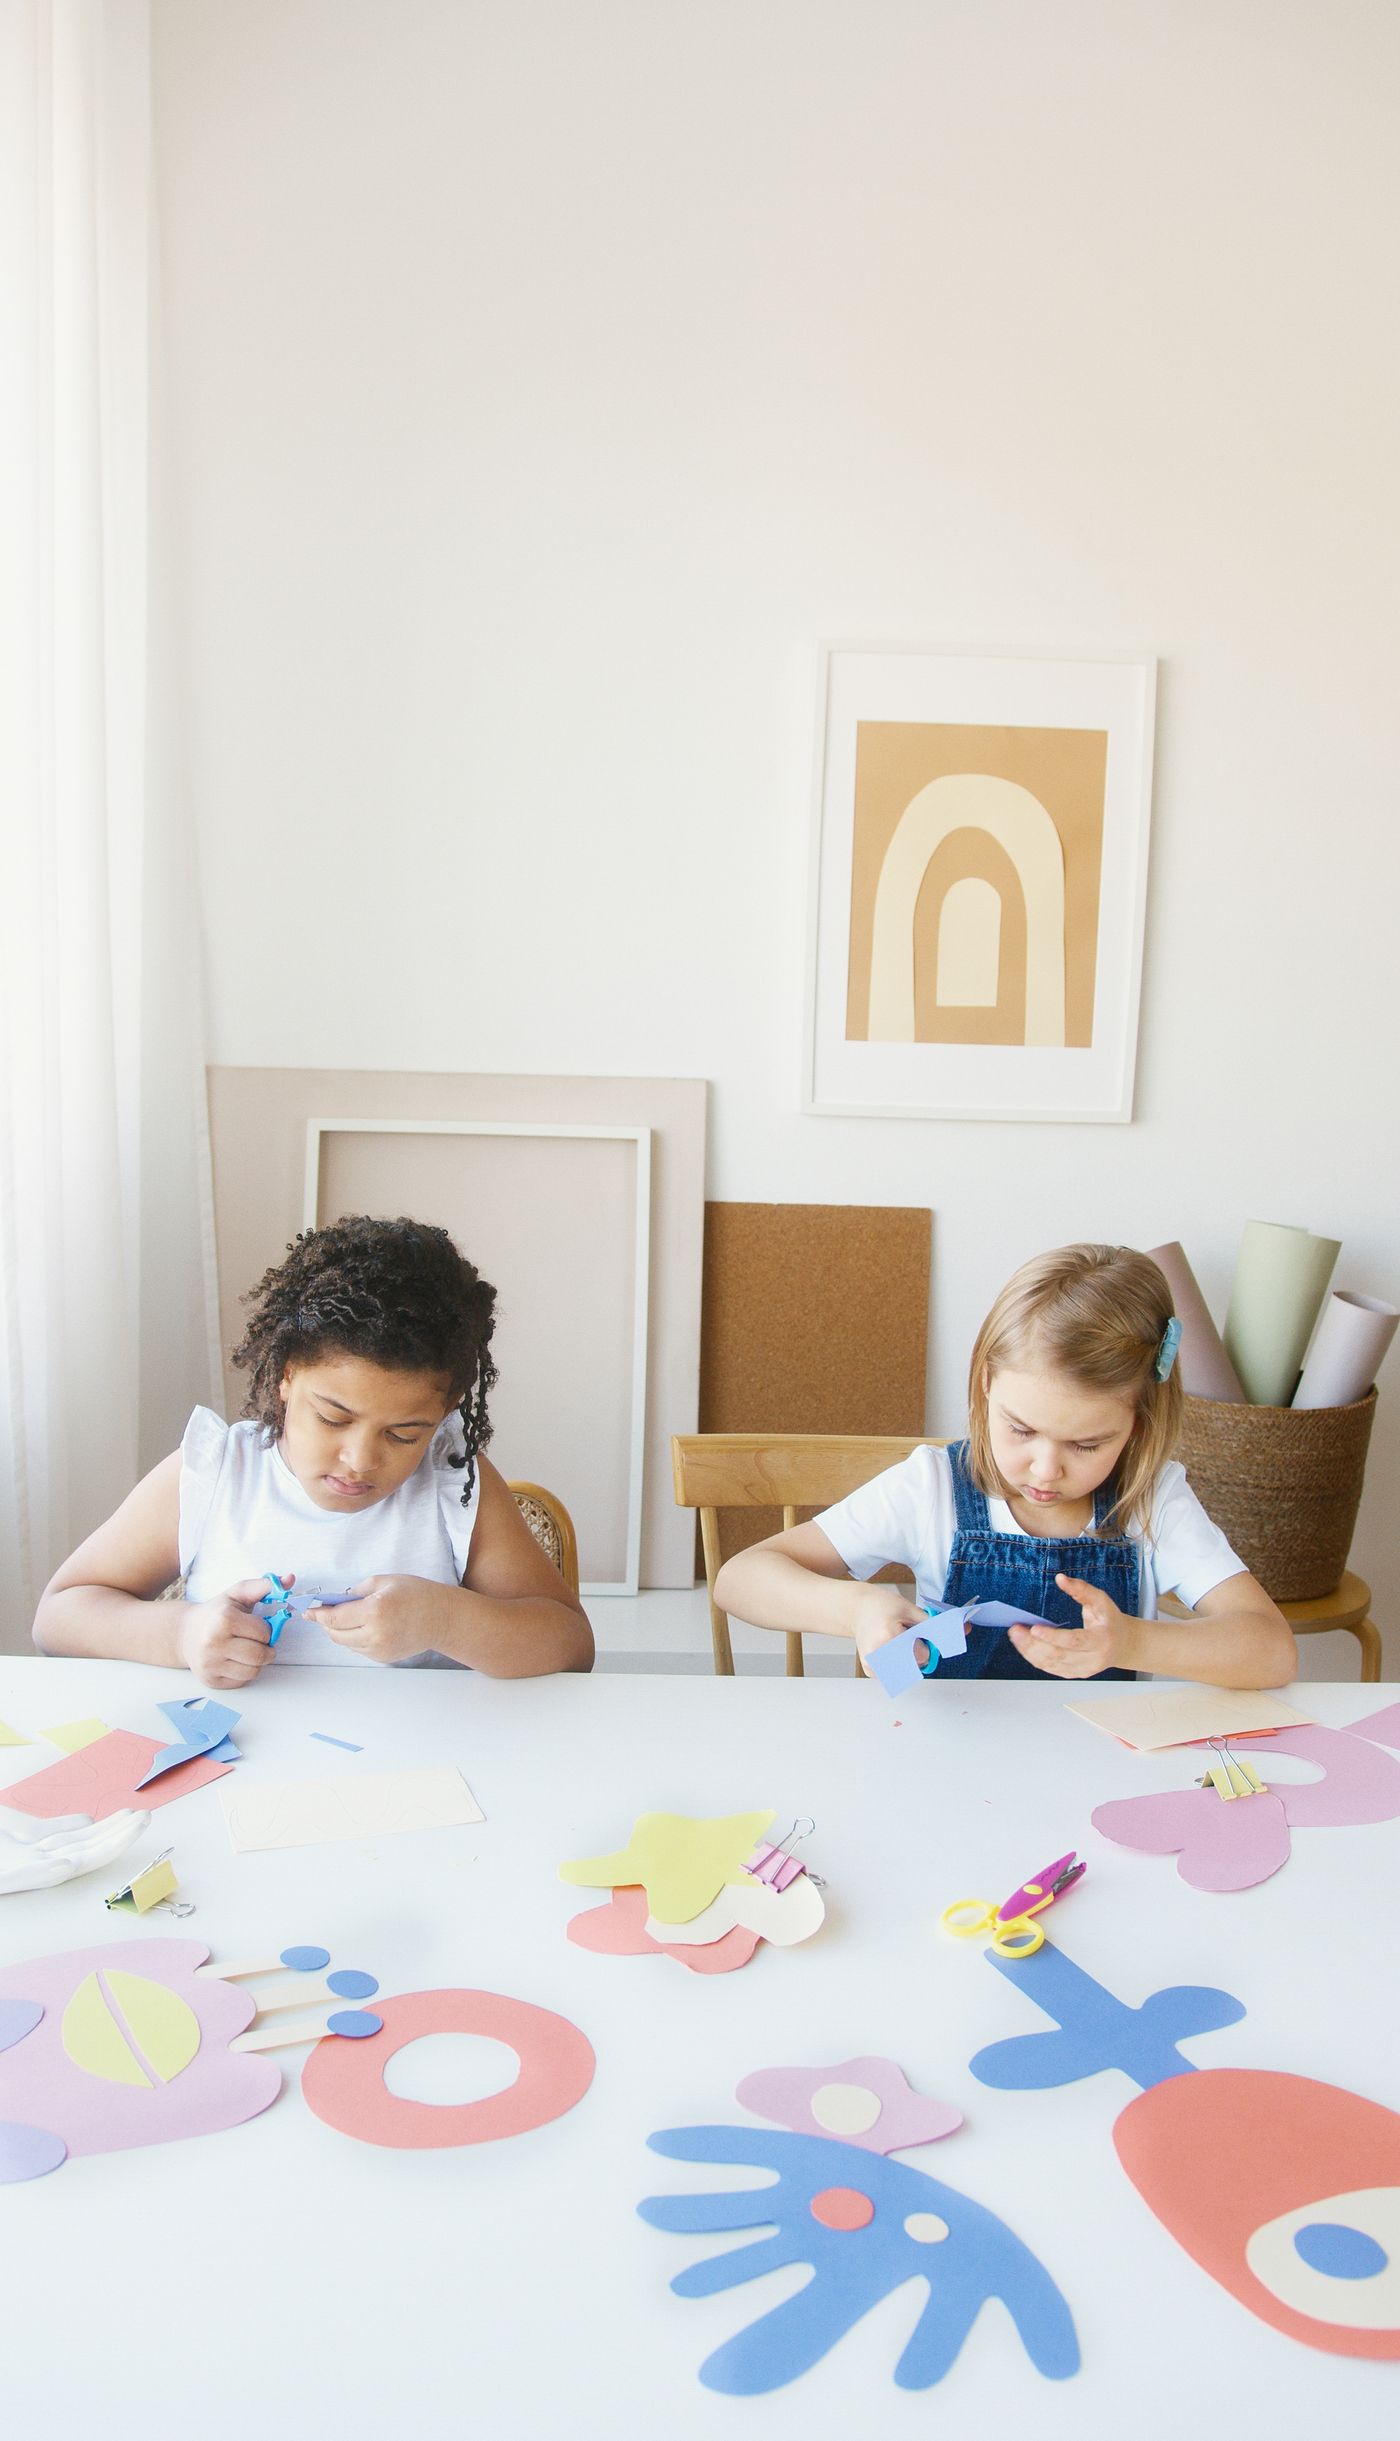
Before the next session, notice what helped: a smaller paper selection, a longer drying allowance, or larger pre-cut pieces. Adjust those practical details while leaving the creative choices open. A useful family craft routine makes beginning and finishing easier, with enough freedom in the middle for everyone to make something recognizably their own.
Explore related household decisions in our Family Home hub.
Sources and editorial scope
Editorial research checked October 16, 2026. Trend-report dates and limitations are stated in the article; these are editorial applications of published signals, not verified October keyword rankings. Practical household guidance; illustrations do not document a tested household or authenticate a pictured material.