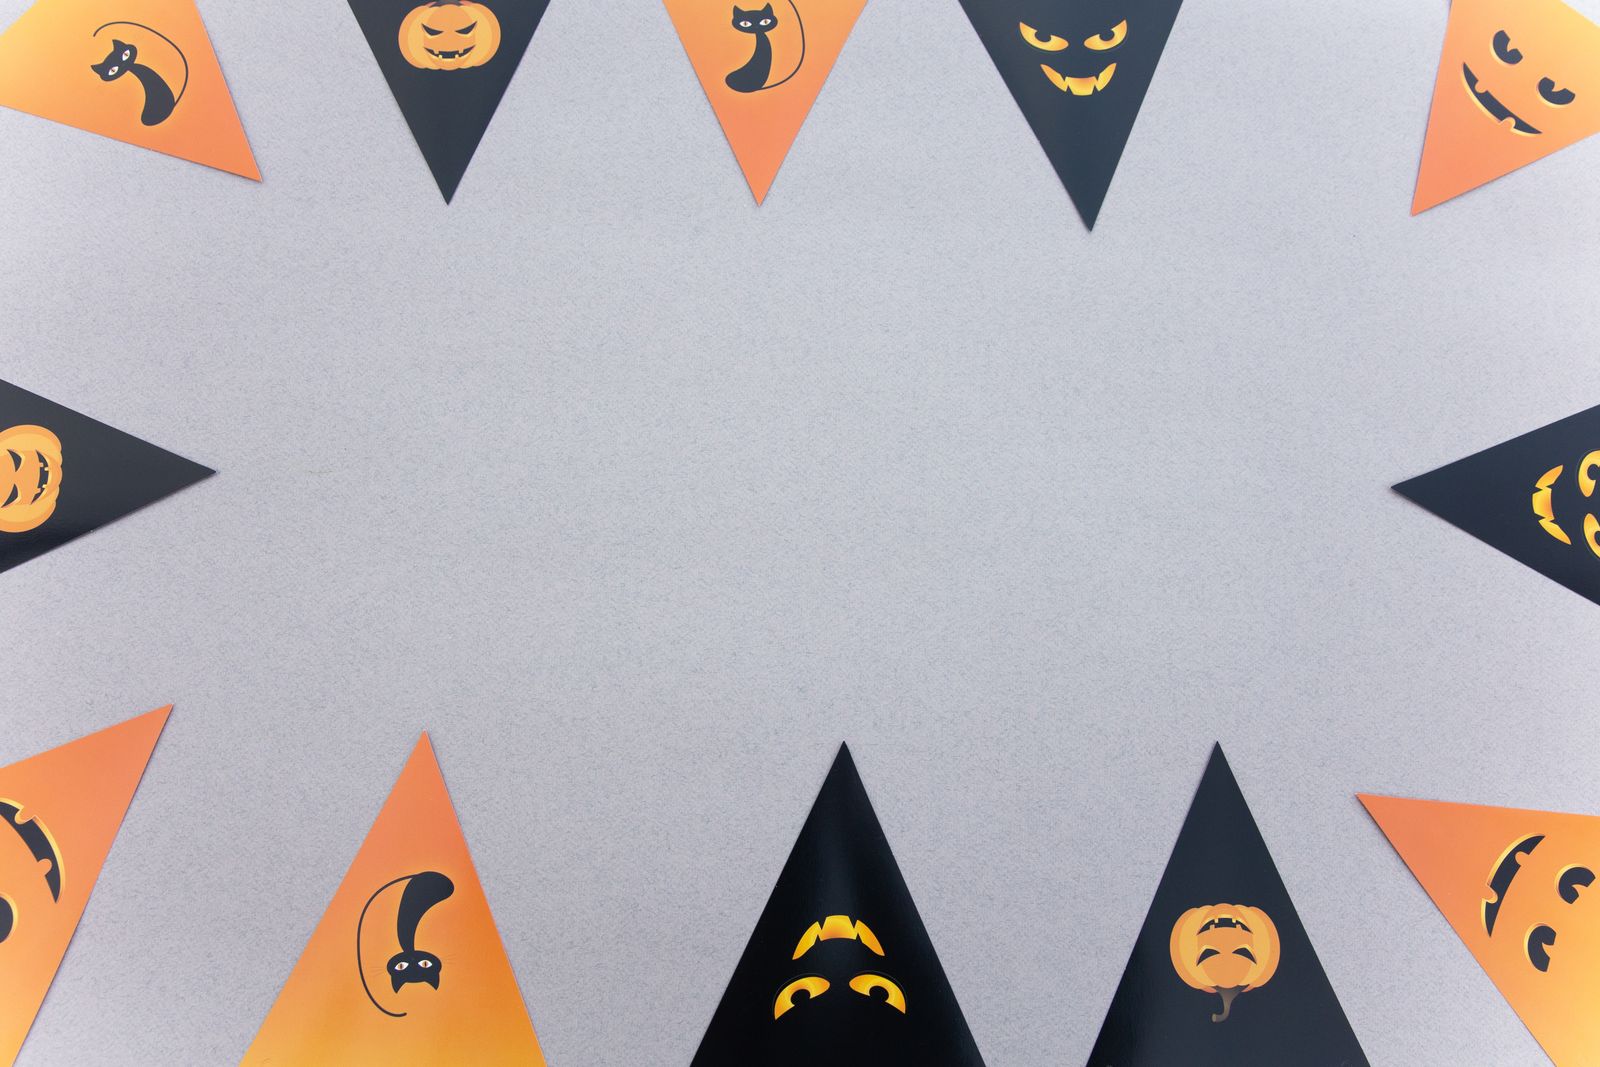
A not-too-scary Halloween garland gives children a visible role in decorating without filling their room with new objects. Paper pumpkins, friendly ghosts, and a few simple bats can create a seasonal display from a small batch of craft materials. The finished decoration belongs on an adult-chosen suitable display area, with the making and mounting treated as separate jobs. For a related step-by-step approach, see How to Organize Kids’ Art Supplies in a Small Home Without Creating a Permanent Craft Room.
This guide plans a short family craft session and a cheerful kids-room display. It includes choices children can make, a repeatable paper design, and ways to keep the activity manageable when the home has one shared table. For the broader setup, How to Keep a Shared Kids’ Bedroom Tidy When the Kids Have Different Habits is a useful next read.
As an Amazon Associate, Small Home Rhythm earns from qualifying purchases.
Agree on the kind of Halloween the room can welcome
Start with a small choice: smiling pumpkins, friendly ghosts, or a pumpkin-and-bat pattern. Show an example of each rather than asking a child to plan an entire room. Some children enjoy spooky shapes in daylight but find them uncomfortable at bedtime, so keep their response part of the decision.
For a shared bedroom, agree on a design both users can live with. One child can choose the pumpkin faces while another chooses a background color. The whole garland should still have a clear common theme, rather than splitting the room into competing scary scenes.
Choose the display area before beginning the craft. Avoid beds, cribs, climbing areas, doors, vents, and places where strings or decorations can become accessible entanglement hazards. A suitable framed paper arrangement or adult-managed display board can be the better version when a hanging garland is inappropriate for the room or the children’s ages.
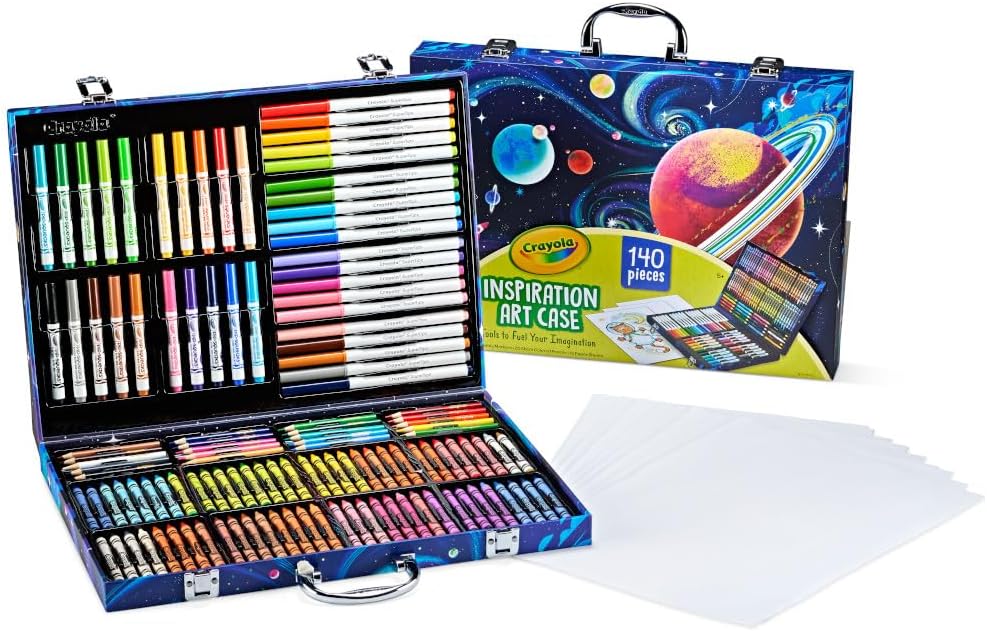
Our guide to organizing kids’ art supplies in a small home helps choose a compact set of materials for the project. Bring out what this activity needs, leaving the rest in its usual storage.
Make a sample that shows the finished scale
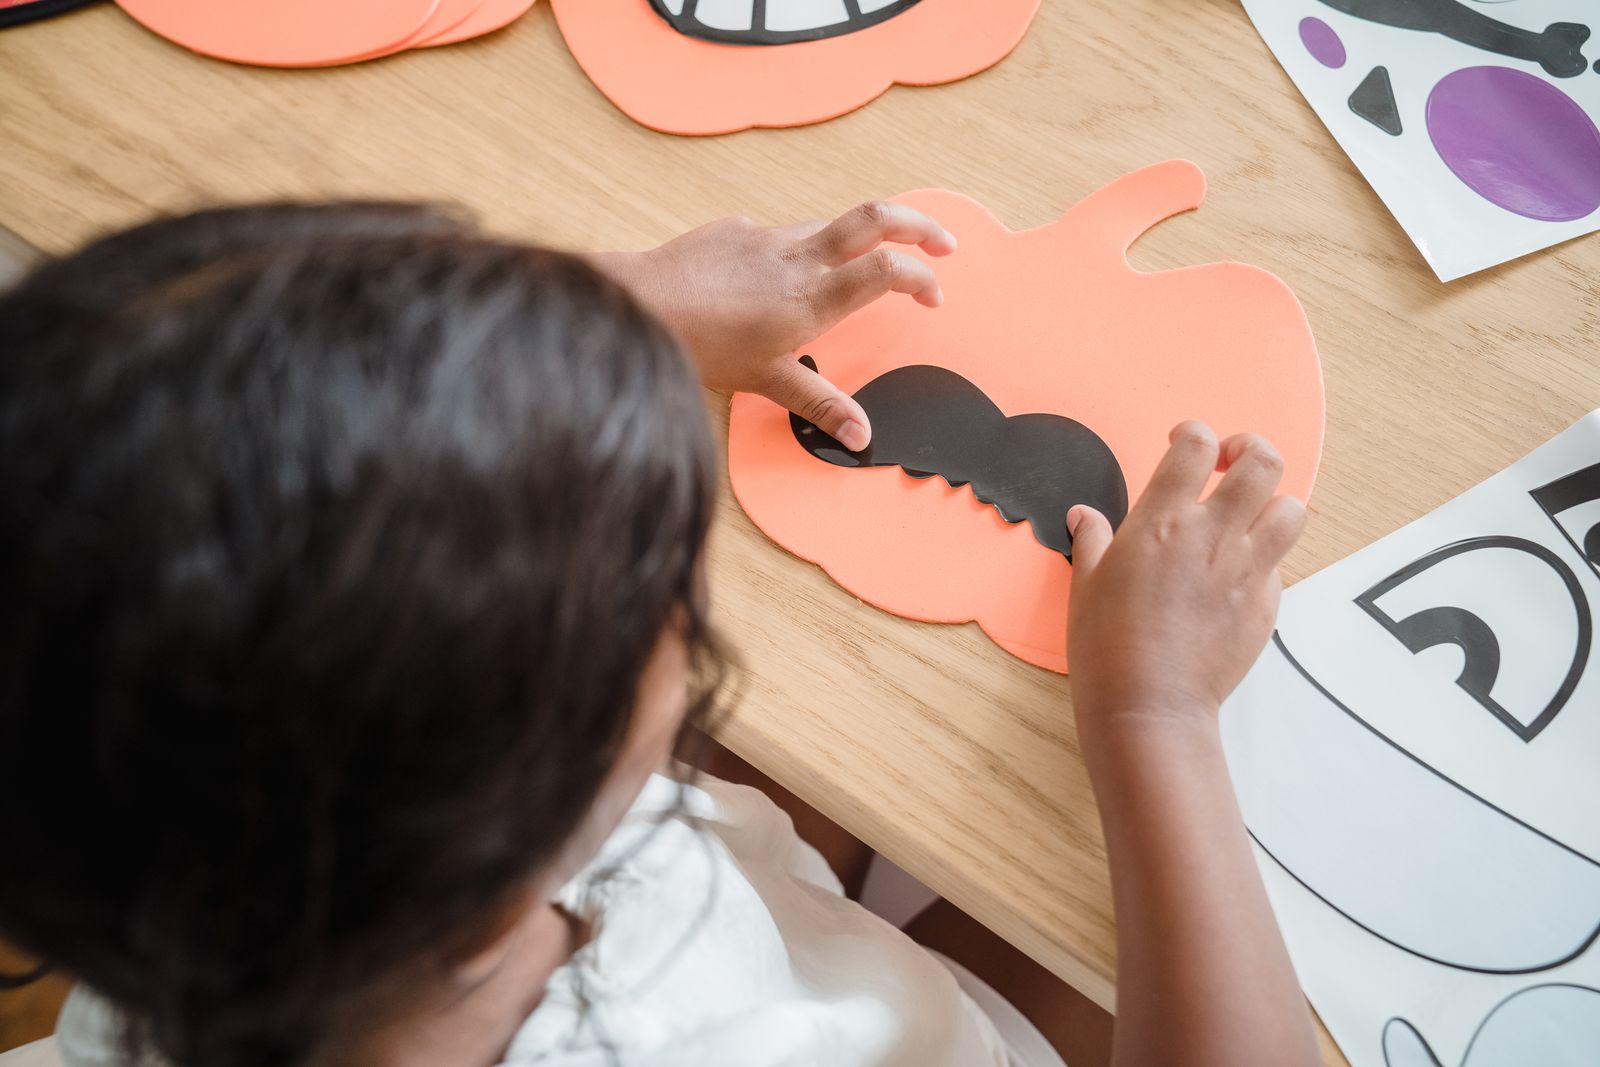
Prepare one pumpkin or ghost at the size you intend to use. Hold it against the planned background from a safe position and look from the room entrance. If the face disappears at that distance, enlarge the features or simplify the drawing before making a whole batch. You may also find How to Organize a Small Kids’ Closet That Has to Hold Clothes, Shoes, and Gear useful for a closely related small-home problem.
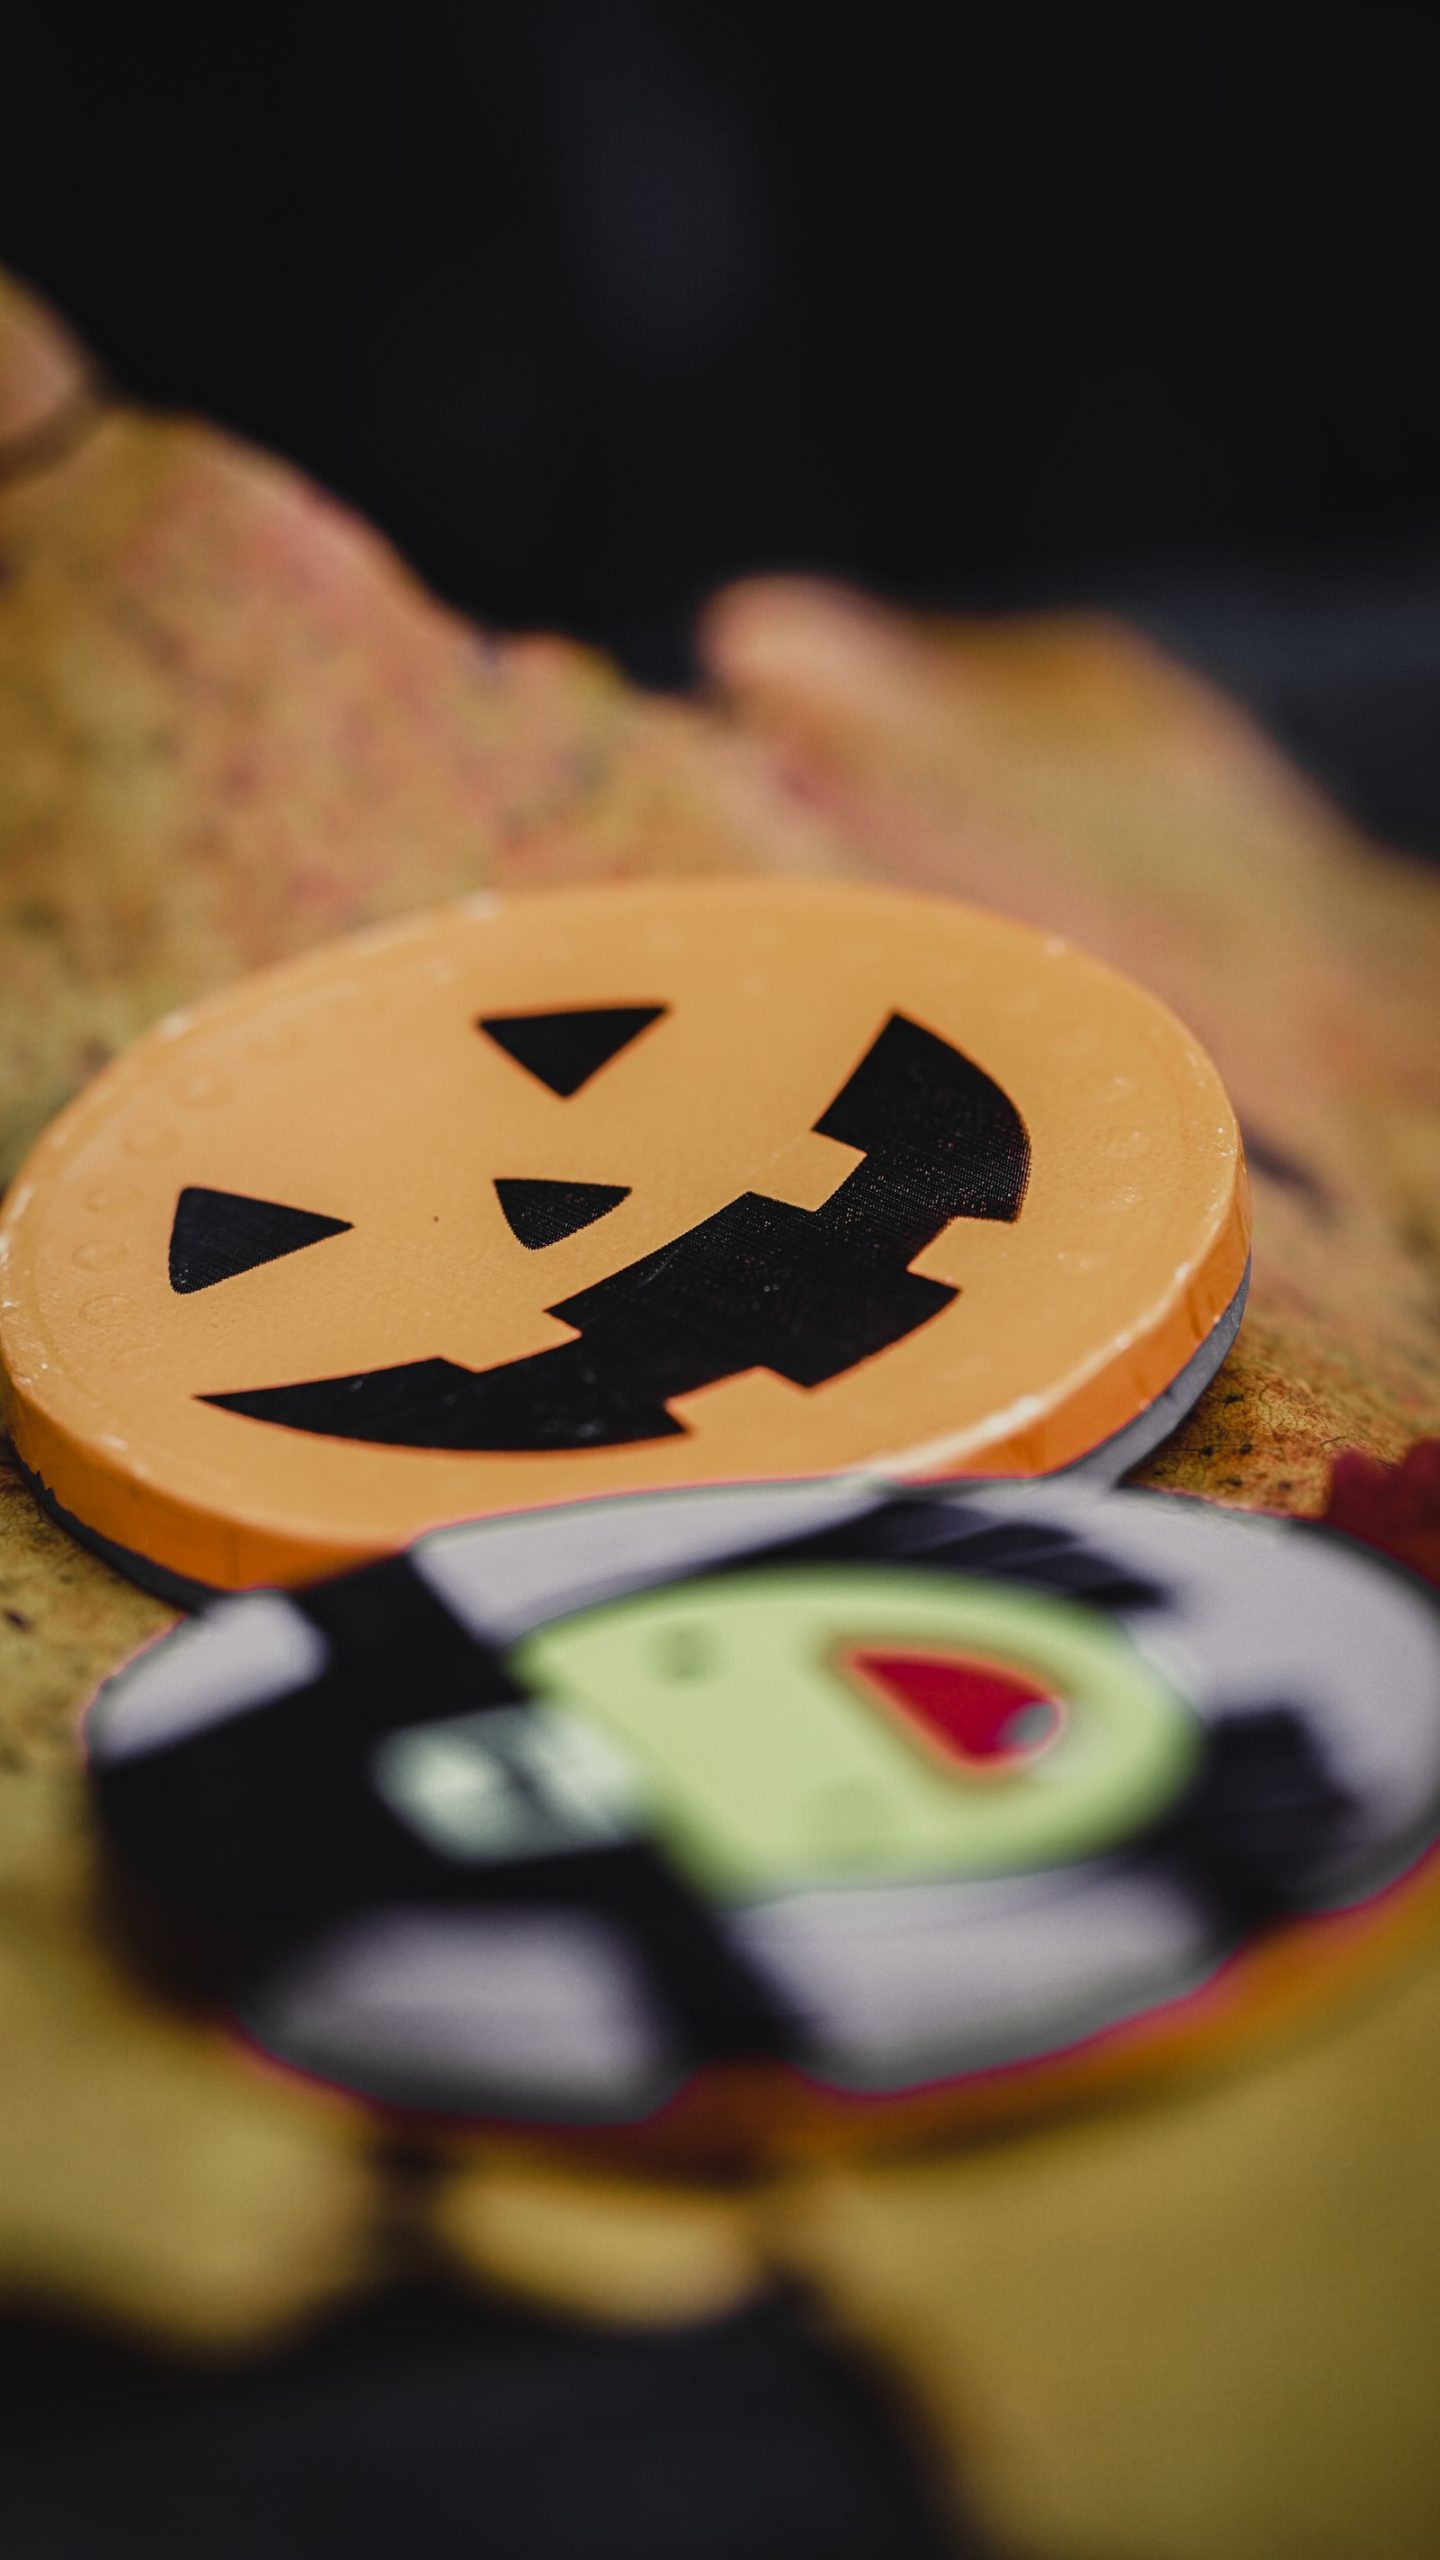
A pumpkin can be an oval with a short stem. A friendly ghost can have a rounded top and a simple lower edge. Bold eyes and one uncomplicated mouth are enough. Fine eyelashes, tiny fangs, and elaborate cutouts tend to make the craft longer without improving the wall display.
Choose a limited palette: orange and cream with black drawn details, or white shapes with one pastel accent. A short repeated palette makes varied child-made faces look related even when every piece is different.
Set a modest target for the number of shapes based on the actual display area. For example, an adult might plan six shapes for a short board arrangement. The number is a project limit, not a requirement to finish six if the children lose interest sooner.
Prepare a small, age-appropriate craft kit
Use paper or card appropriate for the design, permitted drawing materials, and tools suited to the participants’ ages and abilities. An adult should handle cutting or prepare the shapes in advance where that is the appropriate choice. Keep small pieces, loose adhesives, tools, and mounting materials under adult control.
Put the chosen shapes and drawing materials on a clear section of the table. Keep drinks and food separate from the craft area. A shallow container for finished pieces can prevent them from sliding into the household’s next activity.
Do not introduce hot glue, sharp craft knives, or a complex new tool just to reproduce a styled photograph. The activity can remain a drawing-and-arranging project. Choose supplies from their actual age guidance and instructions, without assuming that a product labeled “craft” is suitable for every child.
When the table must return to dining, our pack-away craft-zone guide helps define the project footprint. A small Halloween kit can leave the table as a complete group instead of scattering into several drawers.

Give each participant one clear part of the making
A younger child may choose between two paper colors or draw a face on an adult-prepared shape. A child ready for suitable supervised cutting may work from the simple template. An older participant might arrange the sequence or letter a short title.
Keep those roles flexible. Nobody needs to use a tool to have contributed. If one child enjoys drawing ten expressions while another prefers choosing colors, the adult can select the pieces that fit the planned display and keep a small record of the extras.
Make the first shape together, then pause. Check whether the activity is pleasant and the materials are manageable. A successful session can produce a few attractive pieces without turning into an obligation to fill the entire string.
For siblings, mark each person’s chosen contributions lightly on the back if needed. Explain where the shapes will go before assembling them. This can make the final arrangement feel shared without asking children to negotiate every position during mounting.
Build a sequence that looks cheerful from a distance
Lay out the finished shapes on the table in their proposed order. Try a simple repeating sequence: pumpkin, ghost, pumpkin, ghost. If there are only pumpkins, alternate two colors or face styles. Repetition gives the display rhythm without requiring identical drawings.
Leave an equal-looking gap between shapes, then look at the full line. A heavy cluster of dark faces on one end can make the arrangement seem unbalanced. Move one light shape toward that cluster before adding more pieces.
Keep the children’s recognizable work visible. Do not cover every irregular cut with a purchased ornament or redraw the whole project to match an adult example. A consistent palette and thoughtful spacing can make a varied handmade set look intentional.
Decide between a garland and a flat display
A hanging garland uses a line or string, which adds mounting and access considerations. It is not suitable simply because it is light. The adult must decide whether the room, users, support, and access make that format appropriate.
A flat board arrangement avoids a hanging line. Place the same sequence across a suitable display board, or arrange the shapes within an existing appropriate frame. That version can still look like bunting while keeping its support and edges defined.
For a family with a toddler, an infant, a climbing child, or a pet that pulls at decorations, choose a format and location that remove access to loose pieces and strings. Do not rely on a high-looking placement alone. The household’s actual access and behavior decide the arrangement.
If neither the wall nor a supported board is appropriate in the bedroom, display the project in an adult-managed shared area. The child can still have a seasonal contribution without a decoration beside the sleep space.
Consider mounting hardware only after the surface check
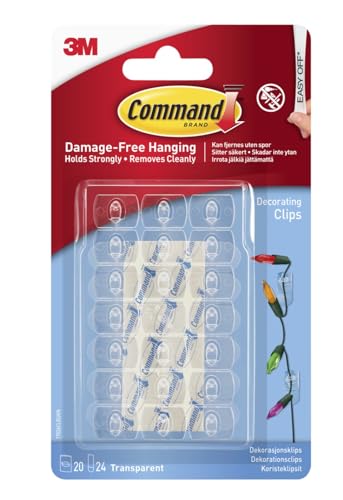
For a compatible adult-managed lightweight decoration, the selected Command clear decorating clips, 17026CLR-ES, 20-pack are one researched hardware option. They are small mounting products, not children’s craft pieces or toys.
Check the exact clip instructions for approved objects, surfaces, application, capacity, and removal. Do not assume a clip intended for one kind of decoration can support any garland you make. Keep mounting supplies and spare strips away from children and pets.
The manufacturer’s decorating-clip page provides model information. Follow the delivered package for the complete procedure. We have not tested the clips with this craft, and a temporary mounting claim does not guarantee compatibility with an unknown bedroom finish.
Where the correct mounting combination is not confirmed, use a suitable existing display system instead. Buying new clips should solve a known installation need, not encourage a hanging format that the room cannot accommodate.

Choose a design the child can actually finish
A first paper garland can use alternating orange circles and broad white ghost shapes. Let the child choose the faces or colors, while an adult handles any cutting that exceeds the child’s current ability. Keep the shapes large enough for the available coloring tools. Tiny facial details can turn an enjoyable project into repeated corrections.
For a child who likes patterns, prepare three simple shapes and ask them to arrange a short repeating sequence on the table. A pumpkin, ghost, pumpkin, star sequence can be tested before attachment. The child can see the rhythm and decide whether the next piece belongs. The result does not need to copy a shop-bought garland.
A shared room can have two short sections using the same base color and different faces. Each child gets a recognizable contribution without competing for the whole wall. Agree on the finished display area before making the sections. Our shared kids’ bedroom guide offers broader guidance for activities that fit shared daily routines.
If one child wants spooky features and another prefers friendly characters, reserve the gentler design for the bedroom and keep the other artwork as a separate tabletop picture elsewhere. Treat that difference as a design choice. A bedroom decoration should support the people who sleep there, including a sibling who did not make the craft.
Use a short working session rather than an assembly marathon
Separate the activity into selecting shapes, decorating them, and adult assembly. The first session can end with a few finished faces laid flat in a suitable place. There is no need to keep children at the table while an adult measures the display and checks the supports.
Start with enough supplies for the small design you agreed on. Extra sheets and unused pieces can remain with the adult until needed. This makes the work area easier to understand and gives a natural stopping point: when the selected shapes are decorated, the child’s part is complete.
Keep a plain paper version of a favorite face as next year’s template. A template takes less storage than a long assembled garland and allows the child to choose fresh colors later. The seasonal decor storage guide can help decide which pieces are worth keeping.
Before mounting, lay out the finished sequence once more and invite the child to choose its order. That final decision preserves their ownership of the project while the adult handles installation. If the work remains unfinished, use the completed shapes as a smaller display instead of adding a rushed final session.
In a shared bedroom, decide which wall is part of the shared display before assembling the garland. Our guide to shared sleep, dress, and play zones helps keep the seasonal artwork outside the spaces children need every day.
Let the adult handle installation and removal
Assemble and mount the finished decoration away from the children’s active craft work. Check all supports and keep the display clear of anything hot, moving, or needed for room access. Avoid fastening a garland to furniture that can tip, to a window covering mechanism, or to an electrical fixture.
Leave whatever access the mounting method requires for removal. Put instructions and spare hardware together in an adult-controlled place. A seasonal decoration should not become a mystery installation by the time it needs to come down.
After installation, inspect from the positions children actually use in the room. They should be able to play, dress, reach storage, and settle to sleep without interacting with the display. Our guide to helping children put their own things away supports keeping everyday access clear.
Keep the bedroom’s normal mood at bedtime
Look at the shapes under the usual evening light. A face that looks friendly at the craft table can become a strange shadow in a dim room. If the child dislikes the nighttime effect, relocate or simplify the display rather than explaining why they should find it fun.
Skip flashing lights, sound effects, and extra battery devices if the paper design already creates the desired atmosphere. The craft’s appeal comes from the child’s colors and faces. It does not need an electronic addition to count as Halloween decoration.
For a shared room, ask both users again after the first evening. They may enjoy the display in a common area more than near their beds. The Family Home hub includes ways to fit shared routines around different preferences.
Finish the craft session before the next activity
Collect offcuts, secure tools and adhesives, and return unused materials to their usual place. Have children help with manageable tasks, such as putting their finished drawings in the designated container, while the adult handles tools and mounting supplies.
Photograph the finished project for a personal memory if the family wants to. Keep the image of the work rather than every loose scrap. If you plan to share a picture, make that a separate household decision; the decorating activity does not require posting the children or their room online.
After Halloween, remove the decoration with the specified method and decide together which pieces are worth keeping. A small envelope of favorite paper shapes can be enough. Avoid storing a tangled line with loose hardware where a child can retrieve it as a plaything.
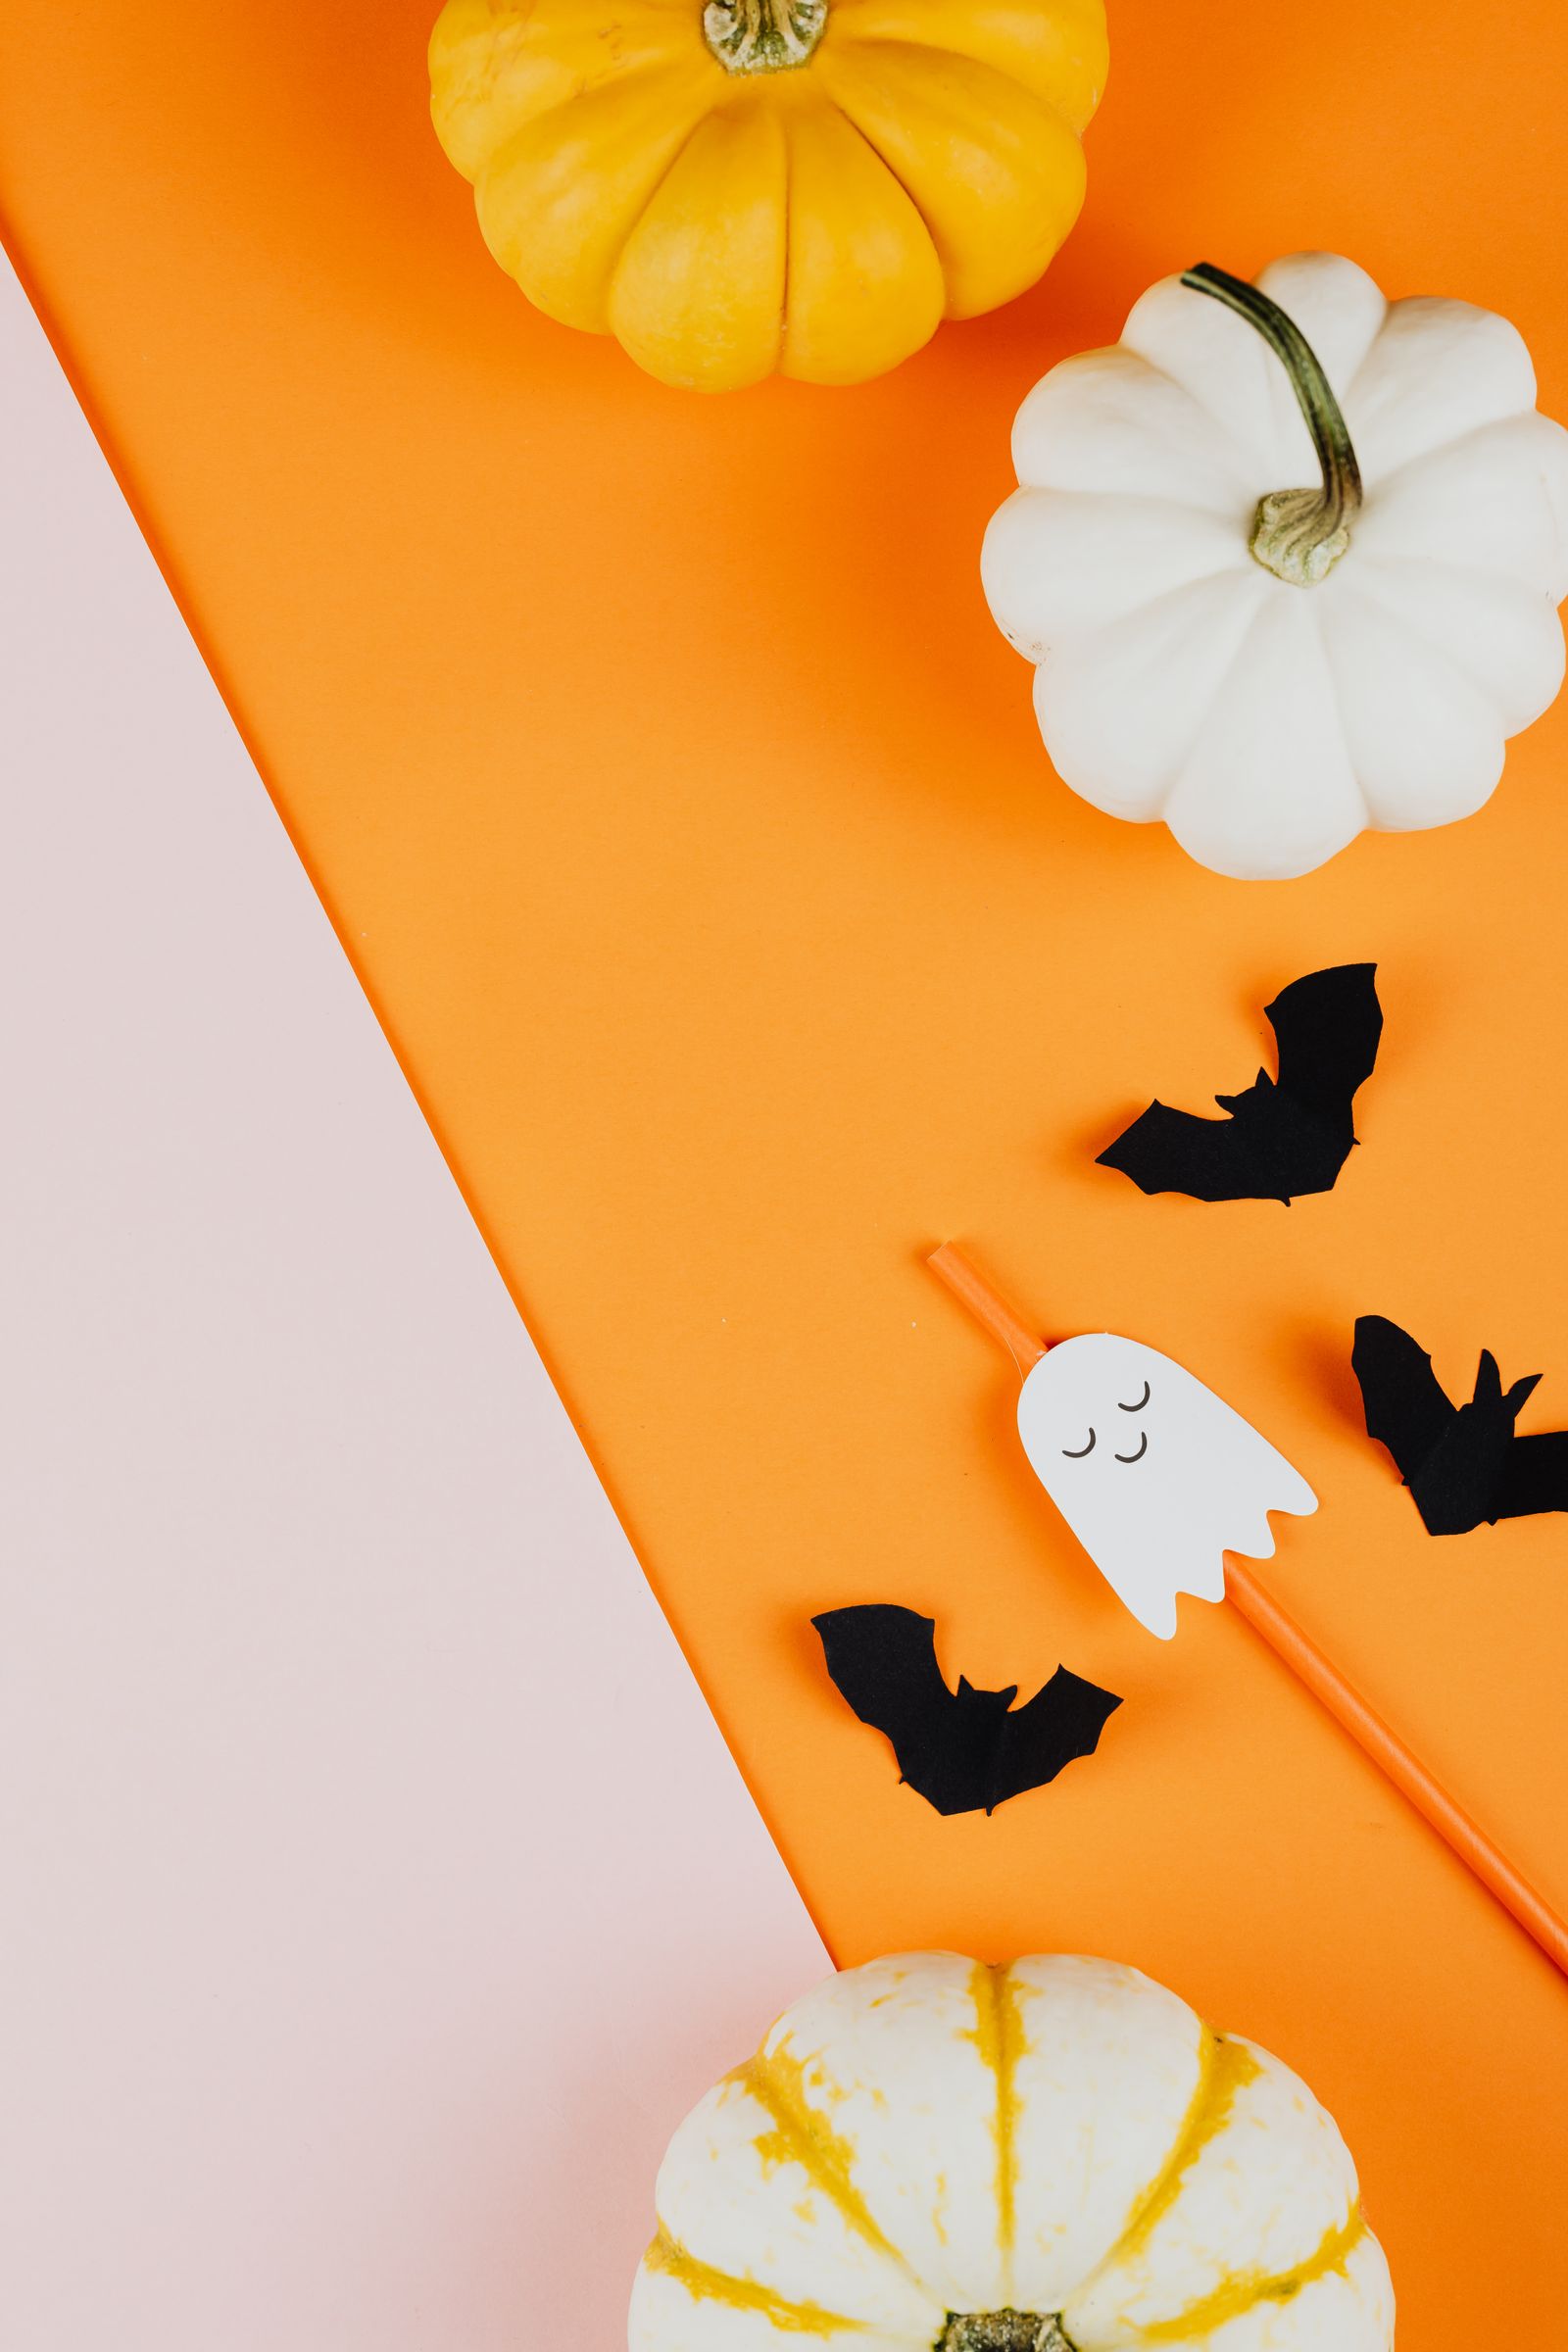
The project succeeds when the children recognize their work, the adults can manage the installation, and the room remains comfortable. A short row of cheerful pumpkins can provide all the Halloween atmosphere the family wants.