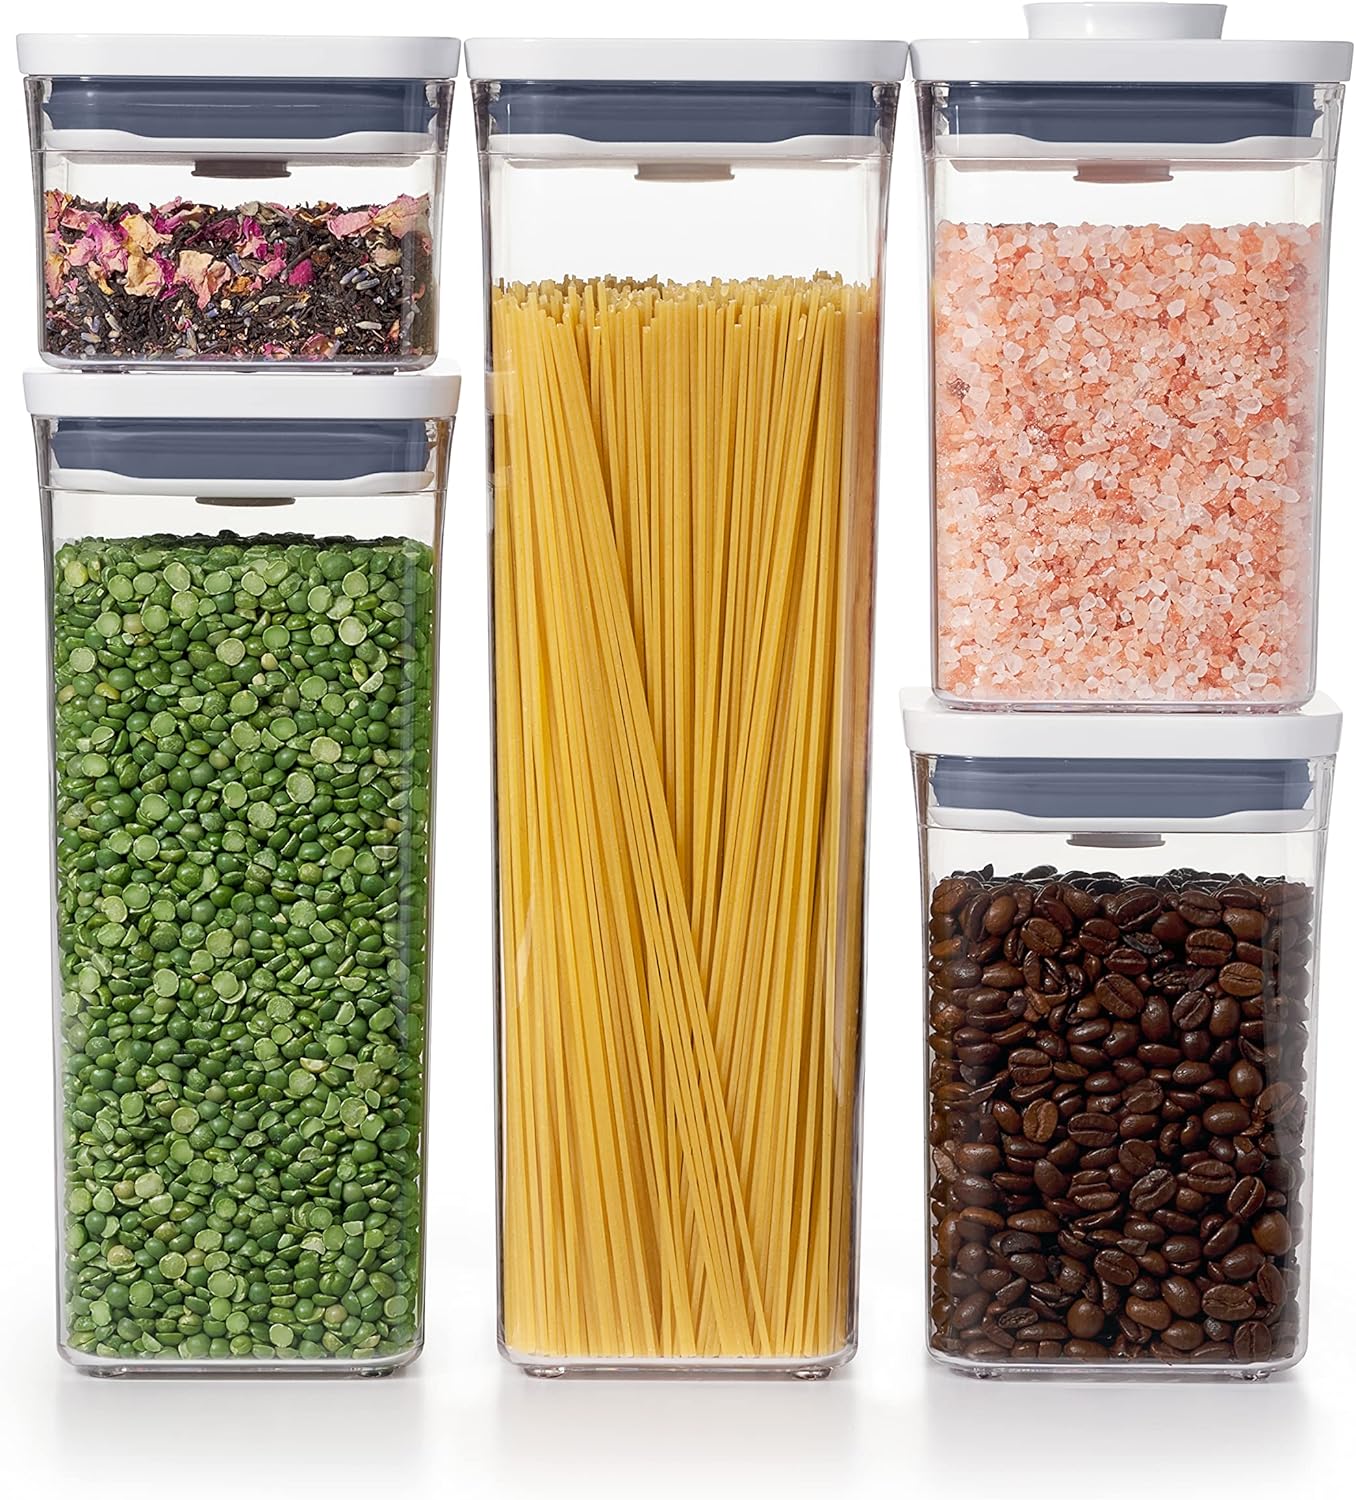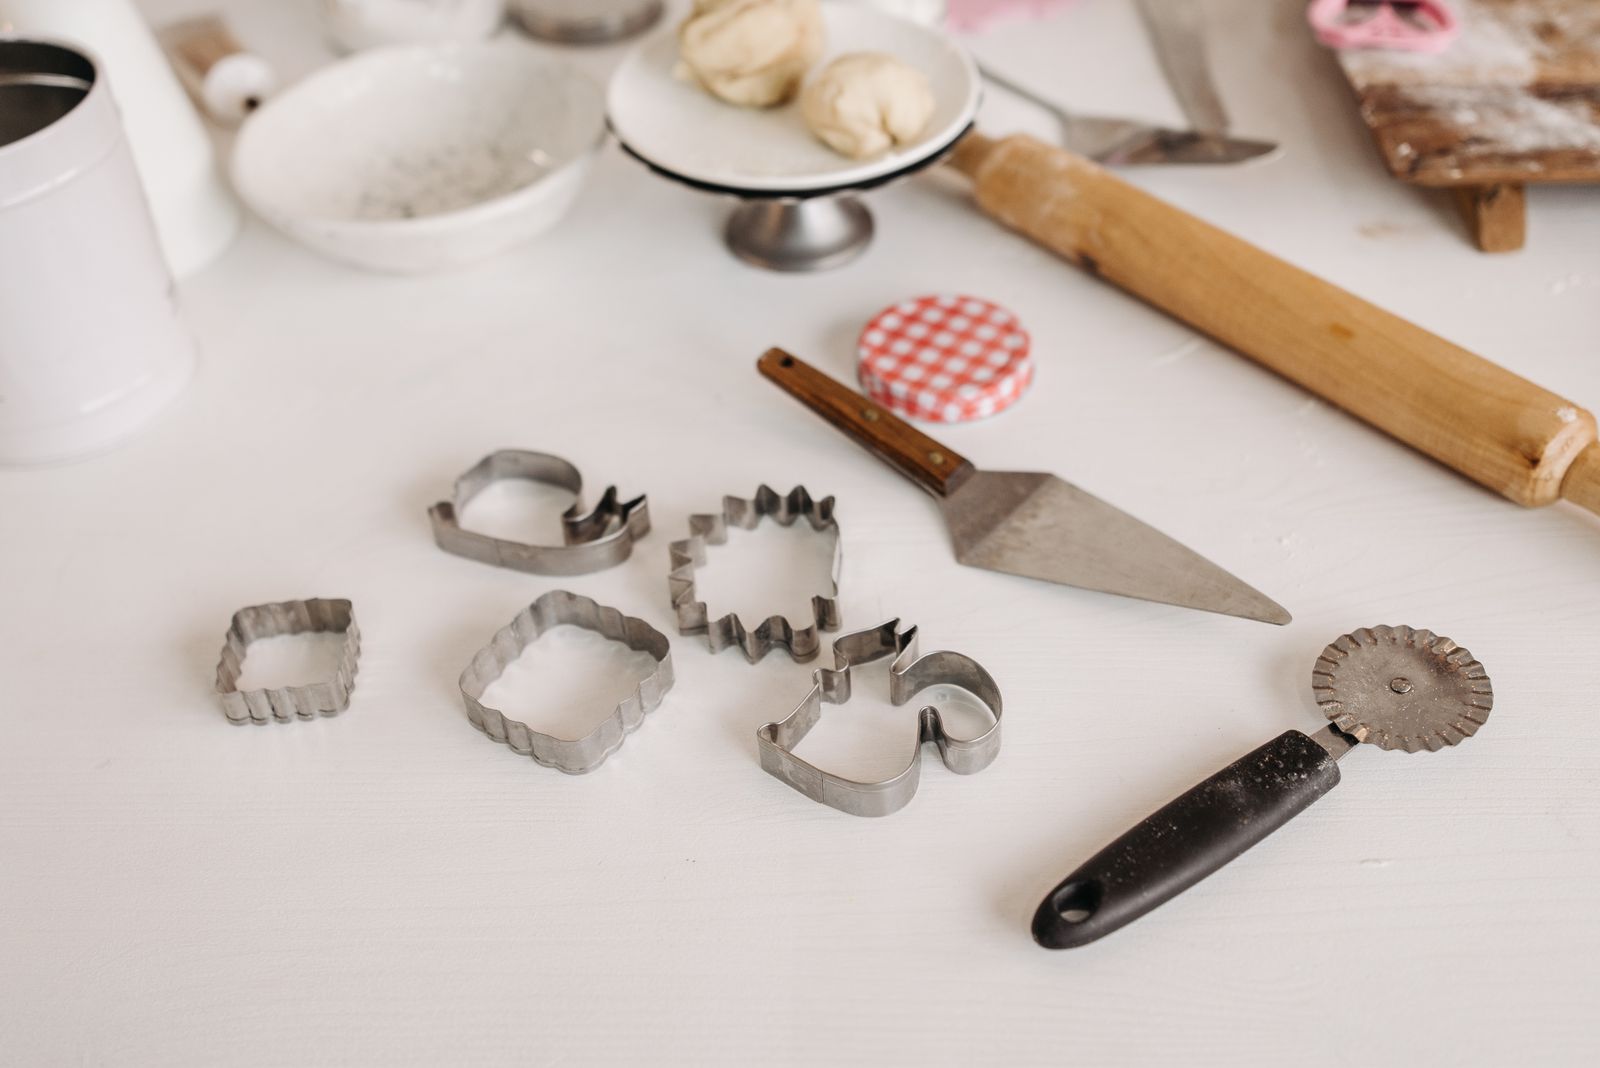
The cookie cutter you need is usually somewhere in the baking drawer. The matching piping tip may be inside a large decorating kit, under three bags of accessories. Finding both should not require emptying the kitchen before you have made the dough. For the broader setup, Clean a Silicone Baking Mat in a Small Kitchen Without Folding It Into the Sink is a useful next read.
Small decorating tools need a system that respects their differences. Cutters have outlines you want to recognize. Tips have tiny openings and sometimes depend on a particular coupler. A successful arrangement lets you choose the right pieces, wash them, dry them completely, and return them without rebuilding a complicated display.
This guide focuses on cookie cutters, piping tips, couplers, and their immediate accessories. For flour, baking pans, and the rest of the cupboard, start with our small-kitchen baking-supply plan.
Begin with the baking you actually repeat
Lay out the tools on a clear surface and name the projects you make more than once. Perhaps you decorate birthday cupcakes, bake a simple holiday cookie batch, and occasionally pipe mashed potato toppings. Those projects deserve easy access. A specialist tip bought for one ambitious cake does not automatically belong in the front compartment.
Make three working groups: regular projects, occasional projects you still intend to do, and pieces you cannot currently identify or use. The last group is a temporary decision group, not a permanent mystery box. Look up a recognizable maker or model where possible. If a part has no known purpose, do not assume it fits an accessory simply because the sizes look close.
Inspect condition while the collection is visible. A distorted cutter may no longer make the intended outline. A damaged tip or cracked coupler needs a decision before it joins the ready-to-use tools. Follow the maker’s replacement and use guidance; a storage container cannot correct damaged equipment.
Sort cutters by the decision you make at the counter
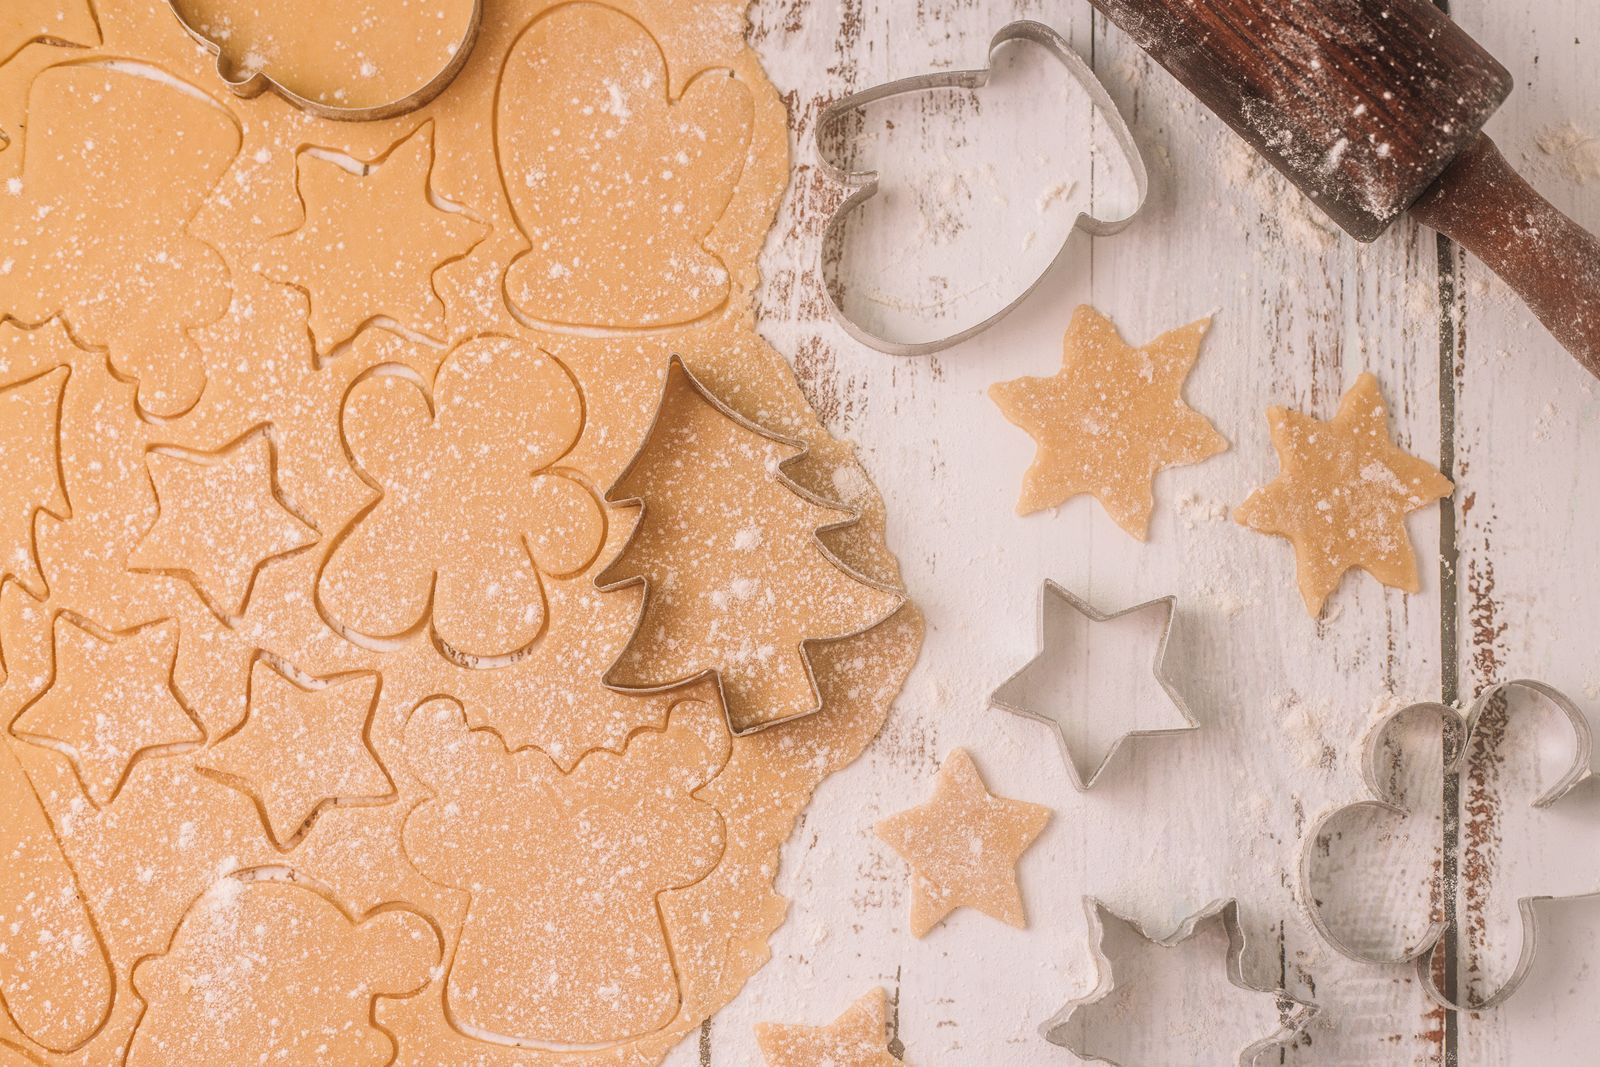
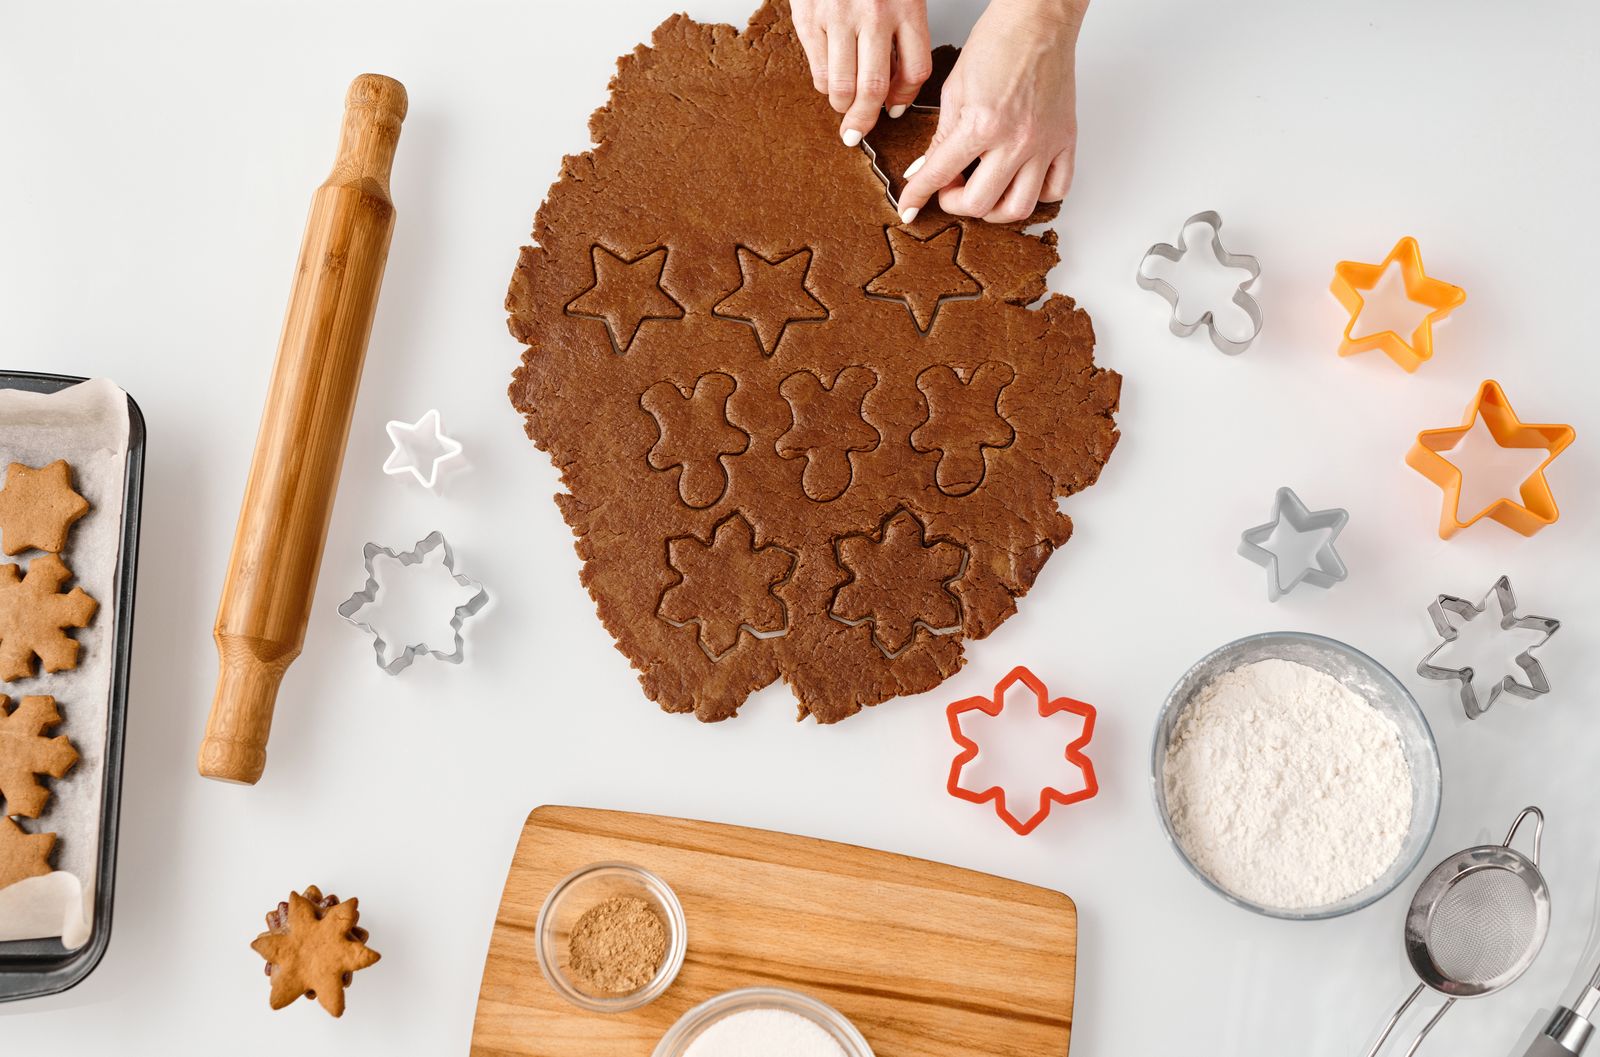
For most small collections, project or shape is a more useful first division than material or color. Put the everyday circles, stars, or other repeat shapes together. Keep a holiday set together when its pieces make sense as one project. You should be able to identify the group before opening every container.
Nested cutters can save space when the set is designed to nest. Check that removing one size does not pull the whole stack into your hand. Do not press an unrelated cutter inside another to force a compact bundle. Outlines, handles, and rims may interfere even when the two shapes seem similar from above. For a related step-by-step approach, see How to Hand-Wash a Baking Sheet When Your Kitchen Sink Is Too Small.
A shallow compartment often makes selection easier than a deep jar. Stand suitable sturdy cutters so the outline remains visible, or lay a small collection in a loose layer. Keep any cutting edges from being an unexpected first contact when someone reaches into the drawer. Choose the orientation around the actual cutter construction and the people using it.
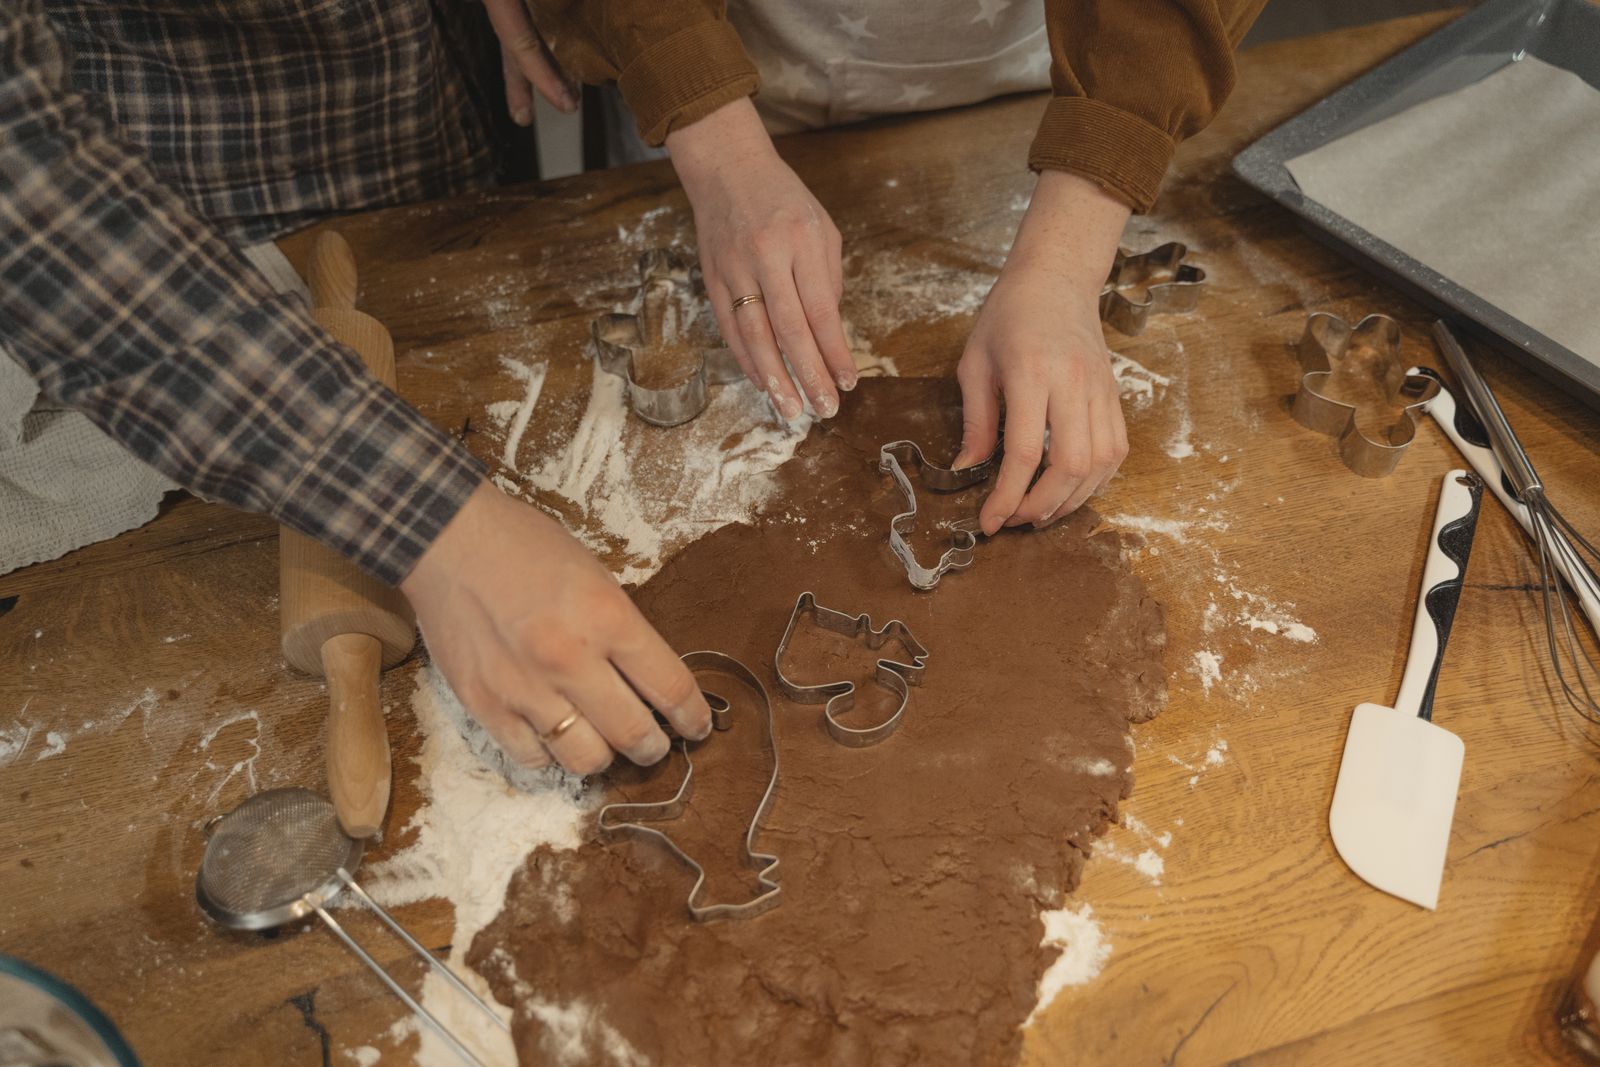
Give duplicates a purpose. Two copies may be useful when two people regularly cut dough together. Six copies of the same rarely used shape may simply hide the useful sizes. Keep the number that serves a real project rather than reserving drawer space for the original package quantity.
Give piping tips identities that survive cleanup
A tip collection becomes much easier to use when each piece has a readable identity. Preserve a stamped number where present and keep the maker name in your reference. Numbering systems are not necessarily interchangeable across brands, so a handwritten number without its brand can create another guessing game.
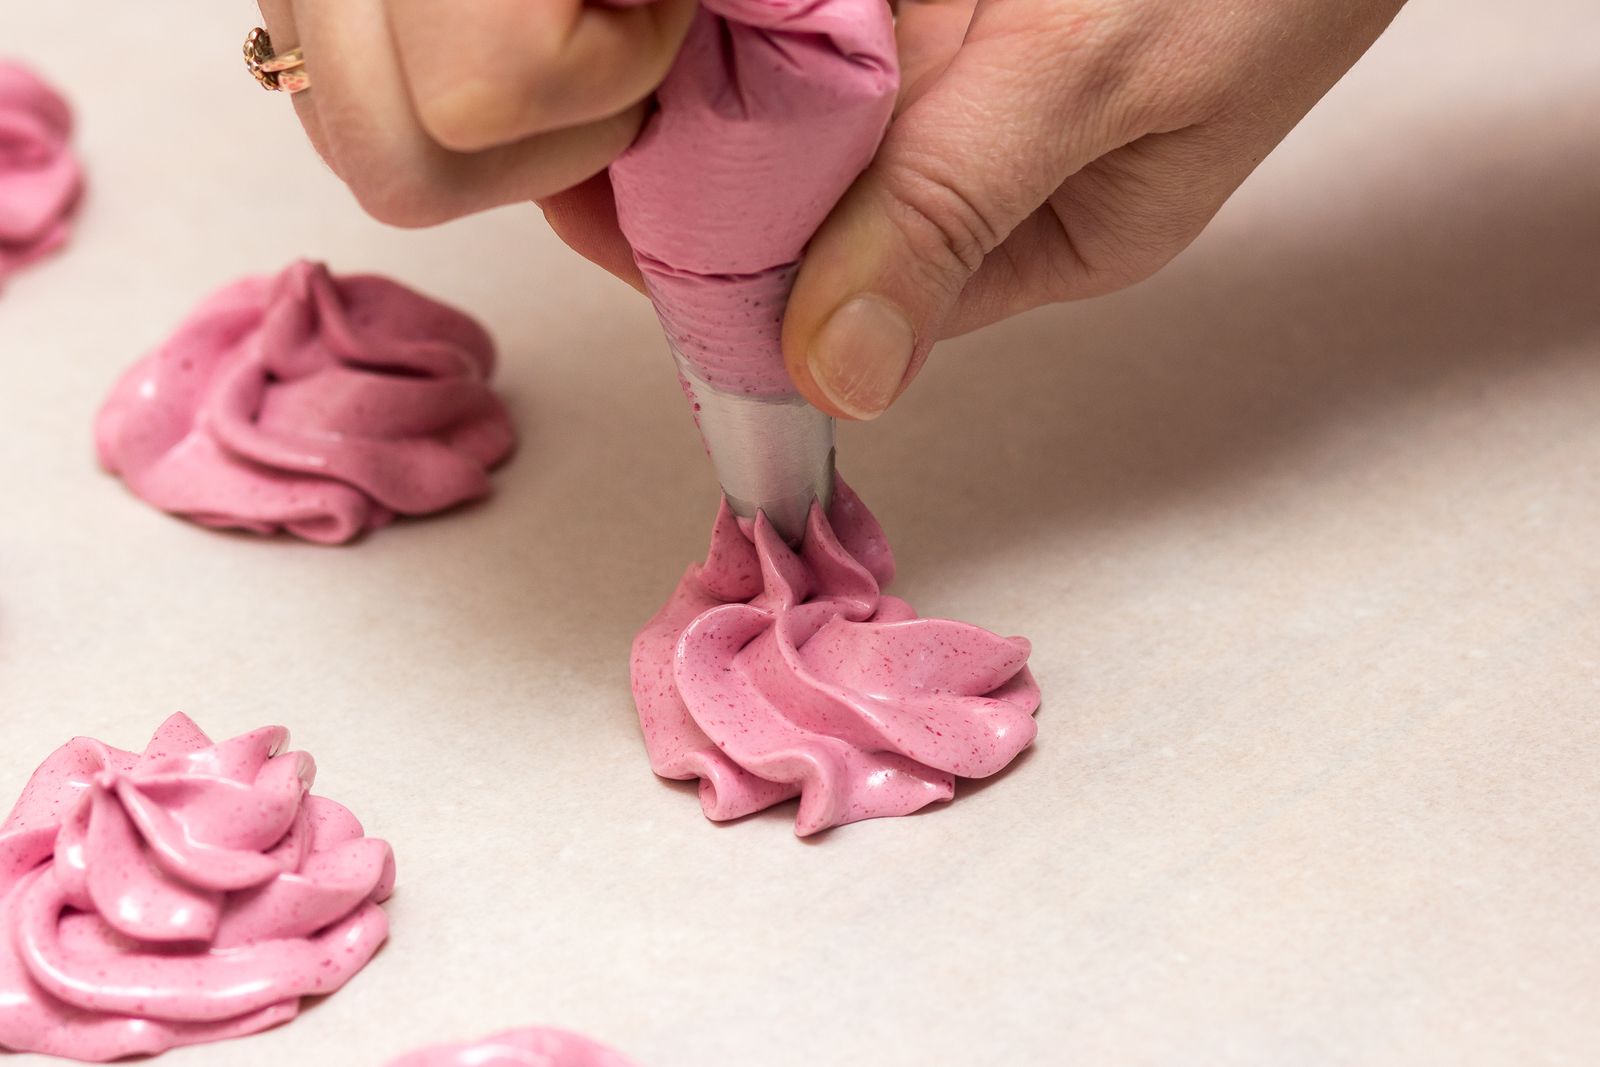
Make a small reference card for the tips you use. It might read: round tip for cupcake centers, star tip for the usual swirl, and leaf tip for the occasional cake. Add the exact manufacturer number when known. You do not need a chart of every possible decoration; you need a way to select your own repeat tools.
Keep the reference outside the food-contact opening. Do not attach sticky labels inside tips or on areas that contact ingredients. A label on the storage section, or a separate photo showing the tool and its identifier, can preserve the information without altering the working surface.
Store tips so the narrow ends and openings are not crushed by larger utensils. A small existing case with appropriate divisions may already work. Test its access before buying a larger organizer. If each tip needs several other pieces lifted away, the case may be visually tidy but inconvenient during a baking session.
Match couplers and bags before treating them as a kit
A coupler base, its retaining ring, a decorating bag, and a tip form a usable setup only when they are compatible. Check the instructions for the exact parts. Keep a matched coupler together rather than mixing rings into a collection that requires trial and error every time.
If you use more than one size, separate the sizes clearly. An outer label can name the compatible tips or the project it serves. Keep specialty adapters with the equipment they support. A vague compartment called accessories makes sense only while one person remembers every piece.
Separate unused disposable bags from reusable bags that have completed their permitted wash and dry routine. A wet reusable bag should not disappear into a sealed ready-kit. Reserve storage for its actual condition, and follow its maker’s directions for cleaning, drying, and continued use.
Choose one main home and one seasonal extension
Bring the regular cutters and tips to the drawer or cabinet closest to your normal preparation area. The location should let you retrieve them without moving a heavy pan or pulling down a large appliance. Use an existing tray or divider first. Leave enough room to lift the tools by their intended grip areas.
Occasional sets can live farther back if they remain recognizable. Store the holiday cutters with a short contents label rather than scattering them through several kitchen zones. Keep their home with baking equipment unless there is a clear reason to use seasonal household storage.
Check the drawer with the tools in place. Open and close it normally. Nothing should catch the cabinet above, scrape another tool, or slide into an inaccessible corner. Apply the same retrieval principle used for pots, pans, and lids: the next item should come out without rebuilding the entire arrangement.
Plan the return while the project is still underway
During baking, give used tools a visible washing destination rather than returning them beside clean ones. After cleaning according to the maker, keep pieces in a suitable drying position until the openings, seams, and other relevant areas are ready for storage. Do not seal damp tips in a case because the next project is several weeks away.
Check the small parts before putting the set away. A coupler ring can be easy to overlook among bowls and cloths. Return the matched parts together only after their condition is suitable. If something is missing, note it on the outer kit label so the next session begins with accurate information.
Containers can help with grouping, but they must be easy to reopen and return. If you need another box, first check your container-and-lid organization. Repurposing a suitable spare may solve the storage problem without adding another unmatched item to the kitchen.
Try the arrangement on a real decorating session
Choose a familiar project and retrieve only the required pieces. Notice the friction: an unreadable tip number, a cutter buried below another set, or a coupler that does not match. Change the arrangement around those observations. Do not add dividers to fix a problem that is really a missing identity or an unsuitable tool.
A useful end-of-session test is whether someone else could put the cleaned pieces away using the labels alone. If the answer depends on remembering your private layout, simplify the groups. Our Organization guides and Kitchen collection offer broader storage ideas once this small kit works.

You have finished when the next ordinary baking project can start with a short selection, a compatible setup, and tools in known ready condition. The collection does not have to be large or impressive. It has to make the baking you actually enjoy easier to begin and easier to finish.