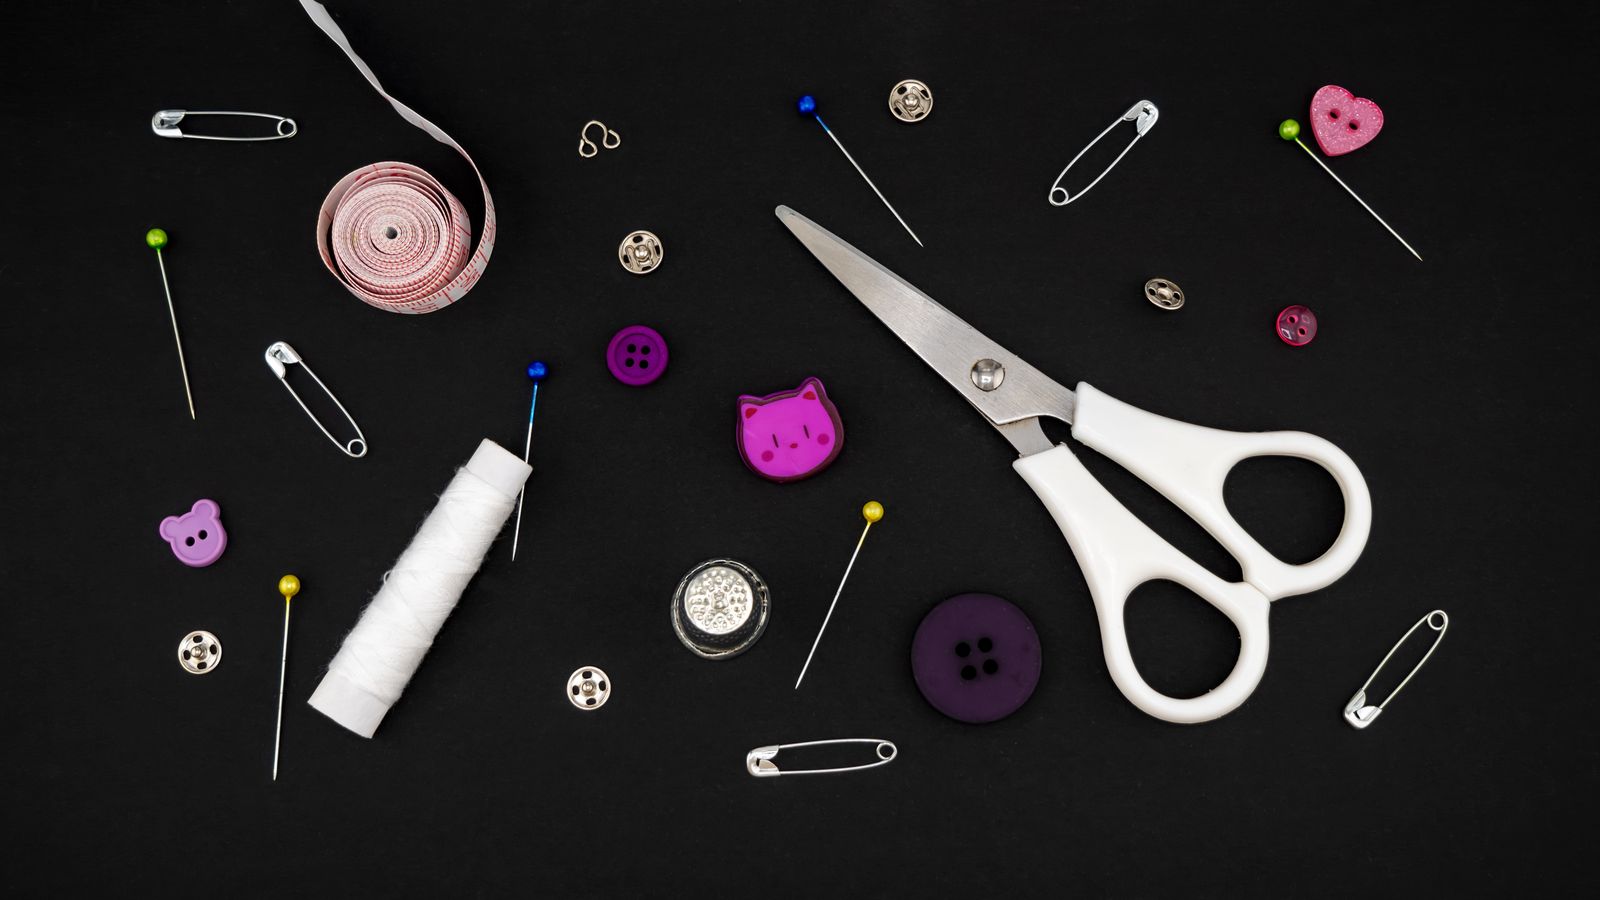
A loose button should lead to a small repair, not a search through three drawers and a shopping trip for another sewing kit. Yet mending supplies often live in awkward places: a hotel kit in a travel bag, spare buttons in a kitchen drawer, and scissors borrowed by whoever needed them last. The clothes waiting for attention become their own pile because starting the repair feels harder than postponing it. You may also find Simple Houseware 4-Pack Drawer Organizer Review: Will the Compartments Fit Your Clothes? useful for a closely related small-home problem.
A compact mending station gives those supplies one address and gives each damaged garment a decision. It does not require a sewing room or a collection of every thread color. This guide is for ordinary hand repairs you already know how to perform, with a clear route to a tailor for work beyond your skills. The aim is to finish small jobs without creating another craft collection. For a related step-by-step approach, see How to Manage Hand-Me-Down Kids’ Clothes Between Siblings Without Storing Too Much.
Start with the repairs your household actually makes
Think back to the last few items you repaired or meant to repair. Perhaps they were shirt buttons, a small opening in a seam, or a hem that came loose. Write those jobs down before sorting supplies. A household that only replaces buttons needs a different kit from someone regularly altering clothes. Your kit should reflect the former even if an attractive storage box offers room for the latter.
Separate a basic repair from a change to the garment’s fit or construction. A zipper replacement, a lined jacket alteration, or work on protective clothing may call for someone with the right knowledge. Put those items on a separate service list. Do not let a difficult alteration occupy the same waiting basket as a button you could replace during an ordinary quiet evening.
If supplies currently live among household odds and ends, use the same clear boundaries described in our guide to keeping a small junk drawer useful. Give mending tools their own working address instead of adding them to a general catchall.
Keep a small working kit and a smaller backstock
Gather your existing needles, thread, scissors, seam ripper, tape measure, and spare buttons. Keep the useful tools in good condition. Choose thread that matches clothes you wear often, rather than buying a comprehensive palette. You can add a specific color when a real job requires it. Blunt, damaged, or unsuitable tools do not become useful merely because they fit neatly in a divided box.
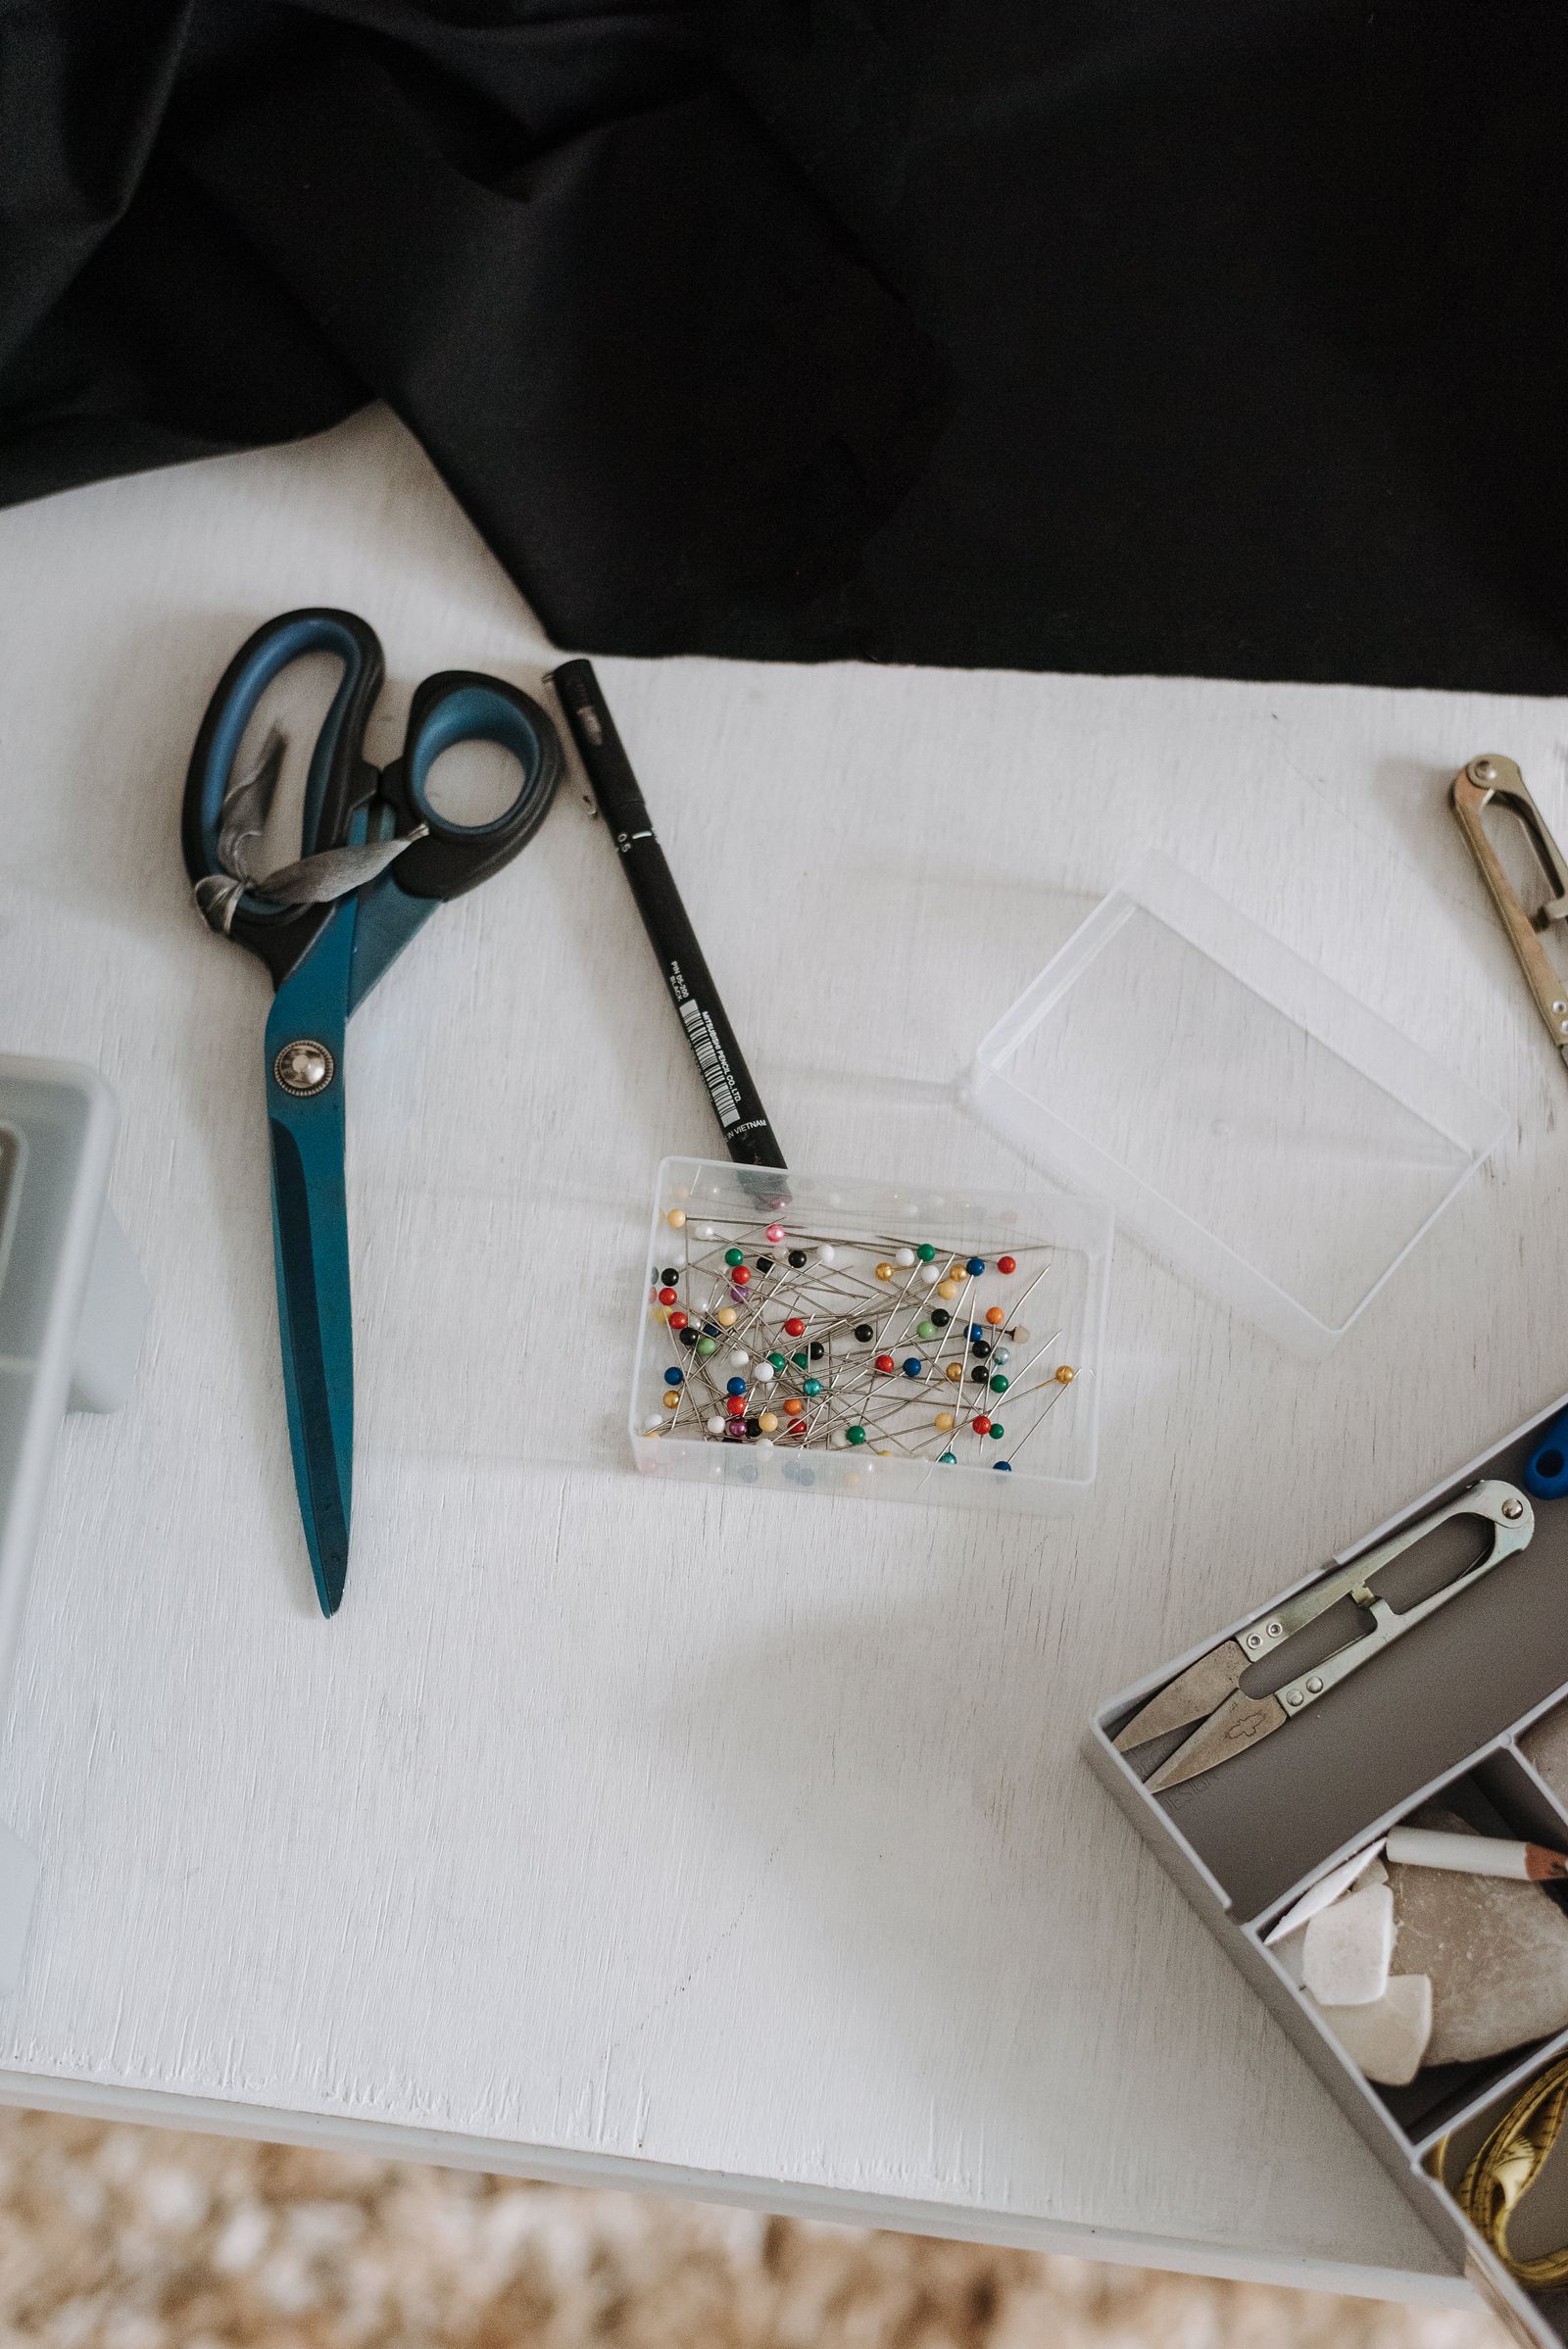
Use a closed container that opens on a table without spilling. An ordinary small box may be enough. Secure needles in an appropriate needle case, keep pins contained, and cover or secure sharp tools. Place the complete kit beyond children’s access. A transparent lid helps an adult see missing supplies, but visibility does not make sharp contents suitable for a child’s independent use.
Keep unopened thread or duplicate tools separately only if you will use them. If the working kit and backstock cannot fit in your chosen space, review duplicates before enlarging the container. The capacity ceiling approach is useful here: your container sets a practical limit, not a target to fill.
Store spare buttons with enough information to use them
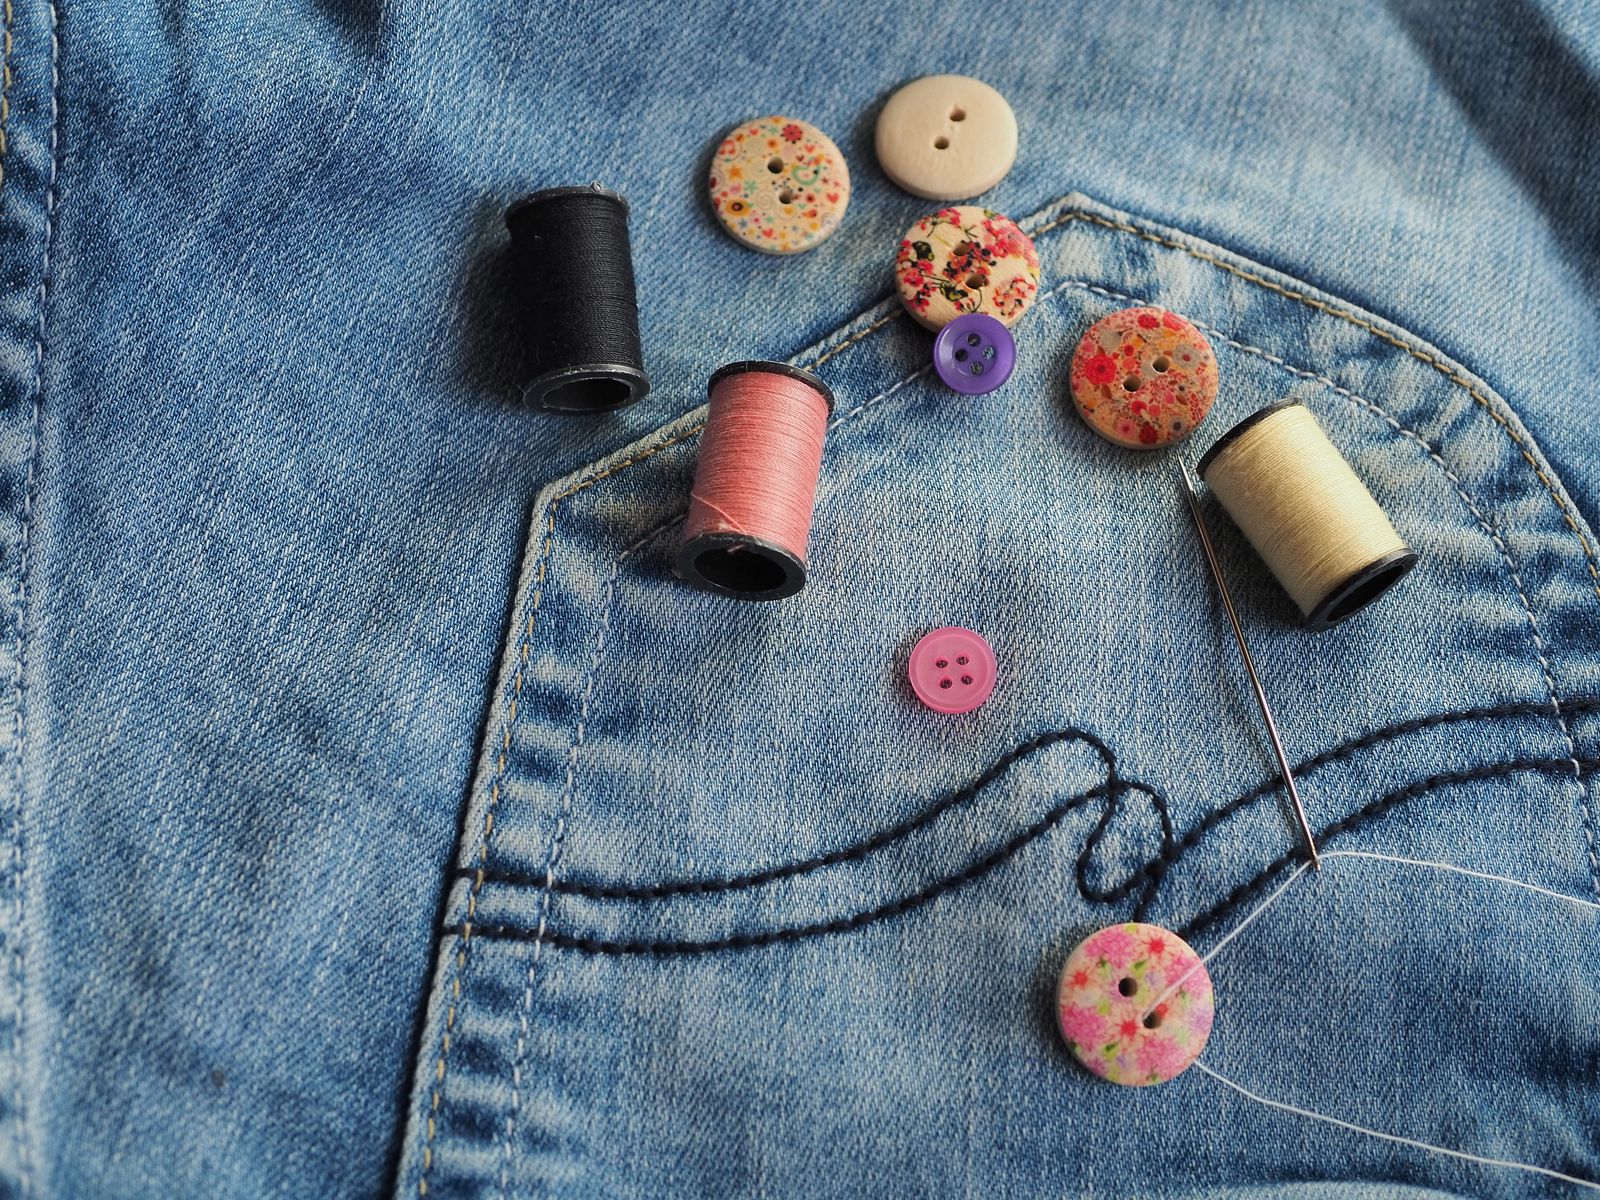
A collection of anonymous buttons creates a second matching task. Keep a spare in its original labeled packet when possible. If that packet is missing, write a short description such as navy work shirt or child’s green cardigan. Include the garment’s owner when several people wear similar clothing. A tiny labeled envelope is more useful than a decorative jar containing every button together.
Discard the identification when the garment leaves the household, unless the button has another planned use. Review these packets when you sort the associated clothing. This ties a supply decision to a real wardrobe decision and prevents a button archive from surviving long after the clothes it serves.
Do not attach loose needles or pins to a garment and put it back in a shared laundry or clothing pile. Keep sharp tools in the kit. Use a written note to describe the repair instead. Anyone handling the waiting clothing should be able to do so without encountering an unexpected sharp object.
Give waiting garments a decision, not just a basket
Choose one small place for clothing awaiting a repair. Each item needs an owner, a description of the problem, and a next action. Those actions might be repair at home, ask a tailor, or decide whether the garment is worth keeping. A container labeled mending tells you where things are; those decisions tell you how the pile will leave.
Keep the waiting items distinct from dirty laundry and wearable clothing. Wash or prepare them according to their care instructions before working, as appropriate to the item. Do not assume that a stained or badly worn garment will become desirable after repairing one seam. Consider its overall condition, fit, and actual use before investing effort.
If you are sharing limited wardrobe storage, integrate the waiting container with your existing shared closet arrangement. Avoid putting every unfinished job on a chair: that hides whether the clothes are worn, dirty, or waiting for action.
Make the temporary work surface easy to clear
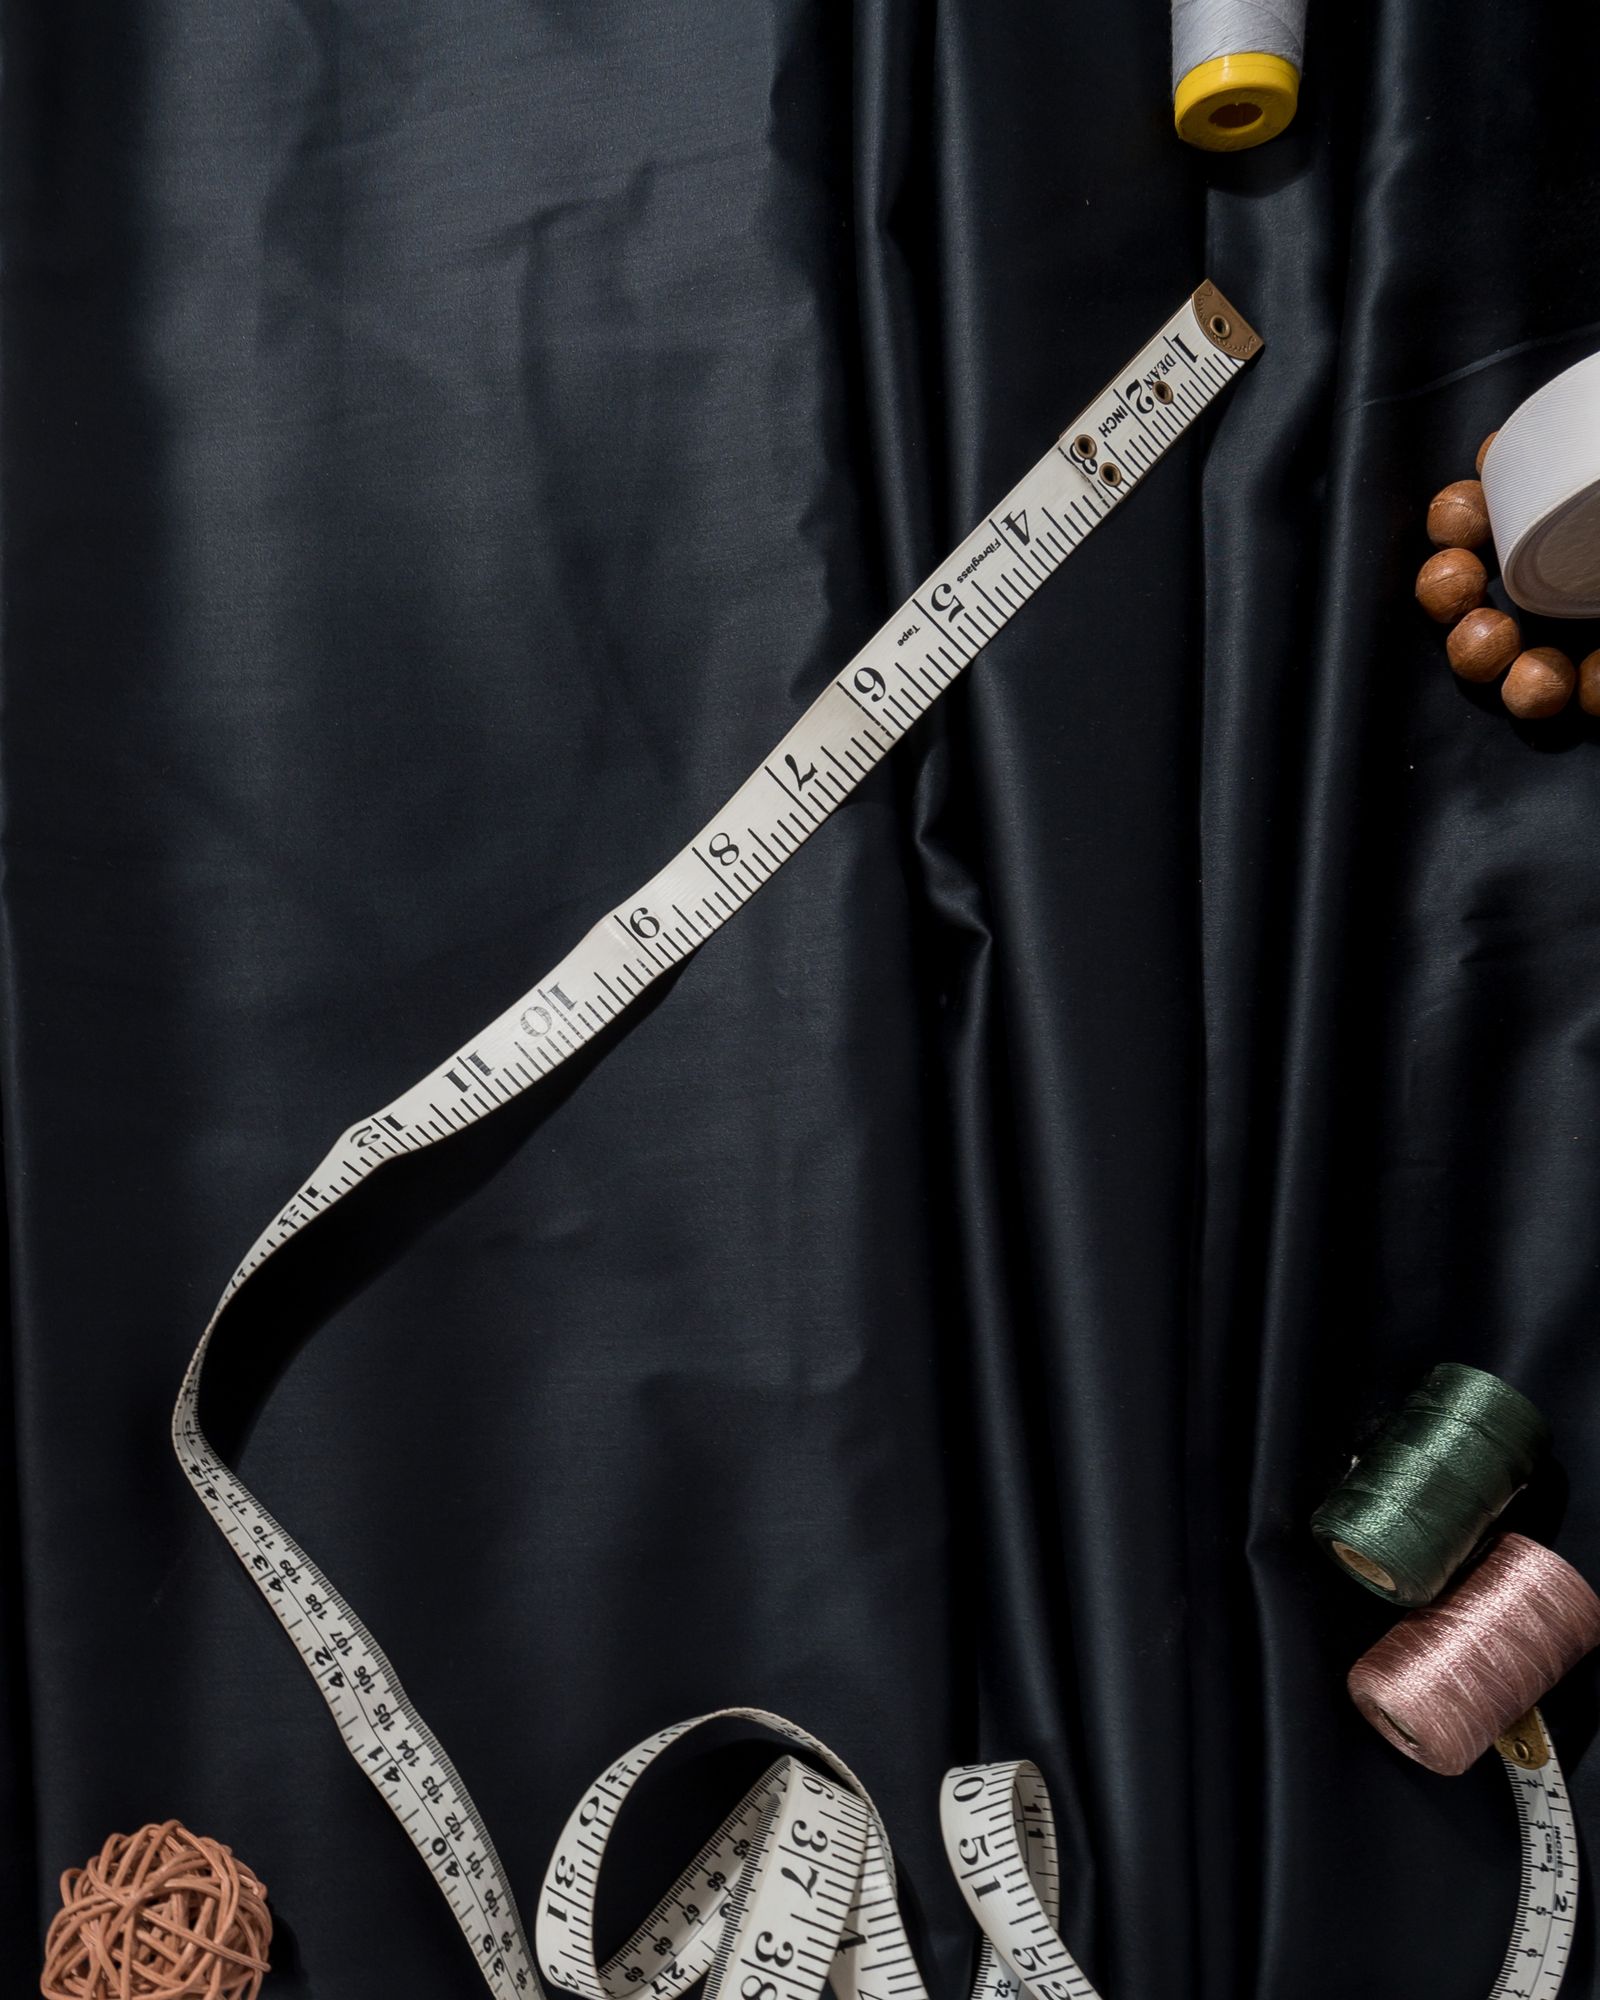
You can mend at a dining table without turning that table into permanent sewing space. Bring out the kit, one garment, and whatever instructions you need. Keep a small dish or closed compartment for removed buttons and other loose pieces. Use lighting that allows you to see the work clearly and a chair that suits the task.
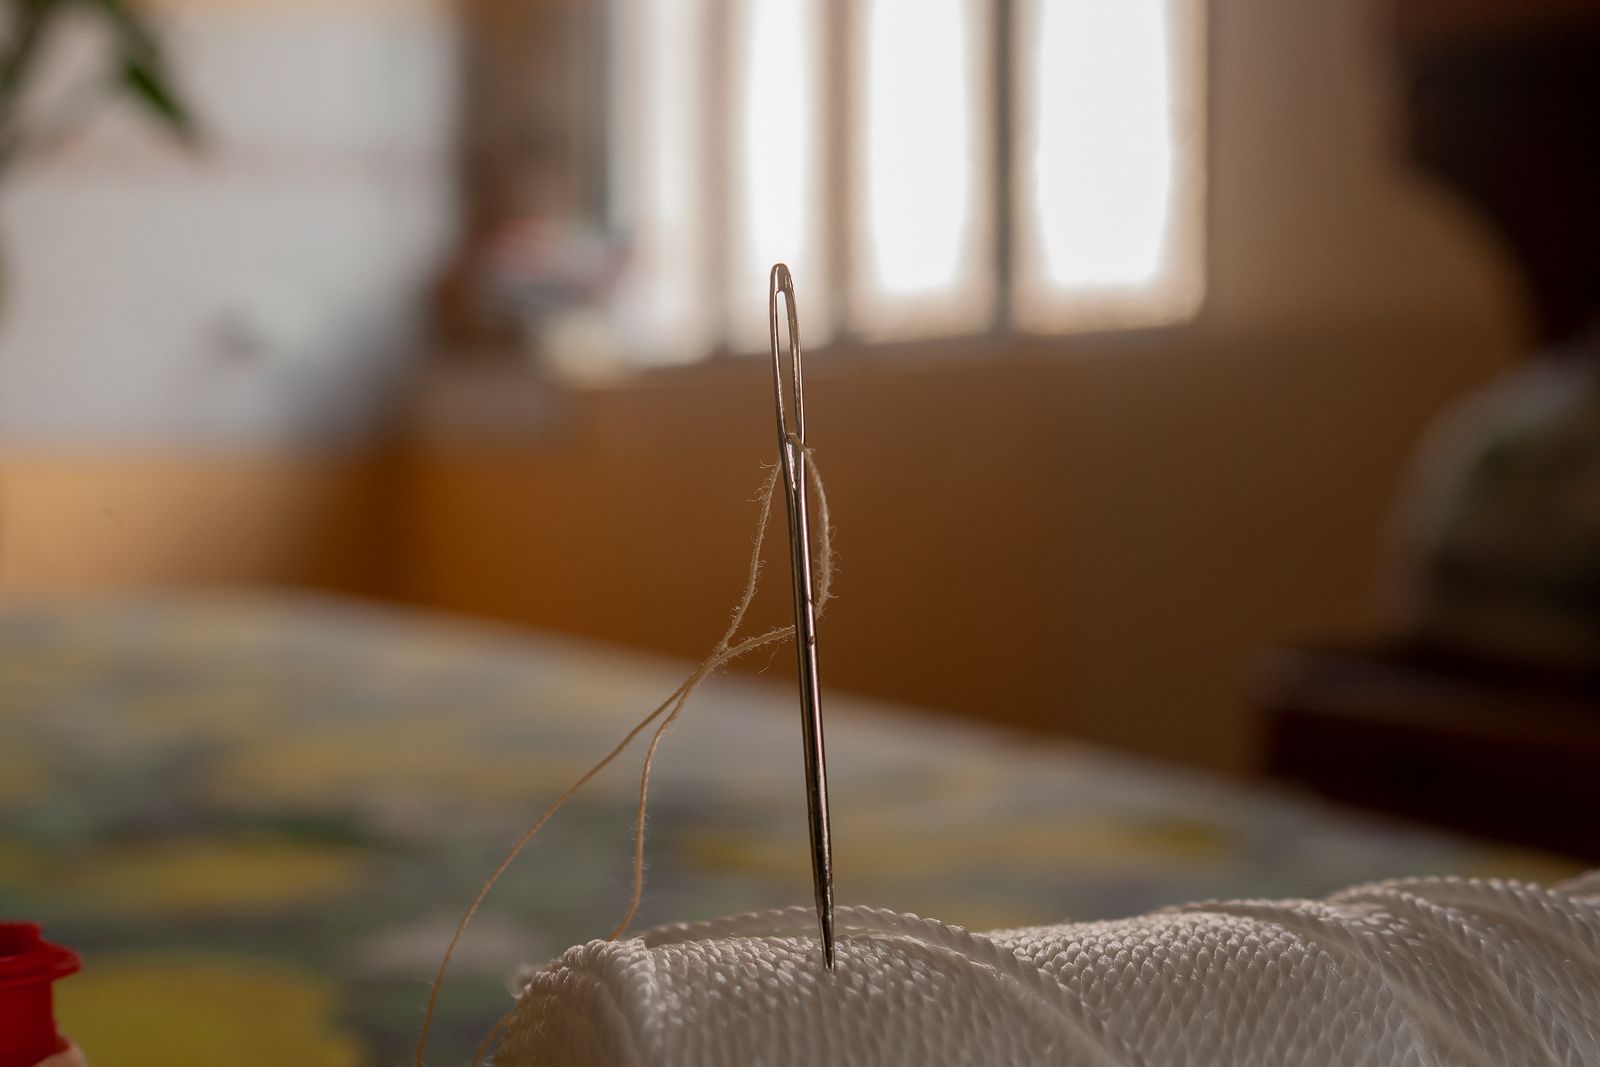
Before starting, identify where everything will go if you are interrupted. Return the needle to its case rather than leaving it in fabric. Close the kit, fold the garment without concealing loose sharps, and place the written task note with it. A short interruption should not leave the table unavailable until you remember exactly where you stopped.
A sewing machine belongs to a different setup. If you own one, follow its manual and keep its accessories separate from the hand-mending kit. The photographs here illustrate sewing materials and clothing work; they do not imply that you need a machine for an ordinary button repair.
Finish the job with a check and a return
When the repair is complete, inspect the work using the method appropriate to the garment and repair. Remove temporary markers and account for needles, pins, and small parts before the clothing returns to use. If you are unsure whether the repair is suitable, keep the garment out of circulation and ask someone qualified to assess it.
Return wearable clothing to its normal drawer or hanger immediately. A finished garment left in the mending basket makes the system look unsuccessful and may prompt its owner to look elsewhere or buy a replacement. Mark the task complete and remove the note. The kit should close with no partly used tools or scraps loose around it.

Keep repair decisions separate from the larger clothing review. Our guide to a seasonal closet switch helps decide which garments still belong in the active wardrobe before you devote time to repairing them.
Choose a modest rhythm for the next job
Use a recurring moment that already offers a clear table and a little attention. Work on one appropriate item rather than promising to clear every repair in one session. If a garment waits through several opportunities, revisit the decision: is the task too difficult, are supplies missing, or does the owner no longer want the item?
For a tailor-bound item, choose an actual drop-off opportunity and record what you want discussed. Keep the item separate from donations so another person cannot mistake its destination. Check the finished work when collecting it, then return it to the wardrobe instead of creating a second waiting pile.
After a month, review the kit against completed jobs. Remove tools you did not need, identify anything repeatedly borrowed, and shrink the waiting space if fewer items accumulate. A useful mending system is measured by clothing returning to use, not by how many supplies it can display. Explore Home Organization for other small systems that connect storage to a completed household task.