A paper project can stop over a surprisingly small uncertainty: the alphabet set has a missing letter, two ink pads look alike, or an unmarked bottle was stored beside a refill it does not match. Craft stamps become easier to use when their identity and next action remain clear between sessions.
Pinterest’s current Fall 2026 guidance highlights tactile, personal hobbies. This organization guide applies that interest to a compact stamp collection used at a home-office surface. It concerns identification, completeness, and retrieval. Product instructions still determine which ink, surface, cleaner, and storage position are appropriate for the actual materials.
Keep the stamp and ink decisions distinct
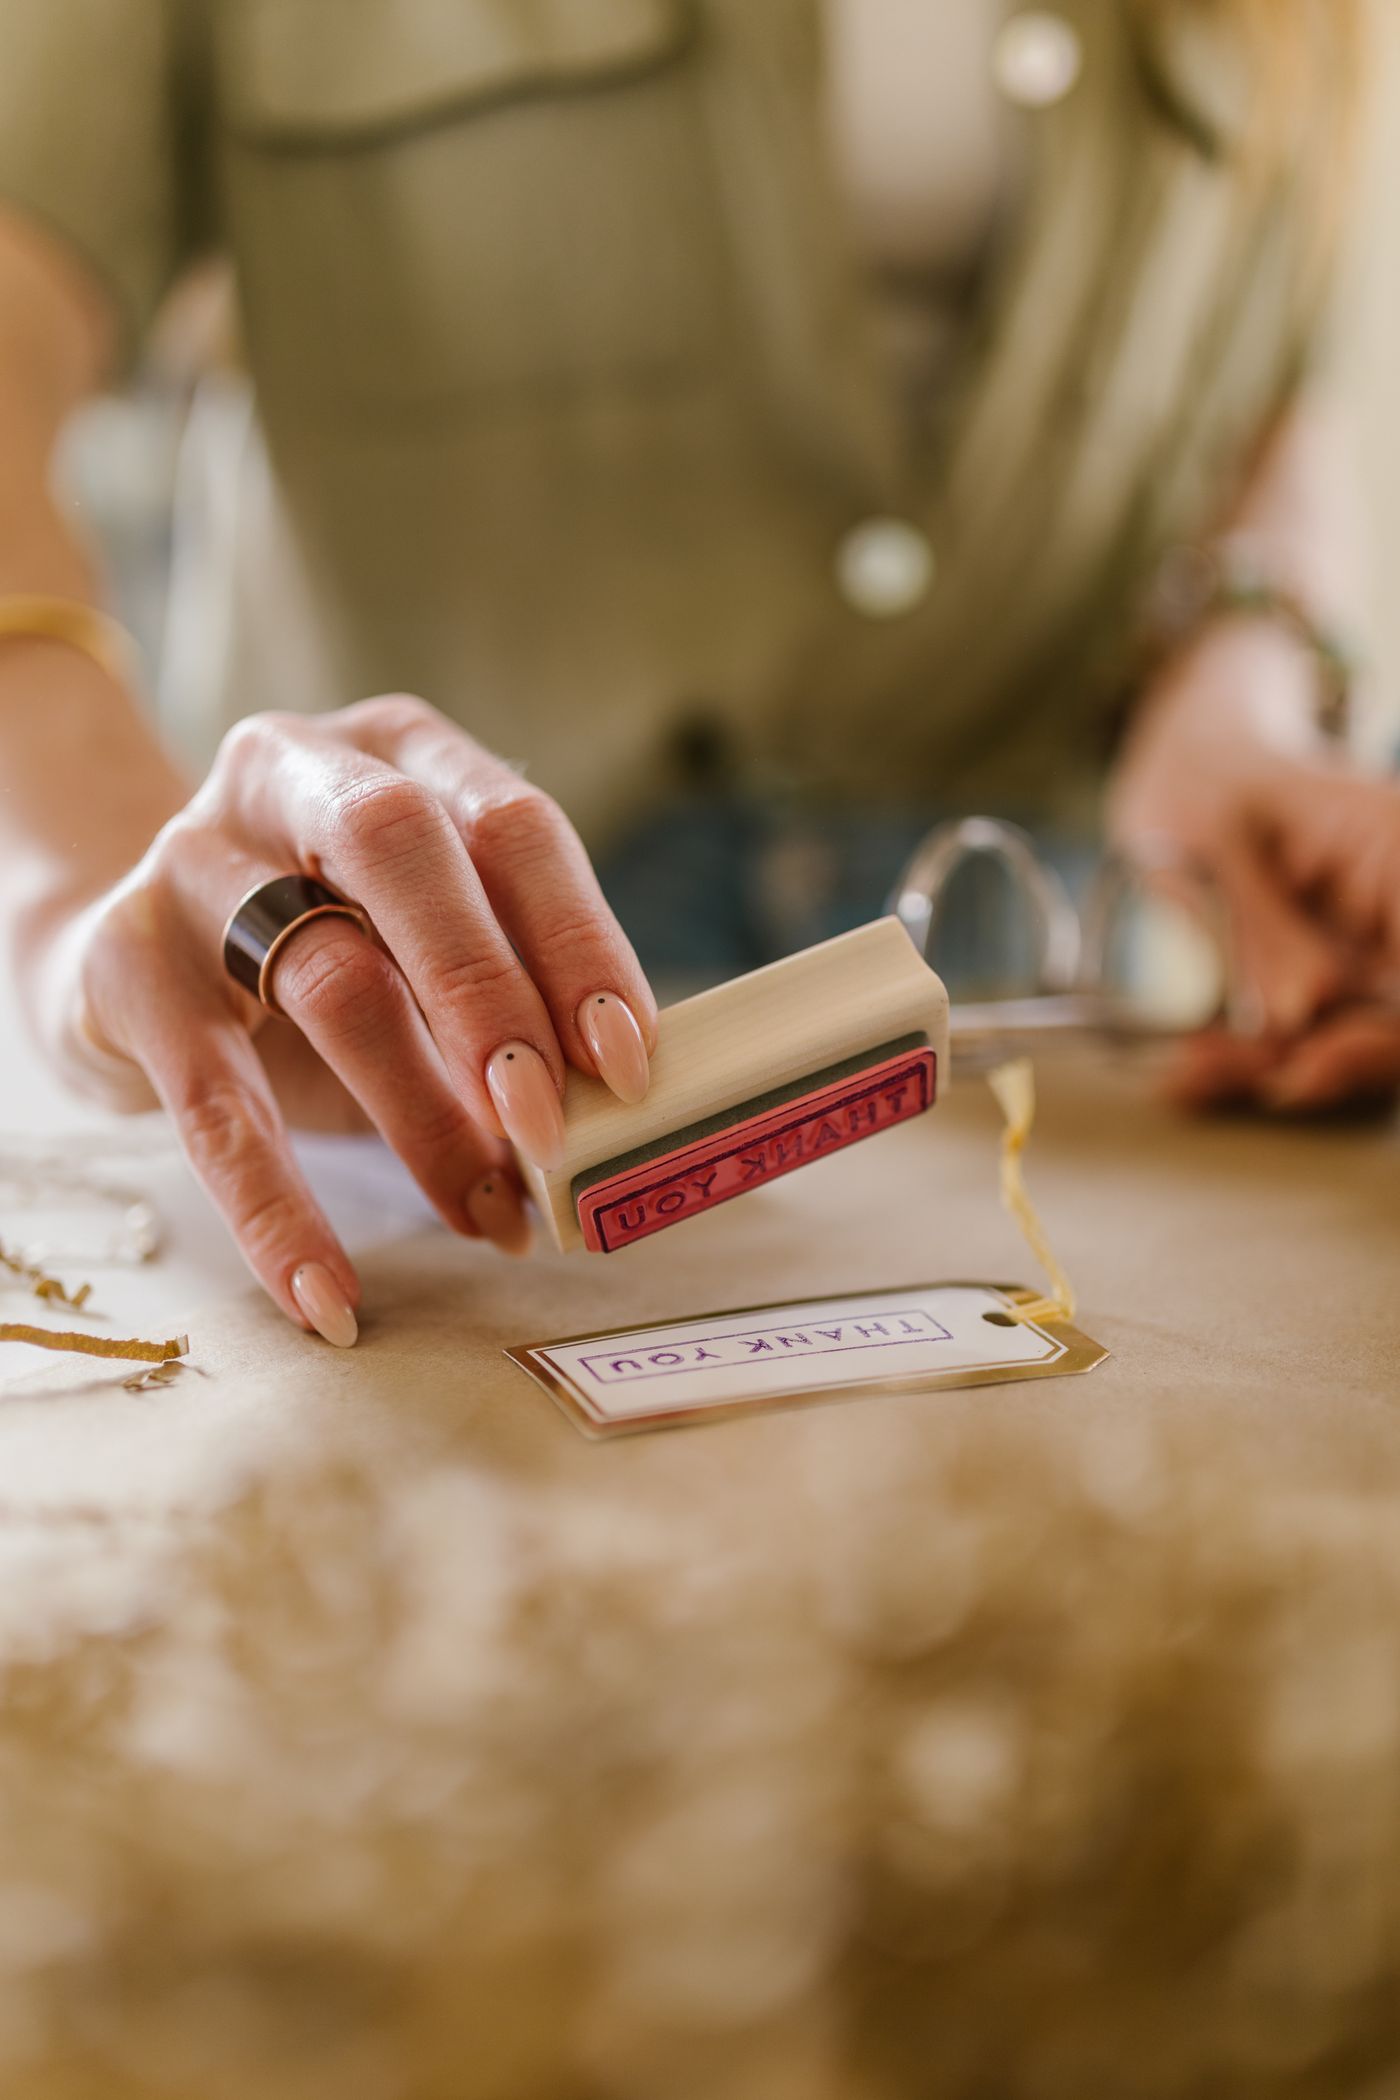
Record the stamp’s maker, product name or set reference, and construction where known. A wood-mounted rubber stamp, a clear stamp requiring an appropriate block, and another stamping tool should not be treated as identical because all can leave a printed mark.
Identify the ink pad separately by brand, range, stated color, and product reference. Retain its label and relevant instructions. A dark blue lid does not establish the ink type, the surfaces it suits, or the correct refill. Leave an unknown product unresolved rather than giving it a confident category based on appearance.
Keep the record proportionate to the collection. One readable list or a few reference photographs can be enough. The paper-versus-digital records guide can help choose a retrievable format. You do not need a complex database to distinguish six pads, but you do need a way to tell them apart after their packaging is discarded.
Inventory complete sets before dispersing them
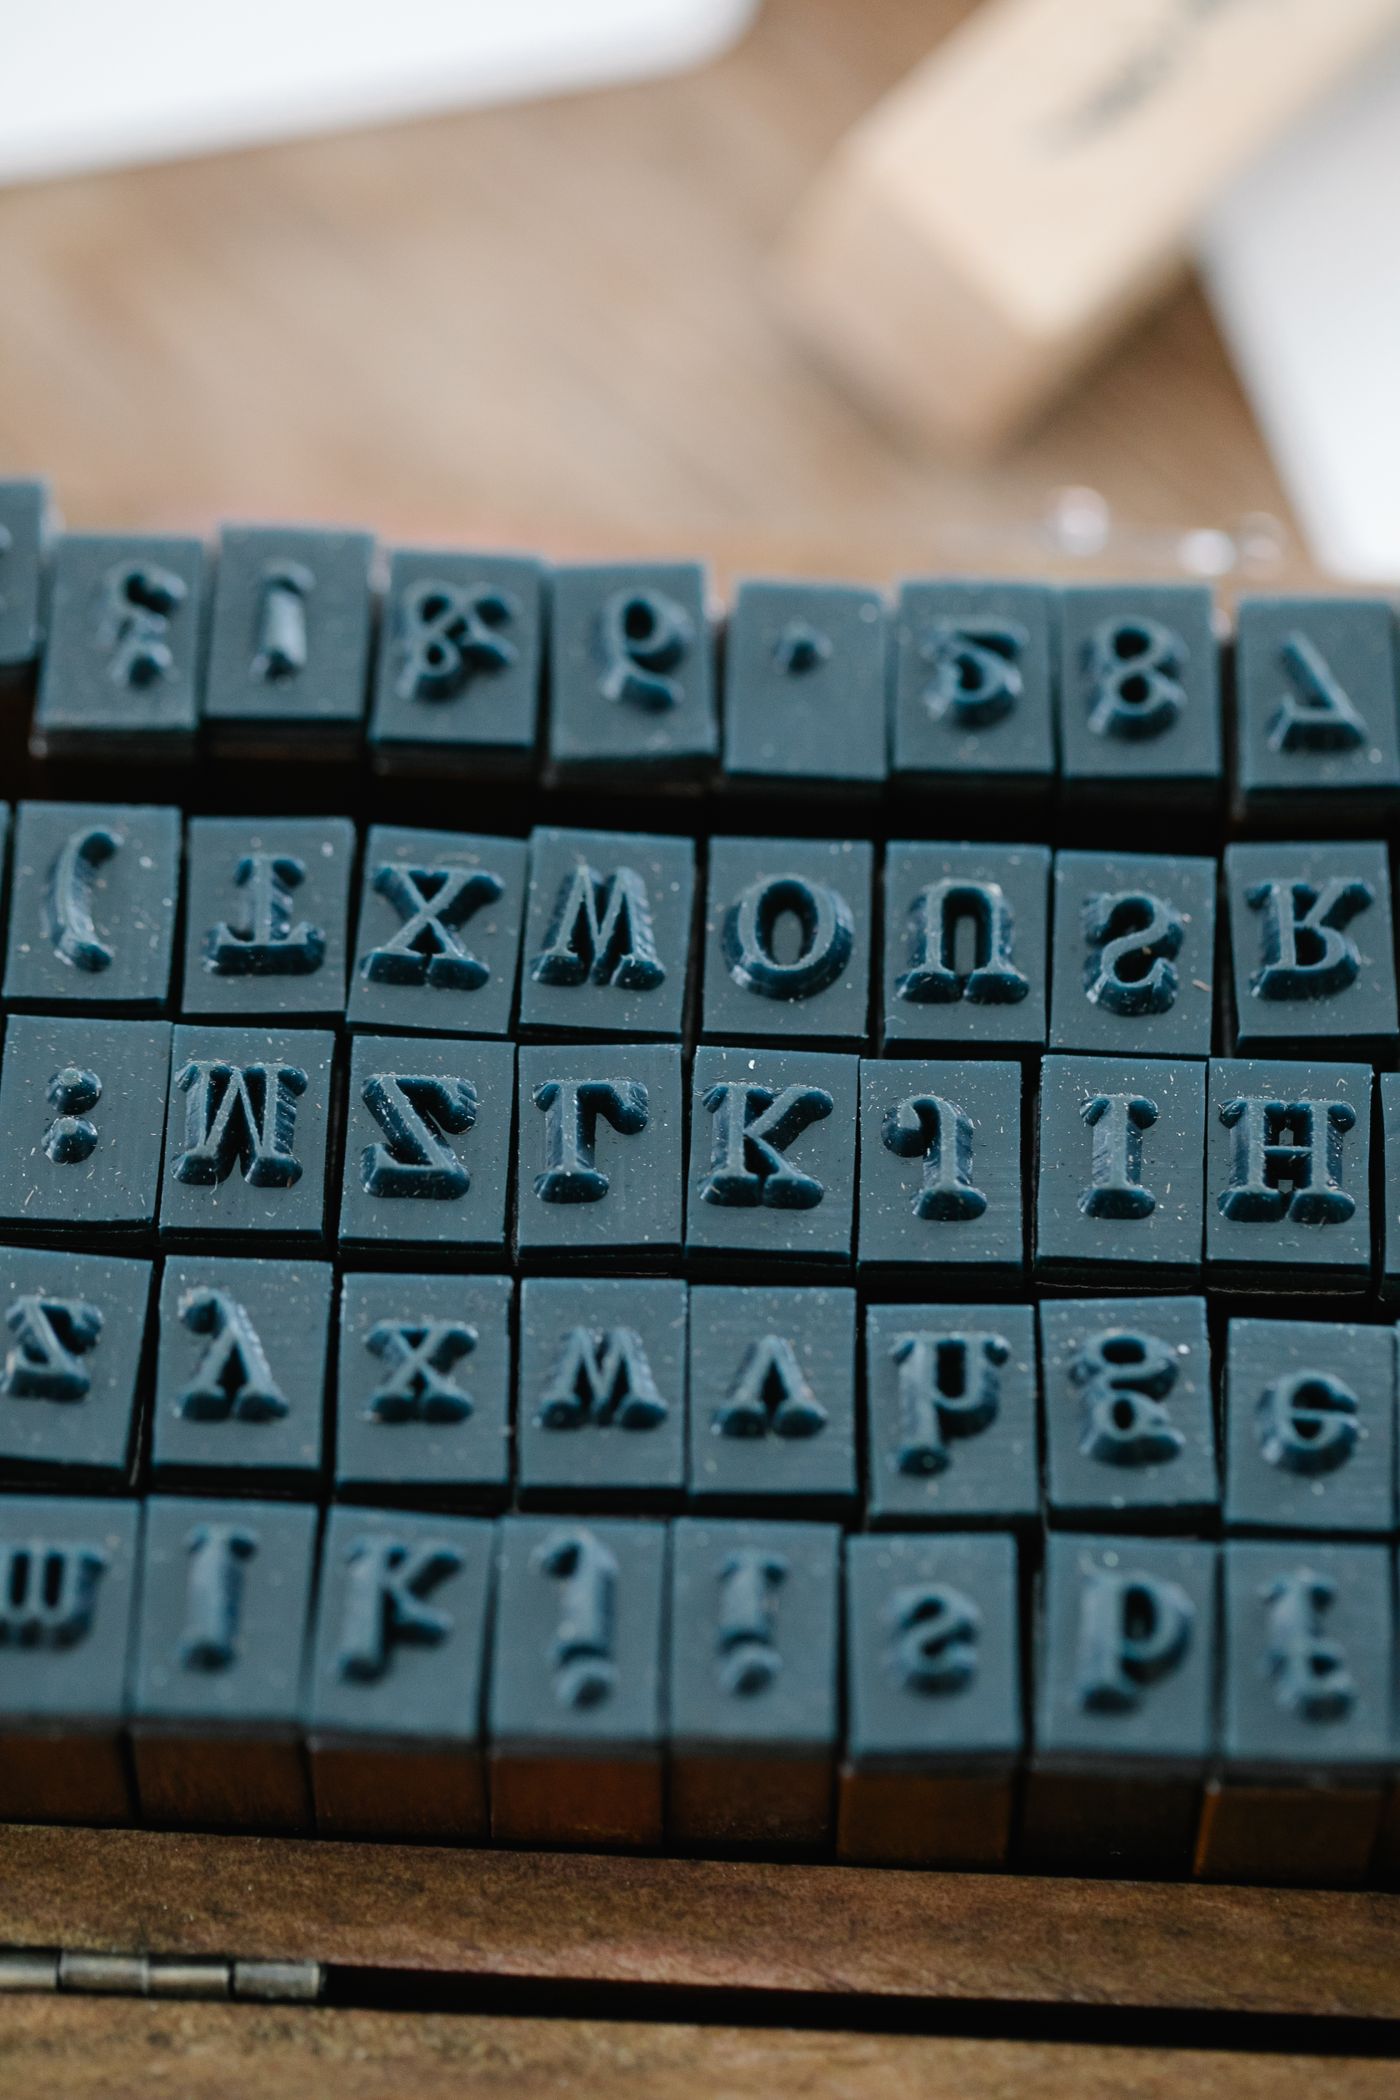
Check a letter or motif set against its original contents information while that information is available. Record what is actually present, including any duplicate pieces. Do not assume that a compartment containing twenty-six stamps necessarily holds the expected alphabet or that a repeated letter is an error.
Keep small components together in appropriate containment and account for blocks, handles, or other required parts where relevant. A set that looks complete in its lid can still be unusable if its mounting accessory is stored elsewhere. Connect that accessory to the set in the record without asserting that an unrelated block is compatible.
Note missing pieces honestly. A temporary substitute can be kept separately identified while you decide what to do. Do not fill an empty slot with a visually similar stamp and leave the whole set marked complete; that creates the next user’s uncertainty instead of resolving it.
Preserve compatibility information with refills and cleaners
Keep refills linked to the exact product range they are intended for. A bottle of a similar color should not be stored as an approved refill unless the maker identifies it that way. Retain the label, directions, and any restrictions rather than decanting it into an unmarked craft bottle.
Apply the same principle to cleaning products and methods. This guide does not prescribe a universal stamp cleaner or pad-revival mixture. Choose care from the actual instructions for the stamp and ink system, and keep incompatible or uncertain supplies from being mistaken for the current project’s next step.
Store products according to their own directions, including closure and orientation where specified. Do not adopt a universal upside-down-pad rule from a different product. If the collection includes materials with different requirements, preserve those differences in the storage plan instead of forcing everything into one visually uniform arrangement.
Make a useful reference impression only when appropriate
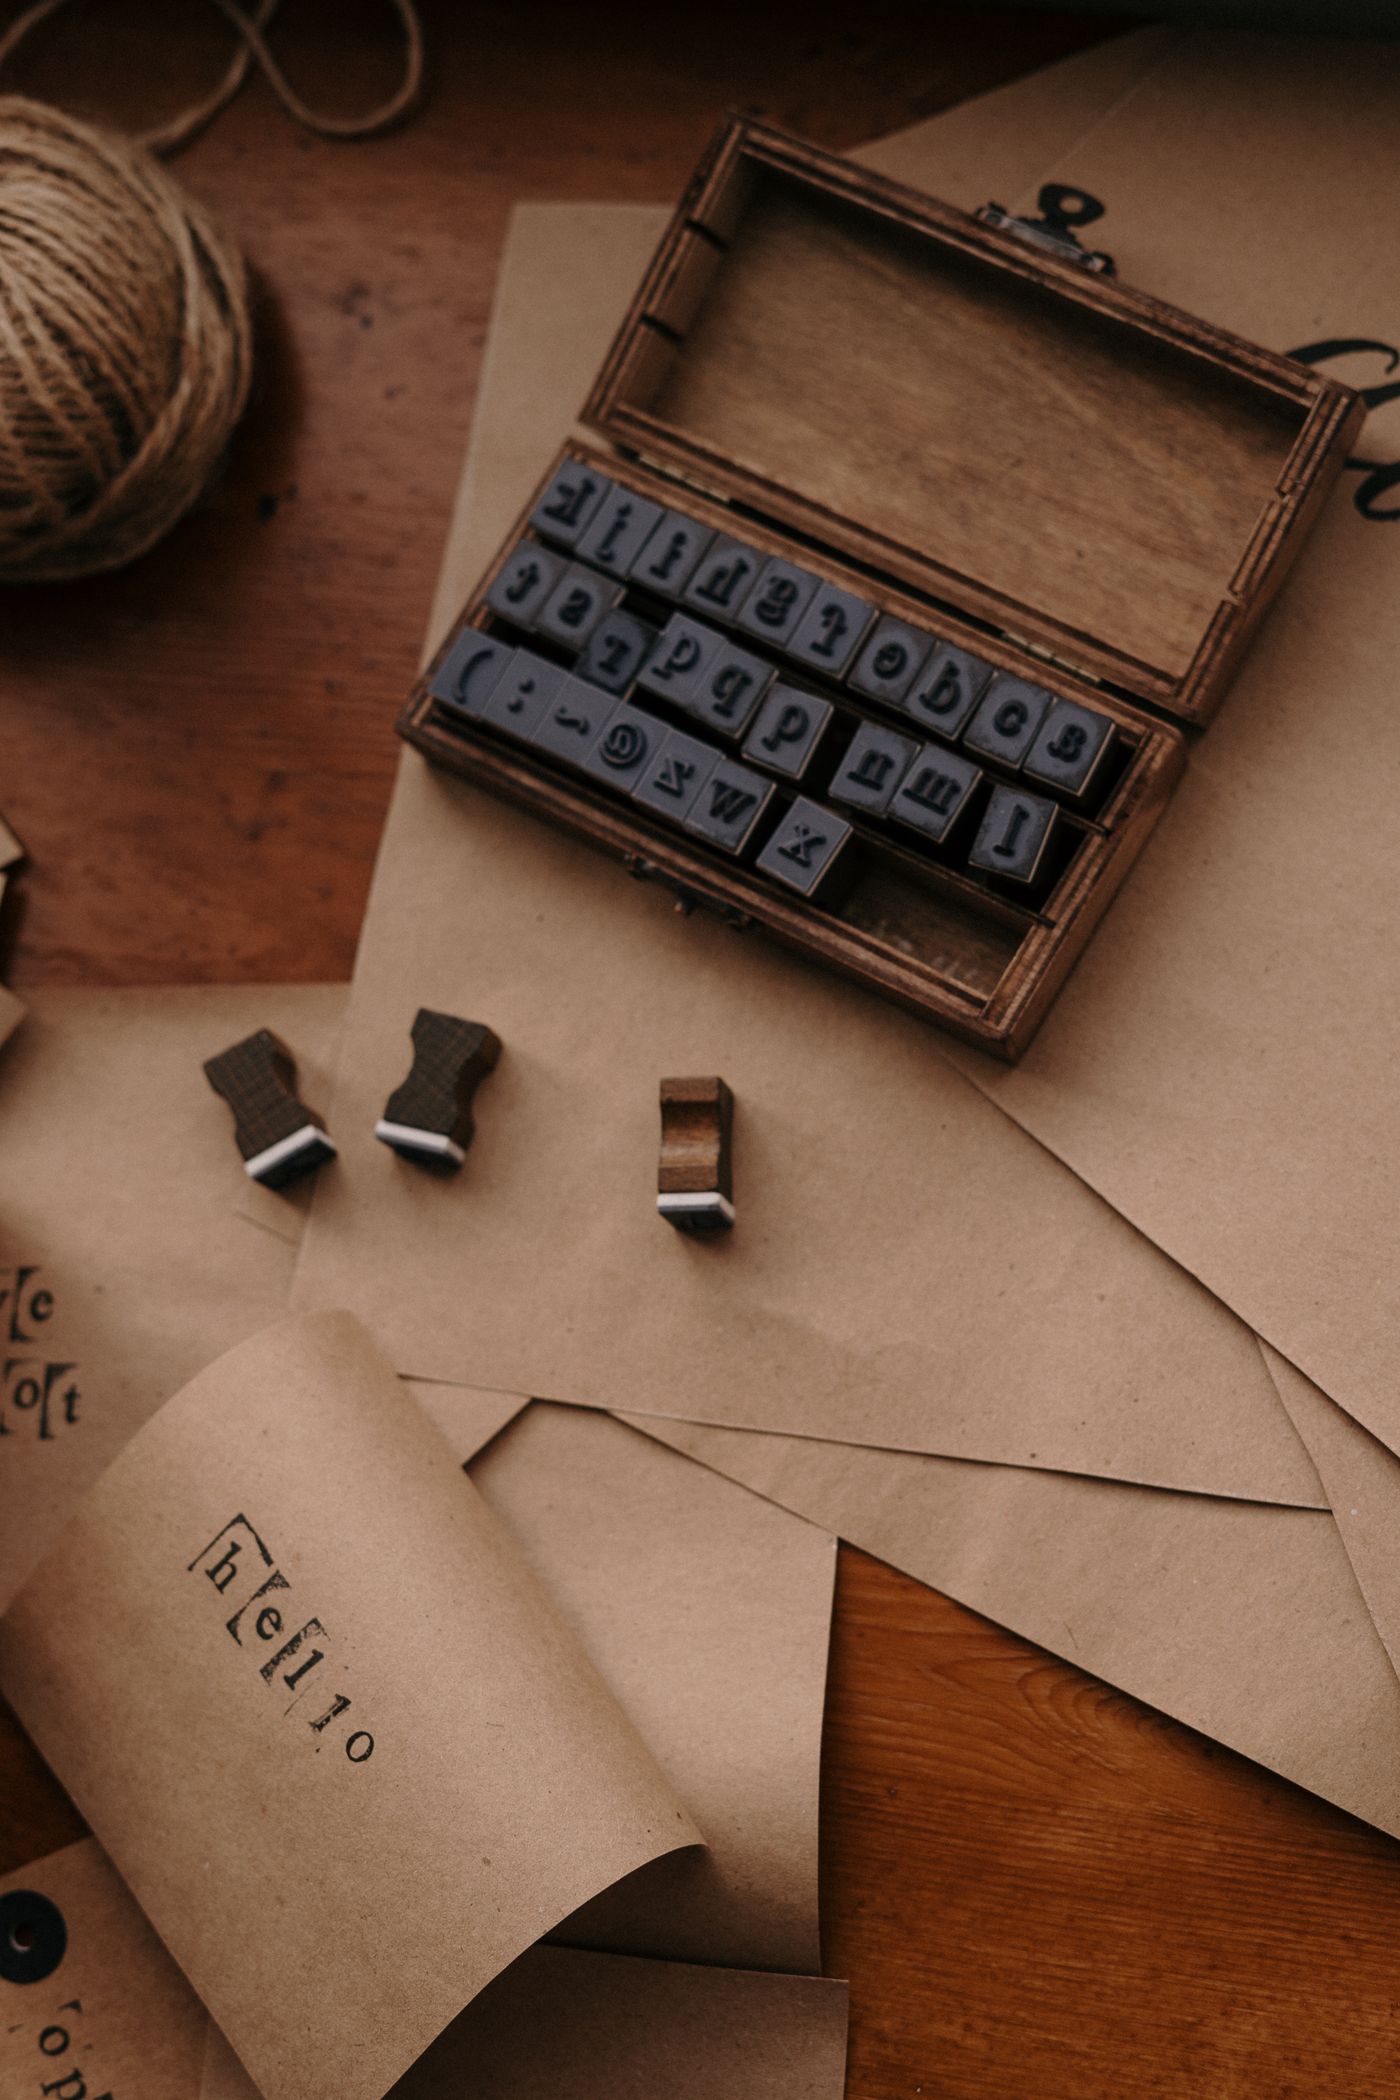
A small reference sample can help show which motif or letter belongs to a set, provided making it is consistent with the products’ intended use. Identify the stamp and ink used and the date of the sample. Keep it as a reference for that combination rather than evidence of performance on every paper.
Do not call a sample an archival, waterproof, or fade-resistant test without suitable evidence. The way an impression looks on one sheet does not establish those properties. If permanence or a specific surface matters to the intended project, resolve that through the relevant product information before making the finished piece.
Avoid turning reference samples into a second collection of loose scraps. Keep the useful ones in the same retrievable record and release obsolete trials appropriately. The compact letter-writing kit covers a different paper task; stamps can support it without taking over the space reserved for messages that still need to be sent.
Separate active project material from general stock
Give an unfinished card or paper project a short name and note which stamps and pads it uses. Keep only the appropriate materials together for the next session. Return unrelated alternatives to their ordinary positions so a project envelope does not become a hidden second stamp collection.
Identify trial impressions as trials. If the final wording, color, or recipient is undecided, keep that visible instead of mixing draft paper with finished pieces. A clear status can prevent someone from mailing an experiment or using a sheet that was retained as a color reference.
Choose a suitable project support or folder for the paper’s actual condition. Do not stack or enclose recently worked material contrary to the ink’s instructions. A convenient storage shape should not decide when an impression is ready for handling, layering, or packaging.
Arrange for retrieval rather than a perfect display
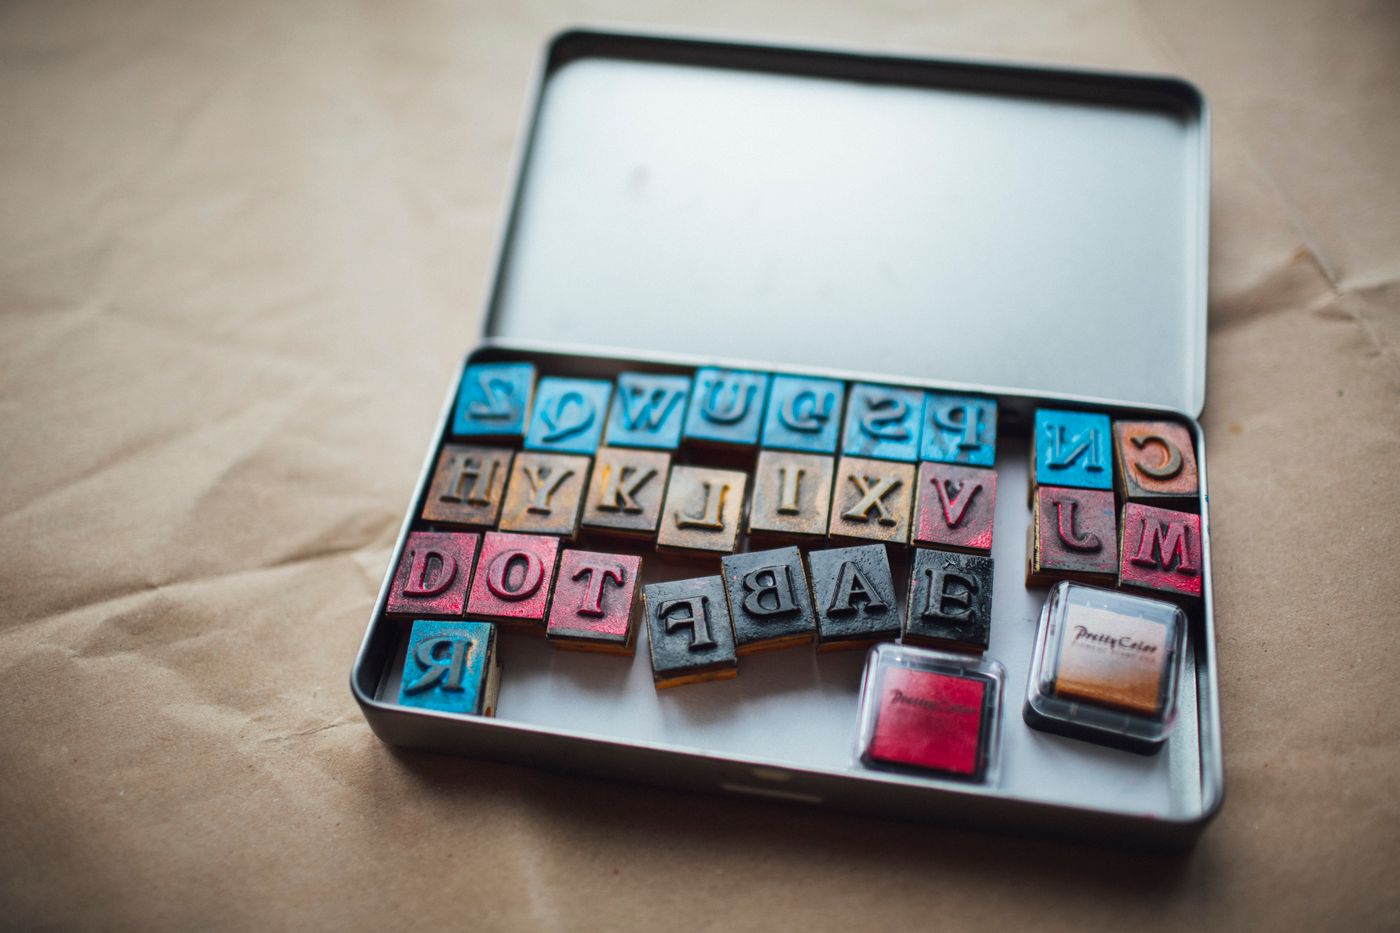
Choose containment that keeps small pieces accounted for and lets the user identify the correct set. Consider lid opening, access to labels, and the ability to remove an entire pad without disturbing neighboring supplies. A shallow tray can work for some collections, while others need a more secure enclosure.
Keep the collection appropriate to the people sharing the room. Small stamps, ink products, and cleaning supplies need suitable adult management where children or pets are present. An attractive open arrangement is not automatically a suitable storage choice for the household.
The household-labeling comparison can help decide whether text, a sample image, or a simple position works best. Avoid relying on color alone, especially when two product ranges use similar cases. The practical test is whether someone can retrieve the intended item without opening and trying several unrelated pads.
Close the session with a clear return
Follow the applicable product instructions for cleaning, closing, and storage. Check the set against its contents list before returning it. If a piece cannot yet return to ordinary storage, identify why and assign a suitable temporary position rather than leaving a mystery pile beside the keyboard.
Record an empty pad or missing component as a decision to resolve. Do not automatically buy a replacement before checking whether the project still needs it. A collection can become easier to use when an abandoned range is removed, rather than maintained through another purchase simply because its old compartment is still there.
Keep the return routine short enough for the way you actually craft. A final look at the complete set, a readable next-step note, and correctly closed supplies can be more useful than a lengthy inventory update that nobody completes after a quick card-making session.

Keep only the system you can maintain
Use the capacity ceiling approach to include stamps, pads, refills, blocks, and active paper projects in the available space. Counting only the small wooden pieces understates the footprint of the complete activity. Leave working space for the next impression rather than filling every part of the desk with storage.
After a few sessions, improve the point that caused confusion: a missing product reference, an unreadable label, or an active project with no name. Add equipment only when the problem genuinely requires it. The useful result is a compact collection whose parts remain identifiable and whose next paper project can begin without an unplanned compatibility investigation.
Explore related decisions in our Home Organization hub.
Sources and editorial scope
Editorial research checked October 21, 2026. Published trend reports are context for these editorial applications, not verified live keyword rankings. Practical household guidance; photographs do not document a tested household or authenticate pictured materials.