
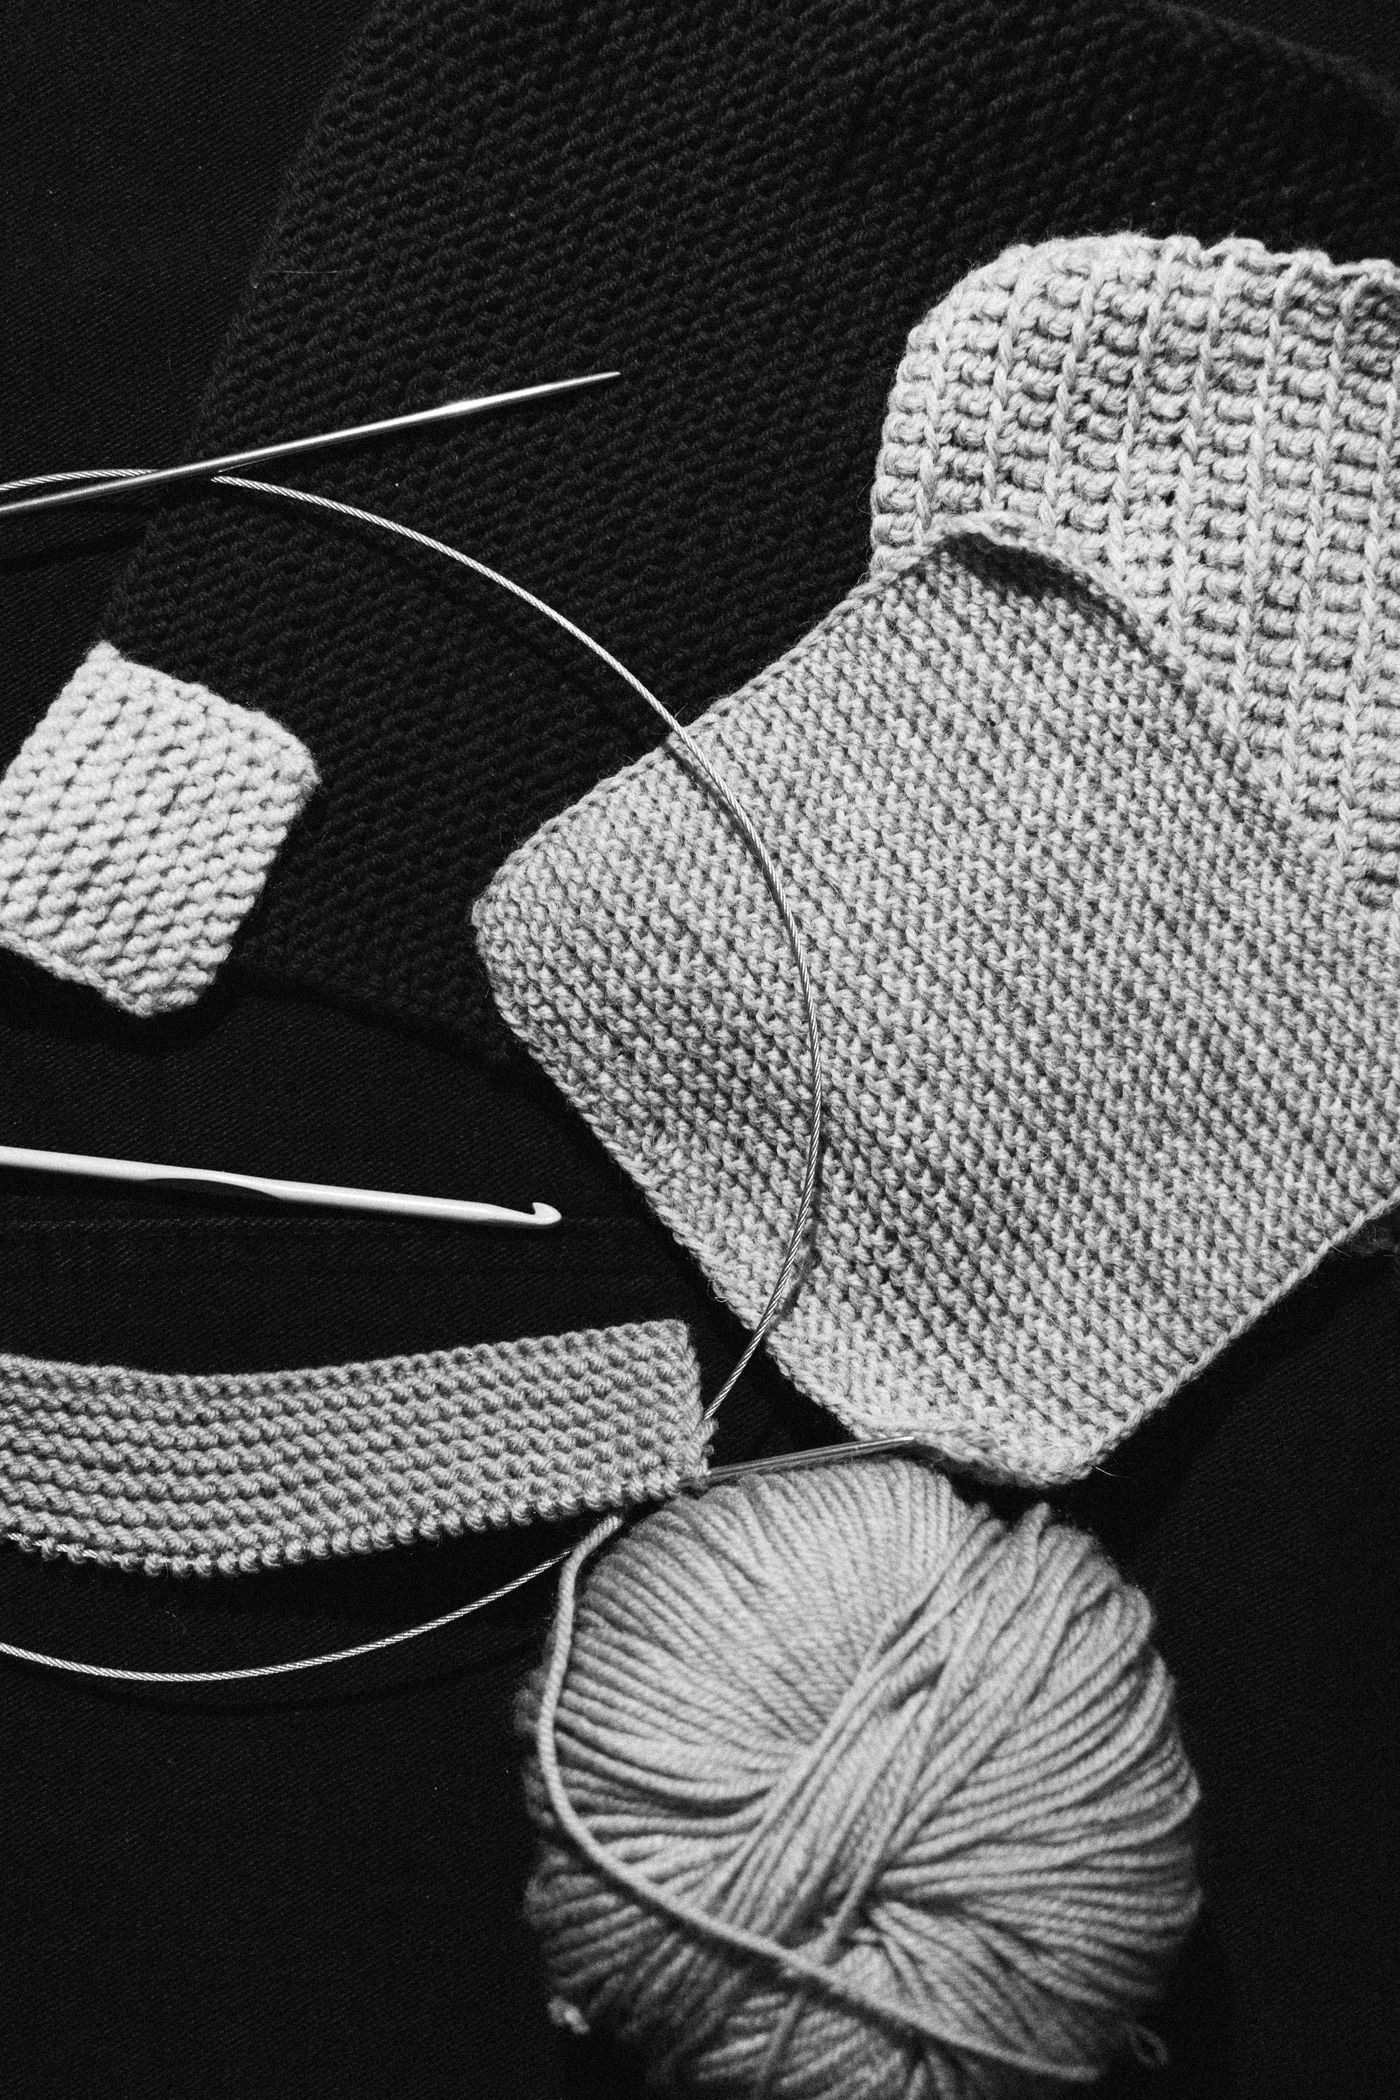
Knitting needles become difficult to organize when straight pairs, fixed circulars, interchangeable tips, cables, and small connection parts are treated as one category. Begin by separating the systems you actually own. Keep reliable sizes and maker information with the corresponding parts, then distinguish what is available from what is still attached to a project.
Etsy’s fall and winter 2026 report highlights visible handwork and shared making. Organizing an existing knitting collection is a practical way to support that direction without buying another complete set. This guide concerns storage and identification; it does not assume that similar-looking connectors fit together or that one maker’s length convention applies to another.
Sort by construction before arranging by size
Put straight needles, double-pointed sets, fixed circular needles, and interchangeable systems into separate working groups. You do not need a different piece of furniture for each group. The distinction simply prevents a drawer of apparently similar objects from hiding the information needed to start the next project.
Keep a fixed circular needle intact as one tool. For an interchangeable system, retain its maker, range, and connection information with its compatible parts. Two tips may share the same printed diameter while belonging to different systems. A color match or similar thread is not enough to establish compatibility.
Our hand-sewing needle guide addresses a related identification problem with a different tool. Keep sewing and knitting equipment distinct even if they share a cupboard. The appropriate comparison is the value of a known size and purpose, not the assumption that every pointed craft tool belongs in one small box.
Preserve the markings you can actually verify
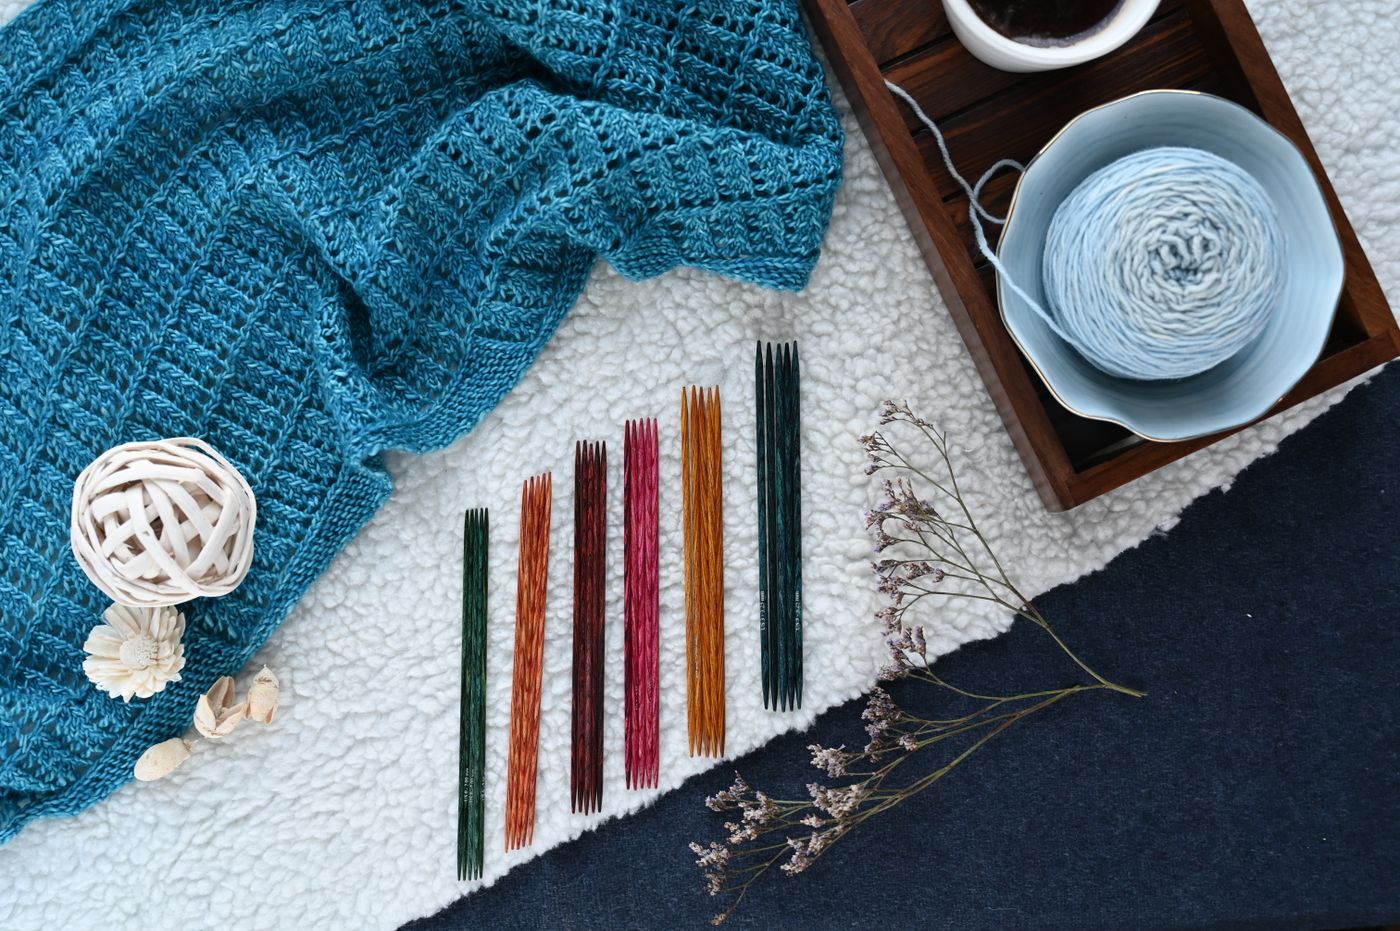
Read the existing needle markings and original packaging before making new labels. Record the stated size and unit rather than silently converting an unfamiliar number. If a marking is worn, use an appropriate identification method or seek the maker’s guidance. Do not invent a size from a nearby needle that looks almost identical.
Retain useful package information when it establishes a system or replacement part. You may not need the whole retail box, but a small clear record can prevent an incompatible purchase later. Photograph the actual label if that is easier than keeping bulky packaging, and connect the photograph with the corresponding storage group.
Our embroidery-floss organization guide shows why maker information can matter alongside an apparently simple size or color. For knitting equipment, keep the facts that distinguish your parts. A pretty sequence of handles is useful only if it does not erase the information required to choose the correct tool.
Keep cable information with the cable
Different knitting systems may describe length in different ways. Check the actual maker’s convention before labeling a cable: the stated length might refer to the cable or to a particular assembled needle arrangement. Retain that wording rather than replacing it with an assumed universal measurement. The intended tip length can also matter to the assembled setup.
If you make a personal measurement, label it as your measurement and describe what you measured. “Cable alone” and “assembled with these tips” are different records. Neither should be presented as an official specification unless the maker states it. This small distinction can prevent selecting a combination that does not suit the next project.
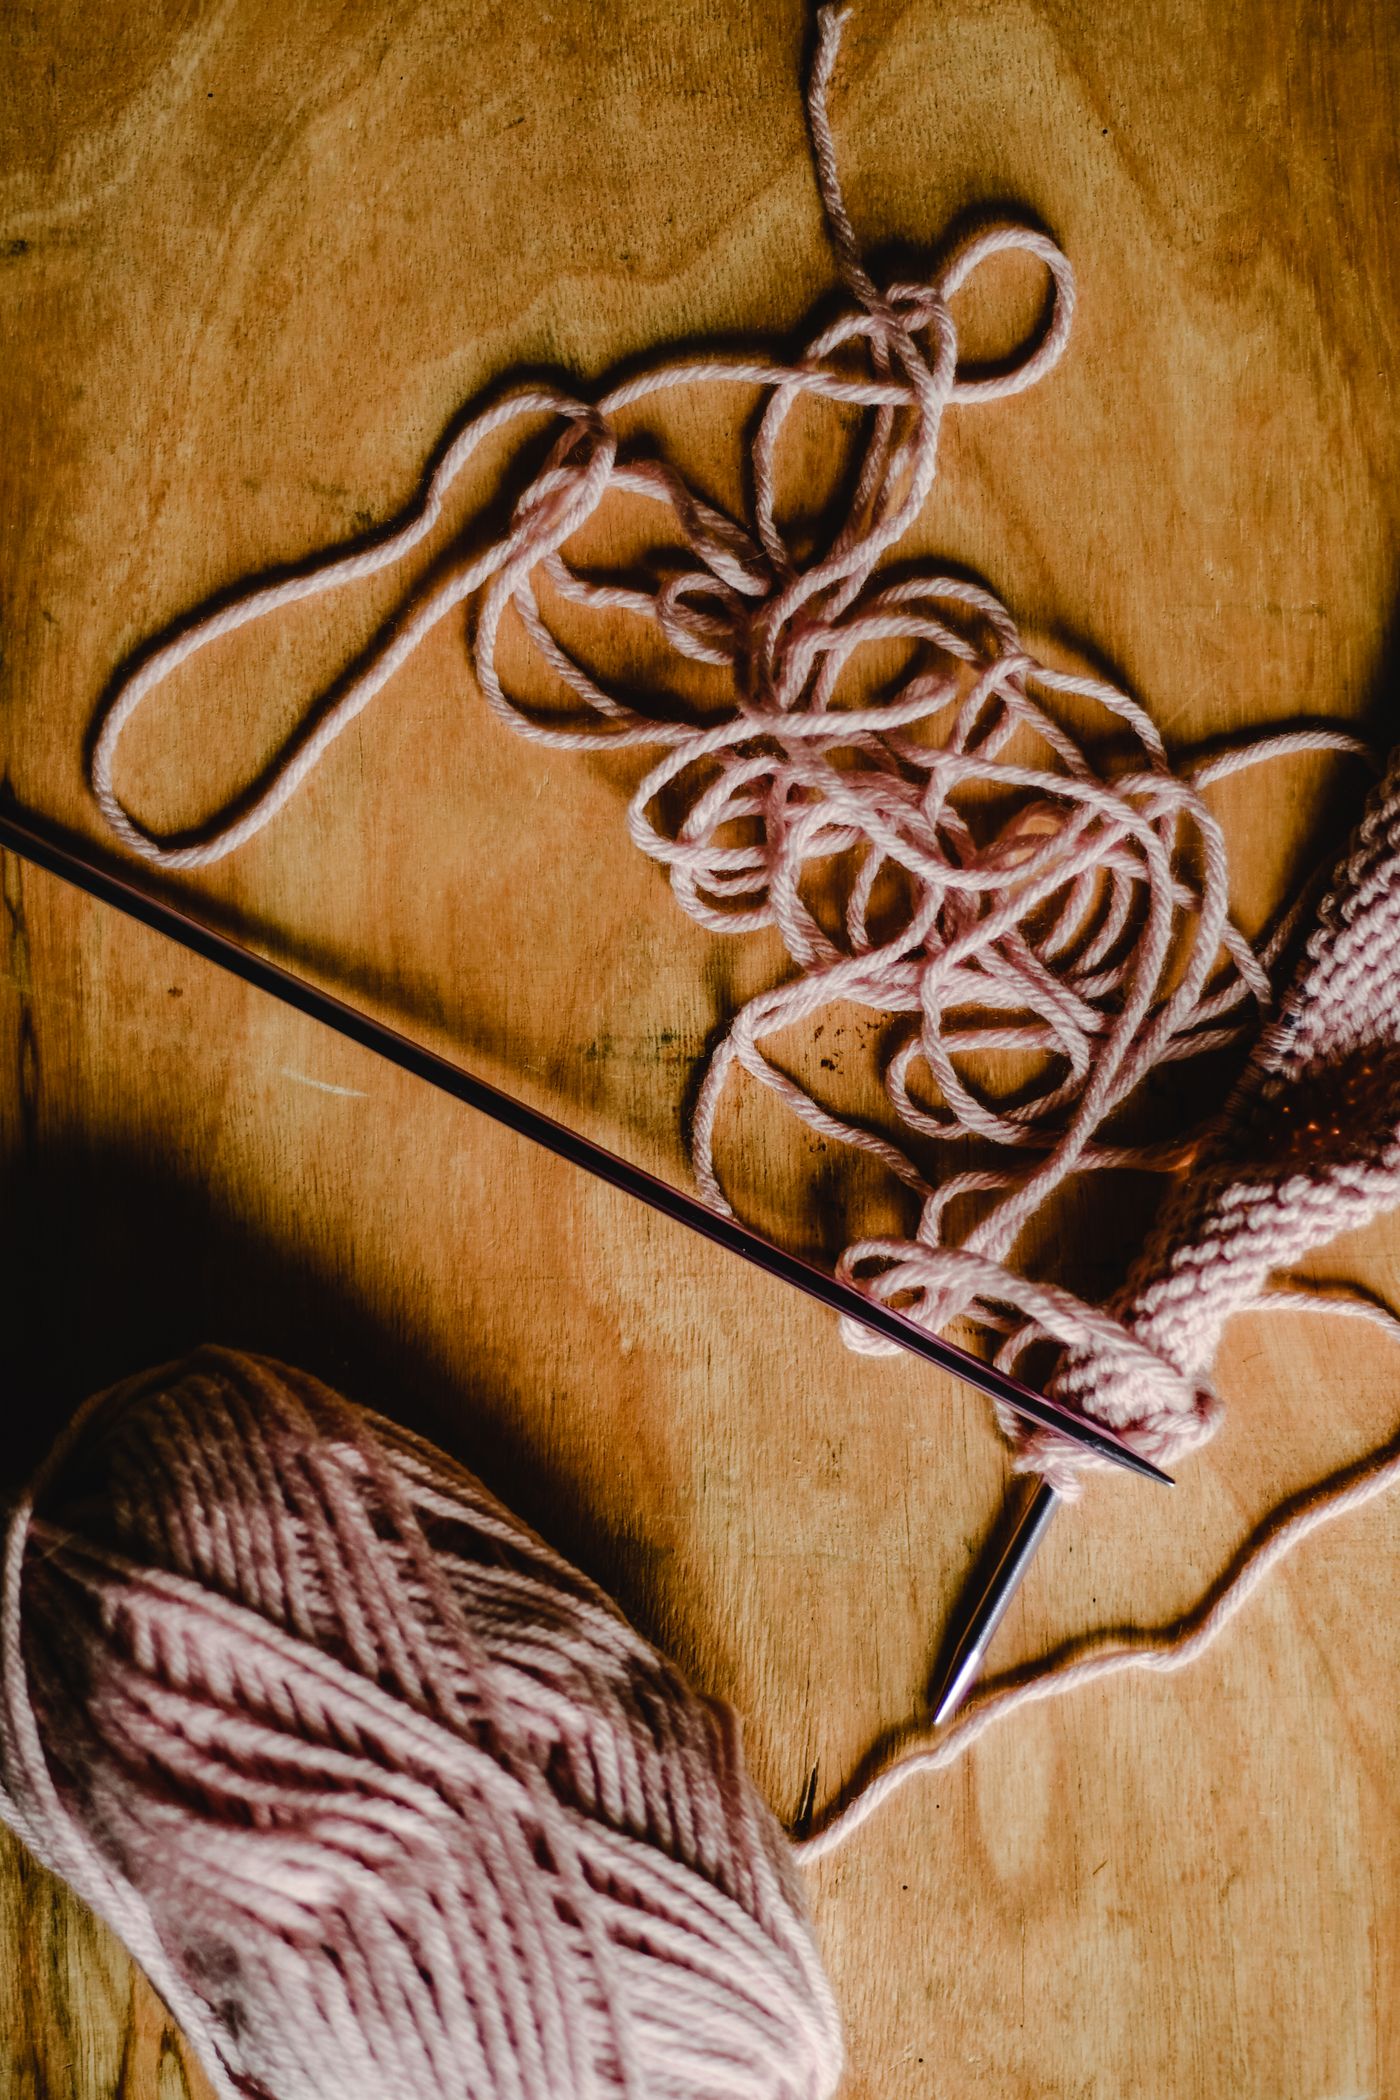
Store cables as their maker recommends, without forcing them into tight bends to fit an undersized container. A storage arrangement should accommodate the equipment you want to keep, not reshape it to match a decorative box. If a cable’s condition or connection is uncertain, separate it from ready equipment until the question is resolved.
Give small connection parts a system-specific home
End caps, connectors, tightening tools, and other small components can be easy to mix. Keep each with the system it belongs to and retain its actual purpose. Follow the instructions for attachment and use. Do not substitute an unidentified part simply because it appears to engage with another component.
Use a modest suitable enclosure that lets you see the complete group without spilling it across a table. A removable label can describe which needle system it serves. Keep spare parts separate from broken or unidentified pieces so “there should be a connector in there somewhere” does not become the starting point of every knitting session.
If you no longer own the corresponding system, decide whether the loose parts have a real destination. A small item can remain in a drawer for years because it seems too insignificant to review. Keeping it makes sense when it supports equipment in use or has an identified recipient, not simply because it takes up very little space.
Make project use visible without dismantling the work
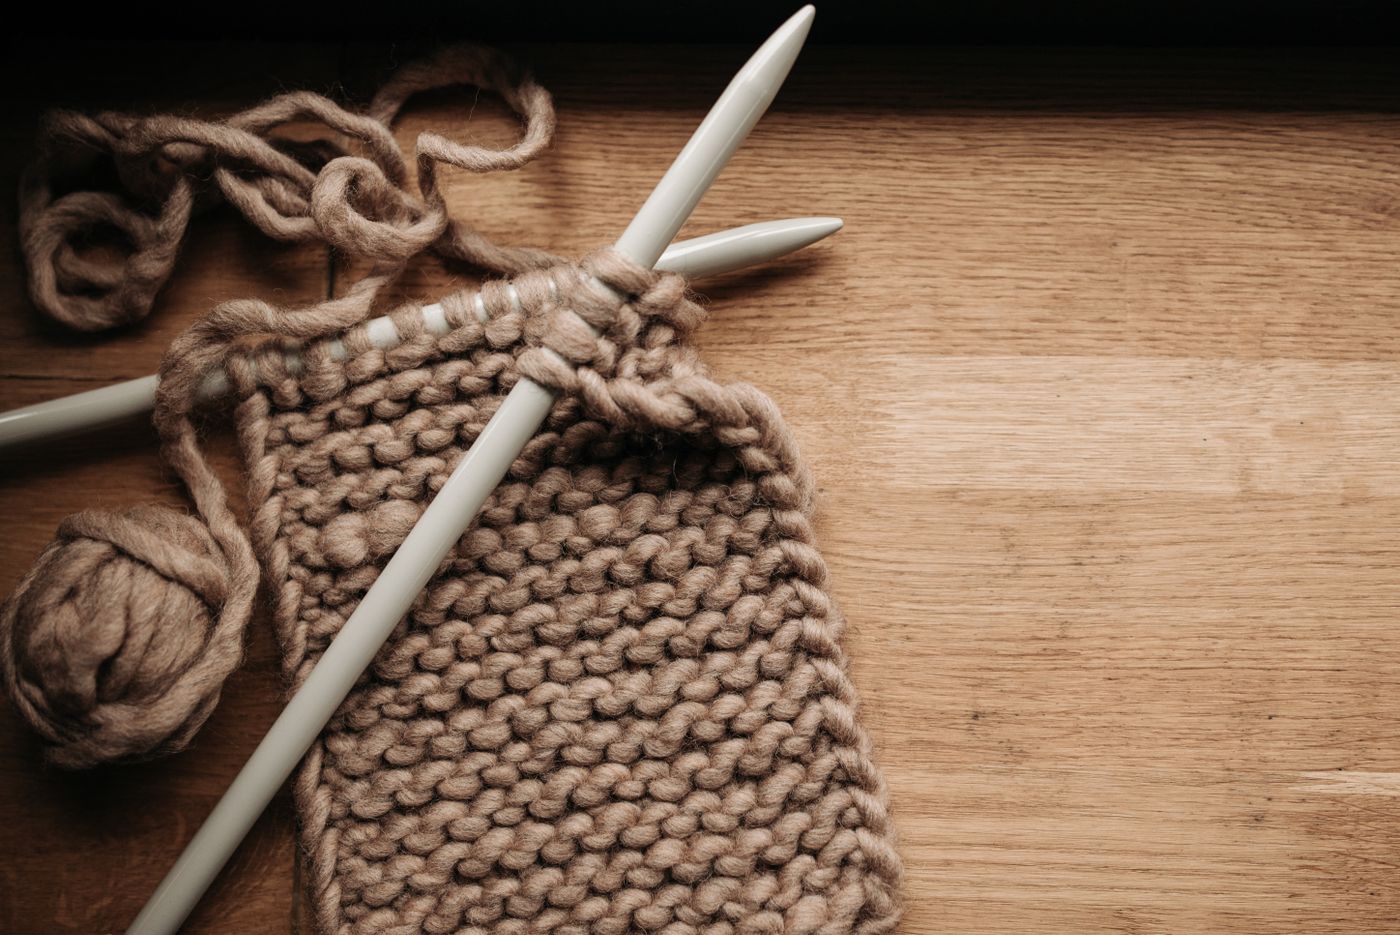
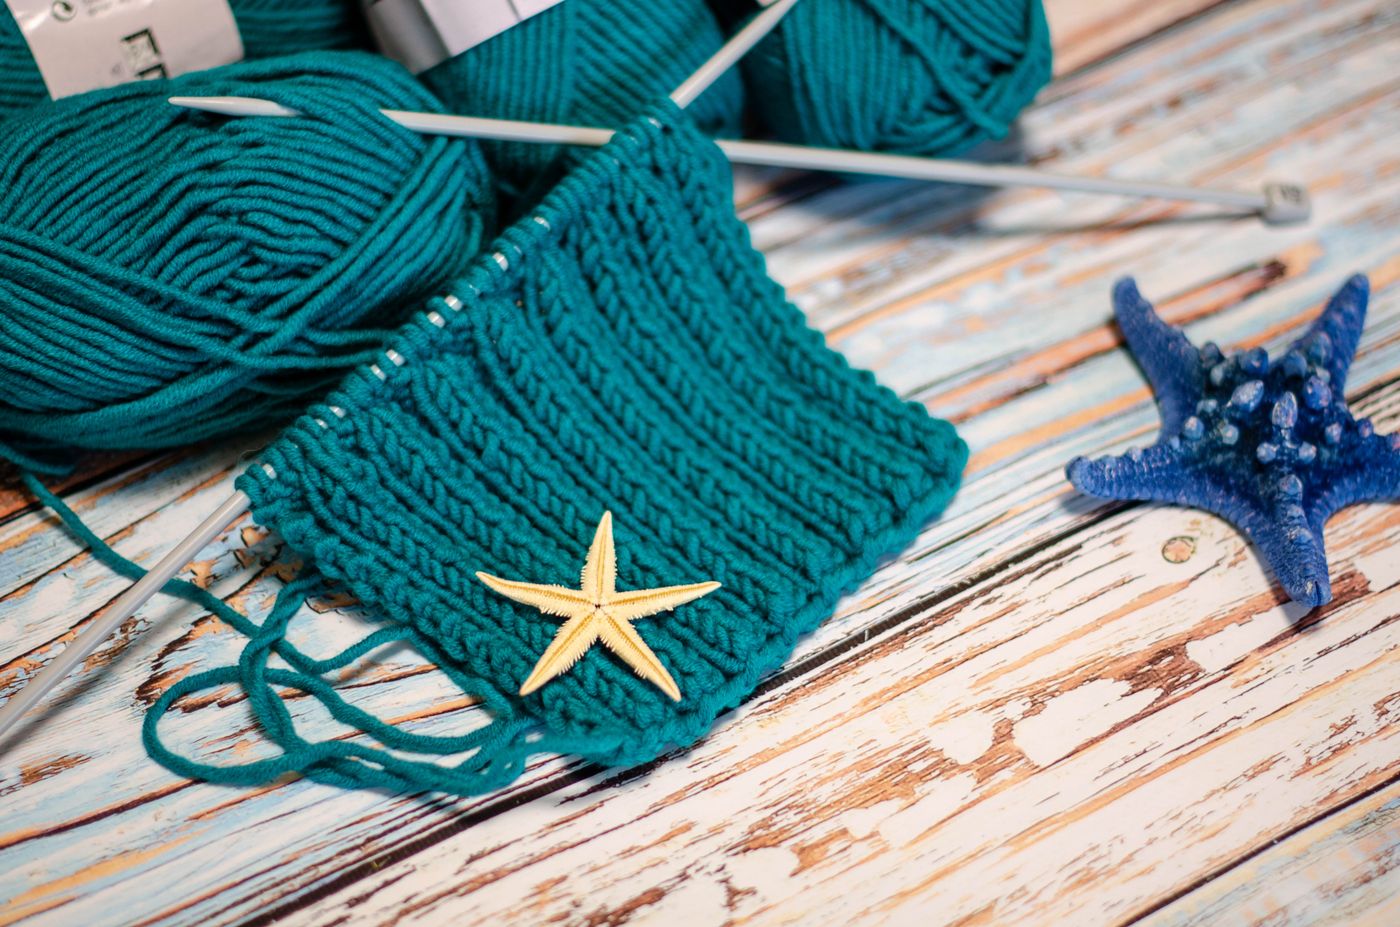
A needle that is supporting live stitches is in use even if the project has been paused for weeks. Do not remove it merely to complete the storage display. Keep a short project note showing the tools currently committed, including any relevant cable or tip information. That prevents buying a duplicate while forgetting what is inside a project bag.
Our active crochet-project storage guide provides a useful neighboring example of separating a working project from general supplies. Knitting needs its own appropriate stitch support and handling, but the organizing principle transfers: keep the current work understandable without making someone reopen it simply to count available tools.
When a project finishes or is deliberately undone, return the tools through one clear step. Check their condition according to the maker’s guidance, reunite system parts, and update the note. The equipment should become available again in the storage system as well as in your memory.
Connect the tools with the correct pattern record
Retain the actual pattern version and any personal project notes with the work, rather than filing the pattern permanently inside the needle case. Our sewing-pattern organization guide offers a transferable way to distinguish a reference pattern from the version being used. Keep knitting-specific details accurate and avoid treating another craft’s sizing system as interchangeable.
A note about the tools used can be helpful when revisiting a project. Describe what you actually used rather than assuming it matched the pattern’s suggestion. This is a project record, not a guarantee that the same equipment will produce the same result for another knitter or a different yarn.
Keep the tool collection focused on the projects you want to make. An organizer with many empty slots can create a misleading impression that a complete range is required. Before filling a gap, check whether that size or system is needed and whether the missing tool is already occupied in a paused project.
Choose storage after the collection is understood
An appropriate roll, case, or drawer division may be enough once the types and systems are separate. Try the arrangement with the actual longest needles and complete cable groups before buying inserts. Check that closures do not press on tips or force components into unsuitable positions.
Our capacity-ceiling guide can help set the amount of cupboard space the collection deserves. Leave room for the parts that genuinely belong together, while resolving unidentified pieces instead of expanding storage around them. A ready knitting collection is one whose tools and systems can be recognized, selected, used, and returned without guessing.
Explore related decisions in our Home Organization hub.
Sources and editorial scope
Editorial research checked October 21, 2026. Published trend reports are context for these editorial applications, not verified live keyword rankings. Practical household guidance; photographs do not document a tested household or authenticate pictured materials.
