
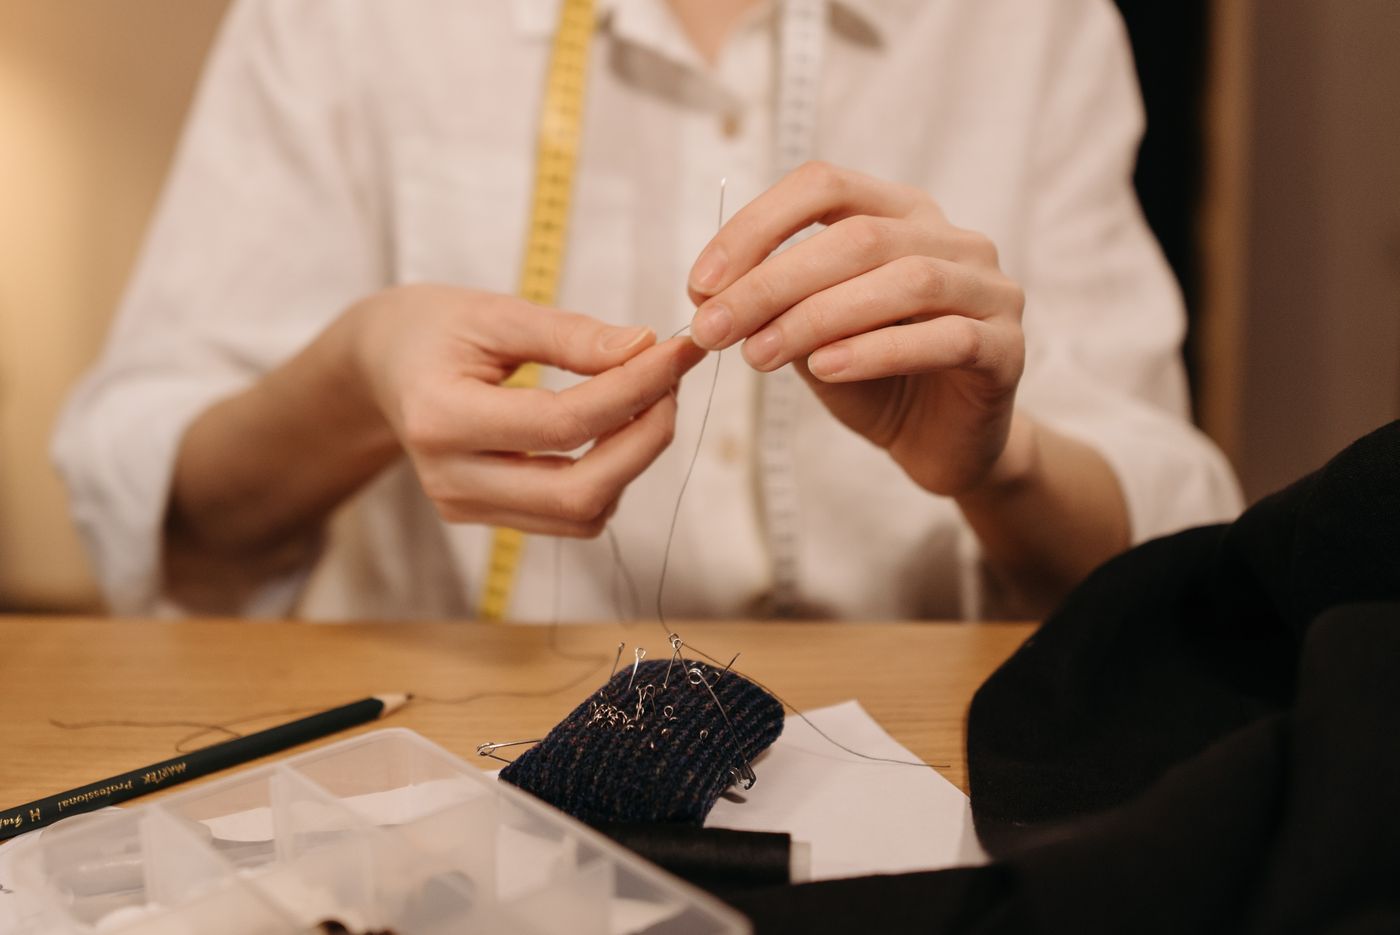
A hand-sewing needle can outlast its packaging, which is exactly how a repair kit loses the information that makes the needle useful. A mixed pincushion might hold several similar-looking tools, but it cannot reliably tell you which one came from the packet recommended for the project you are about to start.
Etsy’s October 14, 2026 report highlights visible handwork through its Mark of the Maker theme. Keeping the tools identifiable supports that interest without requiring a larger sewing collection. The task here is organizing and accounting for hand-sewing needles between projects, rather than teaching stitches or prescribing a needle for an unfamiliar fabric.
Retain the maker’s identification first
Start with unopened packets and needles still in their original labeled storage. Keep the type, size, brand, and any maker instructions together. If a packet contains assorted sizes, preserve its arrangement or identification method instead of tipping everything into a single compartment for a cleaner-looking drawer.
A replacement container is useful only if the label travels with the correct needles. Copying “sewing needles” onto a tin loses most of the information. Photographing a packet can provide a reference, but the photo should identify which physical group it describes. A camera roll containing six unrelated needle packages is not a reliable connection.
Keep the existing repair supplies limited to work you actually do. If the whole area needs attention, organizing a small mending kit addresses the broader kit; this narrower system keeps needles understandable within it. There is no need to purchase every specialist type before your next ordinary repair.
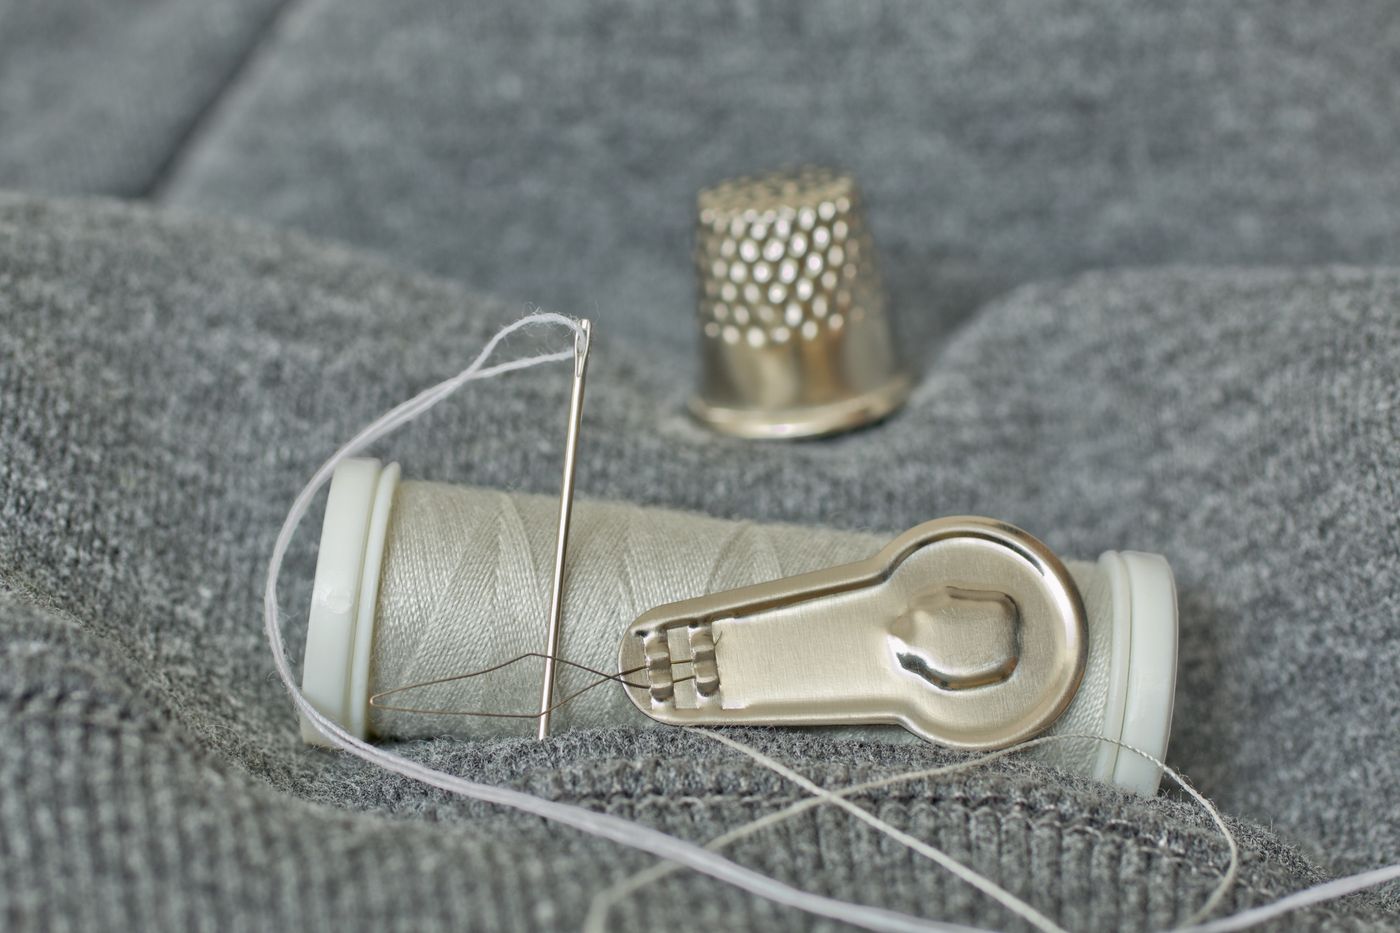
Separate known needles from uncertain ones
Put a loose needle of uncertain origin in a securely contained, clearly marked group while you decide what to do with it. Do not assign a size because it looks close to another needle or because an empty packet happens to be nearby. Appearance alone may not establish the original specification.
The Sewing & Craft Alliance’s hand-sewing guide explains that needles vary in point, eye, thickness, and length, and that packages identify type and size. Those distinctions are a reason to retain identification. They are not a basis for reconstructing every unknown needle from a photograph or a ruler at home.
If an unidentified needle is unsuitable for your current work, do not make that project its identification test. Use a correctly identified tool recommended for the task. Decide whether you have a legitimate use for the unknown item; otherwise, follow local guidance for containing and disposing of sharp household sewing tools. Keep discarded sharp items out of loose donation bags and ordinary craft giveaways.
Choose storage that contains the point and preserves the label
Original needle cases may already do the job. A suitable purpose-made case or properly secured needle book can be another option, depending on its construction and the needles involved. Check that the tool cannot work through an exposed edge or escape when the storage is carried normally.
Do not treat a decorative open dish as a needle case. Likewise, a tin with gaps or an unreliable lid can release its contents when the drawer is opened. Evaluate the container closed, in the actual orientation in which it will live, rather than only admiring how orderly the needles look while it is open on the table.
Labels should remain outside the puncture path and easy to read. A simple entry might be “Brand, embroidery, size stated on packet, six remaining.” Keep different types in distinct identified areas. You do not need an elaborate color code unless everyone using the kit understands it and the written identification remains available.
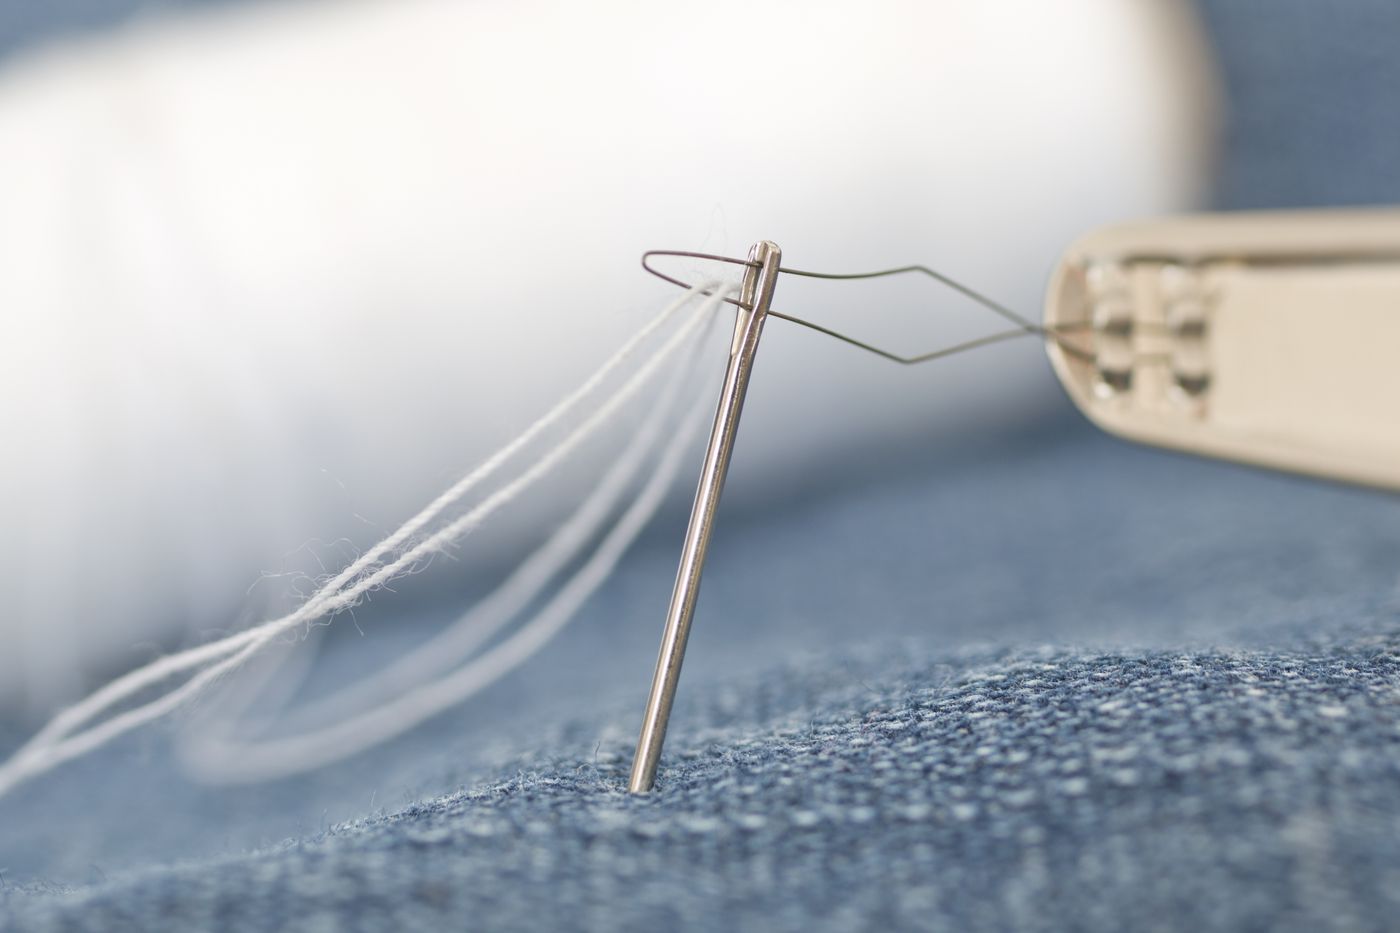
Take out only the needles needed for the session
Before a repair, choose the identified needle appropriate to your instructions and materials. Make a quick note of how many needles leave storage. For many small jobs, that number can be one. Taking the full assortment onto the sofa creates unnecessary searching when the job ends or someone needs the seat.
Provide a suitable temporary resting place within your working area. Keep it away from an edge, food, laundry heaps, pets, and children who should not handle sharp tools. A supervised sewing activity needs its own age-appropriate setup; an adult storage routine does not make loose needles appropriate for a child.
Keep threaders, pins, and needles distinct in your count. A packet containing six needles is not complete because there are six metal objects in the tray. If another adult shares the kit, agree on how tools are checked out and returned before both projects start. The container-limit approach to small supplies helps prevent active work from expanding into an unaccounted assortment.
Keep an interrupted project understandable
When a session stops before the repair is finished, put the needle in suitable contained storage rather than leaving it concealed in the garment. Leave a separate project note identifying the needle group and what remains to be done. Someone carrying the shirt to the laundry should not discover a sharp tool through touch.
Do not send the project through washing or drying while a needle or pin remains attached. Keep unfinished repairs separate from ready-to-wash clothing and from garments ready to wear. A visible project note can say “repair unfinished; check tools before moving” without replacing the need to contain the tools properly.
If a garment has several repair steps, describe the stopping point in ordinary language: “one button attached; second button still loose in closed project pouch.” That note is more helpful than a photograph of a pile of fabric. Use a clear laundry-sorting routine to keep the garment from accidentally joining an ordinary load.
Close with a count and a condition check
At the end, return each active needle to its identified place and compare the returned number with the starting number. Check the immediate work area and materials before folding the garment or moving the chair. Avoid brushing your hands blindly through upholstery, fabric folds, or an unseen gap in search of a missing sharp object.
If a needle is missing, stop using and moving the affected items until it has been located or the situation has been managed safely. Keep others away from the search area and use an appropriate method that does not involve reaching blindly. A magnetic accessory is not a guarantee that every needle or fragment has been recovered.
Inspect tools as you return them. Do not bend a damaged needle back into service or mix a broken piece with usable tools. Contain all fragments and follow the applicable local disposal route. Your inventory should reflect what remains usable, rather than keeping a misleading packet count after damaged tools have been removed.
Store the closed kit away from the laundry process
A laundry area can serve as a repair space, but splashes, steam, damp textiles, and a moving appliance are poor neighbors for open needle storage. Choose an appropriate dry, secure location. Put tools away before starting nearby washing, folding, or ironing work, and avoid balancing the case on top of an appliance that will operate.
Keep enough room to retrieve the case without pulling out unrelated items. The folding-surface plan for a compact laundry area can help separate the work surface from permanent supply storage. A small case that is accessible and consistently closed is more useful than a large drawer requiring several piles to be lifted first.
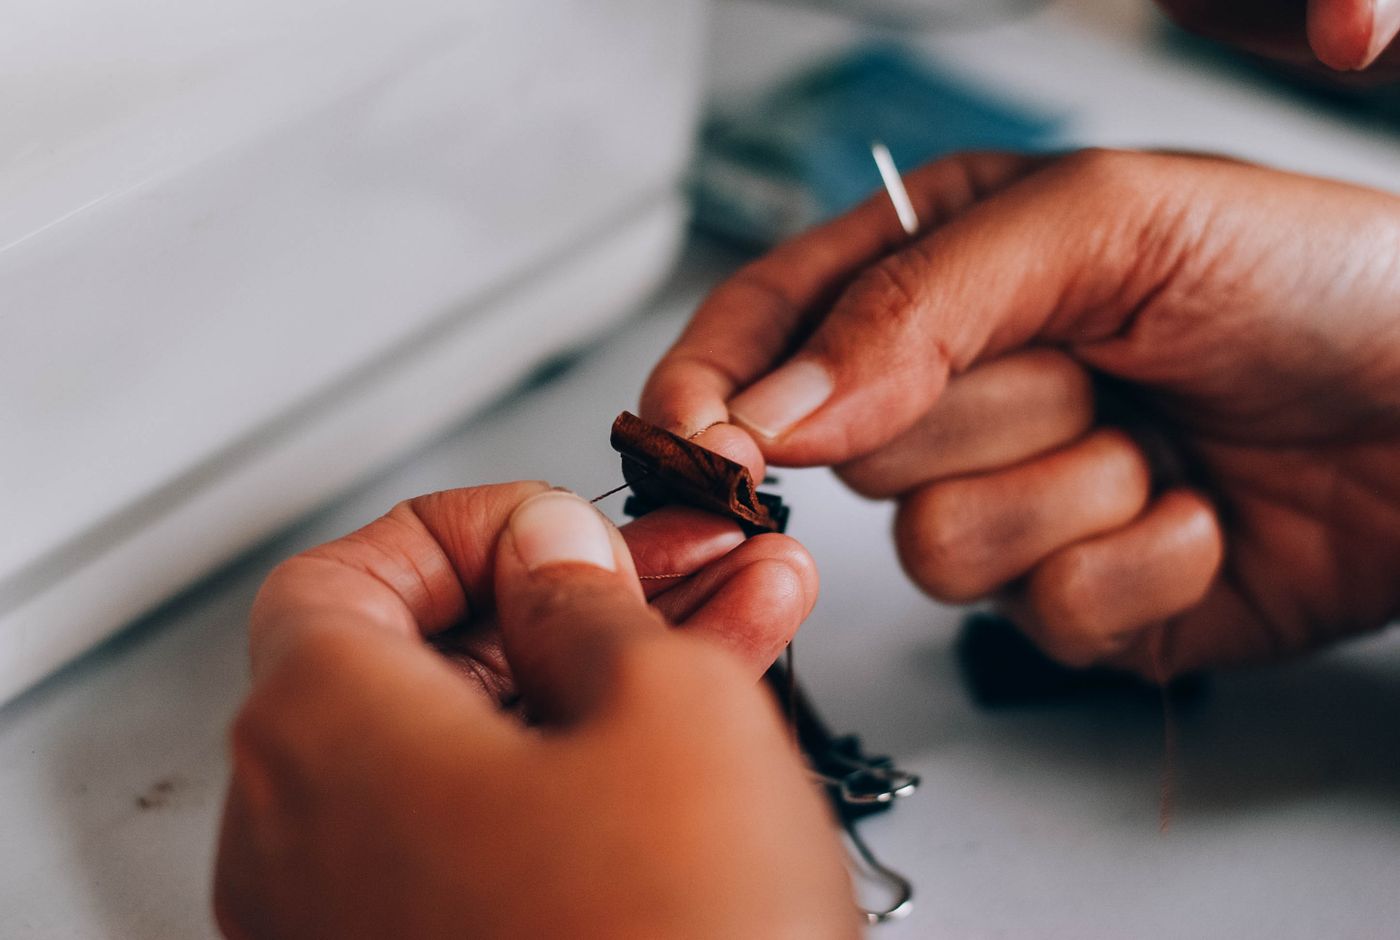
Replace deliberately rather than accumulating unknown assortments
When an identified group runs low, replace the type and size your actual projects require. Check the maker’s current labeling before assuming a new assortment matches the old one. Keep new stock separate until the contents and labels have been compared, then update the simple count.
Review unused supplies when the case becomes difficult to navigate. You may need fewer types, clearer labels, or a better return habit rather than more compartments. Deciding what an organizer must solve makes that choice easier: the purpose is to retrieve the correct tool and account for it afterward, not to turn every small repair into an inventory project.
Once the system works, opening the case should answer three questions quickly: which tools are these, which one fits the documented task, and did everything come back? That clarity leaves more attention for the repair itself.
Explore related household decisions in our Home Organization hub.
Sources and editorial scope
Editorial research checked October 17, 2026. Trend-report dates and limitations are stated in the article; these are editorial applications of published signals, not verified October keyword rankings. Practical household guidance; illustrations do not document a tested household or authenticate a pictured material.
