
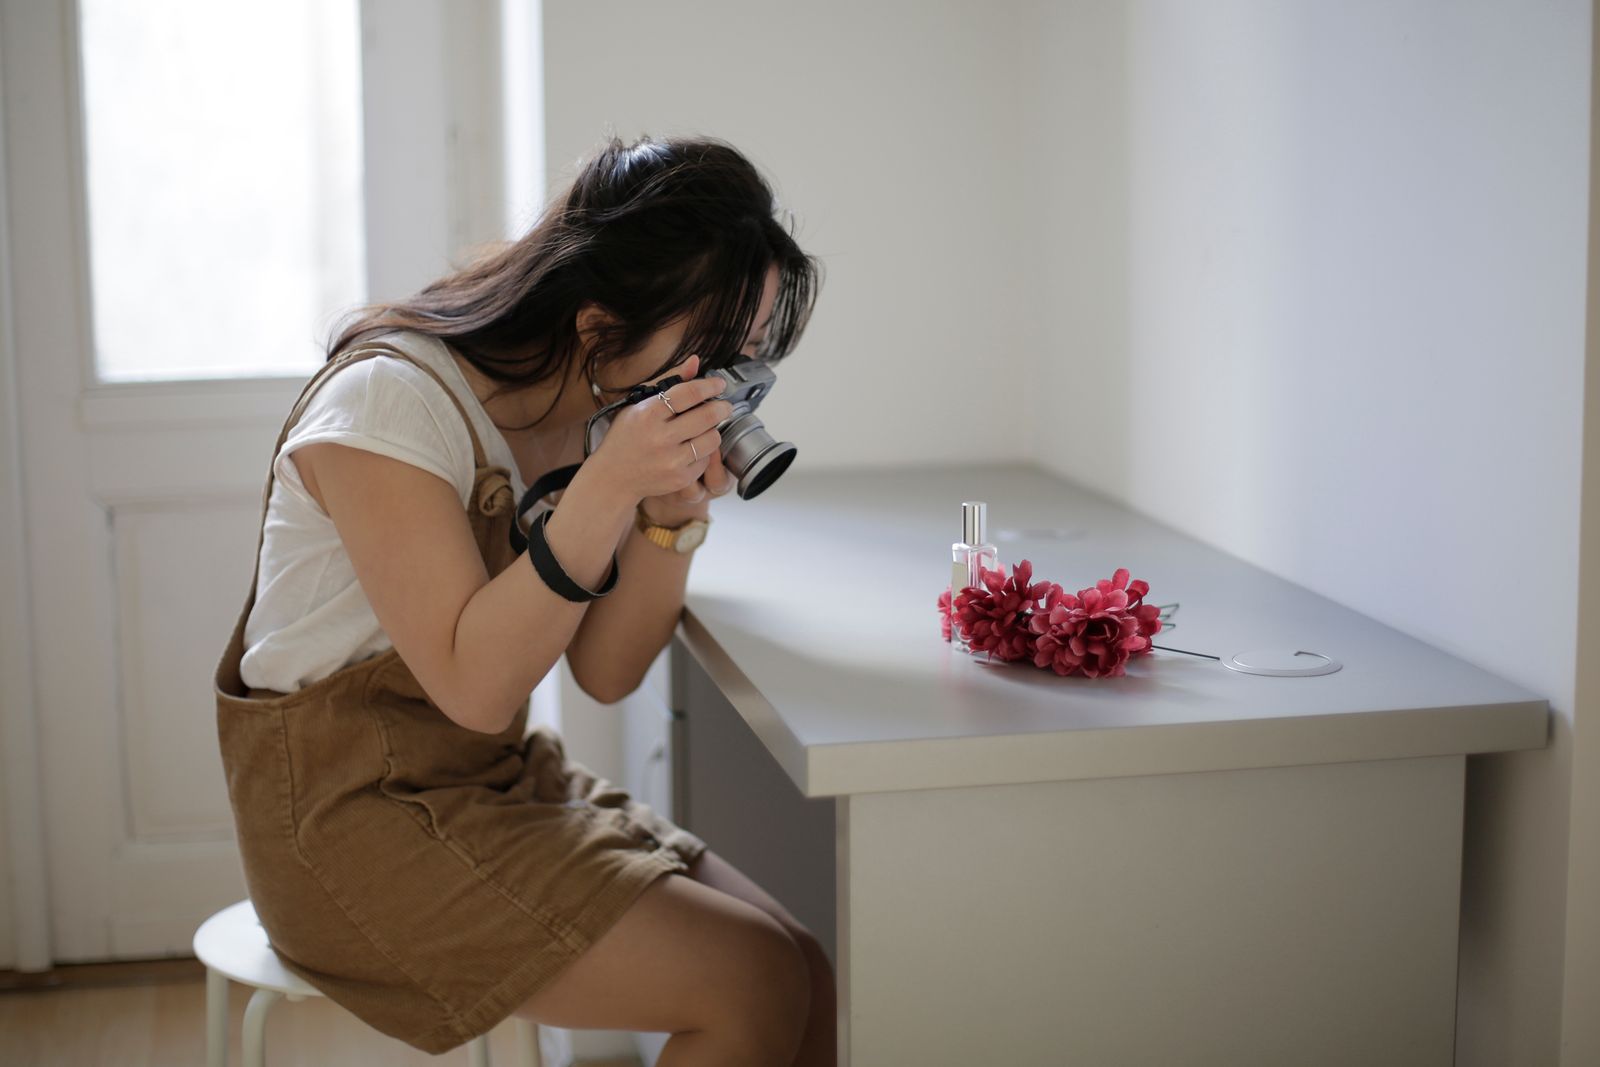
Selling an unwanted household item often stalls before the listing is written. There is no clear surface for photographs, the background shows private belongings, and the light disappears by the time you find the item’s accessories. A temporary tabletop photography position can make that first step manageable in a small home, using equipment you already understand. For the broader setup, Make a Temporary Halloween Family Photo Corner in a Small Living Room is a useful next read.
This setup is for photographing your own items accurately before listing them. It is not a permanent studio or a promise of quicker sales. Start with one object that fits on a supported surface and a camera or phone you already use. Large furniture and items requiring specialized handling need a different arrangement. The useful outcome is a clear, complete set of pictures followed by the return of the shared room to its next task.
Choose one item with a complete listing decision
Pick something you own and have actually decided to sell, then identify its condition and included parts. An appliance without its required component, a box of mixed cables, or an item with an unresolved ownership question is not ready merely because it will photograph attractively. Resolve what the buyer would receive before setting up. Keep the item’s instructions available when identification or included accessories need checking.
Contain the object and its included parts together while you prepare. Remove unrelated items that will not be part of the sale. If a decorative stand, charger, or background prop must appear for a practical reason, make the listing clear about whether it is included. Aim to eliminate that ambiguity in the photographs where possible rather than relying on a buyer to notice a qualification buried later in the text.
Find a surface that supports the whole task
Use a table or other appropriate surface that supports the item and lets you work around it without overreaching. Check the owner’s permitted use and the surface’s care requirements. Do not balance a heavy item on a narrow stool to obtain a cleaner background. A fragile object should stay supported while you move the camera; staging is not a reason to test its balance.
Include the photographer’s position, not just the object’s footprint. Can you stand or sit comfortably for the front, side, and detail views? Do you have somewhere to put the camera while adjusting the item? Keep the normal household route available. In a shared room, agree on a realistic photography window so the setup does not become a new indefinite occupation of the only work surface.
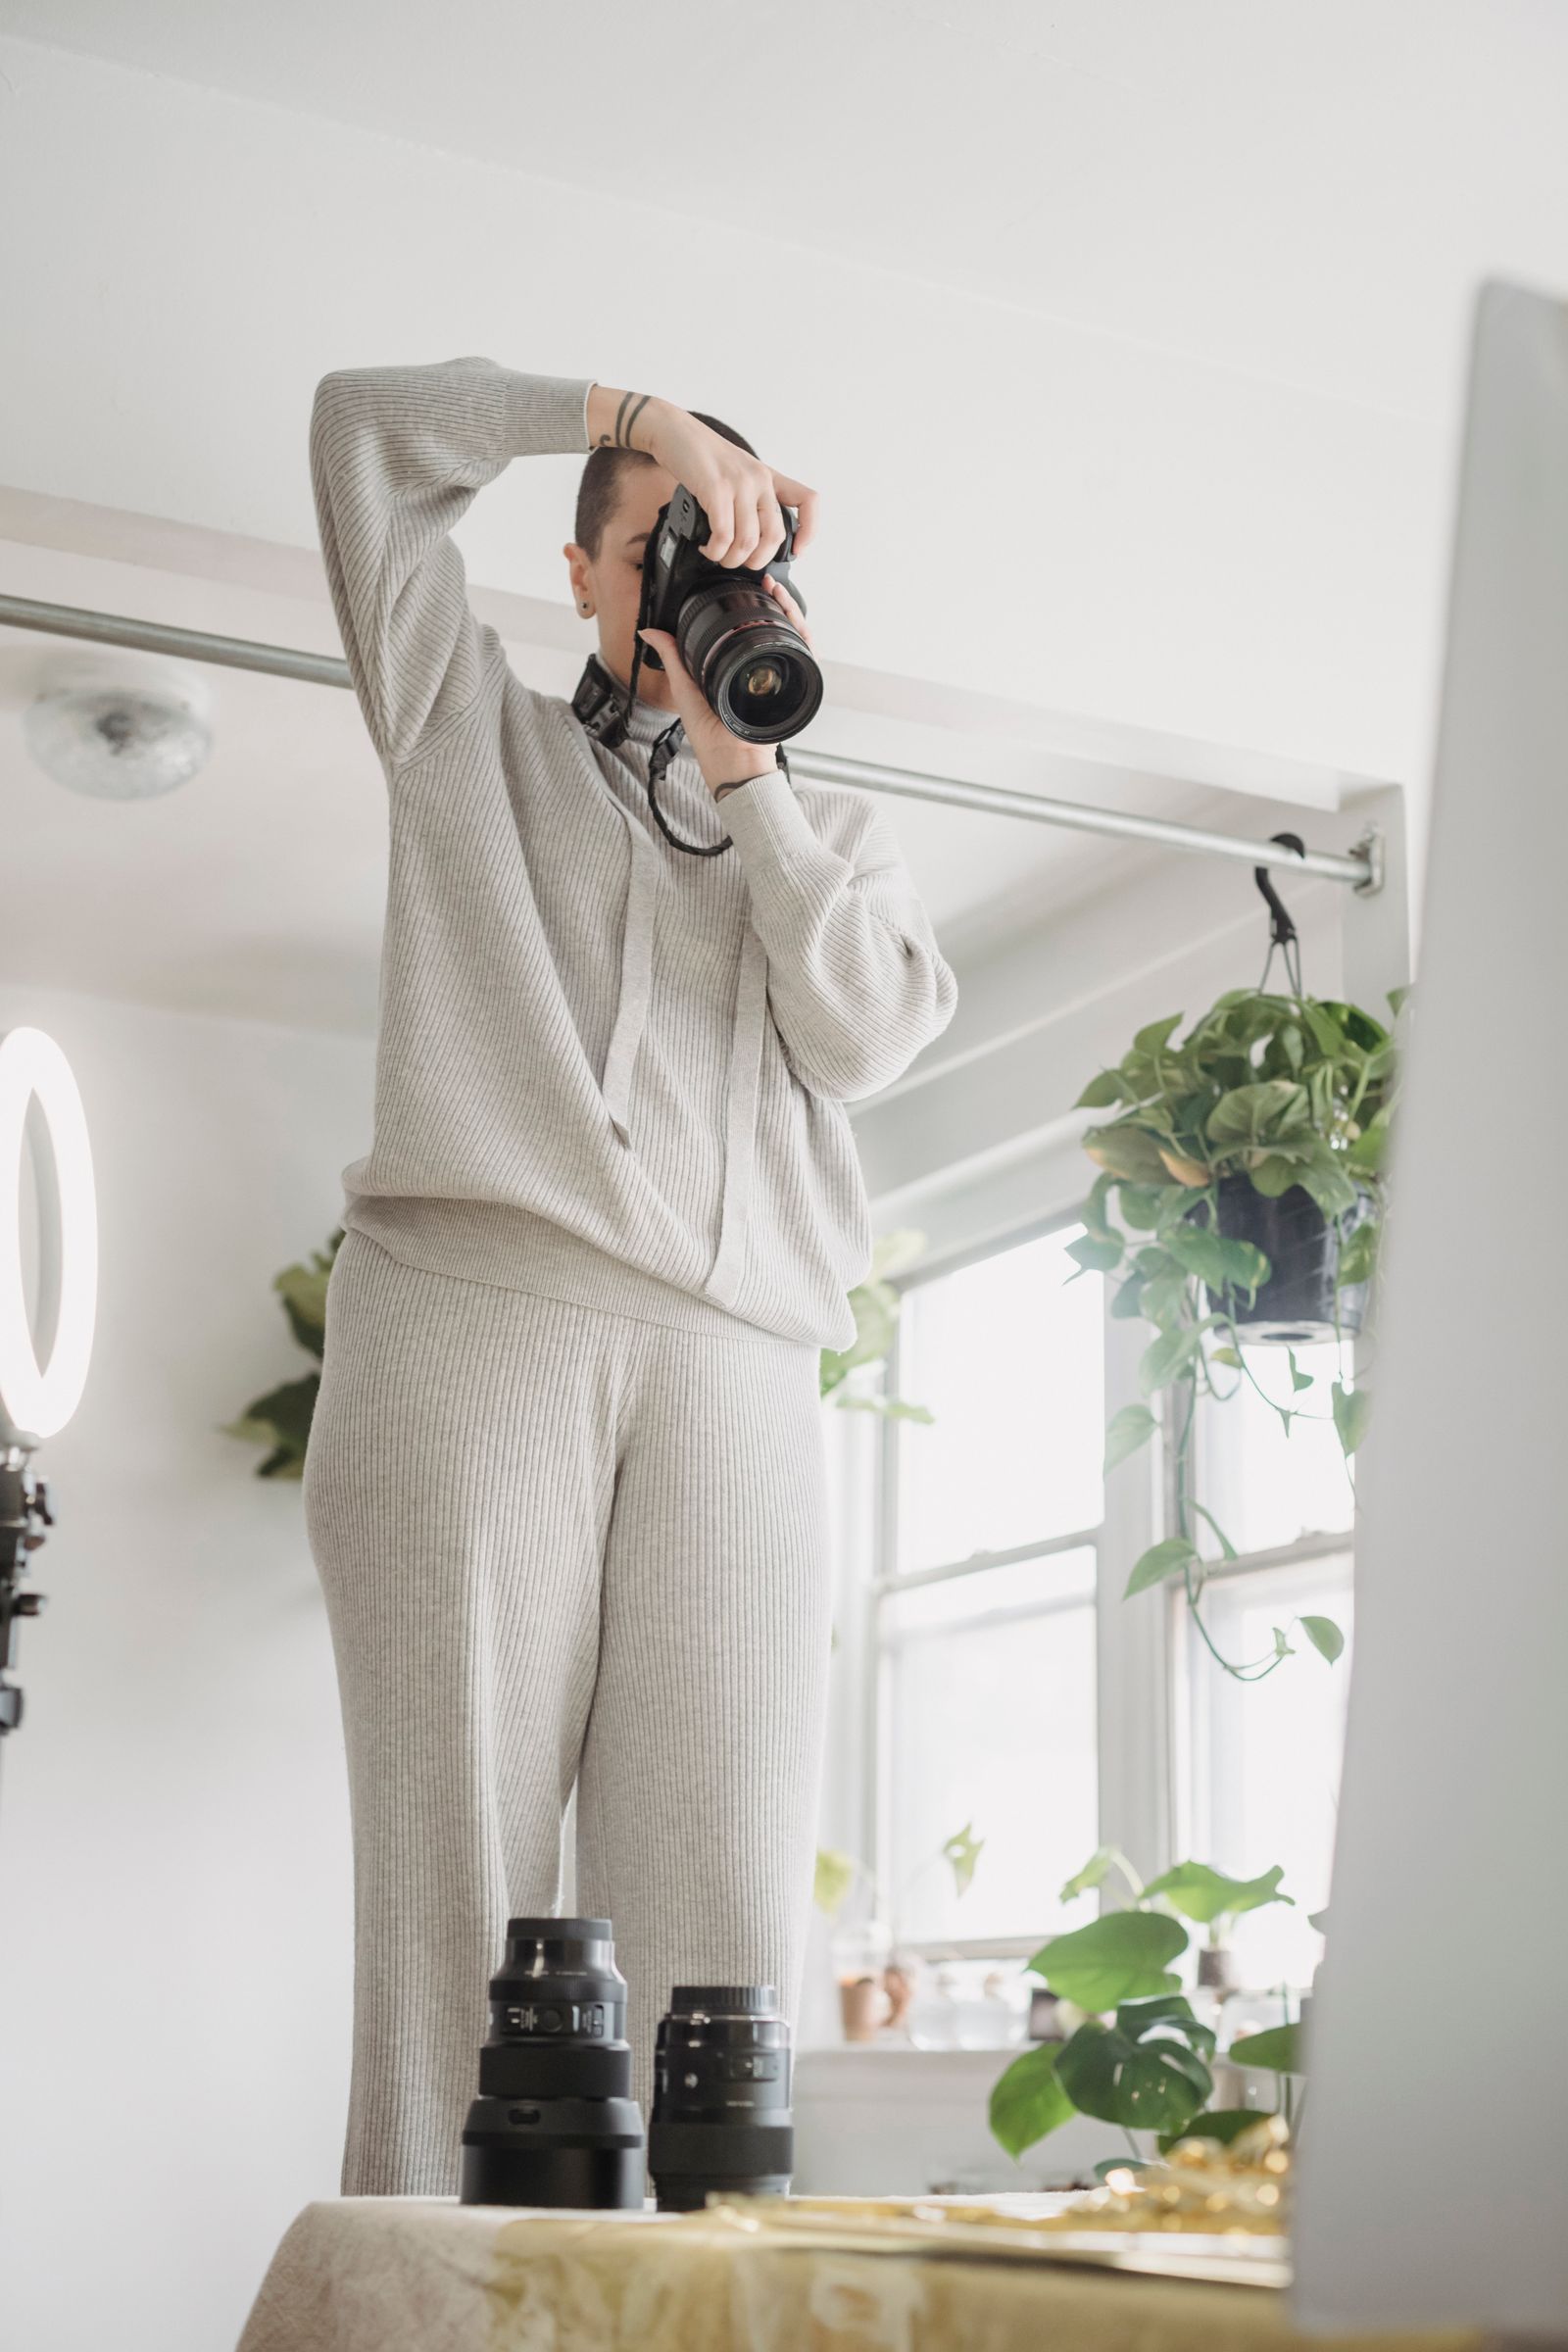
Check the light before unpacking everything
Look at the chosen position during the available work window. Start with ordinary room light or indirect daylight that allows the item to be seen clearly. Take a trial picture and inspect the object’s details. If glare obscures a surface or the image is too dim to show its condition, adjust the permitted position of the object or camera before introducing more equipment.
Avoid planning a general “best light” time that does not fit your household. A repeatable position during a window you actually have is more useful than a perfect afternoon setup you never use. Check the background and reflections at that time too. A shiny item may show the photographer, a window, or personal objects that are not visible when you look only at the tabletop.
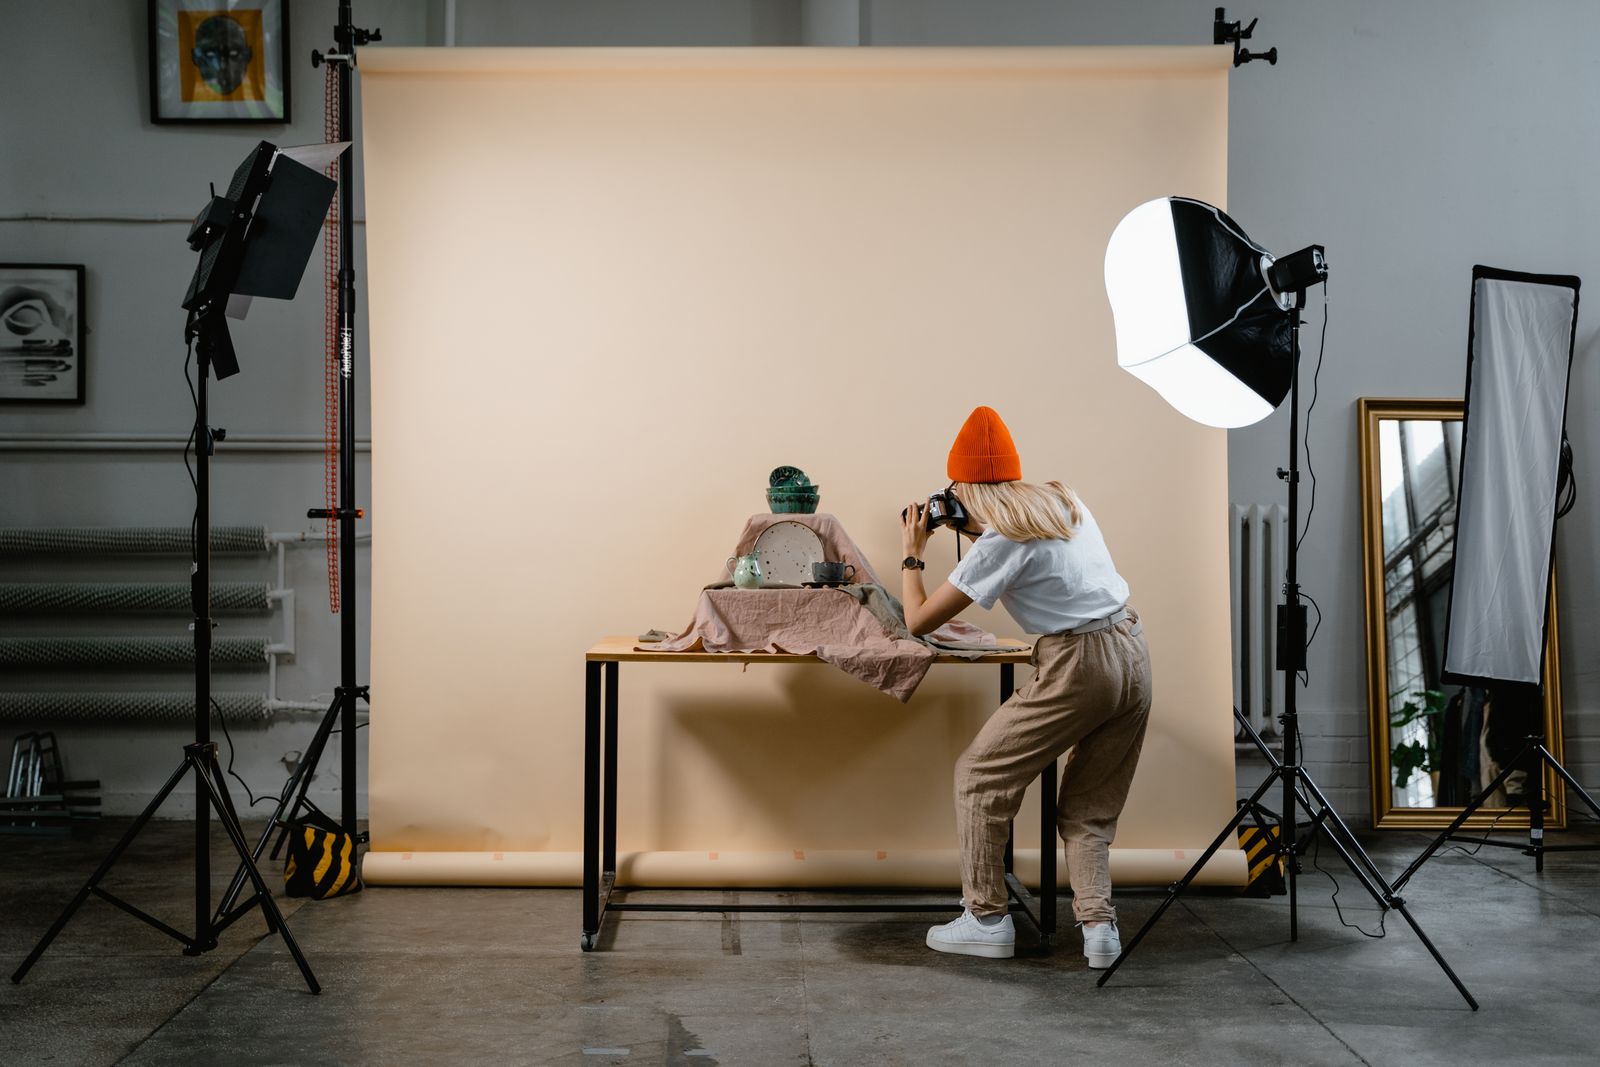
If you already own appropriate photographic lighting, follow its instructions for support, electrical use, and placement. Keep cords away from the work and household routes. Do not add a large light kit solely because a stock photograph shows a studio. One usable surface and a clear trial image may be enough for the item you need to describe.
Use a background that keeps the item understandable
A plain existing wall, clean tabletop, or suitably supported background material can reduce distraction. Choose something that contrasts enough with the object for its edges and condition to remain visible. Test the actual item against it: a pale mug may disappear on a pale surface, while a dark cable may be difficult to follow against a patterned cloth.
Keep background materials out of the item’s operating parts and follow the care requirements of both. Do not place a hot, running, or connected item on improvised fabric for appearance. Photograph equipment in an appropriate state for the view you need. A product label can be shown without turning the setup into a live demonstration that the instructions do not support.
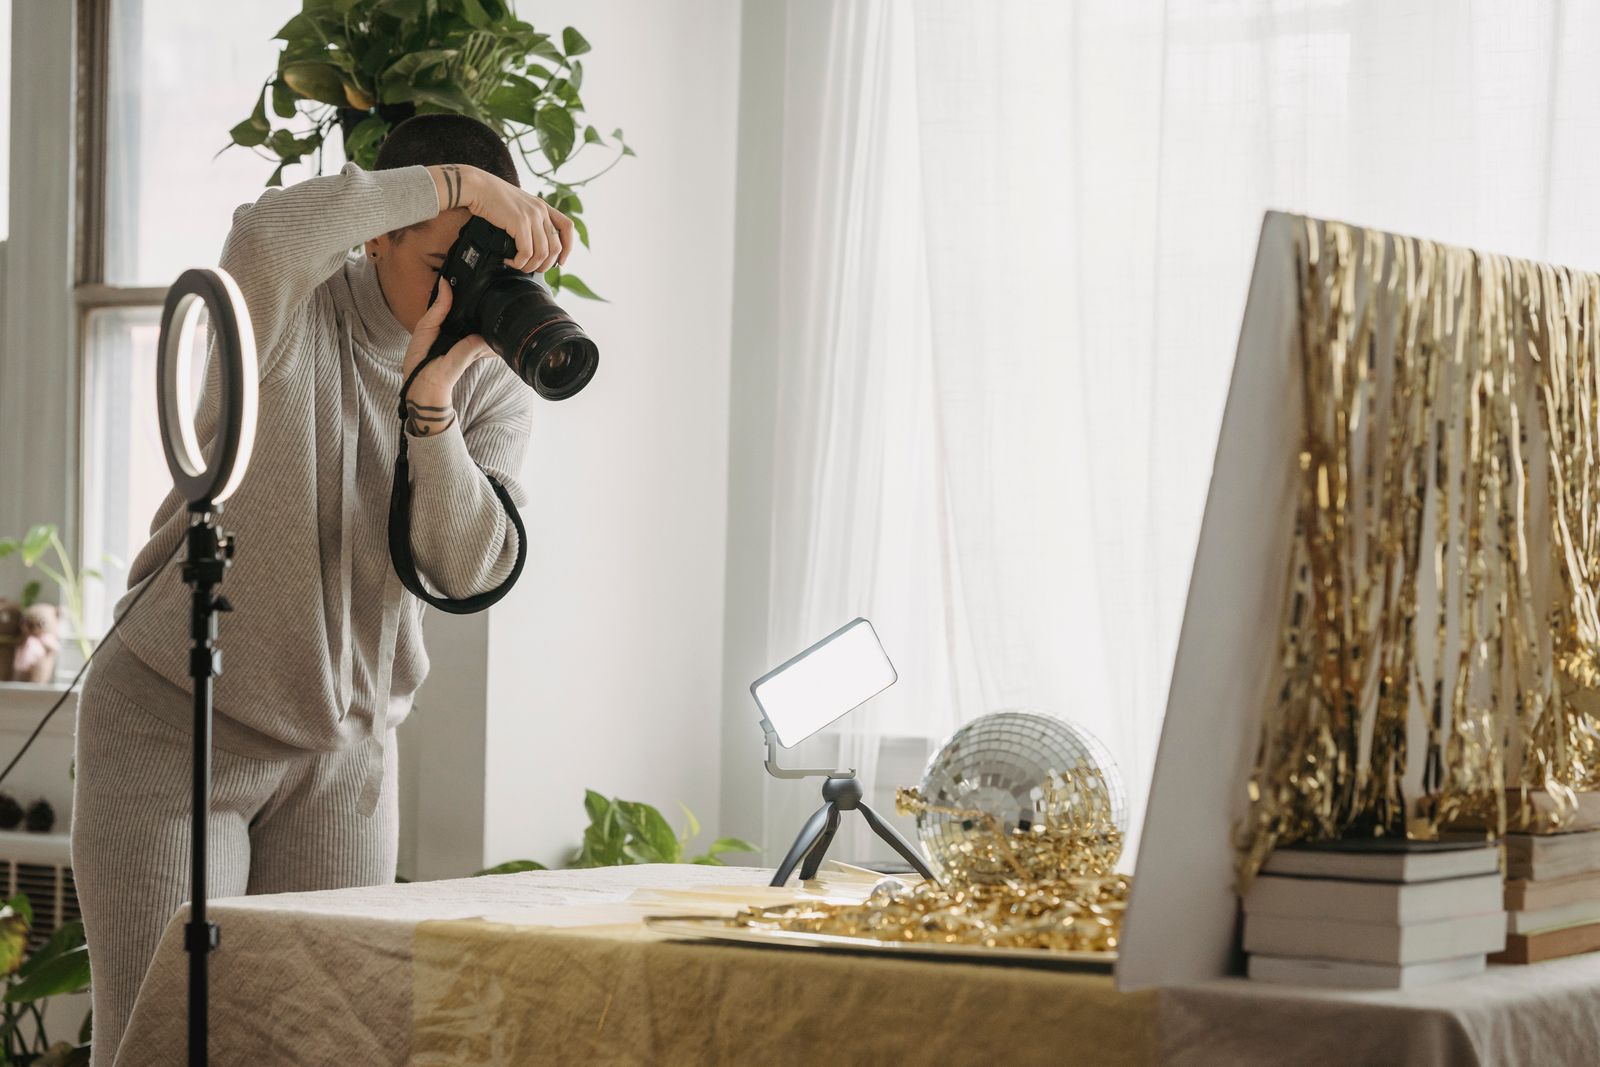
Decide the views before taking a large collection
Write a short view list for the specific object. Usually you need an overall view, the relevant other sides, readable identification, the included parts, and clear views of any visible wear or damage. Some objects need an underside or a connection detail; others do not. A list based on the buyer’s likely questions is more useful than taking thirty nearly identical front pictures.
| View | Purpose |
|---|---|
| Whole item | Show what the listing is about and its overall condition |
| Relevant sides and underside | Reveal surfaces hidden in the first view |
| Identification and included parts | Clarify the actual model and contents of the sale |
| Wear or damage | Let the reader understand the issue rather than discover it later |
For a small lamp, that might mean the complete lamp, base, shade, identification, and the included cord or parts. For a kitchen container, the useful details could instead be the lid, interior, and any visible marks. Let the object determine the sequence. A decorative scene with extra accessories can conceal the information a buyer needs about a simple item.
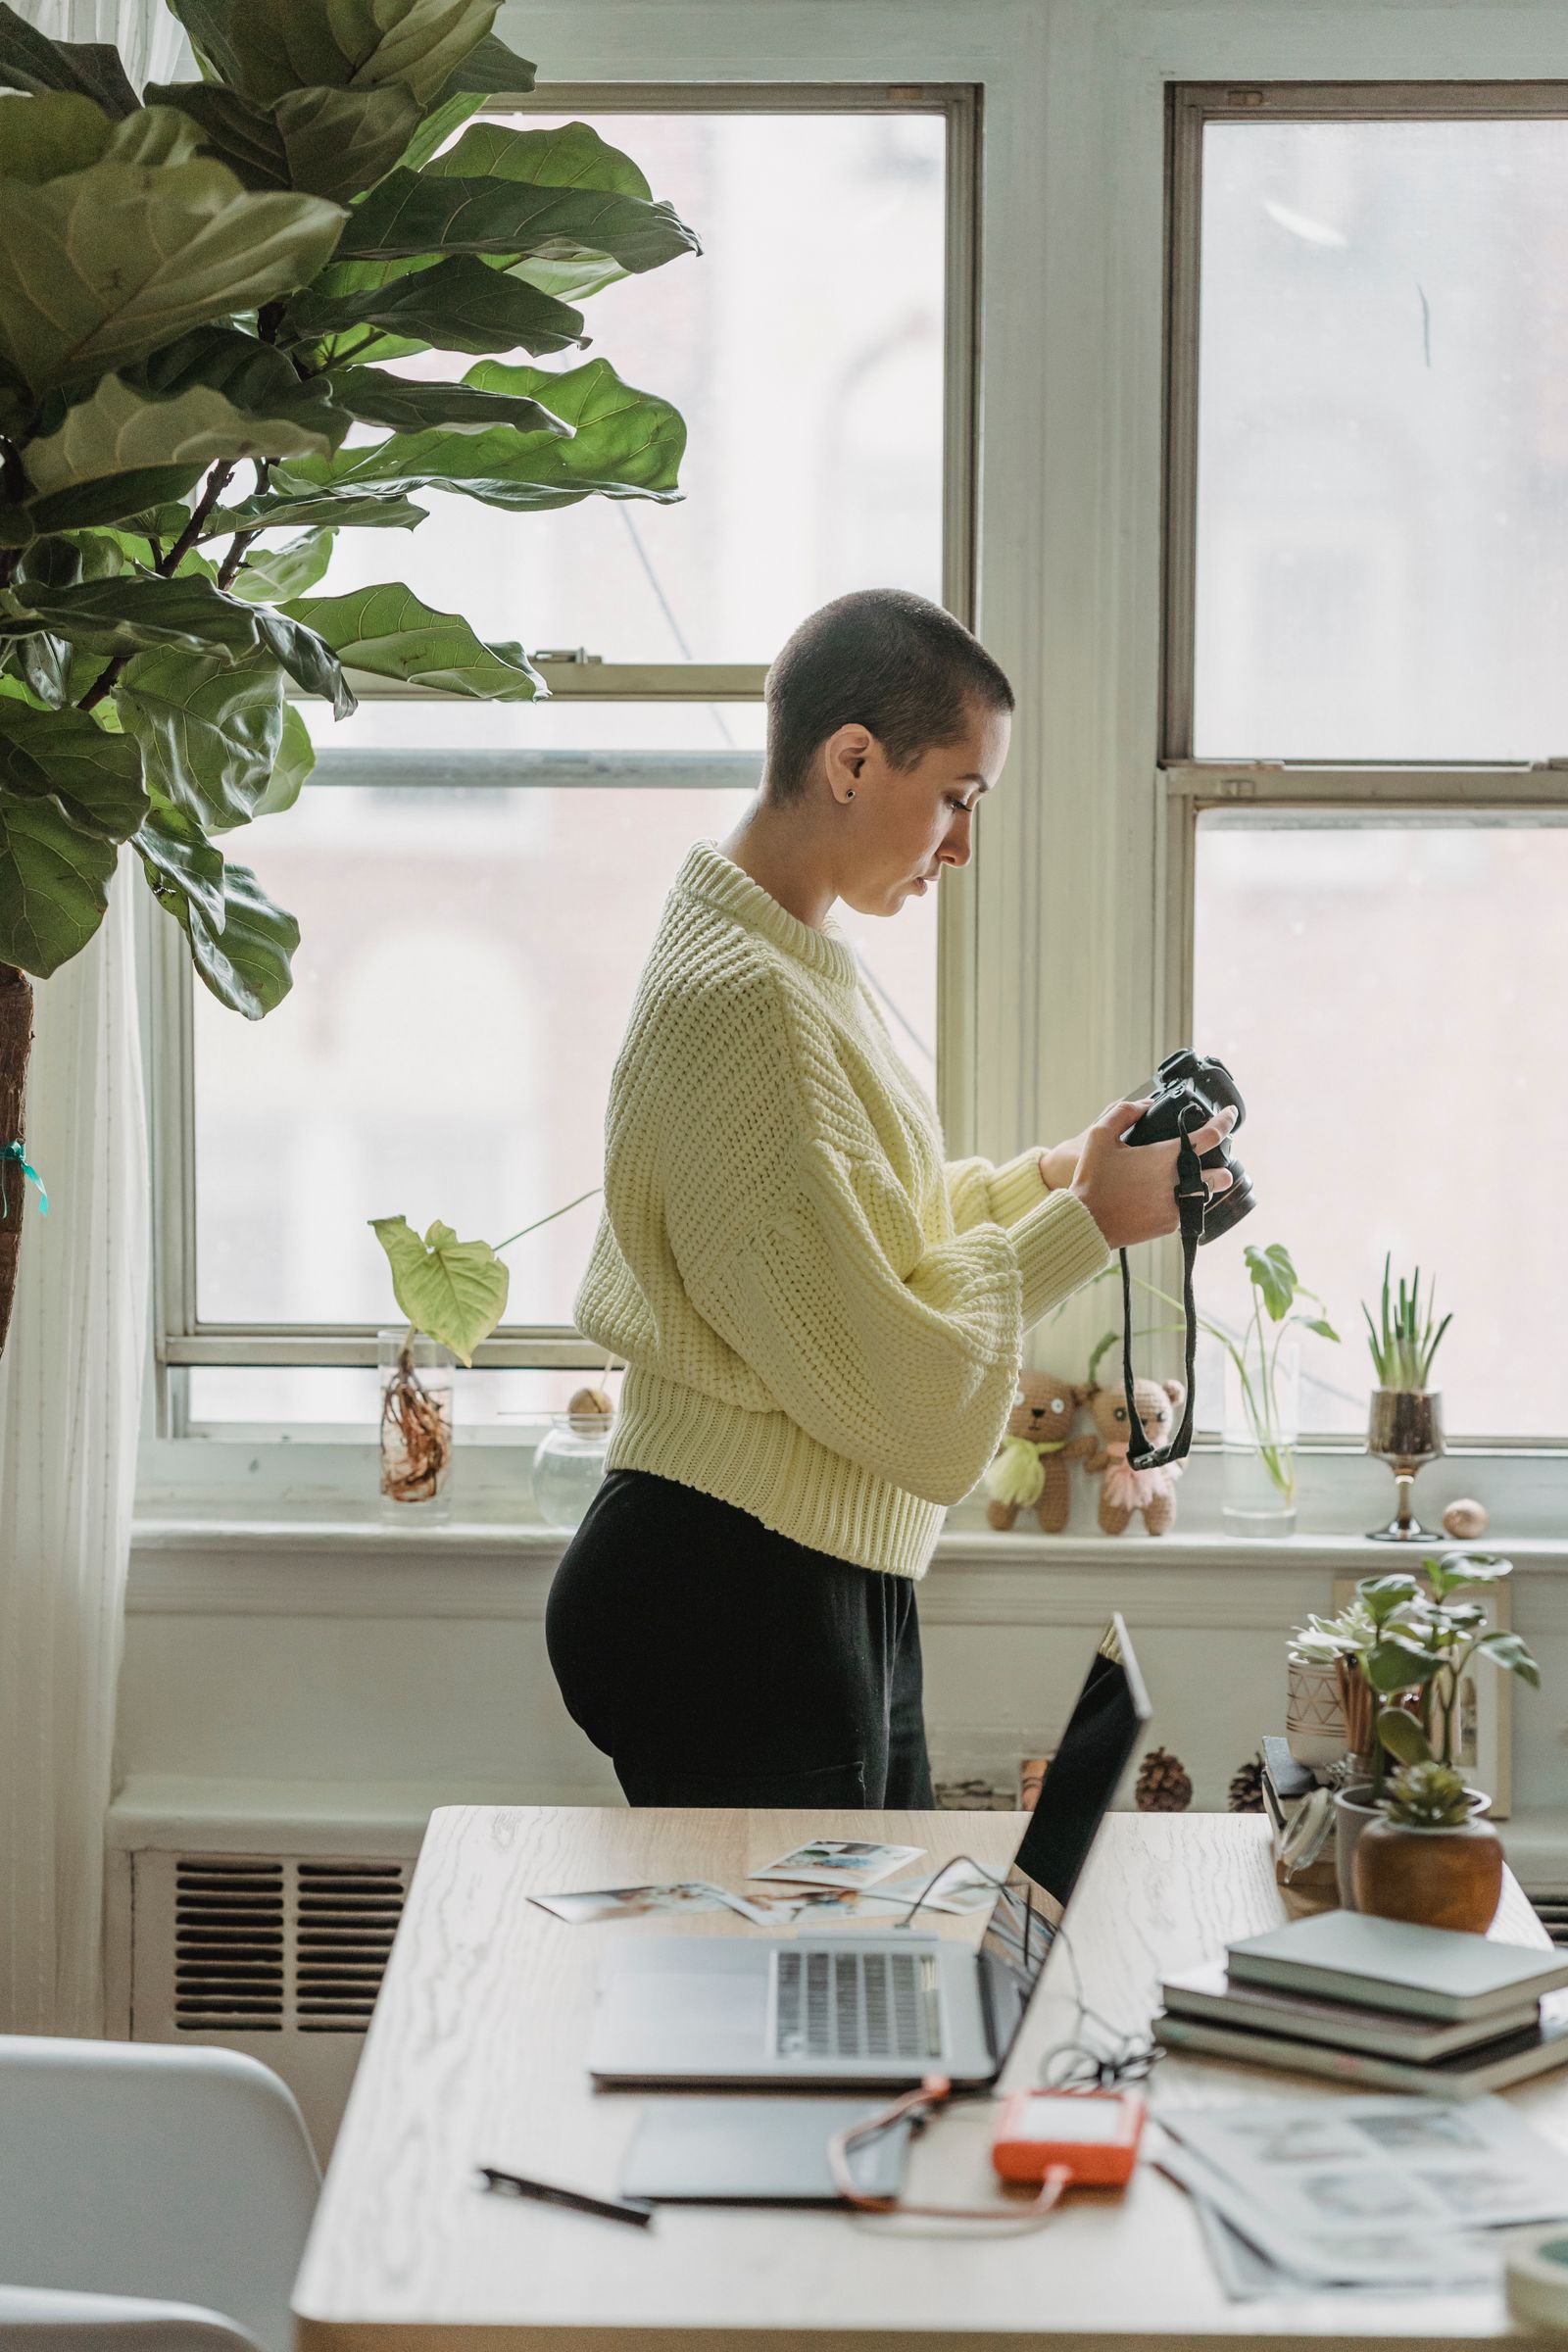
Keep the camera supported in its intended way
A handheld phone or camera can be sufficient if it produces readable pictures in the position you chose. Use its normal controls and check the image rather than assuming the latest device is required. If using a stand, tripod, or phone mount, follow the equipment’s instructions and compatibility limits. A stack of loose books is not a substitute for a suitable attachment for an unsupported device.
Choose a view you can reach from the floor or your ordinary working seat. Do not climb onto a dining chair to copy an overhead photography image. If the object needs a top view, use equipment intended for that position or choose another supported arrangement. A good picture is one you can take without turning a small household task into an awkward balancing exercise.

Review each important picture while the item is out
Inspect the trial and detail images at a useful size on the device. Check focus, complete edges, reflections, and whether the condition is visible. A photograph may look clear as a small thumbnail but fail to show a model number or damaged corner. Retake the missing view now, while the object and parts are still together, rather than discovering the gap after everything has been put away.
Where dimensions matter, record accurate measurements in the listing and use a clear supporting image if appropriate. Keep units readable and do not let a decorative prop imply scale. Do not invent a measurement from a stock product description when the exact item or version is unresolved. The photograph should support the description of your item, including any uncertainty you still need to settle.
Show condition without disguising it
Clean the item only through its permitted care method before photographing it. Then show remaining marks, missing pieces, or other relevant condition details honestly. Use the platform’s editing tools only in ways that preserve an accurate representation. Cropping a distracting edge differs from editing away wear on the object. Review any background removal closely so it does not erase a thin handle, cable, or damaged area.
For eBay, consult the current instructions for adding listing pictures and its picture policy before uploading. Follow the corresponding requirements on another platform. Do not assume file limits, photo counts, or editing rules remain identical across services. This home setup supports taking useful pictures; the listing service decides what it accepts.
Protect private information in the frame
Check the whole picture for addresses, family photographs, paperwork, screens, and reflections. Remove or reposition private background items before shooting. If a relevant label includes information you should not display, determine what needs to be shown for identification and what should remain private. Do not accidentally publish a shared room’s personal details because your attention stayed on the object.
Keep draft listing files in a folder named for the actual item so one object’s damage detail does not appear in another listing. Select a concise set that covers the view list, and remove confusing near-duplicates from the working selection. You can keep original files according to your own preferences. The important distinction is that the uploaded set accurately belongs to the object and contents being offered.
Adapt the views for a reflective or detailed object
A glossy kettle, polished frame, or glass container can show a room reflection that distracts from condition. Look at the trial picture and move the camera or object within the supported arrangement to make relevant details visible. Photograph more than one appropriate view if a reflection conceals a surface. Do not remove a real scratch or mark through editing merely because it appears alongside glare. The condition image should let a reader distinguish the relevant issue from a lighting artifact.
For a set of small included pieces, take an overall view of the complete contents and details where identification requires them. Keep the pieces in a supported arrangement and check the list against the photograph. A cable visible in the corner is easy to mistake for part of the sale; an important piece hidden beneath another can appear absent. Reconcile the actual contents and the view before writing “complete set.” Uncertainty about a missing component belongs in the description and the decision about listing readiness.
Photograph several items as separate jobs
If you want to photograph more than one object in the same session, keep only one item’s contents on the surface at a time. Check its view list and save its files under the correct name before introducing the next object. An established position can be reused without mixing the belongings. That sequence also makes it easier to return an item to its holding place while keeping accessories matched.
Stop the session when the agreed room window ends, even if more items remain. Close the completed groups and put the next unstarted object in its appropriate place. A small batch of accurate, usable pictures is more practical than a room filled with partially photographed listings. Note which item comes next so the following session begins with a clear choice rather than another large sorting exercise.
Pack away without losing the item-to-photo match
After checking the required pictures, return camera equipment and background materials to their normal storage. Keep the item and included parts together in an appropriate holding place, identified by the same name as its image folder. An object should not become scattered around the home while waiting for a listing response. Protect it in the condition you photographed so the description does not become outdated through casual household use.
For the surrounding work area, use the shared-space home-office guide, the shared work-station guide, and the home-office hub. Connect the pack-away step to your daily office reset when that fits the room’s routine. Their larger setup decisions should not be repeated for every object. Keep the photography kit limited to tools you use and can return in one ordinary session.
The Small Space Living hub covers other ways to share room functions. Your photography position is successful when it produces the views needed to describe one item, preserves privacy, and releases the surface afterward. Repeat that workable position for the next suitable object, changing the view list rather than building a permanent studio for a few household listings.
