
A shared room can work perfectly well for everyday tasks and still be frustrating when a video call starts. Someone crosses behind the chair, the camera faces a bright window, and the charger only reaches when the laptop sits in the middle of the dining table. Solving each problem during the meeting makes the room feel less usable than it really is.
Create one repeatable call position. It does not need to remain assembled all day or turn the living room into a permanent office. It needs a predictable seat, a tested camera view, an agreed household handoff, and a clear return routine. Start with equipment you already own and a real call scenario before choosing any extra furniture. For a related step-by-step approach, see How to Create a Guest Sleep Zone in a Small Living Room Without a Permanent Bed.
Define the calls the room needs to support
Write down your recurring call types. A short family conversation, a confidential work meeting, and a lesson with materials on the table can require different arrangements. Record how long you normally sit, what you must reach, whether you need to show objects, and who else uses the room at that time. Choose the most frequent realistic situation for the first layout test.
Distinguish privacy from a tidy background. A bookshelf behind your chair can look orderly while people in the next part of the room hear everything you say. If a meeting requires confidentiality, follow your workplace requirements and choose a suitable private location. A camera setting does not establish that the room is appropriate for a sensitive conversation.
Set a boundary for what the station should contain. You might need the laptop, its compatible charger, your existing headset, and a notebook. Keep equipment for unrelated hobbies outside that boundary. The call position should solve a known task rather than provide an excuse to leave every electronic accessory on the shared table. For the broader setup, How to Set Up a Shared Homework and Work Station in a Small Home is a useful next read.
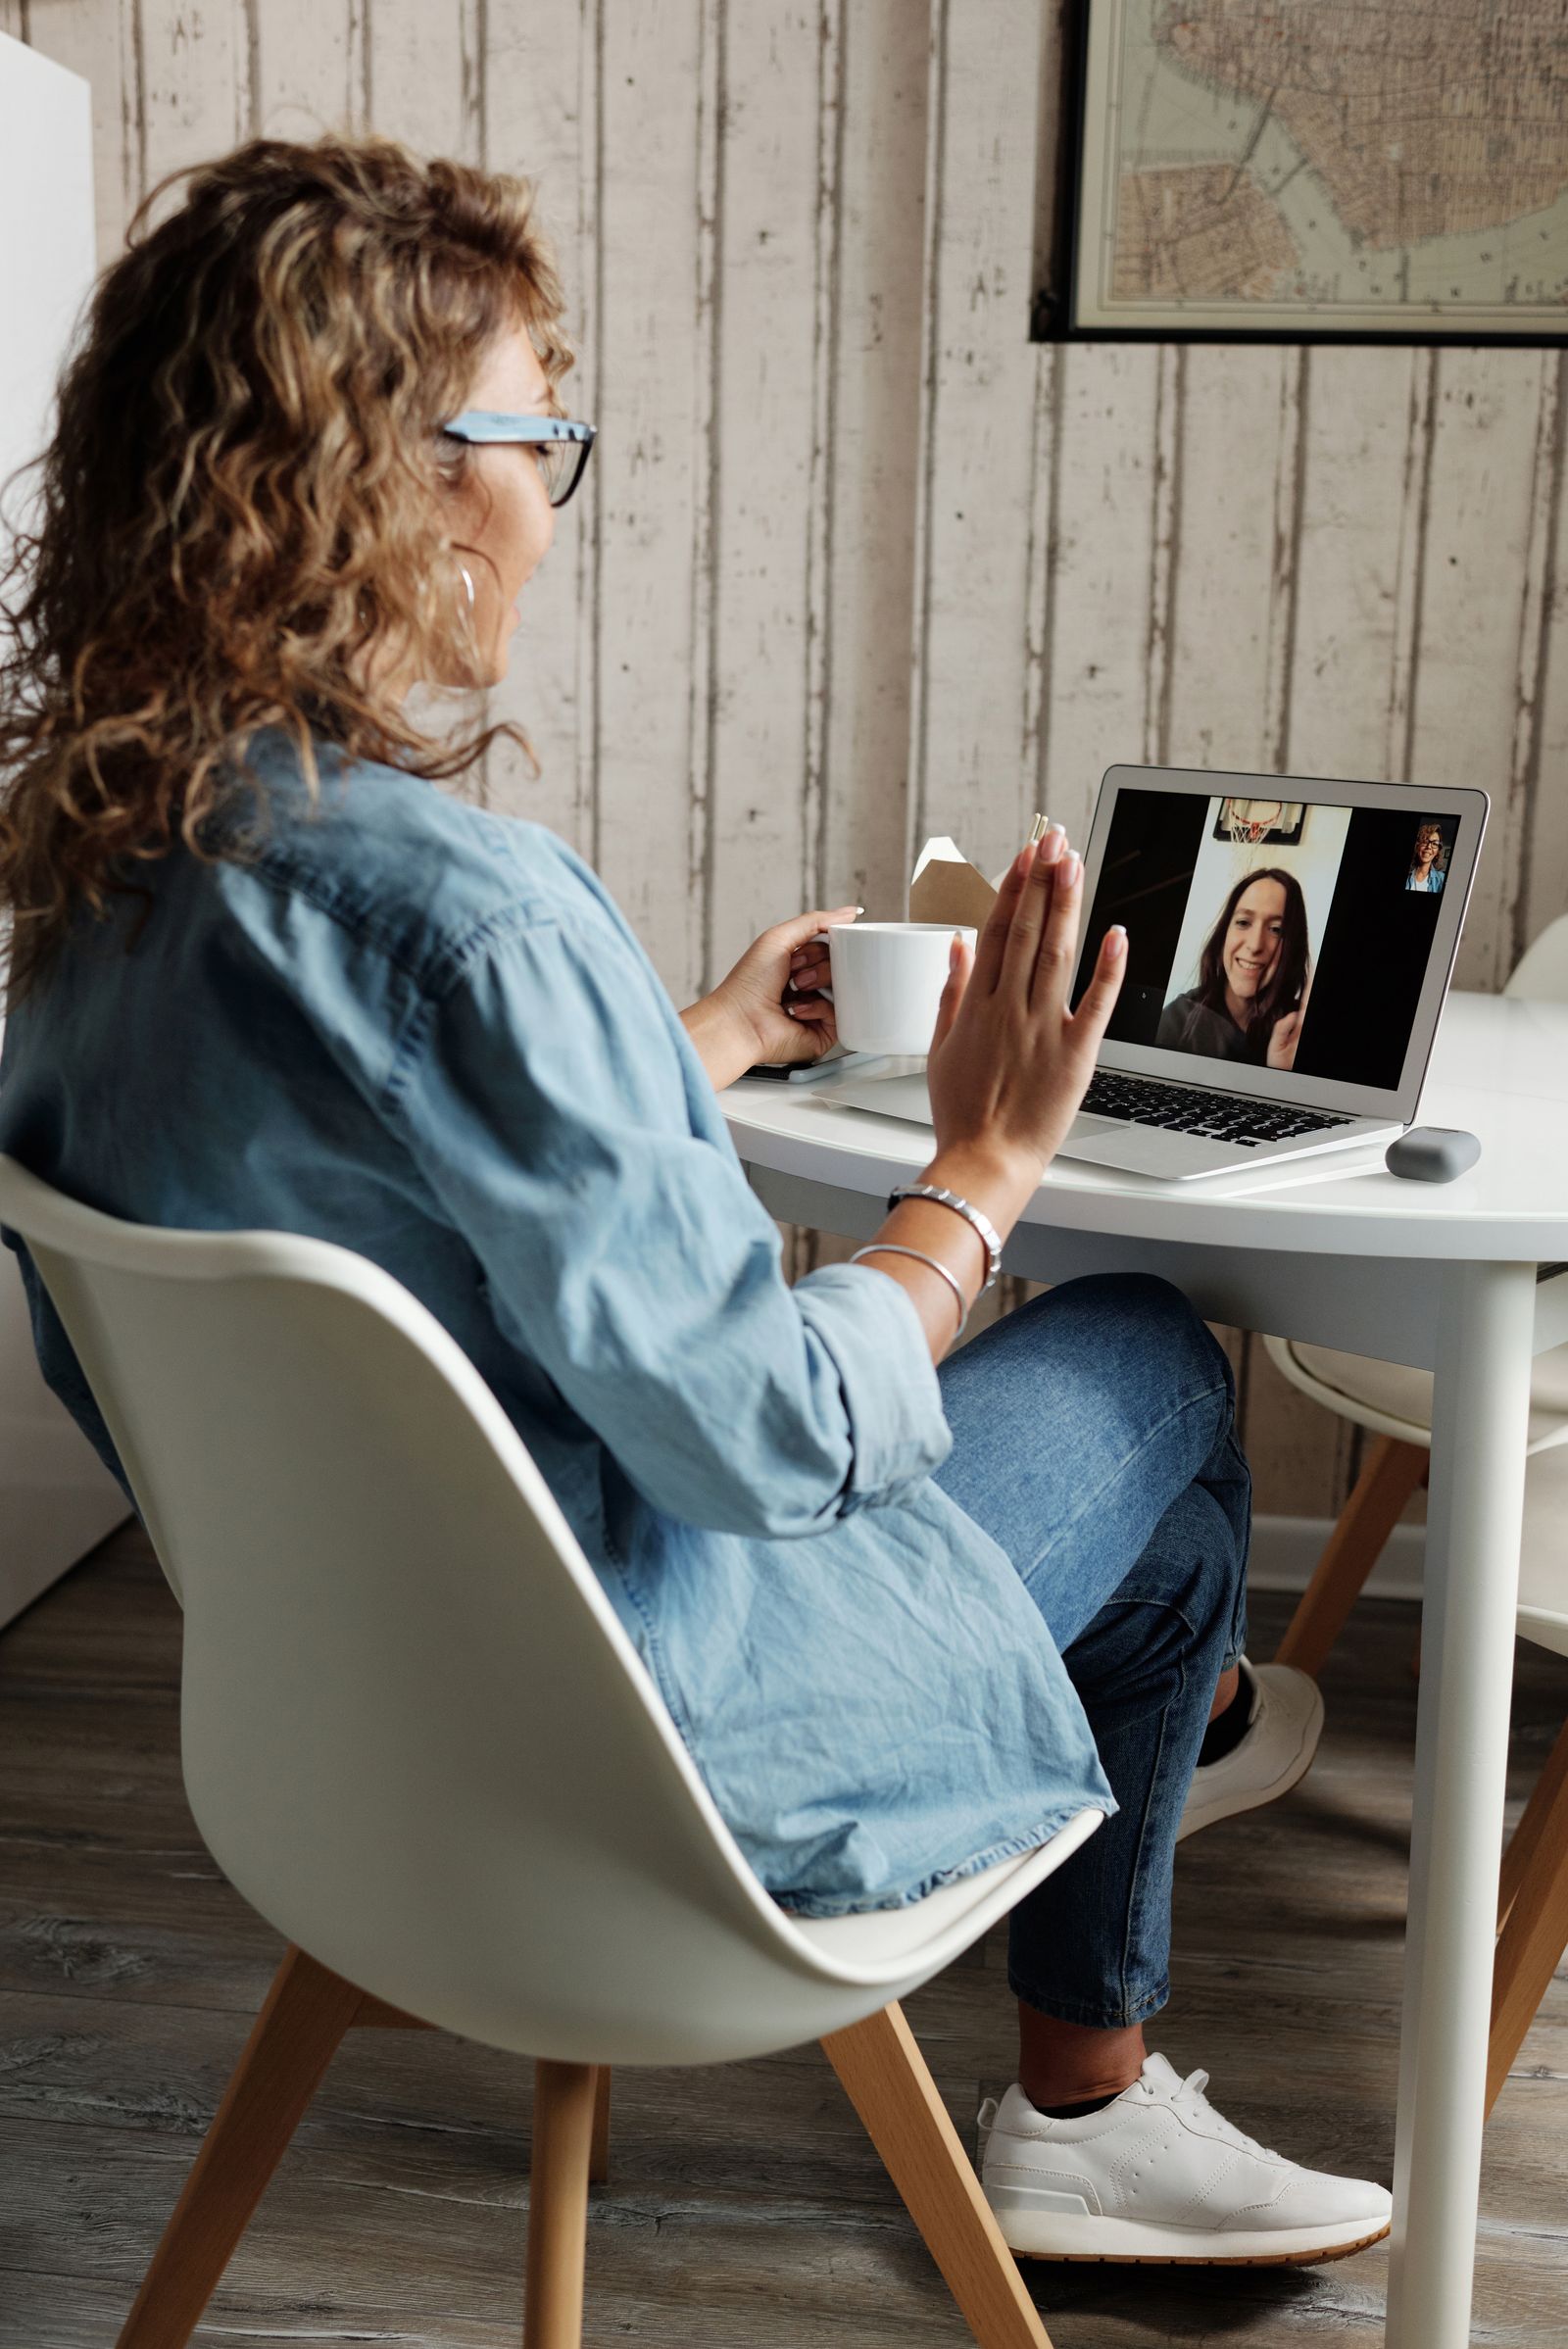
Test two possible seats through the actual camera
Choose two plausible locations with a usable chair and a stable work surface. Open the camera preview through the application you normally use, using appropriate privacy settings. Sit as you would during a meeting. Check the face position, visible background, screen readability, and whether you can reach the controls without leaning across other objects.
Use the test to identify problems with the view rather than judging the whole room. A laundry basket visible behind the chair may have an easy temporary destination. A doorway that everyone must use is a different issue. Moving the chair slightly can help some camera views, but it should not reduce the normal route through the room to a narrow obstacle course.
Try the room at the time the calls usually occur. Daylight and ordinary household activity can change the arrangement. Notice the direction of light, reflections on the display, and whether you can comfortably see the person on screen. Do not assume a position tested at night will work equally well beside the same window in the afternoon.
For a desk used by two people, the shared home-office desk guide helps define the handoff of equipment and documents. The video-call test adds a specific question: what can the other person see and what does the caller need within reach?
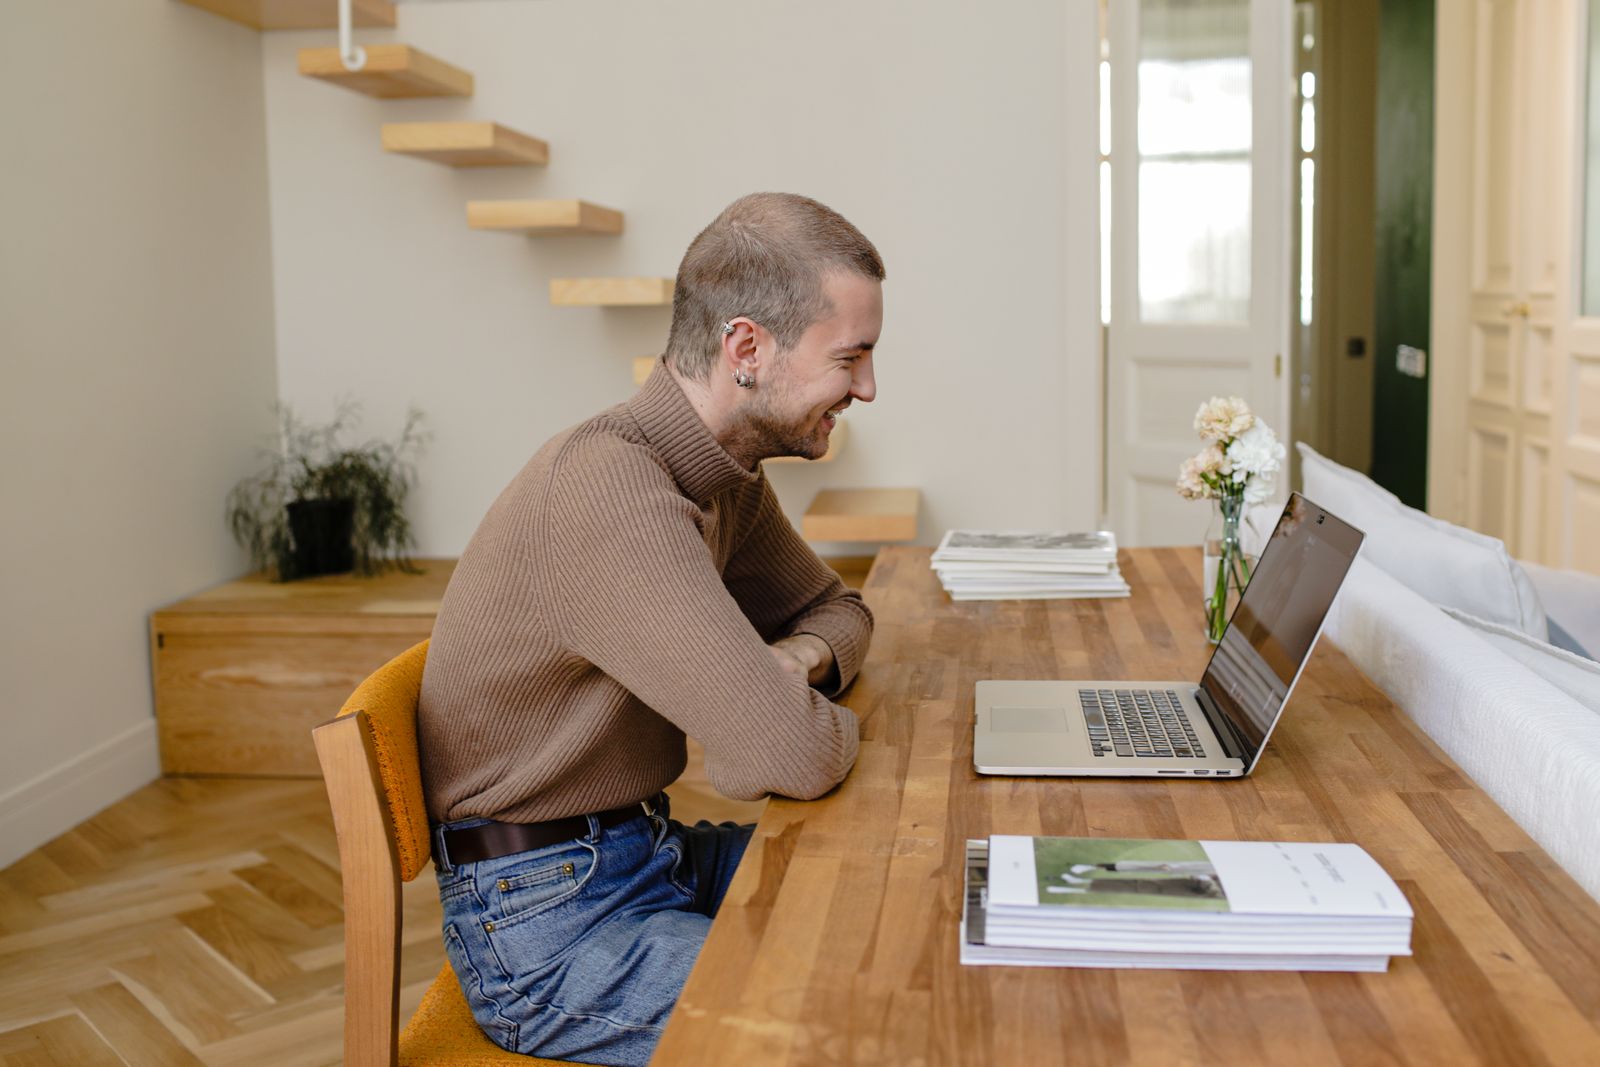
Preserve a route behind and beside the position
Draw the routes people actually use: the kitchen entrance, a bedroom door, the bathroom, and the place a child reaches for a school bag. Check the call setup with the chair occupied and pushed back as it would be when you stand. A clear floor photograph with the chair tucked in is not enough to demonstrate ordinary access.
Choose a camera direction that reduces crossings when practical. Keep household movement possible, however. If the only bathroom route is behind the chair, plan around that fact rather than asking everyone to remain still throughout a long meeting. You may need a different seat for a longer call or a time when the shared room can be reserved appropriately.
Keep compatible power connections within a safe, suitable arrangement for the equipment and room. Follow the device and electrical-product directions. Do not create a trailing cable across a walkway to make a preferred background possible. An unsuitable connection route is a reason to reconsider the location before adding decorative improvements.
Our guide to resetting a multipurpose room looks at the wider change between activities. Here, make the call footprint specific enough that someone else can recognize when the table is ready for its next use.

Choose a practical surface and a comfortable working position
Check the arrangement with the actual equipment, not just the dimensions of an empty table. Include the laptop opening, mouse movement if needed, the headset connection, and any notes you consult. Keep drinks away from equipment in a suitable place. A small table works only if its usable surface supports the way you participate.
If you need a different camera height, use equipment designed and suitable for that purpose, following its directions. Check stability, ventilation, and access to the controls. A tall pile of loose books may put the camera at an appealing angle while making the whole setup awkward to operate. Solve the complete working position, including the keyboard and display, rather than adjusting one view alone.
Pay attention to how you feel during a normal call. A seat that is acceptable for a five-minute chat may be uncomfortable during a longer lesson. Adjust the position within the furniture and equipment’s intended use, and take appropriate breaks. This guide is a layout workflow; individual physical needs may require different equipment or suitable professional advice.
Keep an alternative position in mind for an unusual call. A meeting that requires spread-out documents may belong at the larger table, while a brief chat can use the compact spot. The everyday station does not have to support every rare activity. Record the exception so it becomes a planned change instead of a last-minute scramble.
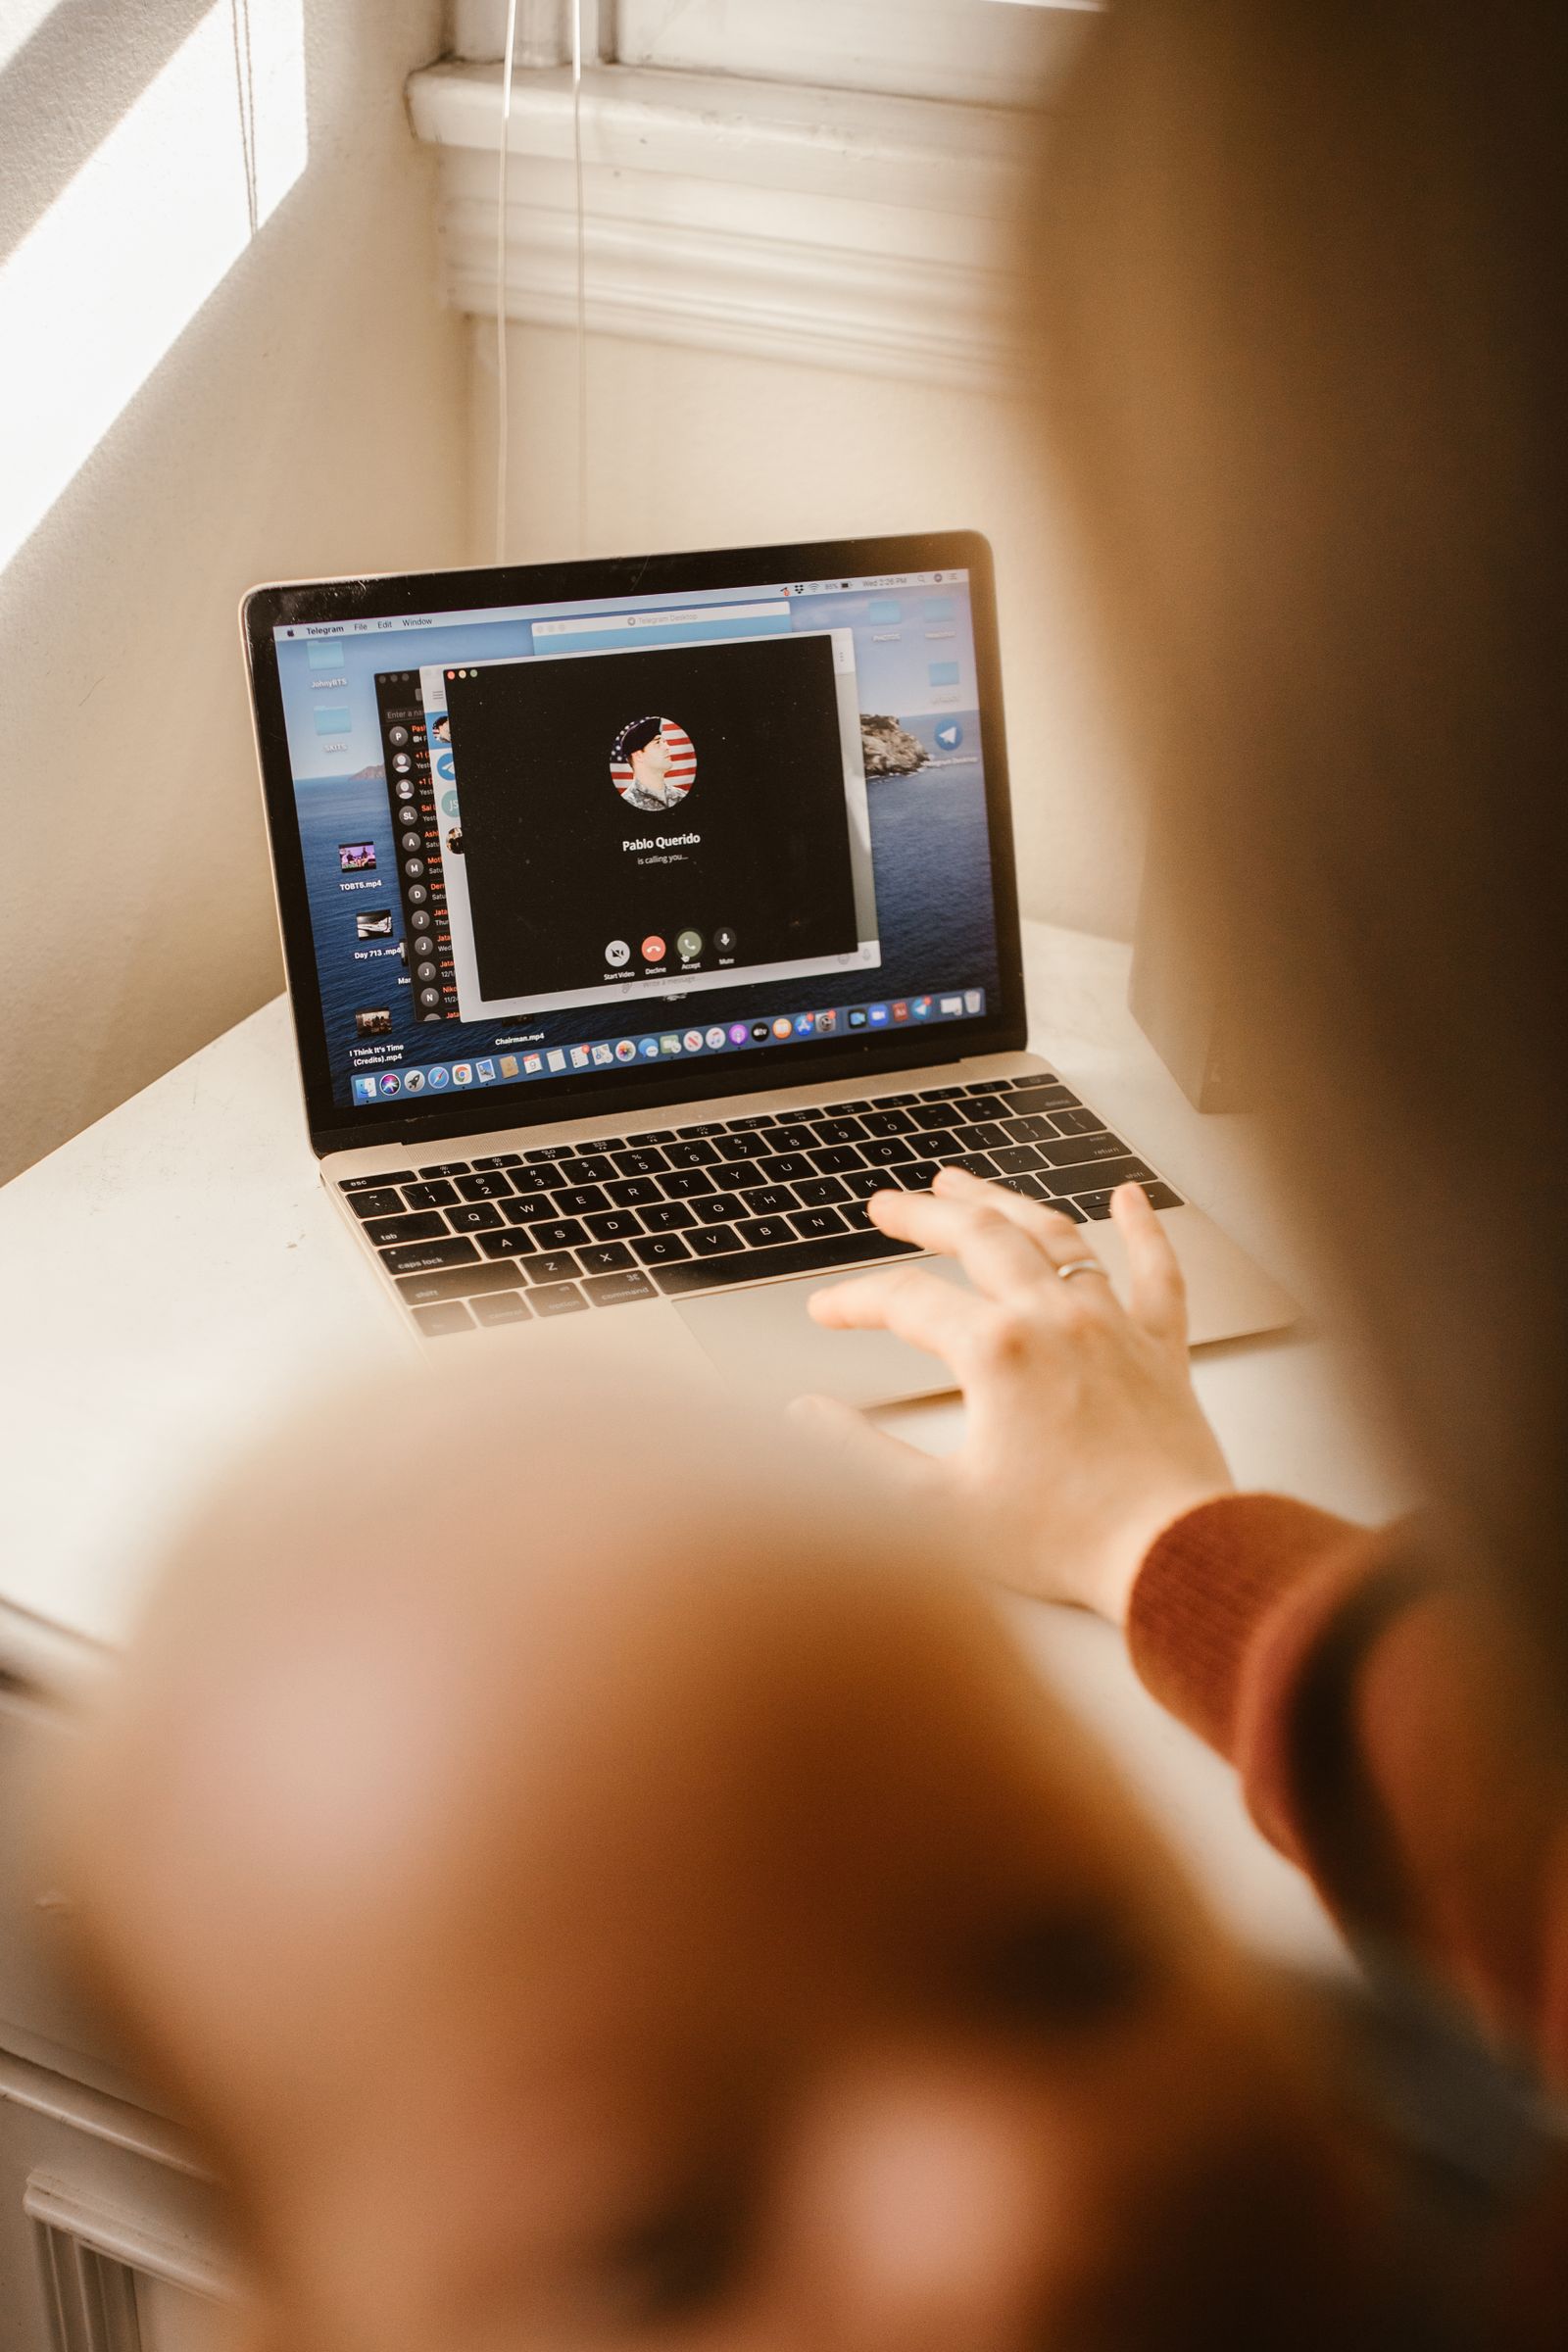
Check the audio and connection before depending on the spot
Use the application’s available audio checks or a practice conversation with an appropriate person. Follow the equipment directions and your organization’s requirements. Ask whether you can hear and be heard in the chosen arrangement. A camera preview cannot reveal a microphone that is connected to the wrong device or a headset that has not been charged.
Notice ordinary household sound during the practice. A running appliance, television, or conversation may affect your calls. Make a proportionate household agreement for the usual meeting window. You do not need to rank soundproofing products to discover that the television volume or timing of a noisy task can be adjusted by agreement.
Test your actual connection and workflow from the position. Open the materials you normally need, confirm authorized access, and check the meeting application settings. Keep any troubleshooting instructions provided by your workplace or service accessible. Do not promise reliable service from a single successful connection test; retain the approved alternative if a meeting cannot proceed.
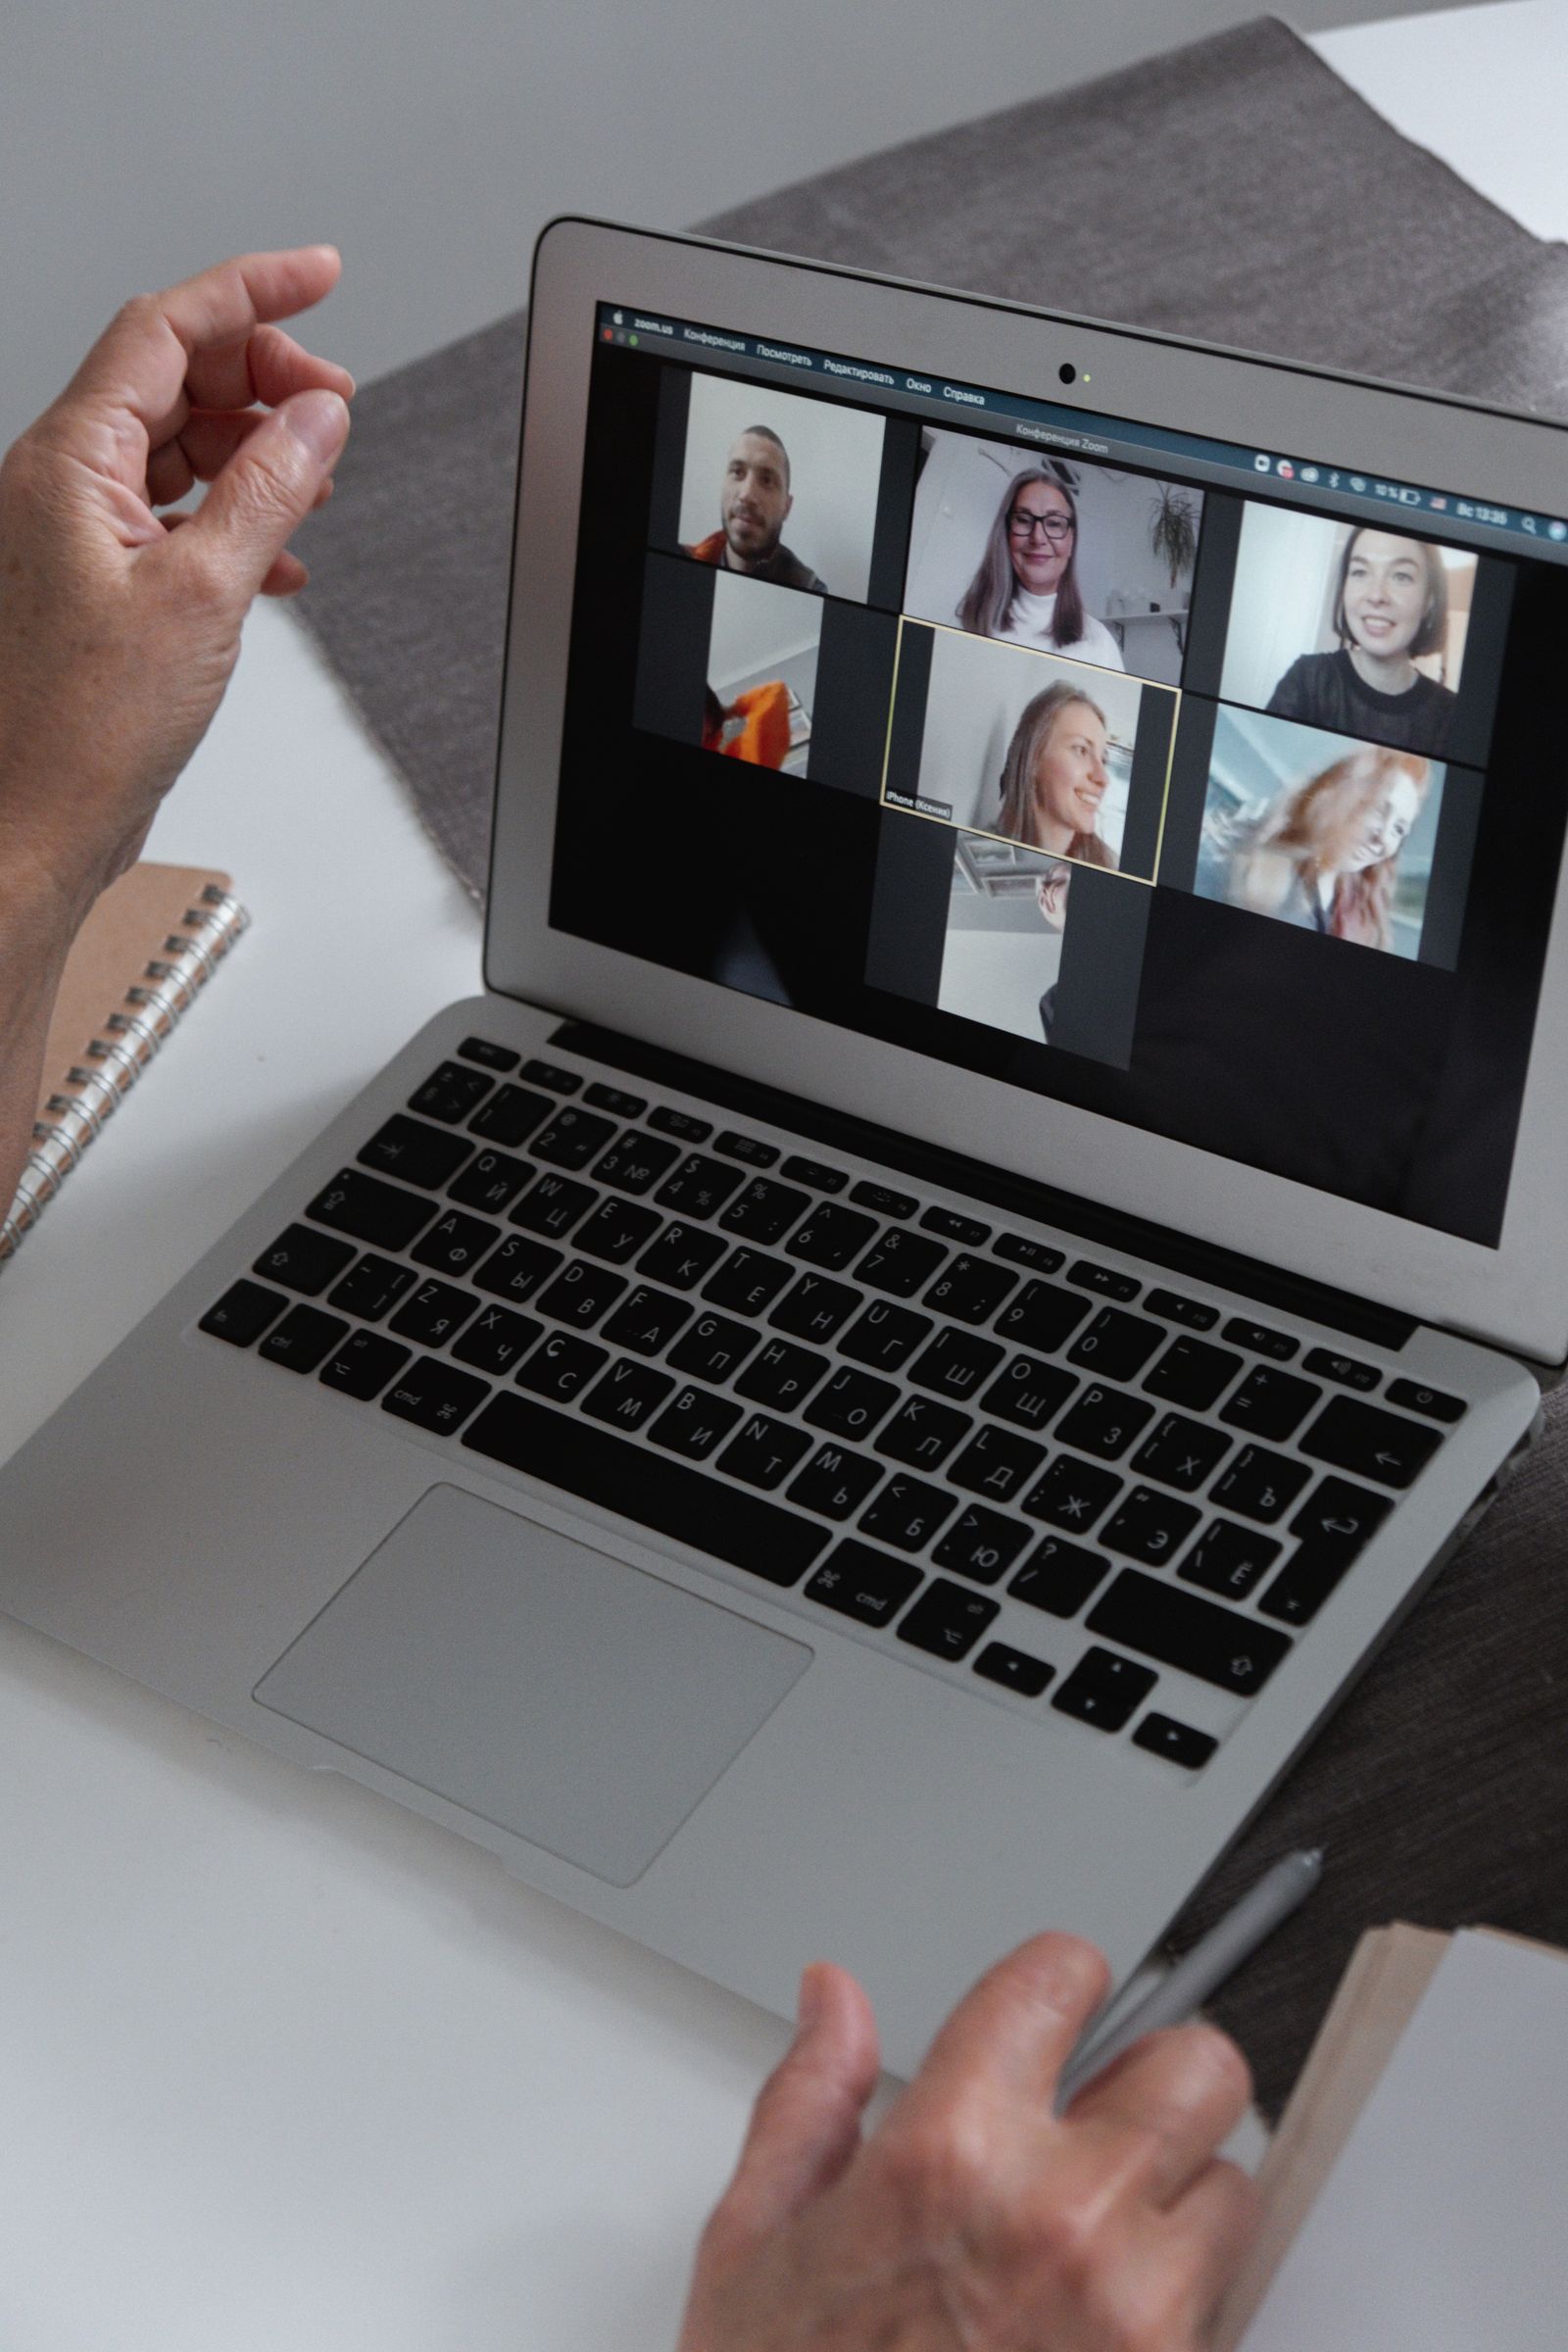
Use a clear household handoff
Agree on a simple way to show when the call is scheduled and when it has finished. Use a calendar or message system the household already checks. State the relevant time window and the room agreement. A vague announcement that you have “meetings all day” can reserve a shared room far longer than the actual calls require.
For children, explain the arrangement in terms they can follow and provide appropriate adult supervision. Identify the person they can approach and the activities available during the call. A closed laptop lid or small desk sign should not be the only plan for a child who needs help. The meeting arrangement must fit the household’s real care responsibilities.
The quiet-time zones guide offers ways to coordinate simultaneous activities. Use that agreement to support the call window, then release the space promptly. A repeatable station works best when other people know when they can use the room normally again.

Pack the station in the order you will need it again
Choose a storage destination for the call equipment that fits its dimensions and handling instructions. Keep the headset and compatible accessories identifiable. Put documents away according to their privacy requirements. Leave the furniture ready for the next activity rather than preserving a convenient call arrangement indefinitely on a shared surface. If you are working on the same space, How to Create a Small Hobby or Craft Zone That Packs Away When You’re Done covers the next decision in more detail.
For a room that cannot accept permanent fixtures, our storage ideas without drilling can help with the equipment’s return place. Check that the chosen storage supports retrieval as well as fit. A laptop behind several heavy objects is technically stored but poorly positioned for the next scheduled meeting.
Write a short setup note if it helps: seat position, equipment required, application check, and household handoff. Use ordinary landmarks such as the table end closest to a wall rather than permanent marks on rental surfaces. Someone should be able to reproduce the position without reconstructing the entire room from memory.

Review one problem after a week of real use
Use a small household example to check the plan. Suppose the dining table is needed for lunch after a morning call. The caller brings the stored equipment, takes the agreed table end, confirms the application settings, and tells the household when the meeting window ends. After the call, private documents return to their appropriate storage and the equipment leaves the table. The test is complete when the next person can prepare lunch without asking which objects may be moved.
A second example may require a different arrangement. A video lesson using large paper could need more table area than an ordinary conversation. Reserve that footprint for the lesson rather than enlarging the permanent call station. Store the lesson materials with their own activity kit. This keeps an occasional requirement from consuming the shared room throughout the week.
Keep a short pre-call checklist if it reduces repeated searching: scheduled window confirmed, required equipment available, camera view checked, appropriate documents open, and household help arrangements in place. Use it before joining the meeting. Add a step only when it prevents a real recurring omission. A lengthy list of imaginary failures makes an ordinary call harder to start.
Distinguish a purchase decision from a layout correction. If your existing headset works but is routinely missing, a clear storage address may solve the problem. If a compatible support is genuinely required, measure its working footprint before ordering. Our guide to creating a workspace without a dedicated room helps place that decision within the broader room arrangement.
Identify the recurring inconvenience, if any. If setup takes too long, improve the equipment’s storage. If the view changes with daylight, test another camera direction. If the shared route remains difficult, reconsider the location or meeting window. Each of these is a different problem, so buying a lamp, chair, or backdrop before identifying it may add an object without helping.
Keep the arrangement small enough to return between calls. Explore Small Space Living and our Home Office guides for surrounding layout decisions. The useful result is a call position that starts predictably, supports the actual meeting, and gives the shared room back when you finish.