
A bracelet can become frustrating before the first bead is threaded. One person chooses a repeating color pattern, another keeps finding new beads, and the string is already half full when somebody decides the order should change. Planning a short pattern on the table gives everyone a chance to make decisions while they are still easy to revise.
Choose materials and tools appropriate to each participant, following the kit or component instructions, including age guidance. Loose beads are small parts and the setup must suit the people and household present. Once that foundation is settled, keep the creative task modest: build one recognizable repeat before deciding whether to string it.
Choose the project before opening the whole supply
Agree whether the session is about planning a pattern, making a finished bracelet, or trying the process without keeping a wearable result. Each is a complete enough activity. A pattern-only session does not fail because nobody ties a final knot.
Etsy’s fall and winter 2026 report discusses personal making and creative traditions. This family bead-pattern session is an editorial application of that interest. It is not a claim about guaranteed educational outcomes or a particular bracelet kit’s popularity.
Set out only components suitable for the intended project and participants. A collection of decorative objects that look like beads may include pieces with unsuitable holes, unknown materials, or finishes not intended for wearing. Use components with clear instructions for the actual purpose.
A dining table can provide a shared work surface, but plan its return to meal use. Choose a time with enough room to finish or secure the project, and keep food and drinks away from loose components. The tabletop does not need to become a permanent jewelry-making station.

Limit the first choice without prescribing the design
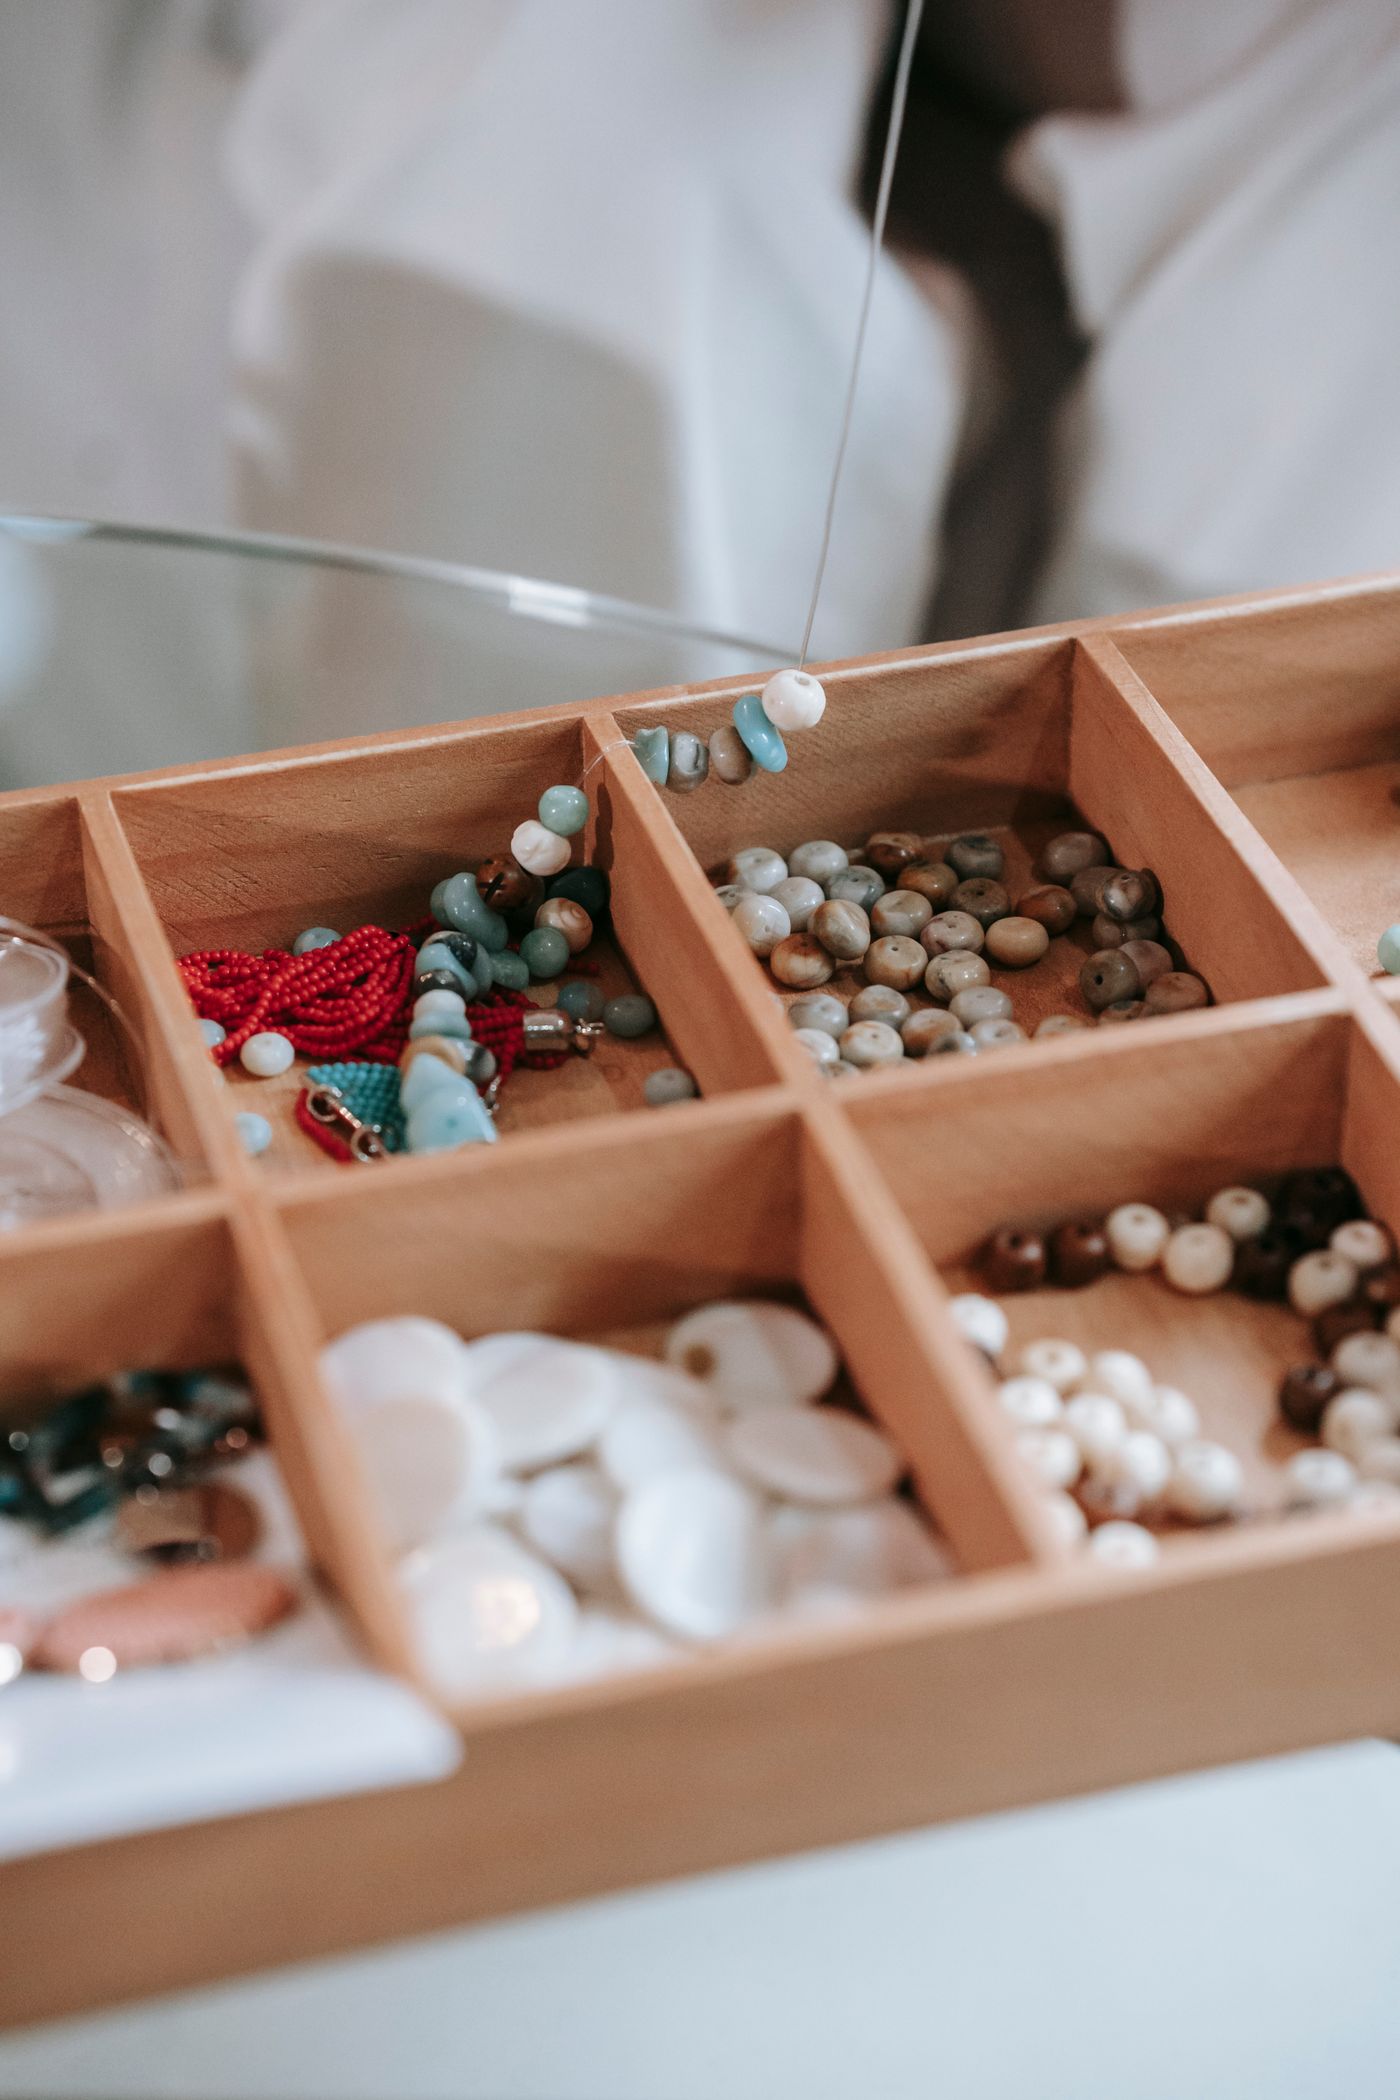
Offer a manageable selection from the appropriate supply rather than emptying every bag at once. Several colors or shapes can give real choice without covering the entire table. The number should suit the participants and the design, not an adult’s ideal color palette.
Let each person choose their own sequence. Red-blue-blue is different from red-blue-red, and that difference can be discussed without declaring either pattern better. Ask the maker to describe the repeat in the language that makes sense to them.
Keep a sample section on the table. Place one complete repeat where it can be seen, then set another beside it. This makes changes easy before threading begins. A participant can compare the two sections directly instead of relying on memory.
Use a suitable surface or tray that contains the components without making them difficult to reach. A soft mat may reduce rolling, but only if it is appropriate for the materials and can be checked and cleared afterward. Do not add a specialized board unless it solves a real problem in your setup.
Test whether the chosen beads belong on the chosen string
Before laying out a long design, check the compatibility information for the beads and stringing material. Follow the component or kit directions on thread type, finishing, and intended use. A bead’s hole looking large enough is not proof of a suitable finished bracelet.
An adult can handle any tools or steps that require it, according to the instructions and the participant’s needs. Do not improvise heated ends, sharp improvised needles, or an unverified adhesive to force a combination to work. Choose compatible components instead.
The bracelet’s finished size also needs a real plan. Use the kit’s fitting and finishing guidance for the intended wearer rather than treating the laid-out bead length as the final wearable measurement. Closures, knots, material stretch, and component size can change the outcome.
A design that cannot be finished appropriately can remain a table pattern. That preserves the participant’s idea while avoiding a rushed wearable object. Decide this before someone is promised a bracelet to wear home.
Build enough repeats to understand the sequence
Once one repeat is clear, lay out another in the same order. Let the maker notice whether the sequence matches. You can point to the first group and ask what comes next rather than correcting the second group without explanation.
Keep color, shape, and letter choices distinct if they serve different purposes. A bracelet with a name may not have a repeating letter pattern even when its colors repeat. Describe the design actually being made instead of forcing every arrangement into the same rule.
If supplies run short, pause before stringing. The maker can choose a smaller repeated unit, change a color consistently, or accept a deliberate variation. An incomplete sequence is easier to revise on the table than after the material has been cut and finished.
Do not make a child use a remaining bead merely to use it up. The session is about making a decision they understand. A change can be intentional, and a design can be asymmetric without needing an adult to repair its appearance.
Keep help visible and optional
Ask before rearranging another person’s pattern. A helper can demonstrate with their own small group of beads rather than taking over the maker’s space. That keeps the original design available for comparison and preserves a clear distinction between advice and alteration.
Our family paper-collage guide uses a similar respect for separate contributions, although the materials and process differ. Sharing a table does not require producing matching objects or finishing at the same speed.
Someone who finds threading difficult may prefer selecting the sequence while another person carries out the agreed stringing step. Record or remember that shared contribution honestly. There is no need to present a collaboratively made bracelet as the independent work of one participant.
The session can also have a quiet observer or a person who manages the matching supply groups. Offer those roles without turning them into compulsory jobs. Participation should remain connected to an interest in the activity.
String only after the design decision
When the maker is satisfied, follow the actual kit or component instructions to transfer the design onto the appropriate stringing material. Keep the laid-out reference intact for as long as it is useful. Move a small section at a time rather than sweeping the whole pattern into a hand.
If a bead is dropped or a sequence changes, stop and compare with the reference. The maker can restore the original idea or choose the new version. Avoid treating every difference as an error, especially when the change is deliberate.
Finish the piece only through a method appropriate to those materials and its intended wearer. Do not assume a knot suitable for one elastic or cord is reliable on another. Check the finished item as directed before use, and keep an unfinished strand secured away from anyone for whom the small parts are unsuitable.
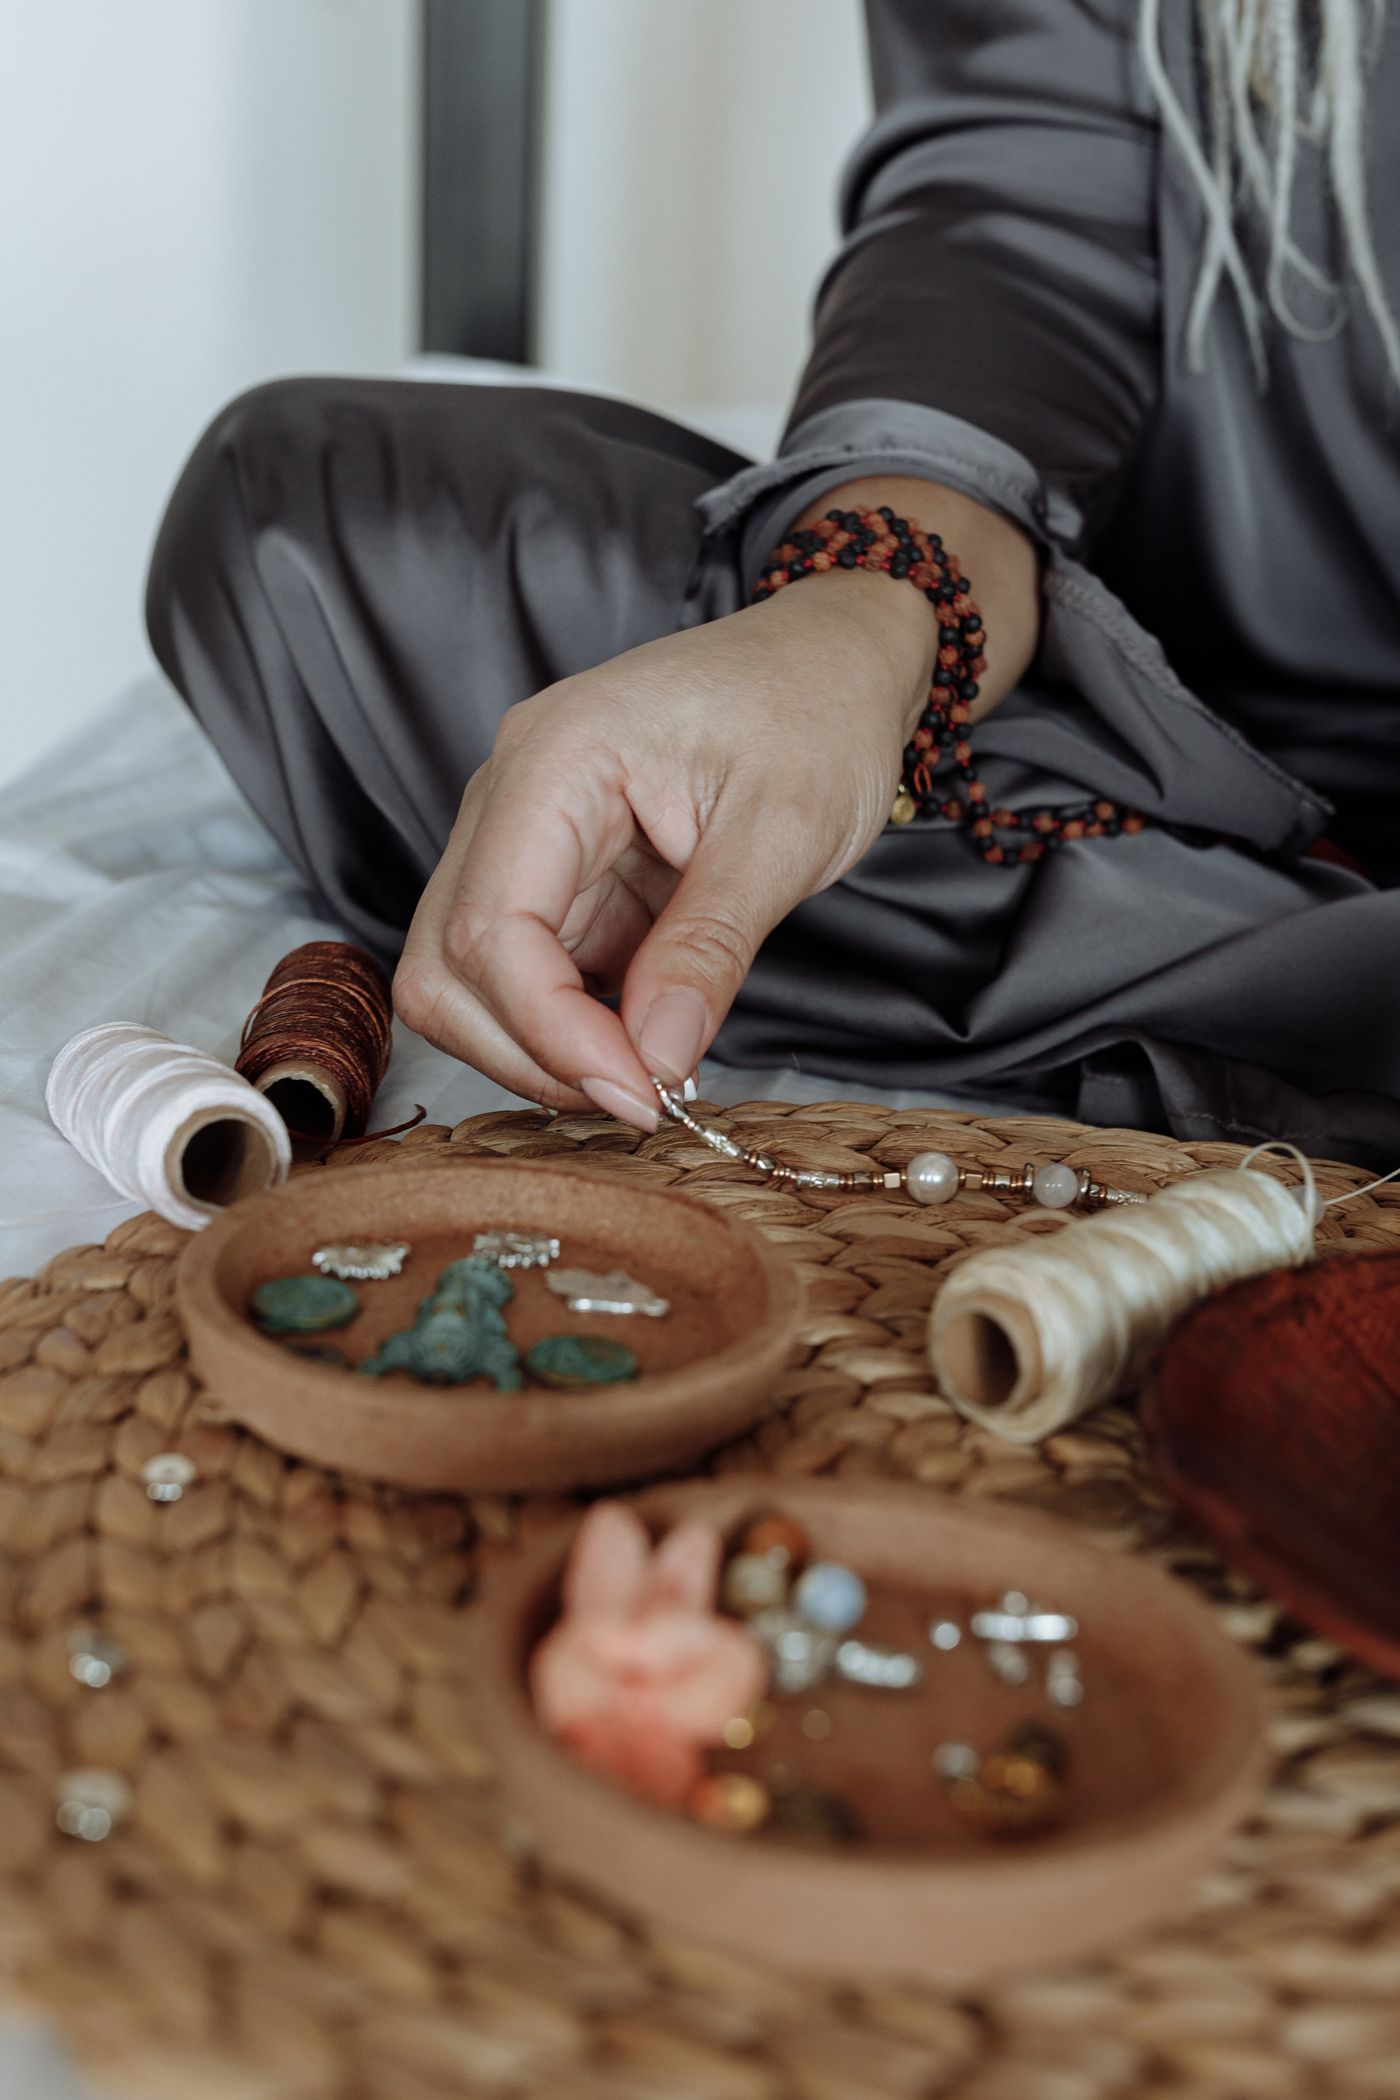
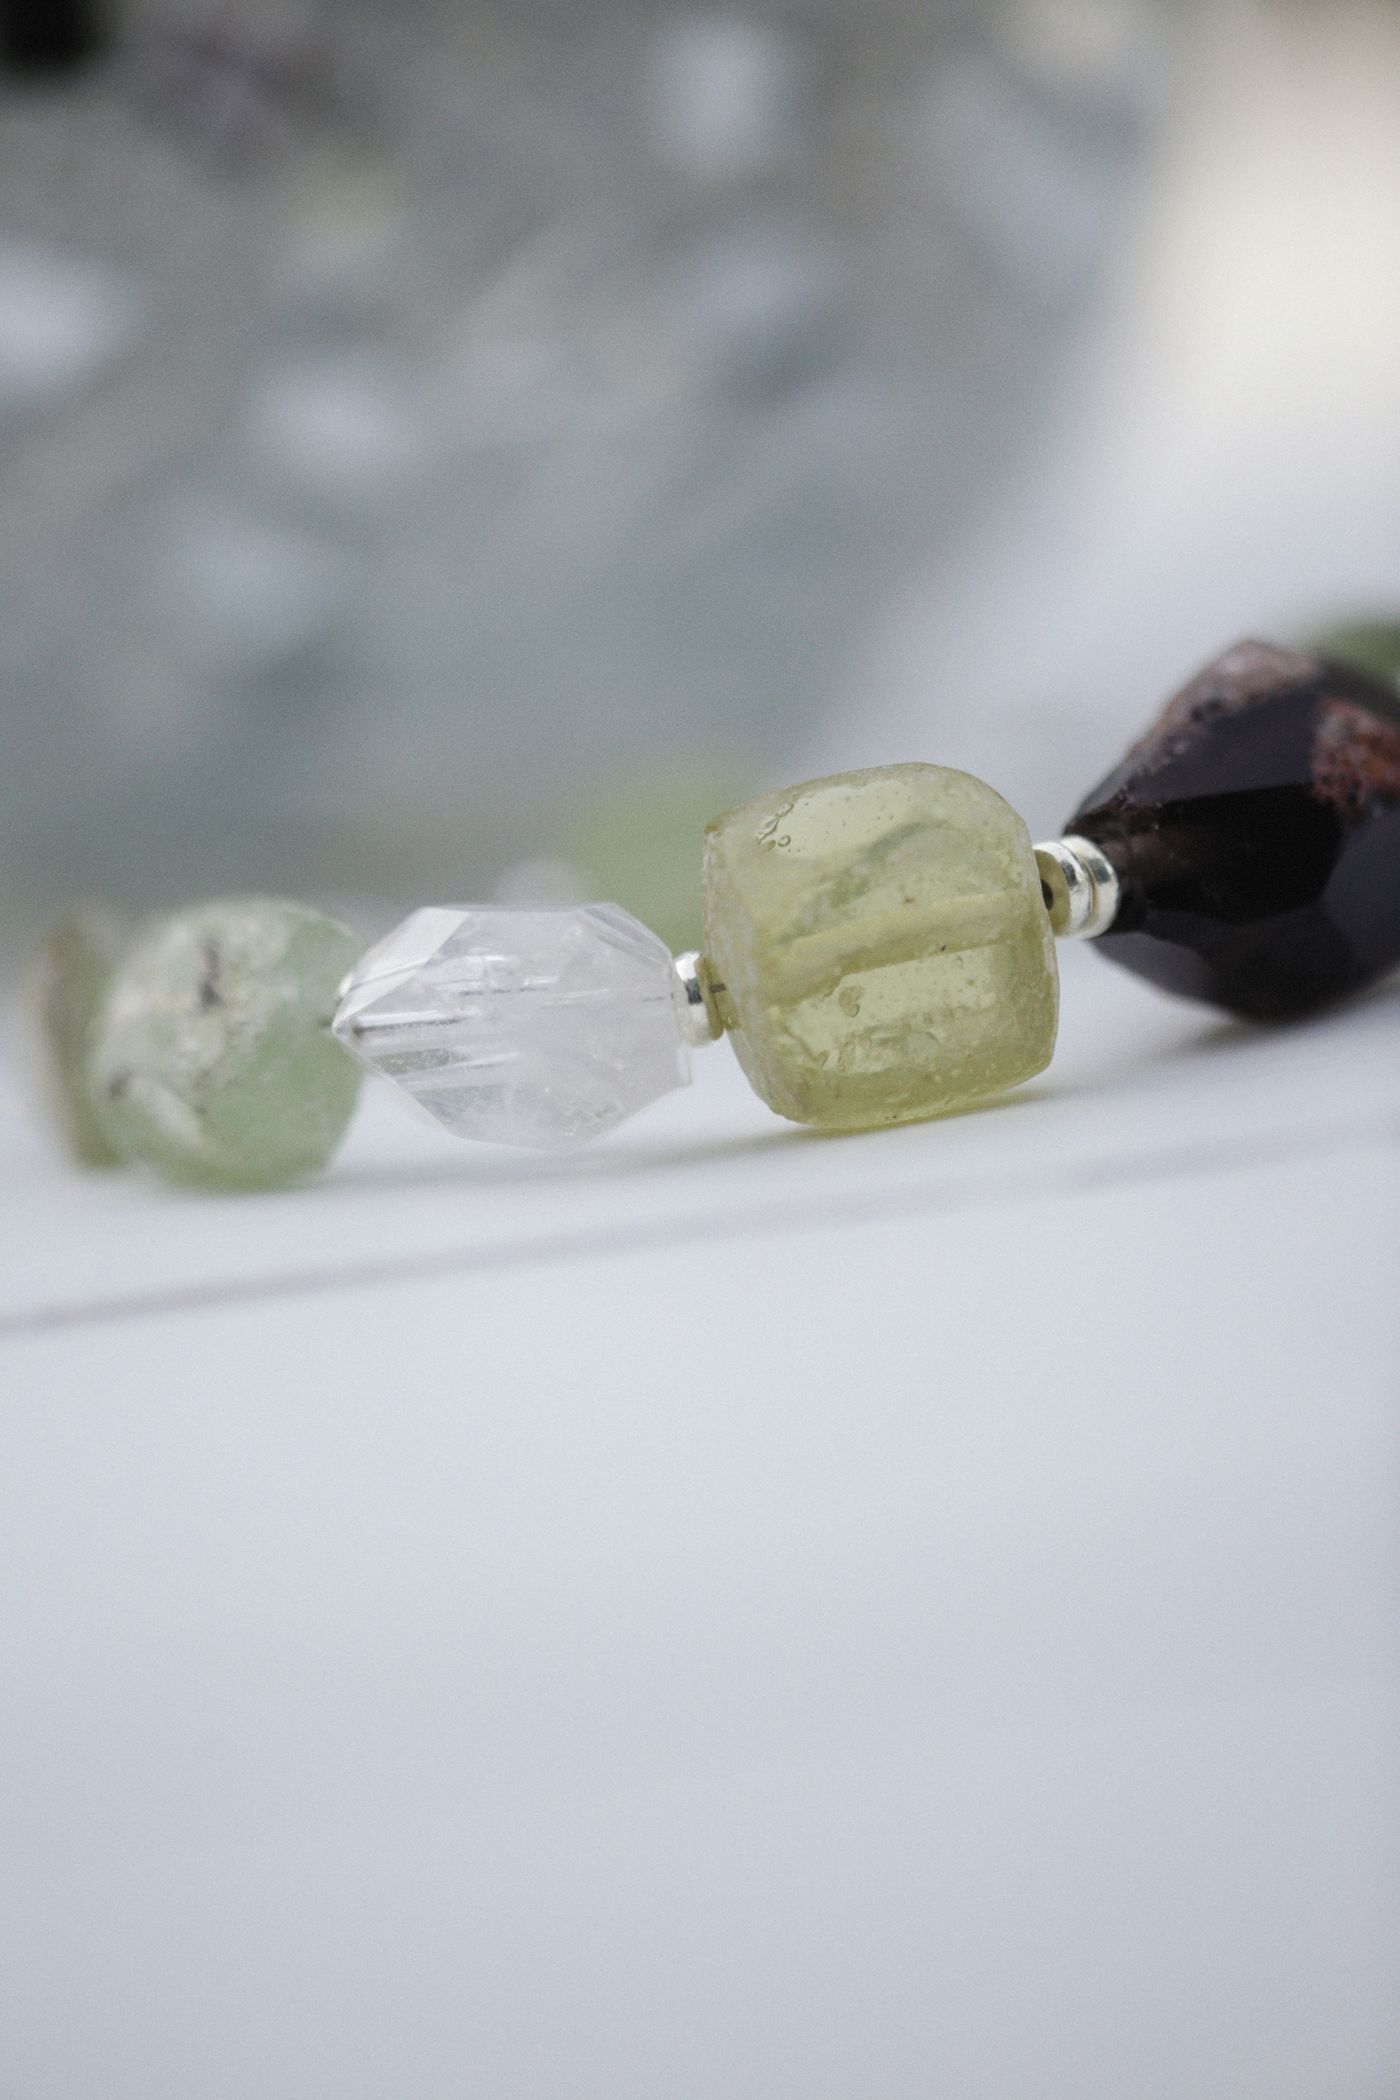
No specific kit or closure has been independently tested for this article. The photographs illustrate materials and making contexts, including adult work; they do not document children using a verified product or authenticate the pictured beads for skin contact.
Leave room for different endings
One participant may finish a bracelet while another keeps a layout to revisit. Decide how an unfinished arrangement can be secured appropriately without leaving loose beads on an active dining table. A photograph may preserve a design when retaining the physical layout is impractical.
Ask permission before photographing or sharing a design containing a person’s name. A private reference picture can serve the practical purpose without becoming a public post. The activity does not need online attention to count as complete.
If the family likes showing finished work, our rotating handmade-display guide can help with the later display choice. A wearable object may instead go to its intended owner. Do not automatically turn every completed project into permanent table decor.
Return the table to its next use
Count and collect the remaining components in a way appropriate to the supply and household. Check the table, seats, and floor for stray beads before ending the session. Return tools and any instructions to their proper places, and secure unfinished work.
Plan the meal transition before people sit down with dishes. Our table-setting handoff guide addresses that separate family task. Bead containers should be off the eating surface and the work area appropriately cleared before the table changes roles.
Talk briefly about the choice each maker liked: a repeat, a color change, or a decision to stop. Our bring-one-object story night is another option if the family enjoys talking about objects, but a full follow-up activity is not required.
A successful session leaves participants with an understandable design and a clear stopping point. Whether the result is a finished bracelet, a photographed pattern, or an idea for next time, the planning step has made the choices easier to share.
Explore related decisions in our Family Home hub.
Sources and editorial scope
Editorial research checked October 24, 2026. Published trend reports are context for these editorial applications, not verified live keyword rankings. Practical household guidance; photographs do not document a tested household or authenticate pictured materials.