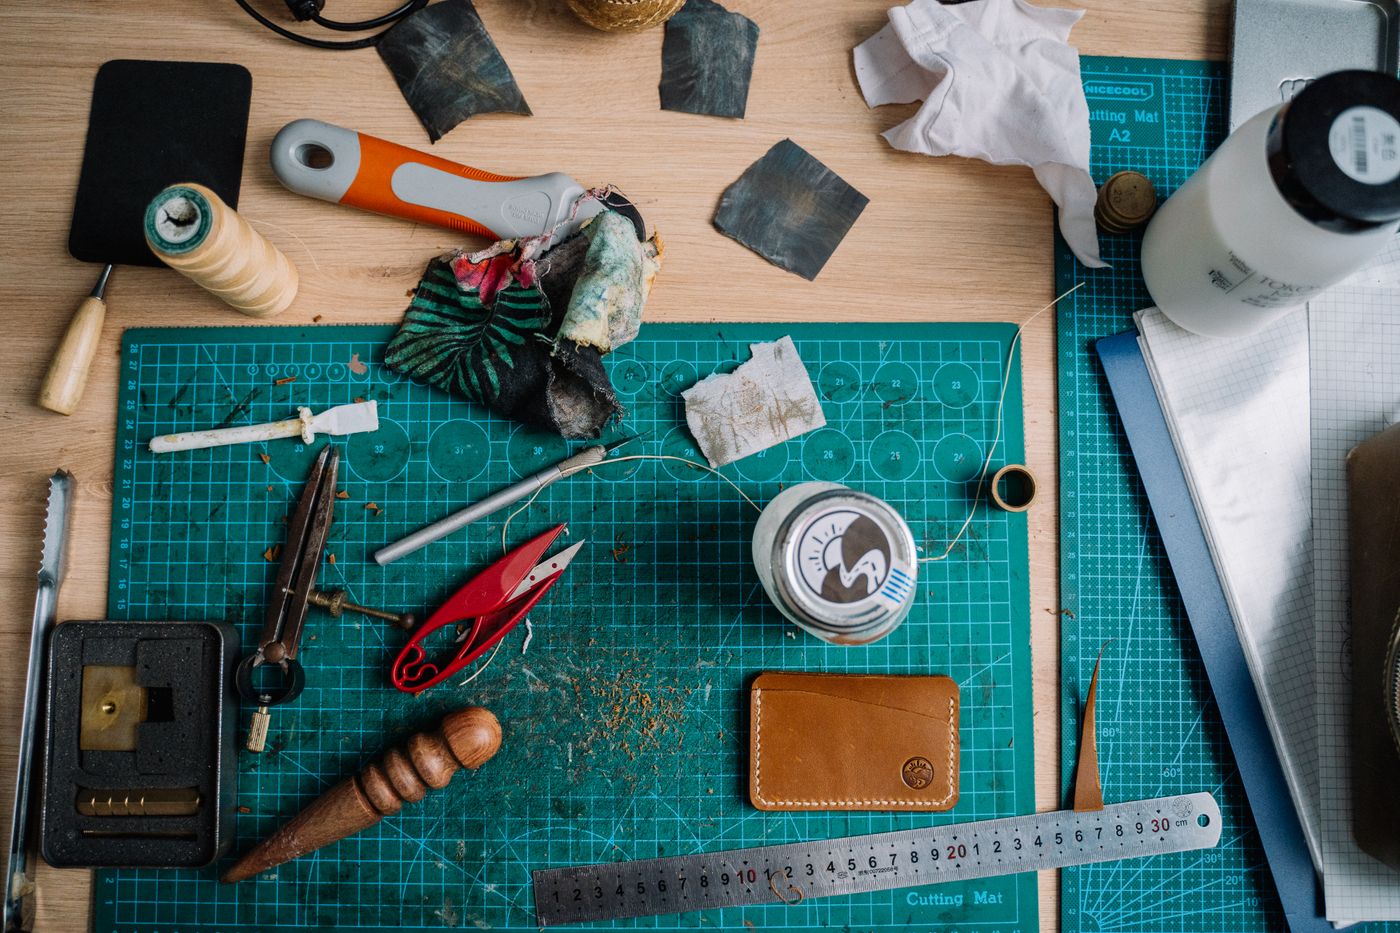
A cutting mat can look clear after the fabric pieces are lifted away while fibers remain caught in its cutting lines. Those fibers, loose tools, and an unsuitable storage position can make the next sewing session harder to begin. The answer is a mat-specific care routine, rather than a forceful scrub or a hot press to make the surface look flat.
Etsy’s October 2026 Mark of the Maker theme draws attention to visible handwork. Caring for the work surface supports that interest without turning the laundry area into a permanent studio. This guide addresses ordinary mat cleaning and return. It does not teach cutting technique, blade handling, or a universal treatment for every material marketed as self-healing.
Identify the mat before choosing the method
Look for the maker, model, construction information, and current instructions. Record the actual dimensions and which sides are intended for which uses. A printed grid is not proof that two mats have the same material or can tolerate the same cleaning treatment.
Keep a mat intended for sewing or craft cutting distinct from a kitchen food-preparation board. Equipment designed to protect a craft table is not automatically suitable for food contact. Follow the intended-use information rather than treating an easily wiped surface as interchangeable household equipment.
If the product identity is missing, remove only accessible loose debris without damaging the surface while you seek the correct directions. Avoid unverified soaking, solvents, heat, sanding, or abrasive treatment. A mat that needs an unknown rescue process may be a reason to reassess its condition rather than invent a method.
Put sharp tools away before cleaning the surface
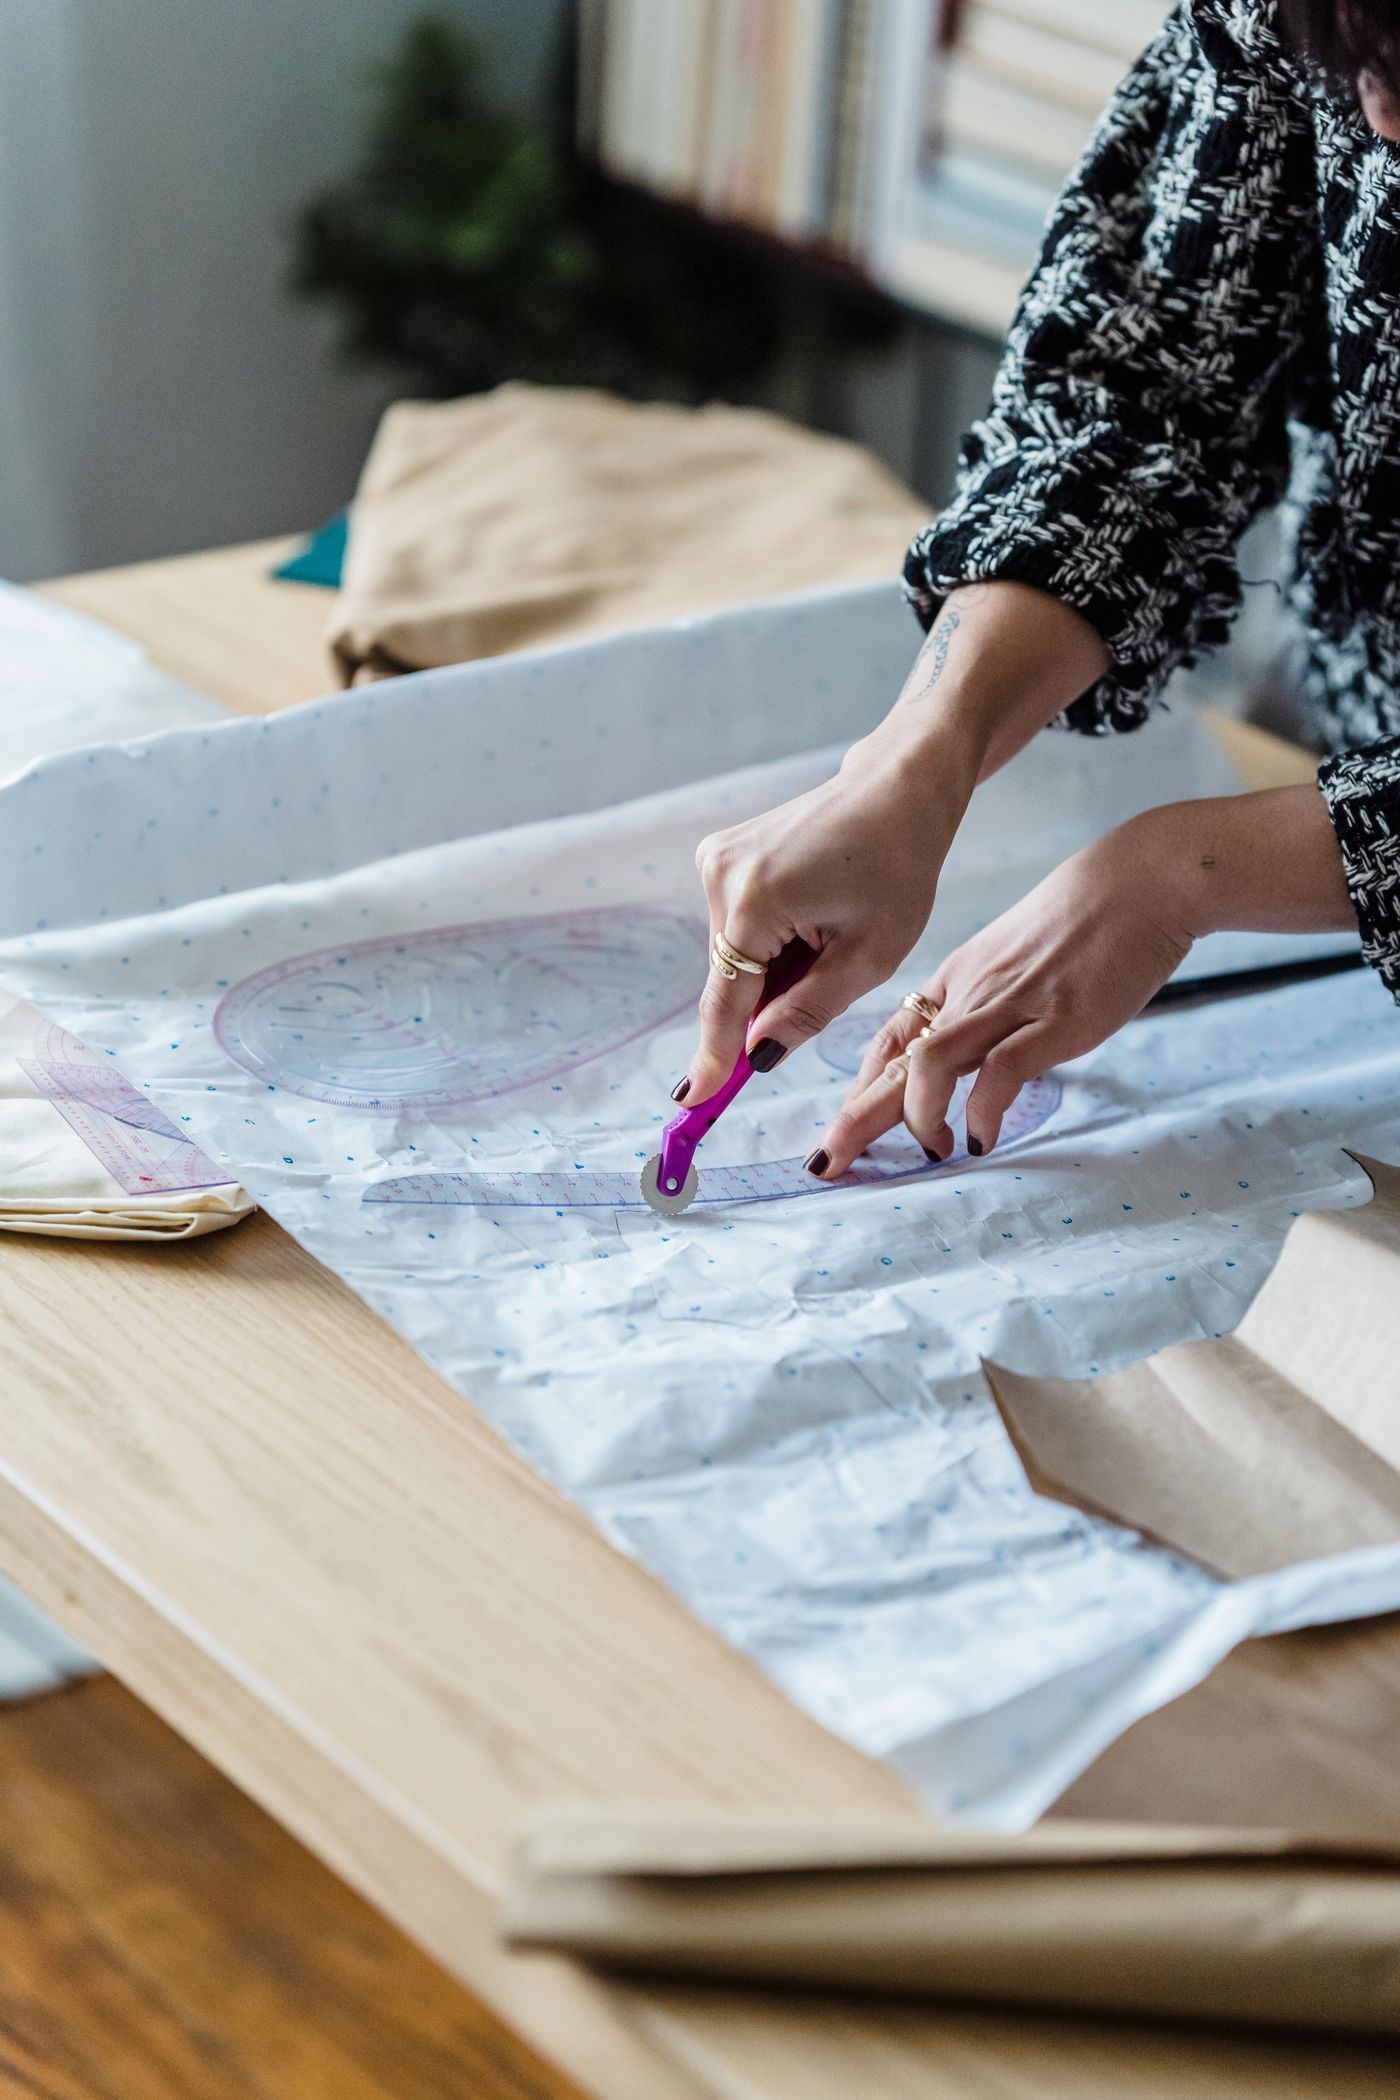
Stop cutting and secure cutters, blades, needles, and other sharp items according to their own instructions. Account for them before moving fabric or running a cloth across the mat. Do not sweep a cluttered work surface by hand when sharp tools may be concealed among offcuts.
Remove rulers, templates, fabric, and ordinary loose supplies to their proper destinations. Keep an interrupted sewing project together in a suitable place, with tools appropriately contained. Cleaning should not leave a half-finished project mixed with the fabric scraps intended for disposal.
In a laundry area, separate that project from clothing ready to wash or iron. A clear laundry-sorting routine helps maintain those boundaries. A sewing item should not enter an ordinary load because the cleanup made it look like another piece of fabric waiting on the counter.
Inspect the cutting lines and the complete surface
Examine the mat under useful ordinary light. Distinguish loose fibers from marks, deep grooves, distorted areas, or grid damage. A cleaning method may remove debris without restoring a damaged cutting surface. Do not promise yourself a repaired mat simply because its product description uses the term self-healing.
OLFA’s FAQ explains that fibers can become trapped in cutting lines and identifies mat wear as a separate replacement question. Use the relevant information for your particular mat. If the surface is gouged, the lines are no longer readable, or the mat cannot be used appropriately, seek the maker’s recommendation rather than increasing cleaning pressure.
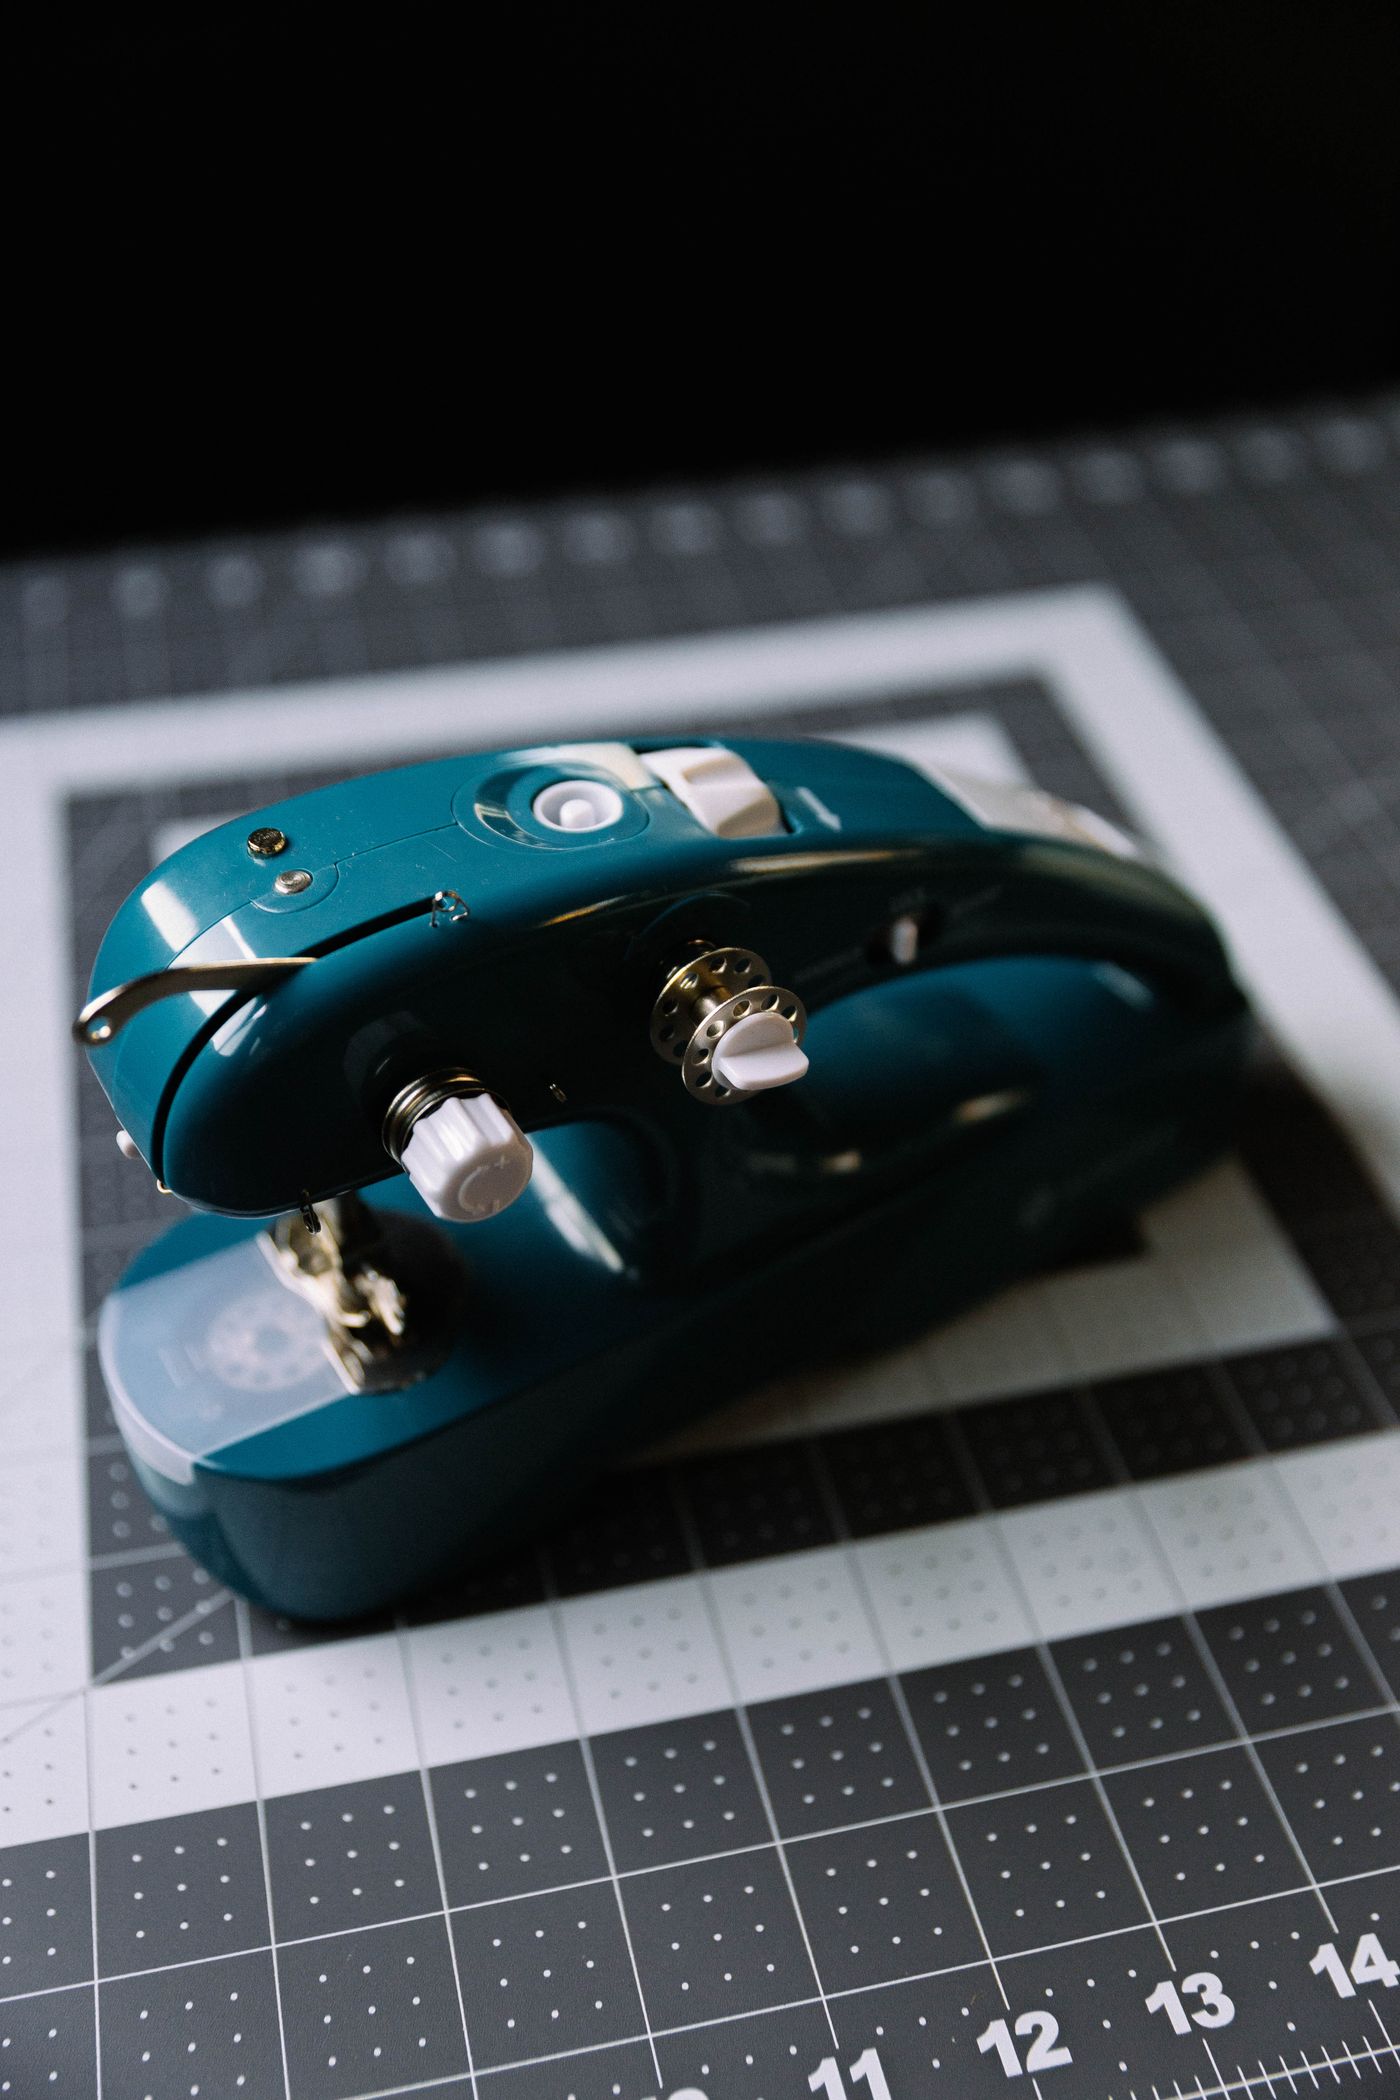
Check the back or other working side only as the construction allows. Do not peel apart layers or remove an attached base in order to clean an assembly that was not designed to come apart. The exact model matters especially with rotating or otherwise multipart mats.
Start with the approved fiber-removal option
For its mats, OLFA’s FAQ suggests a damp cloth to dislodge embedded fibers and also describes using an art-gum eraser. Its maintenance article discusses additional fiber-removal options, including suitable erasers. Follow the method appropriate to the current instructions for your mat, rather than combining every online suggestion in one session.
Support the mat in the position required for the task and work on a manageable area. Observe whether fibers are being removed without altering the surface. If a proposed tool catches, abrades, or changes the mat, stop and ask the maker about the next step. More force is not evidence that the method is working.
Keep removed fibers and eraser debris from returning to the work area. Use the appropriate household disposal route for the materials involved. Do not let the cleanup turn a small embedded-fiber problem into another scattering of offcuts across the laundry floor.
Keep general cleaning separate from stain removal
Use only cleaners and application methods the mat’s instructions permit. A product appropriate for the countertop beneath the mat may be unsuitable for the mat itself. Remove or protect the mat appropriately before carrying out the separate surface-cleaning task.
Do not treat ink, adhesive, paint, or another unusual substance as ordinary fabric lint. Check the specific next step for that contamination. A general care article does not establish that every mark can be removed or that a solvent suitable for one substance is compatible with the mat.
Avoid converting a cleaning attempt into a restoration experiment. If the mat’s condition affects its intended use, document the question and seek the appropriate advice or replacement. It can be reasonable to retire an unsuitable surface without trying every household cleaner first.
Plan flat storage within the actual model’s guidance
OLFA’s FAQ advises flat storage and warns against rolling and ironing on its mats. Its later maintenance article describes ways certain mats can remain flat while hanging, including models with hanging provisions. These statements are a reason to consult the instructions for the exact mat and support method, not a blanket instruction to hang every mat from any clip.
Measure the usable storage area with the mat in its permitted condition. Do not fold a larger mat to make it fit a narrow cupboard. Keep it appropriately supported and away from conditions the maker restricts, including temperature extremes or direct sunlight where specified.
The compact laundry folding-surface guide can help identify what a shared surface must do between activities. A cutting mat should have a real return location when the counter changes back to laundry use, rather than leaning in a doorway until somebody needs to iron.
Protect the separation between cutting and pressing
A laundry area may contain an iron, a pressing surface, and a cutting mat in a small footprint. Keep their roles clear. Never assume the cutting mat can become an ironing surface because it is already protecting the table from another task.
Set up any pressing activity according to the equipment and material instructions, with the mat stored appropriately elsewhere first. Keep the return sequence simple enough that other household members can understand which surface is ready for which job.
If iron storage is part of the same area, the ironing-caddy review considers a separate storage decision. Its usefulness does not remove the need for appropriate cooling, drying, mounting, or mat-storage arrangements. Each object should return through its own complete routine.
Finish with an understandable next session
Once the mat has been cleaned and is ready under its instructions, inspect it again and put it in the permitted storage position. Return the contained sewing supplies and dispose of the collected debris. Leave a project note if the sewing work itself remains unfinished, so the next person does not mistake it for abandoned laundry.
At the next session, check the mat and workspace before bringing out cutting tools. If fibers repeatedly accumulate in one area, consult the maker’s use guidance rather than relying on more aggressive cleanup. The care routine should support the intended work, not compensate indefinitely for an unsuitable or damaged surface.
A successful finish is modest: accessible fibers removed by an approved method, sharp tools accounted for, the mat stored as directed, and the laundry area returned to its other uses. That makes the next creative session easier to begin without leaving a craft setup permanently spread across the counter.
Explore related household decisions in our Cleaning hub.
Sources and editorial scope
Editorial research checked October 17, 2026. Trend-report dates and limitations are stated in the article; these are editorial applications of published signals, not verified October keyword rankings. Practical household guidance; illustrations do not document a tested household or authenticate a pictured material.