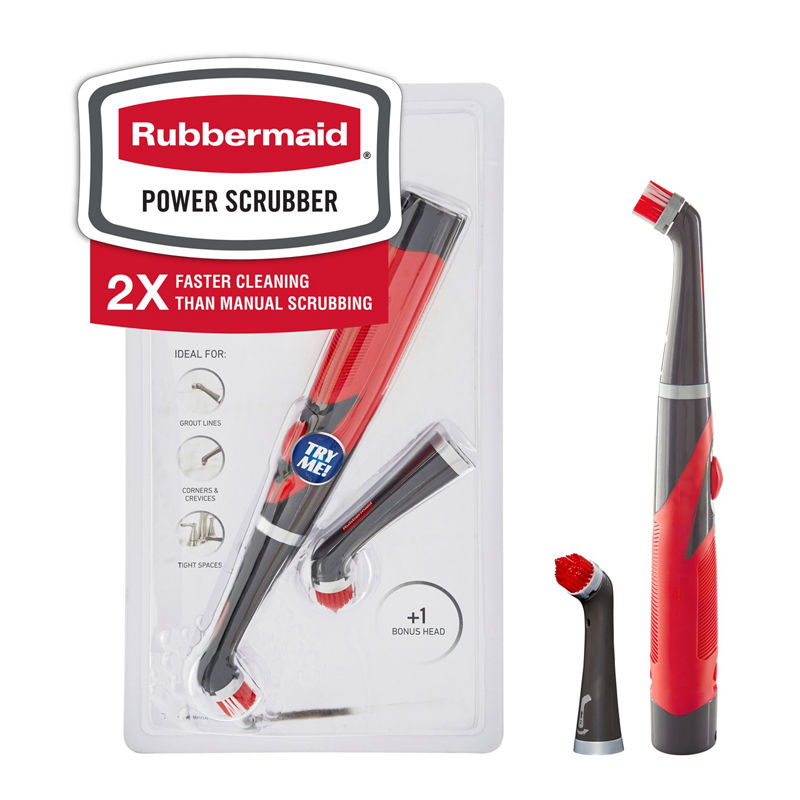
The flowers have gone, but a narrow-neck vase still needs attention before it returns to the table. A ring at the old water line, plant fragments inside the shoulder, or moisture trapped during storage can make the next arrangement start with an avoidable cleaning job. The difficulty is reaching the interior without damaging the vessel or trapping a tool inside it.
Identify the finish and approved care first. Then choose a method that reaches the necessary area with little force and allows every tool to come back out. Complete the drying and inspection before deciding the vase is ready. This guide concerns ordinary decorative household vases, not valuable historic glass or objects with unknown structural damage.
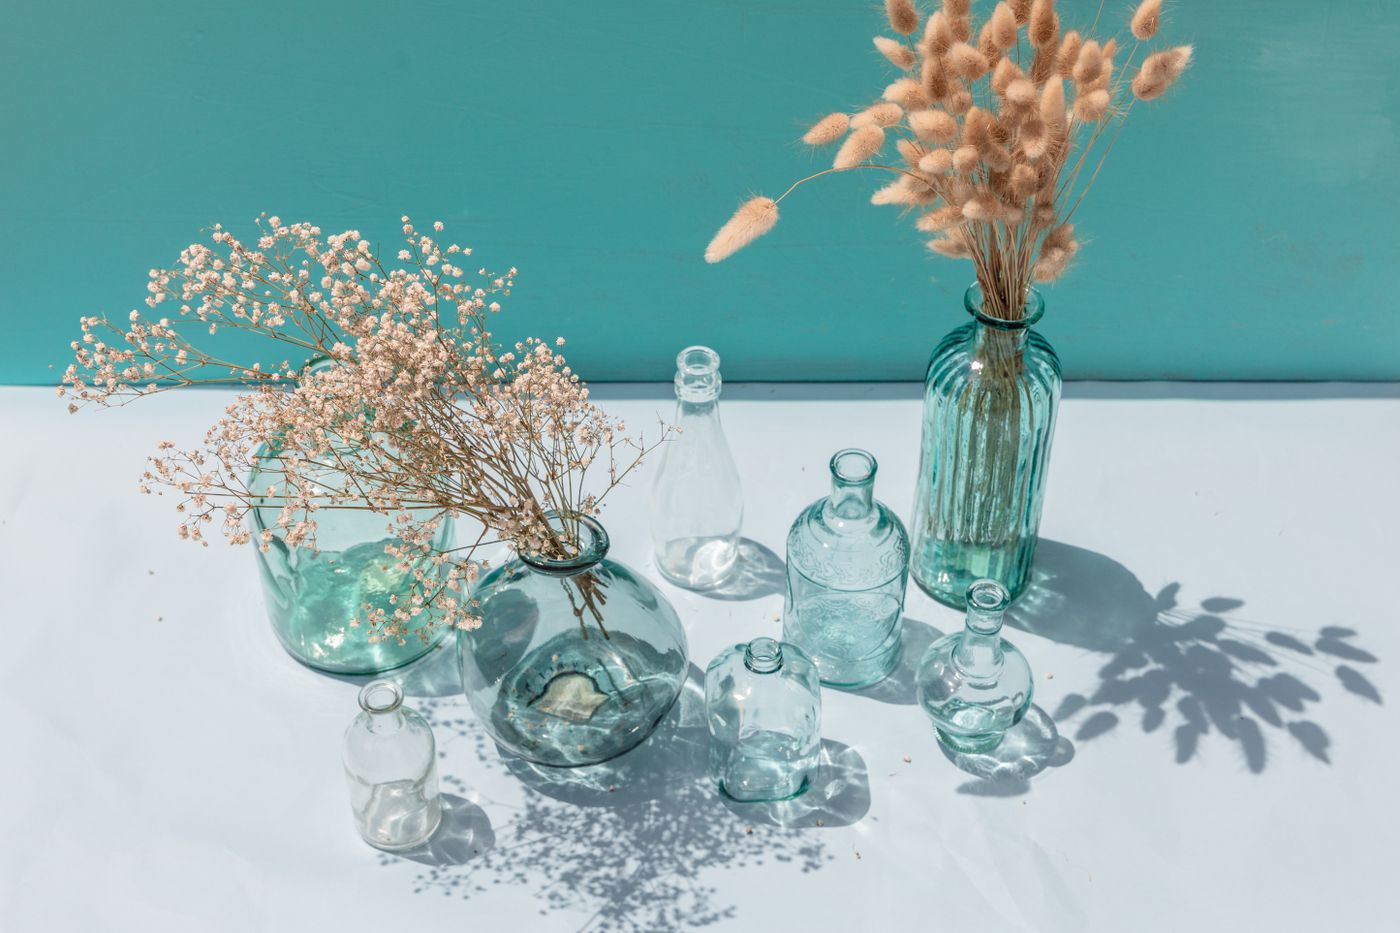
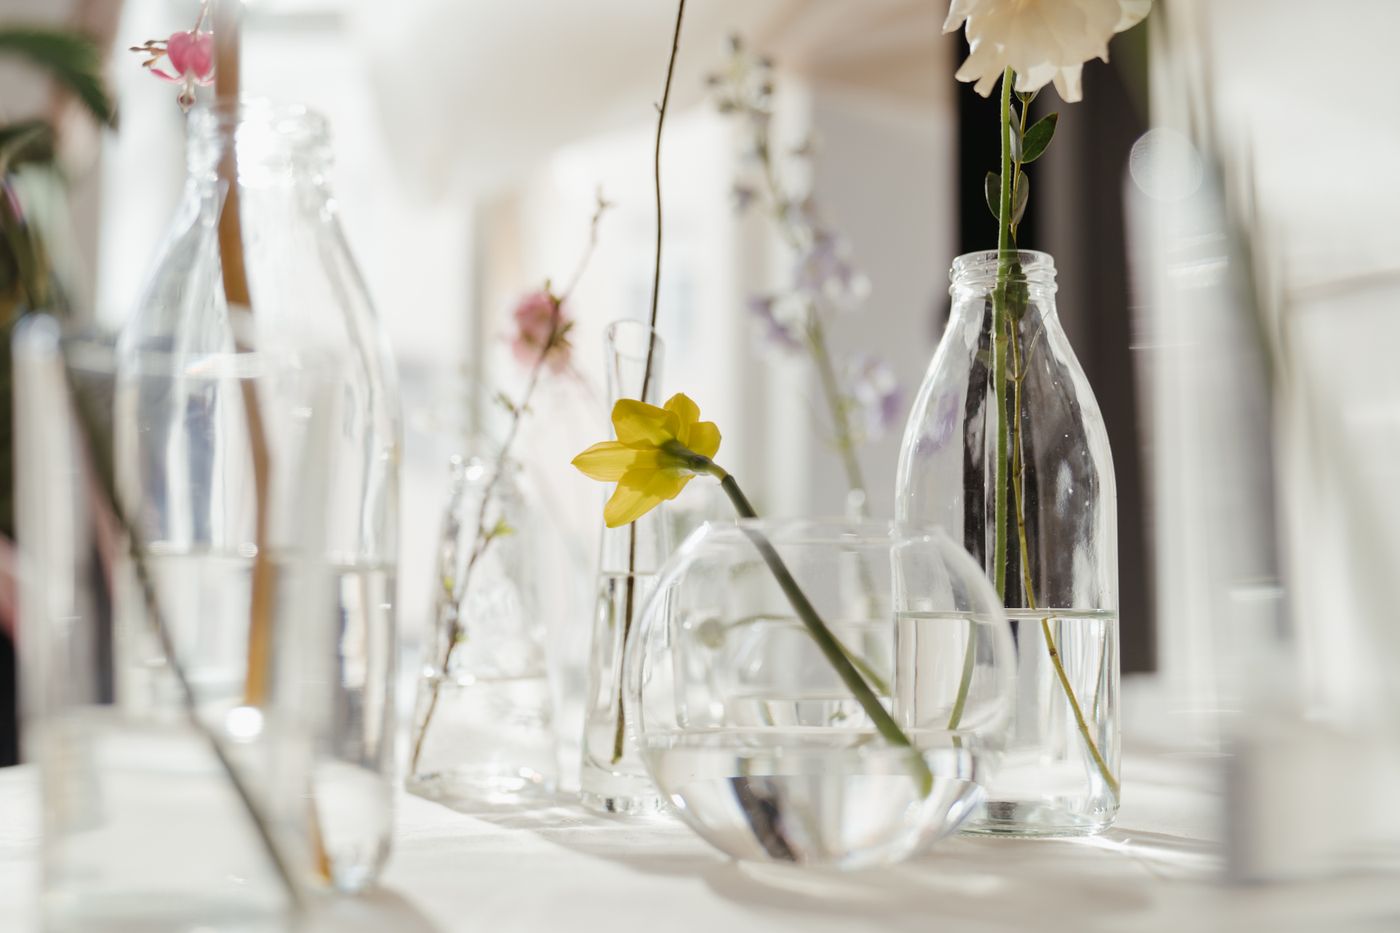
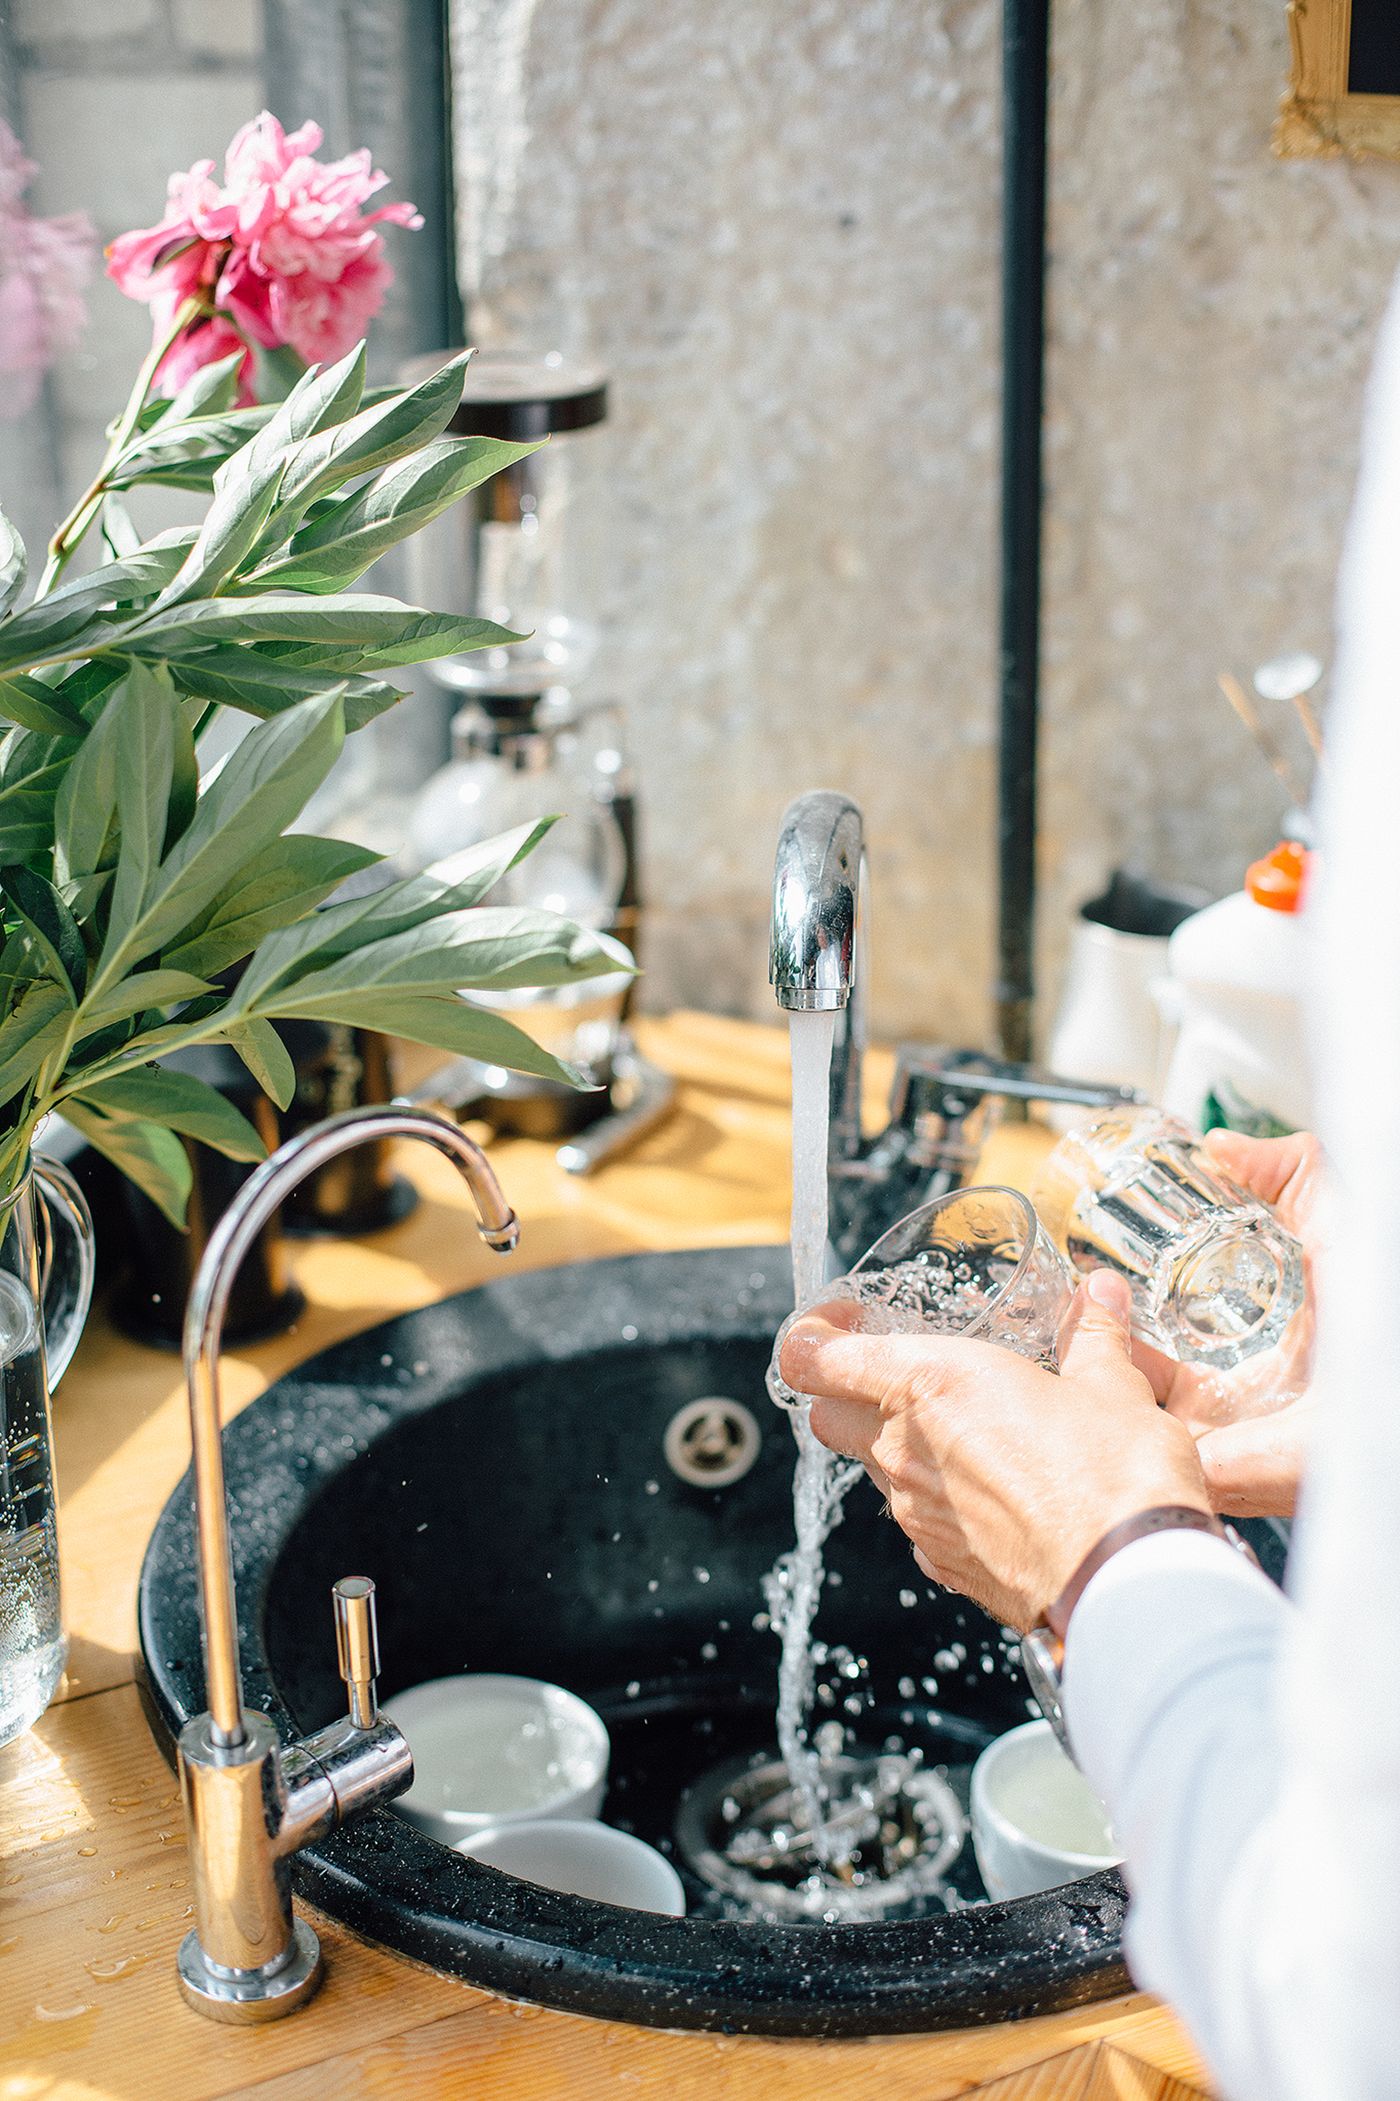
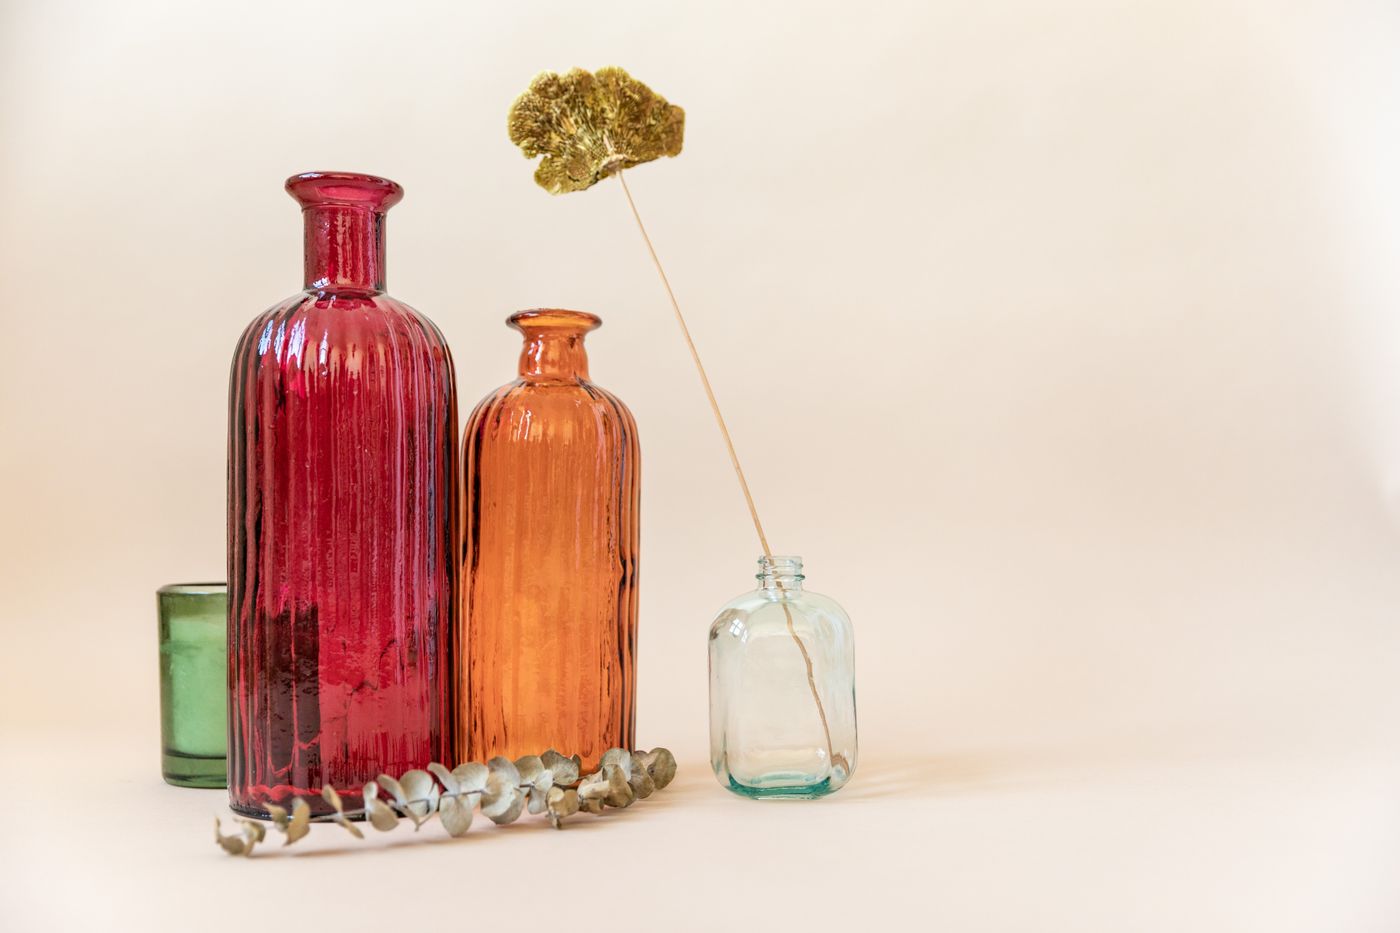
Etsy’s fall/winter 2026 report includes a table-dressing theme. Caring for the vessels already on hand is a useful preparation for that interest. The photographs illustrate vase shapes and glass-handling contexts; they do not establish the finish or care instructions of your own pieces.
Read the care instruction before choosing a cleaner
Glass is a material description, not a complete cleaning instruction. A vase may have a coating, applied decoration, attached base, repaired section, or finish that changes the permitted method. Clear-looking glass should not automatically enter the dishwasher, and an iridescent surface should not automatically receive the same treatment as an undecorated jar.
Two IKEA examples show why model-specific directions matter. The RÄFFELBJÖRK mother-of-pearl vase page specifies wiping with a damp cloth. A BERÄKNA light-pink model has handwashing and drying instructions. Those are examples for the named products, not interchangeable rules for every vase sold by the same brand.
Use the exact product page, label, or supplier’s care advice for your vessel. If the instruction does not explain how to clean the inside after use with water, ask the supplier rather than assuming immersion is allowed. For an unidentified, painted, repaired, or valuable piece, keep the plan conservative and seek appropriate specialist advice.
For other vulnerable household finishes, our lampshade care guide follows the same first step of identifying construction before choosing a method. The actual cleaning techniques for fabric and glass remain different.
Prepare a sink where the vase can be handled without collisions
Remove dishes, cutlery, and other hard objects from the working area. Arrange a stable landing place beside the sink that will support the full base. Keep the route between washing and drying short enough that you do not need to carry a slippery vase across the room while opening cupboards.
Inspect the rim, neck, and base before beginning. Stop using a vase with cracks, chips, or a loose attached component and seek advice about the appropriate next step. Cleaning does not repair weakened glass. Do not hold a heavy body by a narrow neck or decorative handle unless its maker explicitly permits that handling.
For a piece approved for washing, follow its temperature and product directions. Avoid sudden temperature changes and unnecessary pressure. A sink mat or padding, where suitable for the task, should remain stable rather than bunching beneath a narrow base. Keep hands and the vessel under control instead of washing several delicate pieces together.
Remove loose plant material before working on residue
Lift out accessible stems and foliage without dragging stiff ends along the rim. Dispose of plant debris through an appropriate household waste route rather than pushing it into the drain. If flower supports, wire, or adhesives were used, identify and remove them only by a method compatible with the vase and arrangement materials.
Keep decorative filler separate. Stones and other hard pieces can strike the glass as they move; do not swirl them around as improvised scrubbers. Check whether the vase was intended to hold the arrangement materials in the first place. A decorative vessel may have narrower use limits than its appearance suggests.
Look inside under good light while the vase is empty. Note whether the problem is a loose fragment, a cloudy area, or a deposit you cannot identify. Different problems may need different maker-approved treatment. Naming the visible issue is more useful than starting with a strong cleaning mixture and hoping it suits everything.
Choose a tool that can enter and leave freely
For a washable vase whose instructions allow a cleaning tool, check the head as well as the handle. A brush that squeezes through the opening on the way in may expand inside the shoulder or catch on the return. Do not force a brush into a neck simply because the handle fits.
Use an appropriate soft tool without exposed sharp components, following both the vase and tool instructions. Keep enough handle available for controlled removal. Never push fingers into an opening that could trap them, and avoid improvised metal tools that could scratch the surface or strike the glass from inside.
If the interior cannot be reached safely with the allowed method, stop and ask the manufacturer for advice. A stubborn deposit does not justify escalating to an abrasive, chemical treatment, prolonged soak, or heated water that the care instructions have not approved.
Our guide to cleaning reusable drinking straws also considers whether a tool can reach an interior and be removed completely. A vase has different dimensions and use requirements, so do not transfer the straw-cleaning instructions to it.
Keep rinsing and finish care within the product's limits
For handwash-approved pieces, use the allowed product and rinse as directed so residue is not left inside. Check the shoulder and base rather than judging completion only from a clear-looking neck. Avoid turning the vessel rapidly or knocking it against the faucet while trying to see into it.
For wipe-only decoration, follow that instruction and resolve any incompatible interior-cleaning need with the supplier. Do not quietly substitute a soak because it appears faster. Keep attached felt, labels you need to retain, and mixed-material parts within their stated care limits.
Keep bathroom and kitchen cleaning tools appropriately separated. The cloth-separation routine is useful when a dining display is cleaned in a shared utility space. A soft cloth being within reach does not establish that it is suitable, clean, or free from a previously used household product.
Give water a route out without balancing glass precariously
Once the approved cleaning process is complete, drain and dry as instructed. A narrow neck can make the interior slower to assess than the outside. Do not put a visibly damp vase straight into a closed storage container just because the exterior has been wiped.
Use a supported drying position that cannot tip, roll, or fall onto another piece. An upside-down vase perched on an unstable towel fold or stretched across a narrow rack is a poor trade for faster drainage. Avoid forcing a cloth into the interior if it could become trapped or leave fibers behind.
Before returning the vase to a shelf, inspect the base and rim again. Keep a note of unresolved residue instead of treating the piece as ready for a fresh arrangement. A vessel that needs supplier advice can be set aside securely with a clear description of the problem.
Make the next arrangement easier to dismantle
Choose an arrangement that suits both the vase opening and its care limits. Keep removable supports identifiable, and do not assume every decorative adhesive will release cleanly. A beautiful arrangement loses practical value when its construction prevents ordinary approved cleaning afterward.
Plan the display footprint together with the table’s working space. Avoid clustering so many small vessels that each one must be moved repeatedly during meals. For surrounding shelves, see our household dust routine; complete that separate surface task before returning clean vessels to the display.
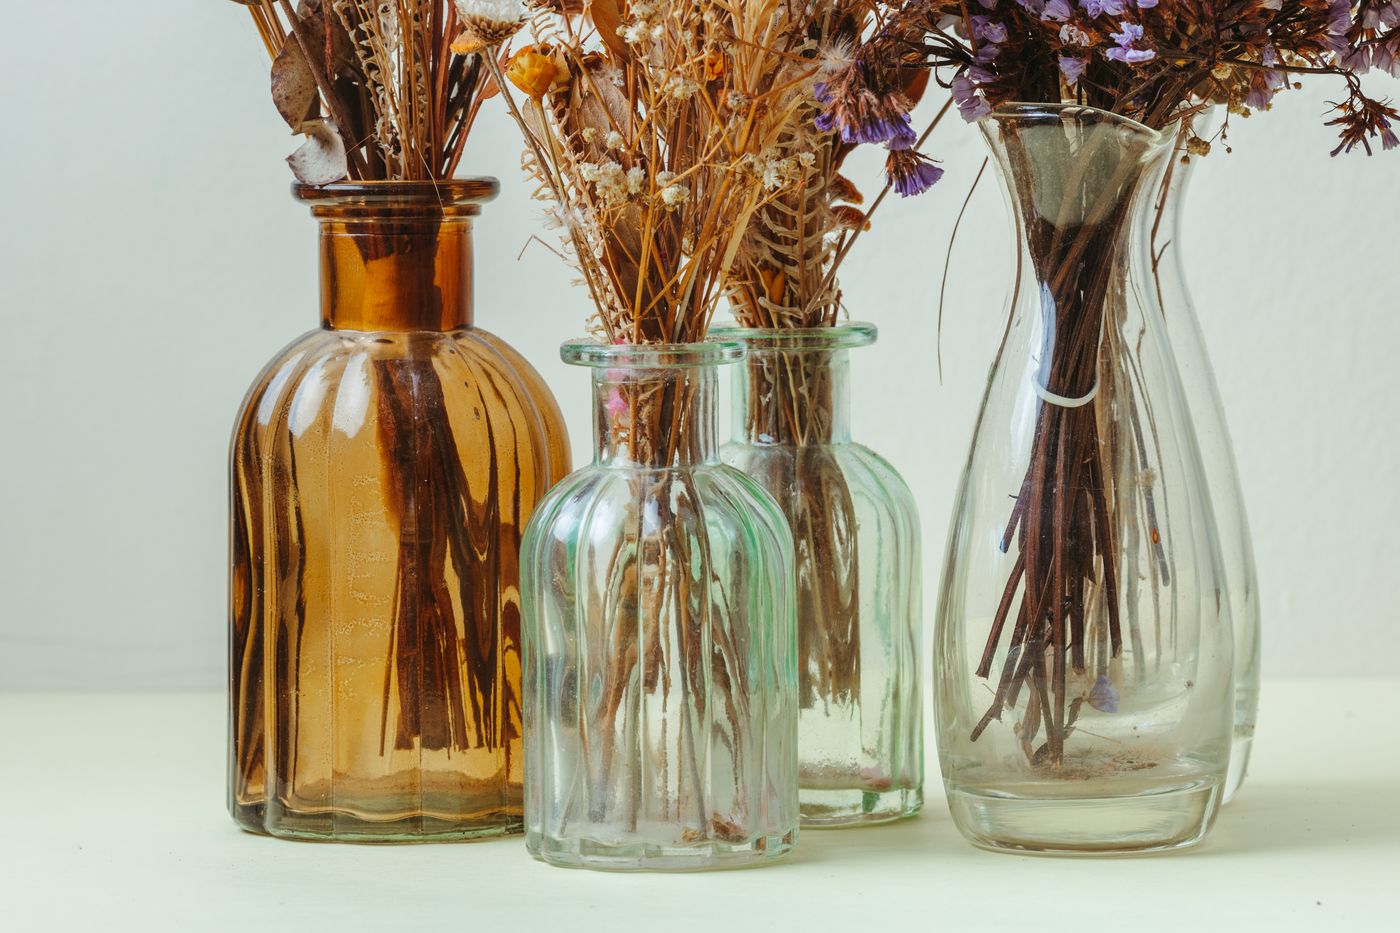
Store the clean, dry vase where it can be retrieved by its body without moving a tower of neighboring glass. Keep its product identity available for the next care check. The useful result is a vessel you can confidently inspect and prepare, with no hidden deposit or unresolved instruction waiting for the next bunch of flowers.
Explore related household decisions in our Cleaning hub.
Sources and editorial scope
Editorial research checked October 16, 2026. Trend-report dates and limitations are stated in the article; these are editorial applications of published signals, not verified October keyword rankings. Practical household guidance; illustrations do not document a tested household or authenticate a pictured material.