
The finished bookcase may fit neatly beside your living-room wall. Assembling it can require much more room than that final footprint suggests. Long panels must lie down, instructions need to remain visible, and two people may need to approach the work from different sides. If you are working on the same space, A Halloween Bat Wall for a Small Living Room: Layout, Mounting, and Removal covers the next decision in more detail.
Before opening the flat-pack boxes, plan a temporary workspace around the exact manufacturer’s assembly sequence. Your aim is enough room to support the parts properly, follow the required steps, and finish without trapping the household behind cardboard and half-built furniture. For the broader setup, Where to Store Home Workout Gear in a Small Living Room Without Creating a Trip Hazard is a useful next read.
This is a room-planning guide, not a replacement assembly manual. Use the instructions, tools, number of helpers, attachment requirements, and handling methods for your exact furniture. If the room cannot support those requirements, arrange a suitable alternative or appropriate assembly help before beginning.
Read the whole sequence while the boxes remain closed
Download the correct manual or find the supplied one before spreading parts across the floor. Confirm that the model and version match what arrived. Review the parts list, required tools, helper requirements, and any steps that change the piece’s orientation.
Look for the largest flat component and the largest partly assembled stage. A narrow finished cabinet may begin as a long side panel on the floor. A table may need a different working position before it can stand upright. Your room plan has to account for the stated sequence rather than just the finished dimensions.
Identify any installation or anchoring work that must be completed before use. Check the exact furniture and wall requirements through the maker’s instructions and appropriate help where needed. Do not regard a piece as ready for the family merely because the visible assembly looks complete.
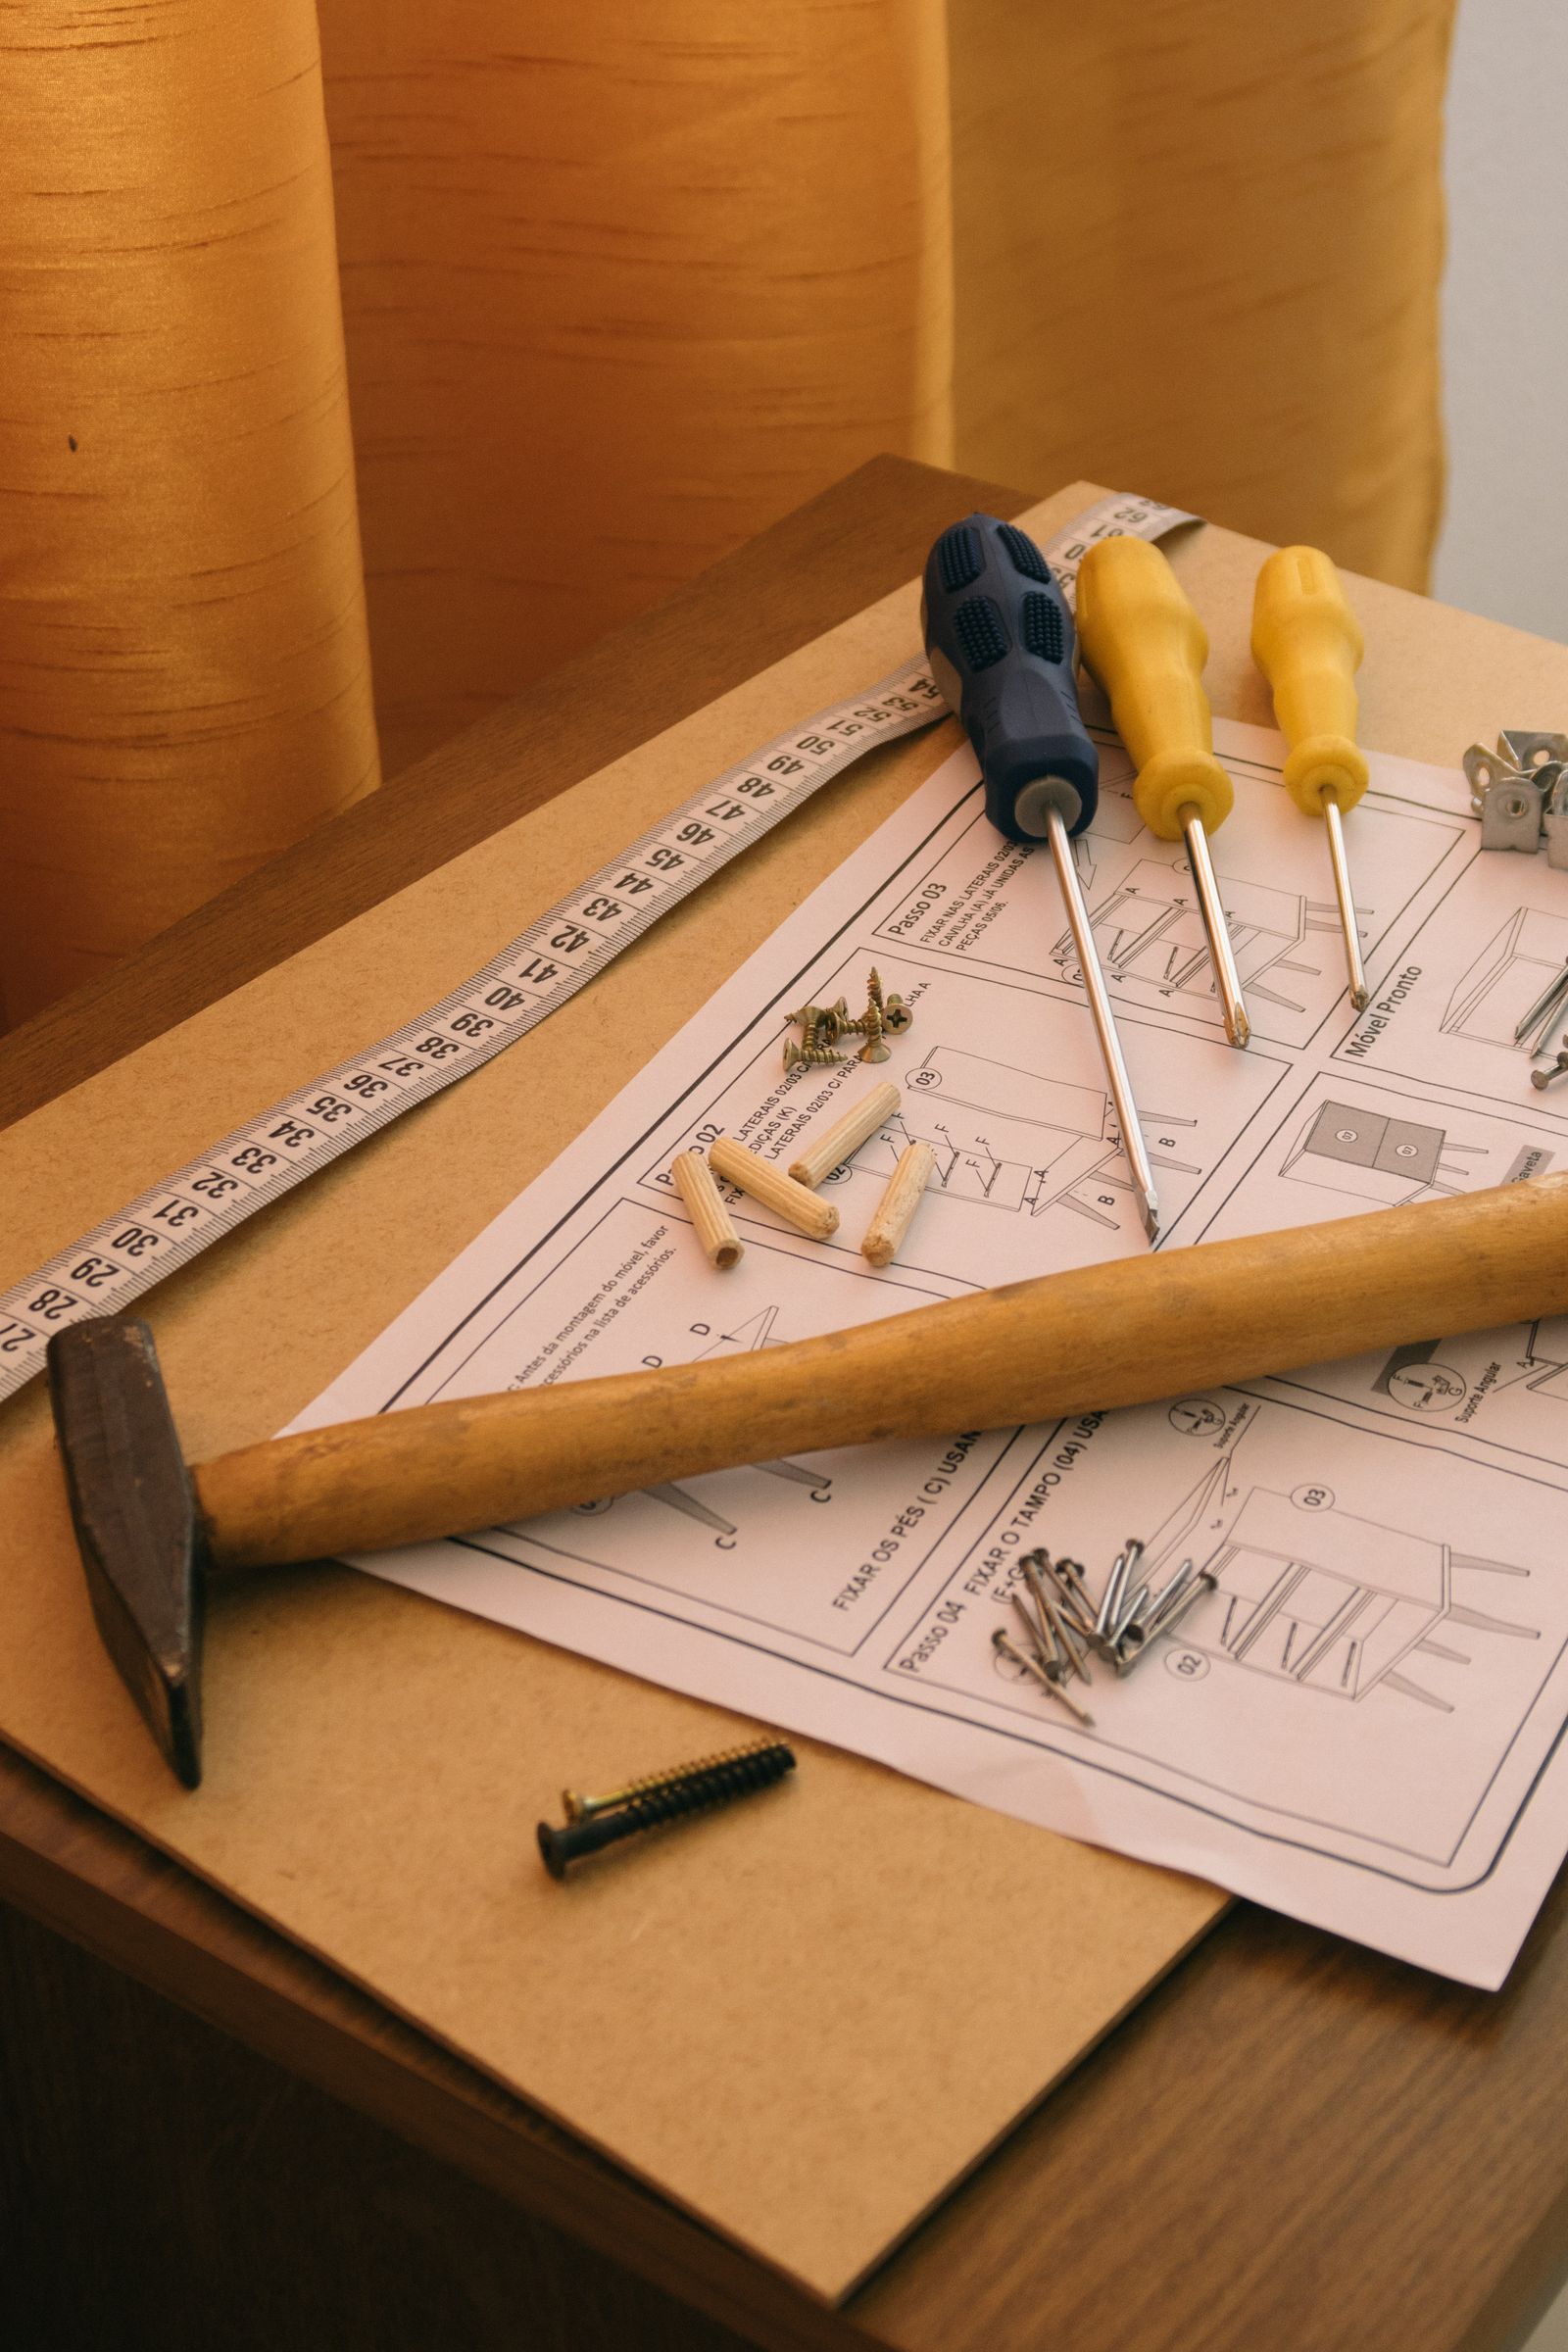
Choose an assembly location that supports the complete task
Compare the living-room floor with other available locations. The best choice is not necessarily the room with the largest empty rectangle. It also needs suitable lighting, permitted surface protection, access for required helpers, and a practical route for the finished item.
If you assemble somewhere else, confirm that the finished piece can reach its destination using its approved handling method. The boxes fitting through a doorway does not establish that the completed furniture will do so. Our furniture-route survey covers that separate check.
For a living-room assembly, note the furniture you can reasonably move first. A light side table may be easy to relocate; a large sofa may need helpers and a different plan. Follow appropriate handling guidance, and do not create a second difficult furniture move just to avoid arranging help for the first task.
Keep the final destination in mind. Assembling beside the intended wall can reduce later movement, but only if the maker’s sequence fits there. A cramped corner is not a good worksite when the instructions require access from several sides.
Map the floor in stages rather than one permanent clearing
Make a rough plan with four roles: supported assembly area, unopened parts waiting their turn, controlled hardware and tools, and cleared packaging. These roles do not need four new containers. They need recognizable locations that stay out of required routes.
The assembly area should support the entire current component as directed. Do not allow an unsupported end to hang into a passage or balance on an unsuitable object. Use surface protection consistent with the furniture instructions and the floor. Packaging is suitable protection only when its condition and the maker’s method make it appropriate. For the broader setup, What to Pack First When Moving Into a Smaller Home is a useful next read.
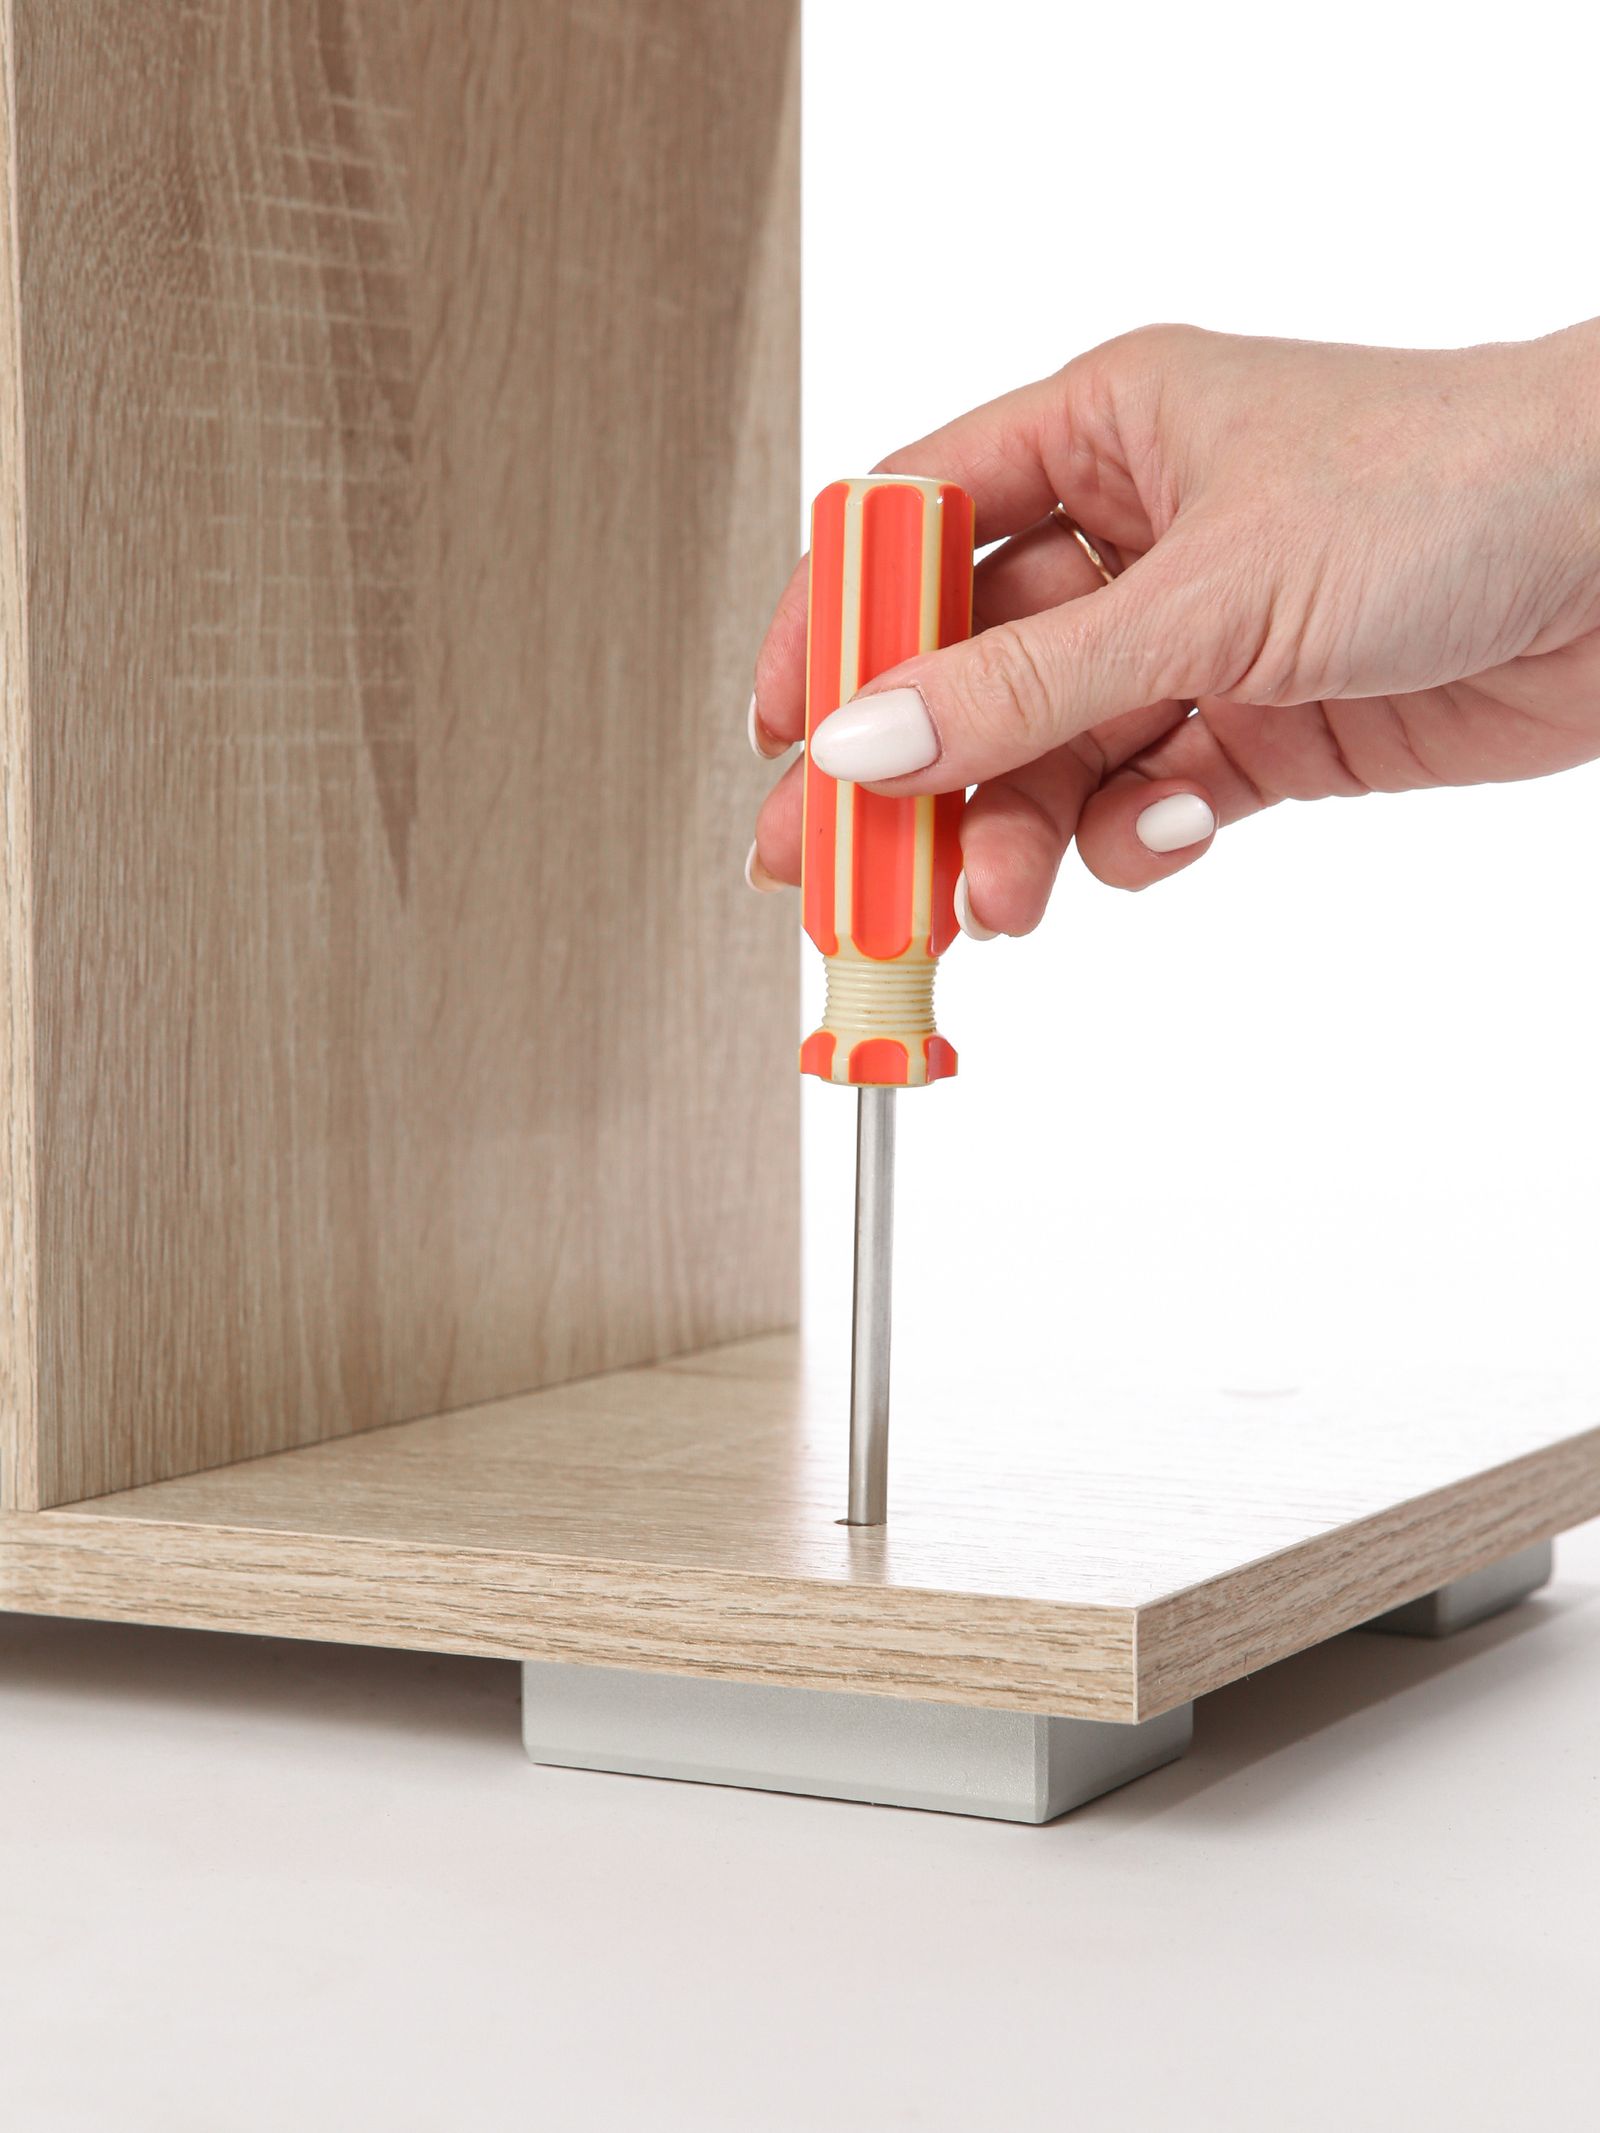
Place waiting panels where they can be safely supported in the permitted orientation. Tall narrow panels leaning loosely against a wall are not a substitute for a storage plan. If there is not enough room for both the current component and the waiting parts, stop and find another arrangement.
Keep household access visible through every stage. Include door movement, exits, frequently needed cupboards, and the path to other rooms. Tape or a paper sketch can help visualize the proposed layout, but it should not create a new floor obstruction.
The small-living-room furniture layout guide can help you understand the surrounding routes. For assembly day, assess those routes with people, tools, and full-sized components actually occupying the workspace.
Unpack in a controlled sequence
Follow the manual’s unpacking and inventory steps. Check components before committing the room to assembly. If a panel is damaged or required hardware is missing, use the retailer or maker’s support route. Do not improvise a substitute fastener because the room has already been cleared.
Retain identifying labels where appropriate. Panels that look similar may serve different positions, and turning them in the wrong direction can create confusion later. Keep the manual close enough to reference without putting it under the parts.
Open only as much packaging as the process requires and the room can accommodate. Some kits need a complete inventory first; others have useful labeled subgroups. Follow the exact instructions rather than a universal rule to empty every box at once.

Flatten or remove packaging only after confirming whether the product needs any of it for permitted support, returns, or identification. Keep the necessary information and avoid allowing empty cartons to accumulate in the walking route. A room full of cardboard can erase the space you made before starting.
Control the hardware without obscuring its identity
Use a suitable small-parts container or the kit’s original labeled packets to keep hardware organized. Match identifiers to the manual. Similar-looking screws can have different lengths or roles, so grouping by appearance alone can make the instructions harder to follow.
Keep small parts and tools out of children’s and pets’ access. An open tray on the coffee table may look orderly while still being easy to reach. An adult should control the workspace and decide how the household will stay separated from the assembly activity.
Place tools in a stable, suitable location that does not damage finished surfaces or hide among panels. Use the specified tools and settings. A powered tool is not automatically an acceptable shortcut when a manual calls for a particular method.
If two adults are working, agree on who reads each step and who tracks the parts. That division can reduce repeated searching in a small room. It does not change the number of people or support methods the instructions require.
Check the space again before every orientation change
A partly assembled item may need to turn, lift, or stand upright during the maker’s sequence. Before the relevant step, pause and clear the required space. Confirm helpers are ready and the movement can happen exactly as instructed.

Account for the people as well as the object. A component fitting diagonally on the floor does not prove that helpers can stand where they need to stand. Furniture arms, doors, lamps, and overhead projections can change the available movement.
Do not use a chair, sofa arm, or improvised platform to replace a required support arrangement. If the movement cannot be performed as directed, obtain suitable help or change the location. A convenient room plan should make the approved method possible, not invent another method.
Keep checking routes after the piece grows. A clear path at the first step can disappear when a full frame occupies the floor. This is why staged planning works better than assuming the original empty patch will remain sufficient until the end.
Plan a safe stopping point before you need one
Consider a weekend assembly in a room that also holds children’s toys. Put the ordinary play activity elsewhere with an appropriate adult arrangement before the boxes open. Keep the room’s required access separate from the worksite. If the only workable layout would place the unfinished structure between the family and the exit, the living room is not the right assembly location for that plan.
For a household with one available adult, a manual requiring two people is a scheduling constraint, not merely a suggestion to work more slowly. Arrange the second suitable helper or appropriate service first. That decision can save the disruption of clearing the room and then discovering the sequence cannot be completed.
Assembly can take longer than expected. Review the manual for any limitations on leaving partly completed structures unattended or moving them. Do not assume a half-built frame is stable enough to stand against a wall overnight.
Choose an assembly period when required helpers and household separation are realistically available. Avoid beginning immediately before the room must serve a meal, guests, or children’s play. If those demands cannot be moved, use a different worksite or an assembly service that can complete the job under suitable conditions.

For any permitted pause, retain the hardware identity, protect the components as directed, and keep access controlled. Write down the completed step rather than relying on memory. Do not let a child treat a partly assembled item as usable furniture.
A living room already serving several purposes may need a temporary household agreement. Connect the plan to our multipurpose-room reset, while respecting the assembly manual’s stronger requirements for unfinished furniture.
Restore the room after the furniture is ready
Complete all assembly, installation, and anchoring requirements before normal use. Keep the instructions and model details in an accessible household record. They can matter for permitted adjustment, moving, maintenance, or future support.
Remove unused hardware only after you have confirmed the parts list and the finished steps. Some kits include spares; some do not. A remaining screw is a reason to check the manual, not automatic evidence that it was unnecessary.
Clear packaging and tools, then restore the movable household items deliberately. Check the room with the new furniture in its final working position, including doors, drawers, and the household activities it will support. The new piece may fit but require a different nearby table or chair arrangement.

Visit the Living Room guides and Small Space Living collection for that final layout. Assembly day is successful when the furniture is ready according to its instructions and the room is ready for the people who use it.