When a small home feels too full, the hardest part is often not letting things go. It is deciding where to begin.
You look at the kitchen counter, the crowded closet, the chair covered in clothes, the entryway shoes, the paper pile, the toy basket, and the cabinet that barely closes. Every area seems connected to another area. If you pull everything out, you make the home harder to live in before it gets better. If you are working on the same space, A Home Filing System for Families With No Home Office covers the next decision in more detail.
That is why the best first step is not “declutter the whole house.” It is to create a decluttering starting point small enough to finish and useful enough to change how the home feels. You may also find What to Get Rid of First When Your Small Home Feels Too Full useful for a closely related small-home problem.
This guide uses a simple sequence:
Stabilize → choose one visible win → remove easy exits → make decisions by space → stop before you create a second mess.
You do not need a free weekend, matching bins, or a perfect minimalist vision. You need a repeatable way to make one part of the home easier to use.
Do not start by emptying a room
Emptying an entire closet, pantry, or bedroom can feel productive for the first ten minutes. Then every object needs a decision at the same time.
In a small home, there may be nowhere to put the temporary piles. The bed, sofa, floor, and dining table become sorting surfaces, which means the home loses function while you are still trying to improve it.
Use a closed-area decluttering method instead:
- one drawer,
- one shelf,
- one basket,
- one counter section,
- one category that fits on a small surface.
The area should be small enough that you can finish it before you need the room for something else.
Step 1: stabilize the obvious mess before making hard decisions
Before decluttering, spend five to ten minutes removing items that do not require emotional or storage decisions.
Look for:
- trash,
- recycling,
- dirty dishes,
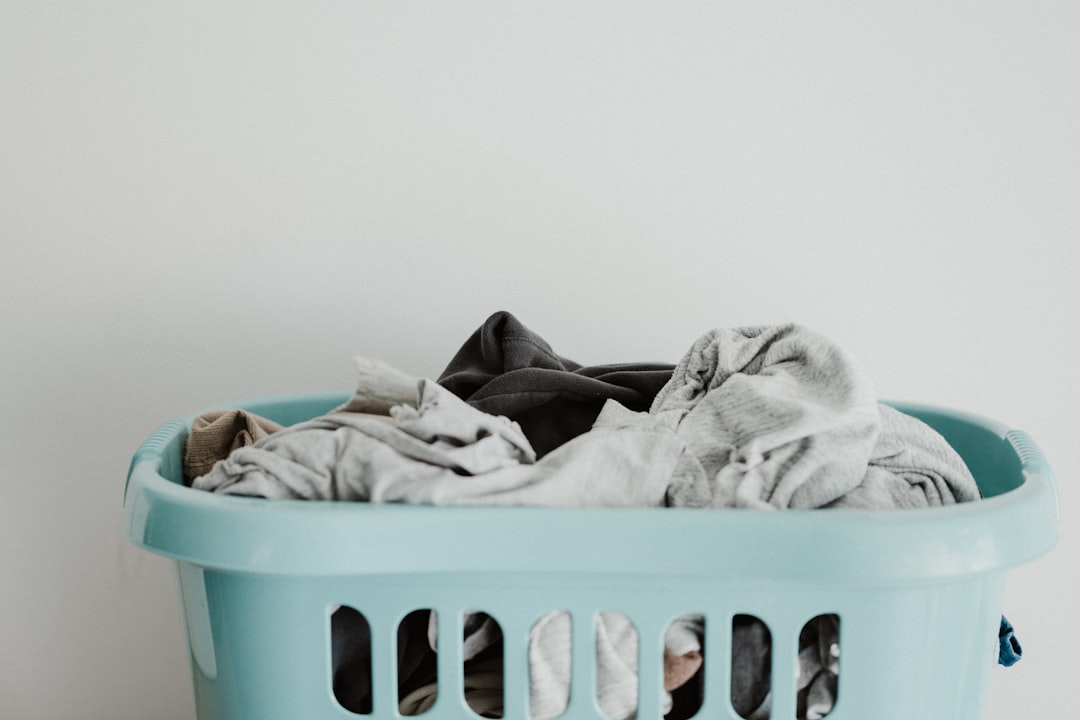
- dirty laundry,
- items that clearly belong in another room,
- empty packaging,
- food that needs to be put away,
- obvious donations you already decided to release.
This is not the decluttering session yet. It is a functional reset that reveals the real problem underneath.
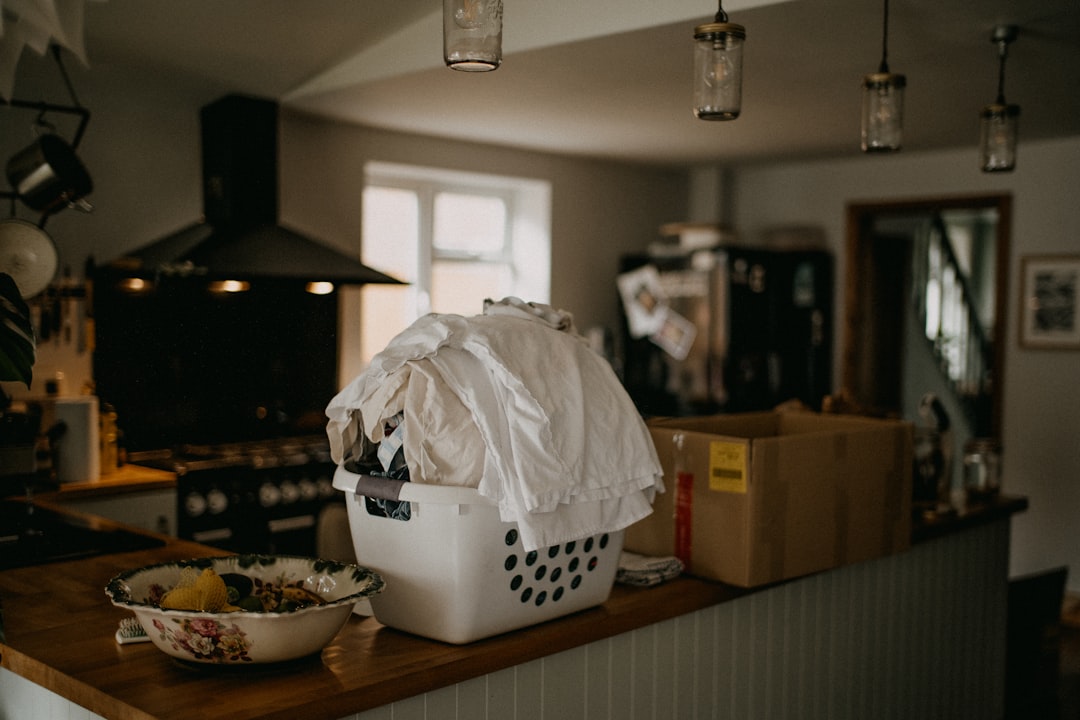
A surface covered with laundry, mail, dishes, and random objects can look like one giant clutter problem. Once the obvious transitory items leave, you may discover that only a small number of possessions actually need a keep-or-remove decision. For a related step-by-step approach, see A Toy Rotation System for Small Homes That Parents Can Actually Maintain.
Step 2: choose your first area using the friction test
Do not begin with the messiest area. Begin with the area that creates the most repeated frustration.
Ask:
“What small area makes daily life harder more than once a day?”
Good first targets include:
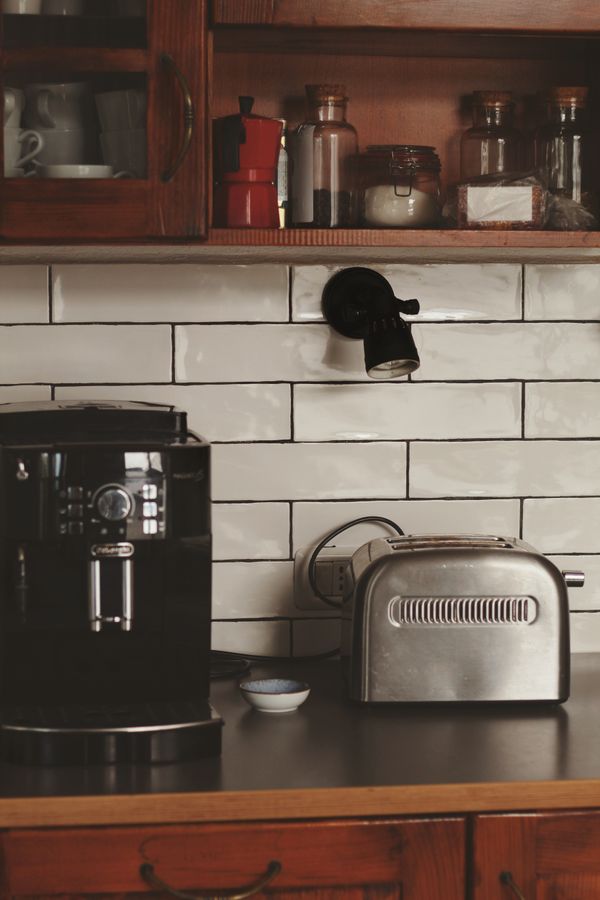
- a kitchen counter that has no prep space,
- an entryway where shoes block the door,
- a bathroom drawer you cannot open easily,
- a bedroom chair that never becomes empty,
- a closet section where clothes are packed too tightly,
- a cabinet where things fall out when the door opens.
A useful first project should give you an immediate reward: easier cooking, easier dressing, easier leaving the house, or easier cleaning.
Step 3: use the four-decision ladder
Once you choose a small area, every item gets one of four decisions.
1. Keep here
The item belongs in this space, fits the purpose of the space, and is used enough to deserve the room it occupies.
2. Keep elsewhere
The item matters, but this is not its home. Put it into one return-to-home basket so you are not walking around the house after every object.
3. Leave the home
Donate, sell, recycle, or discard it according to what is practical and appropriate.
4. Decide later
Use this category sparingly. A small undecided box can prevent emotional items from stopping the whole session, but a room full of “maybe” piles is not progress.
If an item is clearly trash, clearly a duplicate you never use, or clearly belongs somewhere else, do not spend three minutes debating it.
Start with easy exits, not sentimental objects
When you are already overwhelmed, sentimental decluttering is the wrong warm-up.
Begin with low-emotion clutter:
- broken items you do not plan to repair,
- expired products,
- empty boxes kept “just in case,”
- duplicate kitchen tools you never choose,
- clothing that no longer fits and has no realistic use,
- unwanted freebies,
- old cables for devices you no longer own,
- containers without lids,
- lids without containers.
Easy decisions build momentum and create physical space before you reach the categories that require more thought.
Declutter by space capacity, not by an imaginary ideal
You do not need to decide how many shirts, mugs, towels, or toys a person “should” own.
Use the container itself as the limit.
If a drawer comfortably holds 20 shirts and closes easily, the practical question is whether those are the 20 shirts you most want using that space.
If a shelf holds eight mugs without stacking them dangerously, choose the mugs that earn those eight positions.
This is space-based decluttering: the home tells you how much it can hold comfortably.
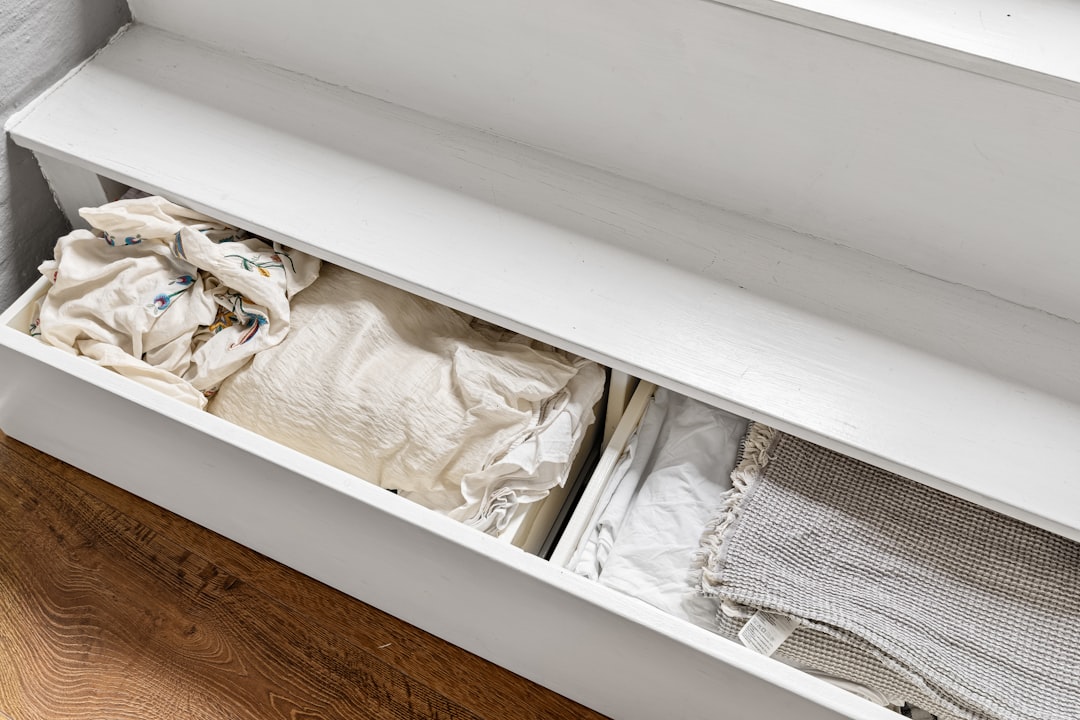
Use the 80-percent comfort rule
You do not have to measure precisely, but try to leave a little breathing room.
A drawer packed to 100 percent capacity may technically fit everything, but putting laundry away becomes annoying. A cabinet filled edge to edge makes it hard to see what is behind the front row.
A small amount of open space makes the storage easier to use and easier to maintain.
Your first 20-minute decluttering session
Set a timer if that helps you avoid turning the session into a whole-house project.
Minutes 0–3: choose one boundary
One drawer. One shelf. One counter section. One basket. Do not expand the project once you start.
Minutes 3–7: remove obvious exits
Trash, recycling, empty packaging, broken items, and clear donations leave first.
Minutes 7–14: make keep-or-move decisions
Handle each remaining object once. Keep here, keep elsewhere, leave the home, or place it in the small undecided box.
Minutes 14–17: clean the empty surface
Wipe or vacuum the area if appropriate before items return.
Minutes 17–20: restore only what belongs
Return the keep-here items with enough breathing room to use the space normally.
Then stop.
Finishing one small area completely is more useful than starting five areas and leaving sorting piles everywhere.
Where to start if the kitchen feels too full
Do not begin with the entire pantry. Start with the area that steals working space.

Try this order:
- Remove non-kitchen drifters from the counter.
- Choose one appliance that may no longer deserve permanent counter space.
- Remove expired or clearly unwanted food from one shelf.
- Check one container category for duplicates or unmatched parts.
- Protect one clear prep zone.
If countertop crowding is the bigger issue, use How to Clean a Small Kitchen Without Moving Everything Off the Counters after the decluttering pass.
Where to start if the closet feels impossible
Closets become overwhelming because clothing decisions feel personal and because the category is large.
Do not remove every garment.
Start with one visible section:
- the floor,
- one hanging category,
- one drawer,
- one shelf,
- one type of clothing such as jeans or workout tops.
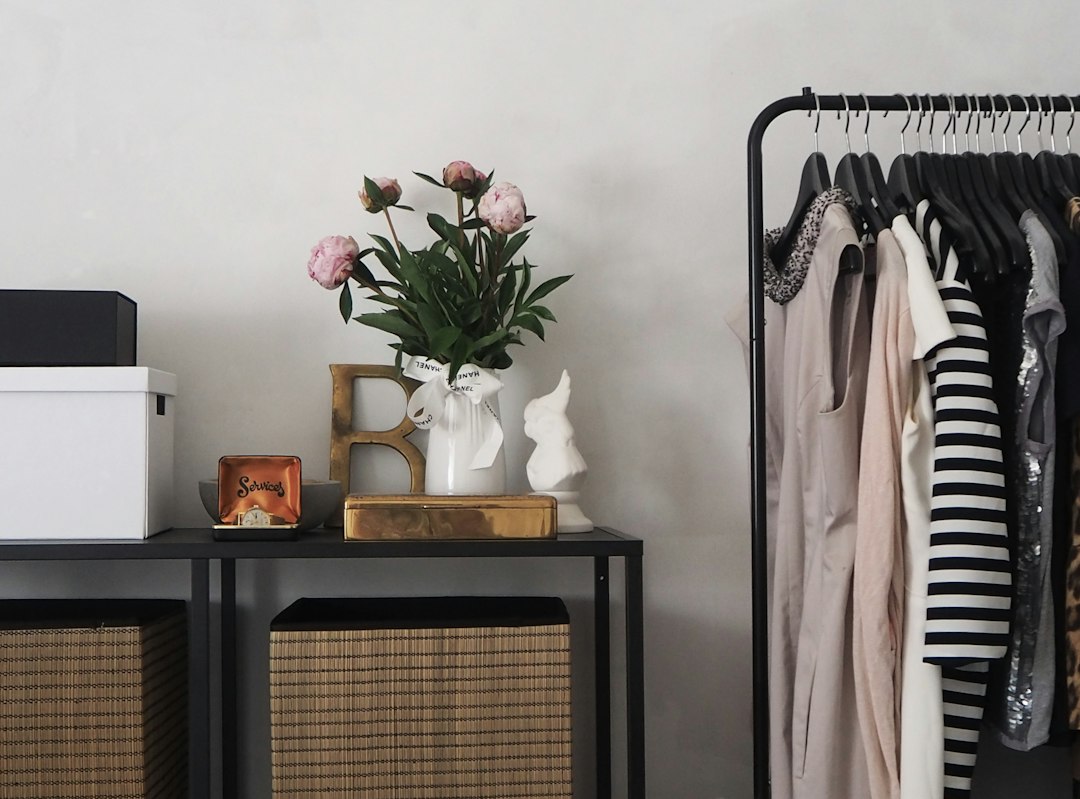
Remove the easy exits first:
- items that do not fit and are not being intentionally kept for a specific reason,
- damaged pieces you will not repair,
- duplicates you consistently skip,
- clothing that is uncomfortable every time you wear it,
- items that belong to another season and can be stored elsewhere if appropriate.
Then ask which remaining clothes you actually want occupying the easiest-to-reach space.
Where to start if the entryway is always messy
The entryway usually needs fewer decisions than the closet, which makes it a strong beginner zone.
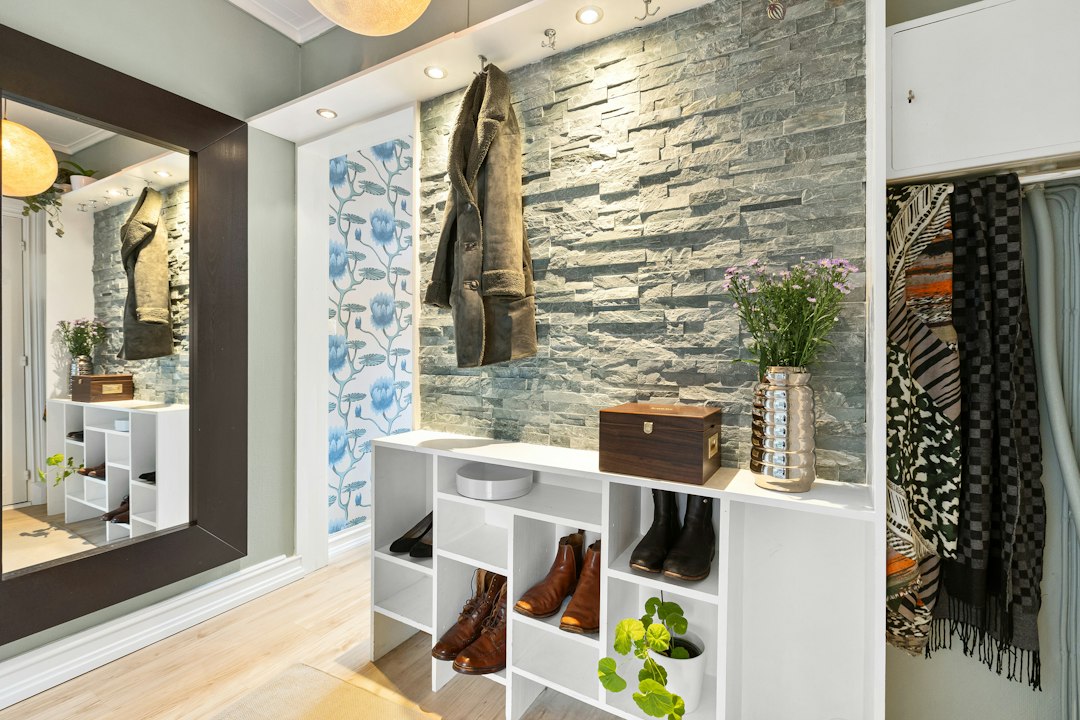
Keep only the items that support the current season and current routines:
- frequently worn shoes,
- current coats,
- daily bags,
- keys,
- umbrellas or weather gear when relevant.
Move occasional shoes, out-of-season coats, abandoned bags, and unrelated household items somewhere else.
If the entry still feels crowded after removing drifters, the issue may be that too many active items are competing for a very small landing zone.
Where to start if the living room is full of “everyone’s stuff”
Living rooms become cluttered because they belong to multiple people and multiple activities.

Instead of asking, “What can I get rid of?” ask:
“What activities should this room support every day?”
For example:
- sitting and relaxing,
- watching TV,
- children’s play,
- reading,
- homework,
- guest seating.
Then look for items that do not support those activities but permanently occupy the room.
A toy category may belong in the living room if children play there every day. A broken exercise device no one uses probably does not.
Do not buy organizers before you know what is staying
Storage products can make clutter look organized without reducing how much space it consumes.
Before buying bins, baskets, drawer dividers, or shelving:
- remove the obvious exits,
- decide what truly belongs in the zone,
- measure the remaining items,
- identify the exact problem the organizer needs to solve.
Buy storage to support a finished decision—not to postpone one.
Use the “would I give this space to it again?” question
For items that are not obviously useful or obviously disposable, ask:
“If this item were not already here, would I give it this much space again?”
This is especially helpful for:
- large serving pieces,
- unused hobby supplies,
- bulky appliances,
- decor you stopped noticing,
- backup items stored for years,
- children’s gear kept after the stage has passed.
The question shifts attention from the money already spent to the space the item is still costing you now.
Handle duplicates by choosing the favorite first
Instead of asking, “Which mug should I get rid of?” ask, “Which mugs would I choose first?”
Instead of deciding which black T-shirt to remove, select the ones you reach for most often.
This creates a favorite-first decluttering method. You are building the keep group instead of building a reject pile.
It is often easier emotionally because the decision begins with what serves you best.
Create one exit station for donations and returns
Decluttering fails when items marked “donate” remain in the home for three months.
Create one small outgoing-items station:
- one donation bag,
- one returns bag,
- one sell box only if you realistically sell items,
- one recycling or disposal route for items that cannot be donated.
Give the station a deadline. When the bag is full—or on a fixed day—it leaves the home.
Do not create a donation room.
Be careful with the “sell it” category
Selling can recover money, but it adds photography, listing, messaging, storage, pickup, and deadline decisions.
Use a minimum-value rule that fits your household. If an item is below that threshold, donation may be more valuable because it frees space immediately.
If you decide to sell something, give it a deadline. If it has not sold by that date, lower the price, donate it, or make another clear decision.
What to do with sentimental items
Do not force sentimental decisions during your first session.
Create a limited sentimental holding container and return to it when you have more decision energy.
When you are ready, ask:
- Does the object carry the memory, or would a photo preserve enough of it?
- Would I display or use this if space were not the issue?
- Am I keeping it because I love it, or because I feel guilty letting it go?
- If several objects represent the same person or event, which one tells the story best?
Sentimental decluttering is slower because the item is doing more than a practical job. That is normal. Give it a separate session.
What to do with “just in case” items
Some backup items are sensible. Others stay for years because the imagined future need feels more important than the real present-day space. For the broader setup, Where to Store Important Documents in a Small Apartment is a useful next read.
Ask:
- How difficult would this be to replace?
- How expensive would replacement be?
- Have I used it in the last year?
- Does another item already solve the same problem?
- Is the item taking premium storage space?
Keep high-value, hard-to-replace, genuinely useful backups. Be stricter with inexpensive duplicates stored in your easiest-to-reach areas.
The no-floor-piles rule
During decluttering, never create a category that lives directly on the floor.
Use containers:
- donation bag,
- return-to-home basket,
- small undecided box,
- trash/recycling container.
If those containers are full, process them before continuing.
This prevents a decluttering session from making the home visually worse for the next three days.
Know when to stop
Stop when:
- the chosen boundary is finished,
- the donation bag is full,
- your decisions are getting slower,
- you are starting to create new piles,
- you need the room for dinner, sleep, work, or family life.
A successful decluttering session ends with the home more usable than when it began.
If you are too tired to put the keep items away, you went too far.
A seven-day beginner plan
If you want momentum without a weekend purge, use one small project per day.
| Day | Project | Goal |
|---|---|---|
| Day 1 | One kitchen counter section | Create visible working space. |
| Day 2 | Entryway shoes and bags | Make leaving and arriving easier. |
| Day 3 | One clothing drawer | Practice space-based decisions. |
| Day 4 | Bathroom cabinet or drawer | Remove expired and unused items. |
| Day 5 | Living-room hotspot | Return room to its main activities. |
| Day 6 | One paper pile | Separate action, file, recycle. |
| Day 7 | Donation exit | Remove outgoing items from the home. |
For papers specifically, use Small Apartment Paper Organization: A Simple System That Stays Tidy rather than mixing document decisions into a general decluttering session.
When the problem is not clutter but unfinished household systems
Sometimes you keep decluttering the same area because the objects are legitimate but the workflow is broken.
Examples:
- laundry piles because clean clothes are not being put away,
- school papers pile up because there is no action-and-file system,
- shoes pile up because there is no realistic landing zone,
- kitchen counters fill because daily appliances have no parking spots.
Before removing more possessions, ask whether the category needs a better routine.
For laundry, see How to Keep Laundry From Taking Over a Small Home.
Decluttering is different from deep cleaning
Decluttering decides what deserves space. Cleaning removes dirt from the space.
If you combine both at full intensity, the project grows quickly.
A useful order is:
- remove obvious exits,
- make keep-or-leave decisions,
- clean the newly accessible surface,
- return what belongs,
- stop.
If your home needs a broader cleaning reset after the clutter is reduced, use A Realistic Deep-Cleaning Checklist for a Small Home once that draft is ready for publication.
Frequently asked questions
What is the easiest room to declutter first?
Usually the best first area is not a whole room. Choose one small, low-emotion zone such as an entryway shoe area, bathroom drawer, kitchen counter section, or clothing drawer.
Should I start with clothes?
Only if clothing decisions are easy for you. If clothes carry a lot of emotion or body-image pressure, start with something more neutral such as kitchen duplicates, expired bathroom products, or an entryway.
How long should I declutter each day?
Twenty to thirty minutes can be enough if you choose a clear boundary and finish it. Longer sessions are useful only when you can complete the sorting and put-away before the room is needed again.
What if I regret getting rid of something?
Use a small undecided box for genuinely uncertain items rather than forcing a decision. Avoid putting obvious trash, clear duplicates, or things you already know you dislike into the maybe category.
Should I declutter by room or category?
For beginners in small homes, bounded spaces are often easier because the mess stays contained. Later, categories such as all shoes or all towels can be useful when you need to see the total quantity.
How do I declutter when my family does not want to?
Start with your own belongings and shared items that everyone agrees are trash, broken, expired, or no longer needed. Avoid making unilateral decisions about another person’s personal possessions.
When you do not know where to start, start where life gets stuck
You do not need to identify the most cluttered room in the house.
Look for the smallest place where clutter creates repeated friction: the counter you cannot cook on, the drawer that will not close, the shoes that block the door, the chair that cannot be used, the cabinet that spills its contents.
Then give yourself one boundary and four decisions: keep here, keep elsewhere, leave the home, decide later.
Remove the easy exits first. Let the available space set the capacity. Keep donation items moving toward the door. Stop before the project spreads into the rest of the home.
That is how to declutter a small home when you do not know where to start: not by solving the whole house, but by finishing one useful decision zone and letting that success teach you where to go next.